It was a great night to be in the shop. Cool and dry weather. Tonight’s work clearly laid out and ready to start. I got a lot done in the 3 hrs. or so that I put in.
First I pulled the clamps and screws out of the street side galley wall shim and shaved it down flush to the inside panel using the little matchbox plane and 220 grit on the small block.
Then I set the galley CNC template using a couple of temporary cleats in the bulkhead dado to butt the template up against.
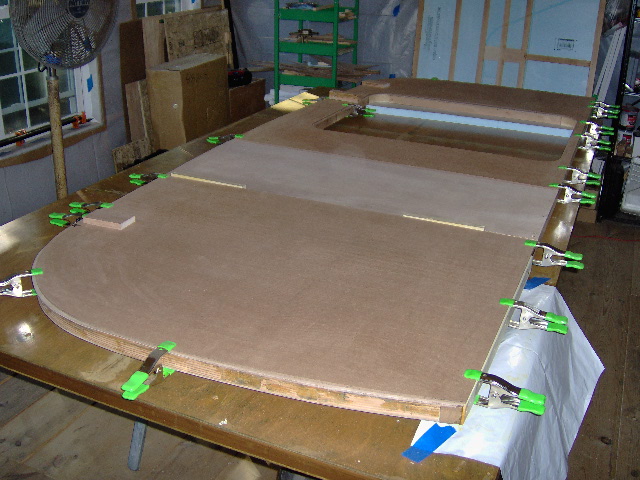
The blocks sitting on top are just larger visual cues where my marks are signaling me to stop before I get to the inverted curve (wrong) parts of the templates.
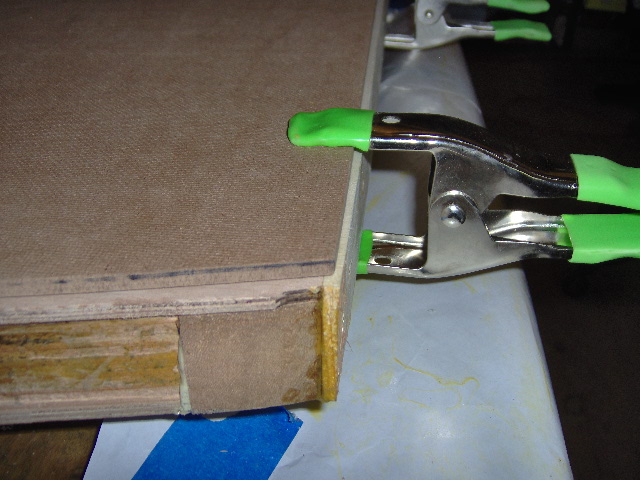
Here is a close up of the galley shim (bottom of wall is to the right). Note how the template overlaps the shim by about half at the rear…
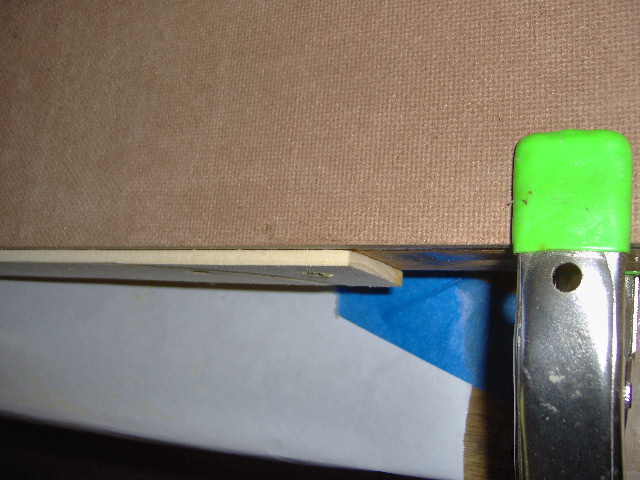
… and not at all at the front under the bulkhead blocking (not visible in pic).
I started routing at the lower front and worked my way up the wall to the point where the small front radius transitions to the low crown radius of the main roof. Here you can see that my top bearing bit does not reach the whole thickness of the wall in one go.
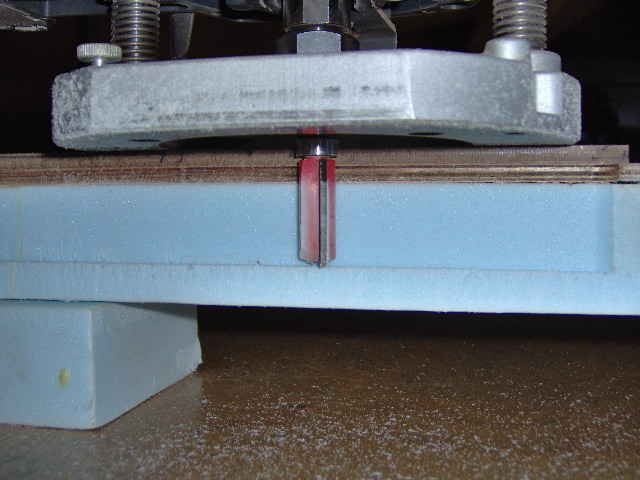
That’s okay, I have a plan. The ceiling skins were cut 1 inch shorter than the outside cabin width for two reasons: (1) it allowed me to optimize the marine ply cutting schedule and saved me a sheet, and (2) by holding the ceiling panel in from the outer edge of the foam I can seal any areas of the edge that aren’t covered up by variations in this little excess ledge. Where the excess ledge is strong, I’ll just sand it down flush to the top of the ceiling skin before applying the roof foam, and where it is thin I will squirt some GS in the groove and sand that flush to the wall face. I’m hoping that this will give a softer edge so that the plywood seam does not telegraph thru the canvas.
Here you can see where I have routed the tight front radius and stopped (bottom of pic) leaving the main crown to be done by repositioning the middle template (shown in its rightful position up on the other side of the door, top of wall is to the right in this pic… the front template has already been removed).
Here the top of the wall is to the left and you can see where I started on the sharpie marks indicating the top of the hatch big radius and worked my way down the hatch. Note how the template runs the wrong way on top compared to the rough cut.
The alignment cleat is more visible here.
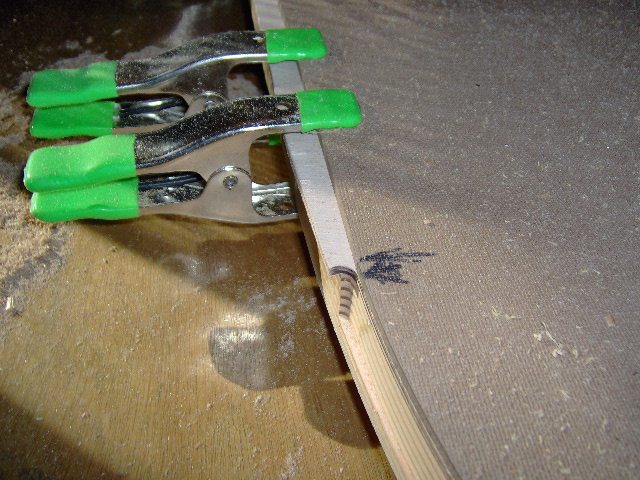
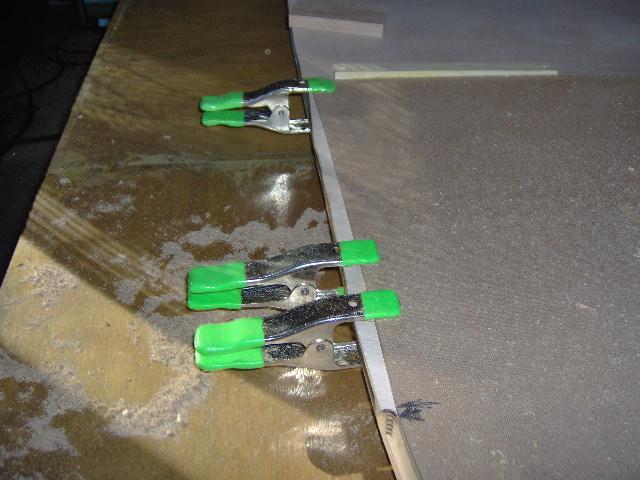
You can see how I hop scotched the spring clamps around (used scrap backer pieces of the thin ply to keep the clamps from denting the outer surface of the wall foam where necessary).
Here is a shot looking up along the sill were I have routed along the lower curve of the galley rear (bottom of pic) and back up to flush off the shim.

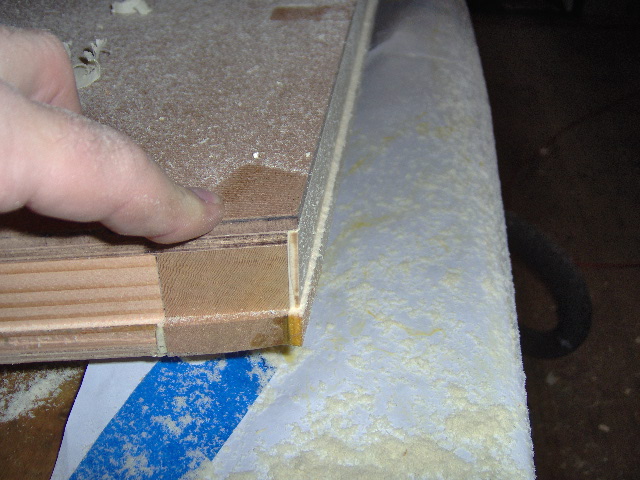
A little further along I will flip the wall over and trim the rest of the sill and hard galley wall edge using the bottom bearing bit to follow this cut from the other side. Also note the nice tight grain of the cedar.
Somewhere in there I also trimmed the middle top to the properly crowned middle template. Next I repositioned the middle template making it flush to the transition point at the front small radius and the previously cut middle section, bridging the bad section of the front template.
Then I went back the other way using the middle template to bridge the gap where it was short to the tangent point of the rear template, shown here before cutting.
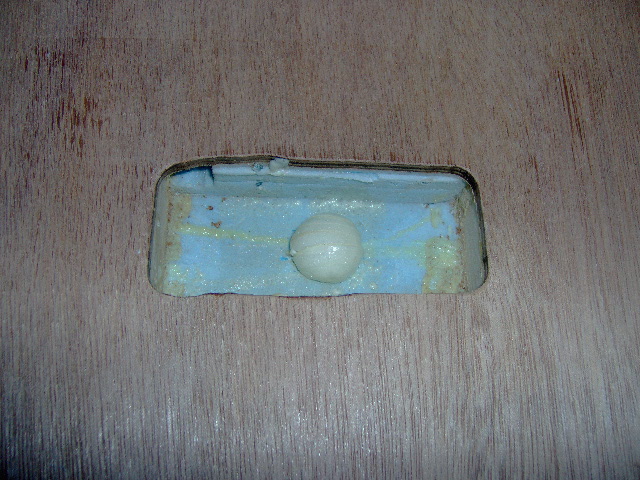
About this time Karl and Simon came for a visit, so I knocked off from running the router and switched my attention to the light switch hole fix. That way I could visit for a bit and still keep working. I was going to try and shave the little mushroom of excess GS out with a chisel, but I couldn’t get the angle needed with it down in the hole, so I just sliced it several times like a hardboiled egg slicer and chipped the slivers out.
After Karl and Simon cut out, I finished the previous router cut and repositioned the middle template again to bridge the bad section at the top of the rear template. In this next pic the top of the wall is down and the top radius of the galley is to the lower right.
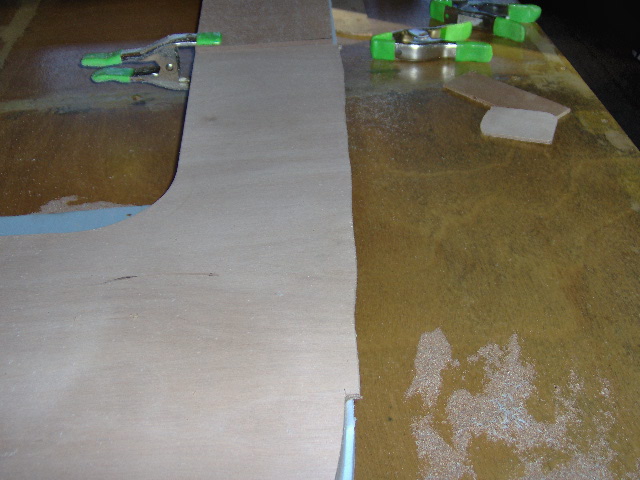
Before flipping the wall over so that the outside face was up, I did a little clean up. This helps protect the foam from getting scratched up by and/or having sawdust ground into it.
Pulled the mask off of the light switch hole fix, shaved the small bulge with a razor blade, and hit it with a quick scuff using 220 grit.
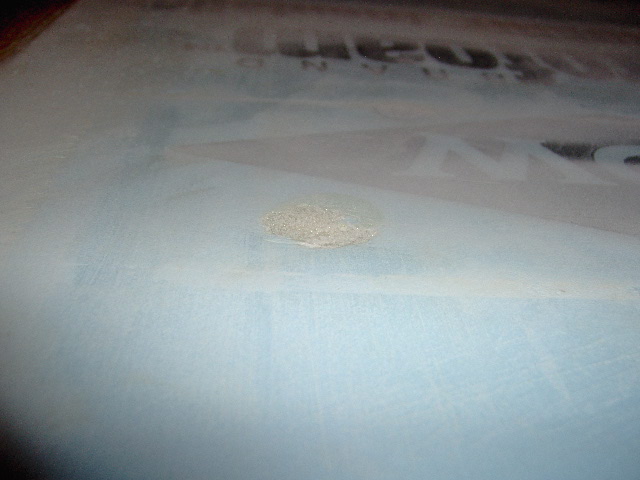
After a final round of spackle it will disappear.
Here’s the galley sill shim after flushing off from the other side.
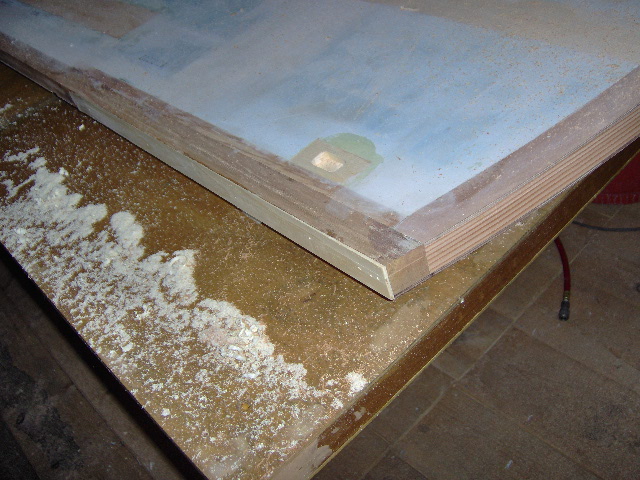
Like I said, 1/8 inch to nothing.
I hope you have been able to follow and understand what I am trying to describe. In the end, as expected, the issues with the CNC templates and laminated wall edge caused a bit more work, but the accuracy of the templates and the smooth edge provided ended up making the job go relatively easy. Despite having the inverted curves, the tangent points were accurate and useful in doing the layout and positioning; and despite the middle template being narrow, the crown was accurate and got the job done. Now I just have to do it again on the other wall.
Do yourself a favor and take a minute or two to clean up after yourself, put your tools in their proper place so that you can work more efficiently the next time.
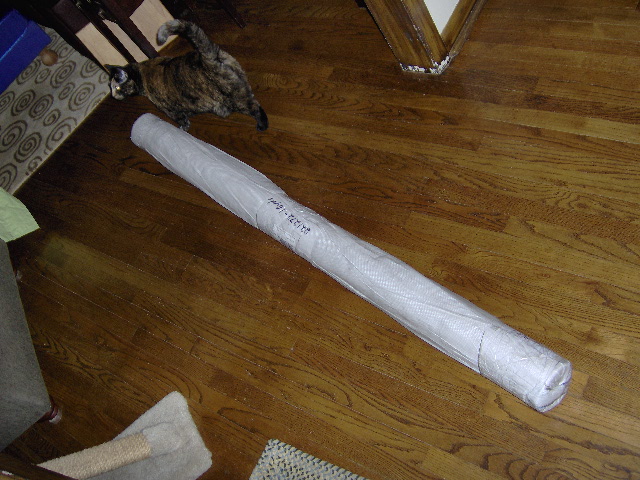
Sat down in front of the fan for a minute or two before heading home to find my roll of canvas being inspected by Maggie.
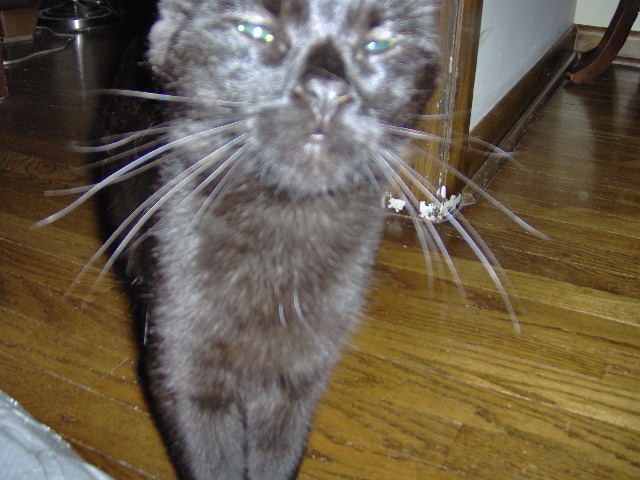
And a good night kiss from Rocky.