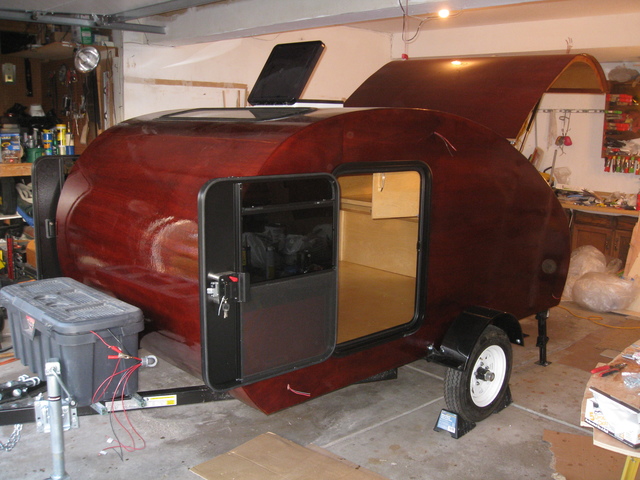
And just like that the Wyoming Woody is DONE!


I have a couple small details to iron out but I might be working on those for months to come. I'll give a quick rundown of the finishing steps and reassembly.
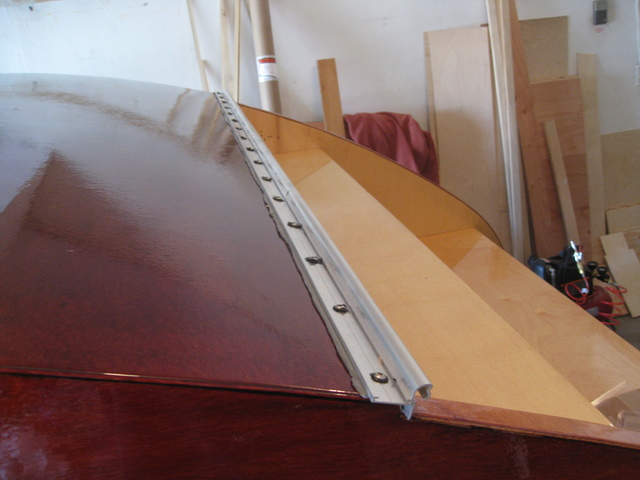
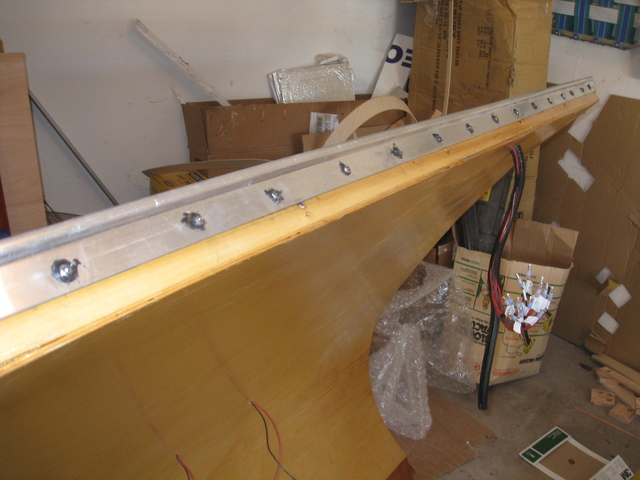
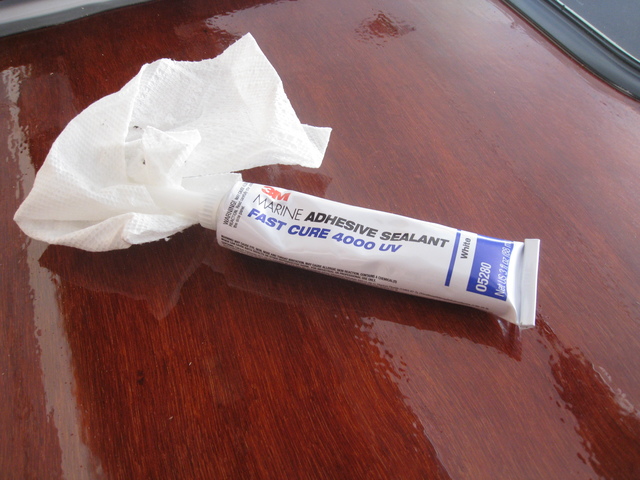
I attached the hatch hurricane hinge with butyl tape under the top flange on the body side and 3M 4000 UV under the flanges on the hatch sides. I then sealed the screw heads with more 3M 4000.
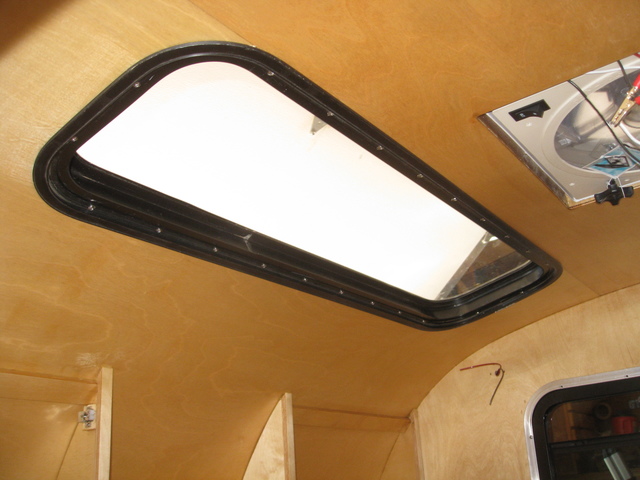
The skylight is installed.
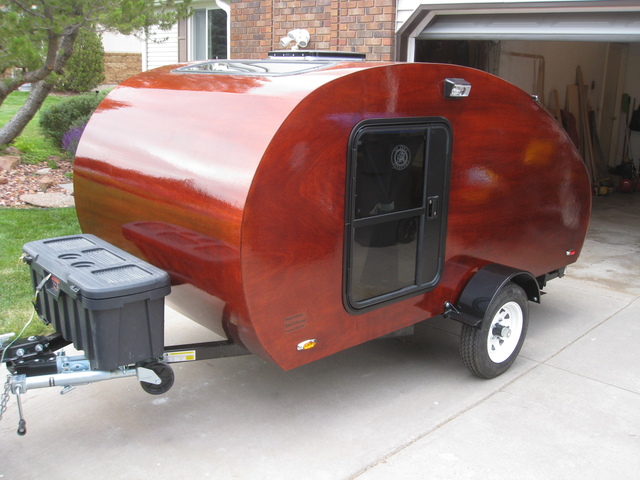
Doors on!
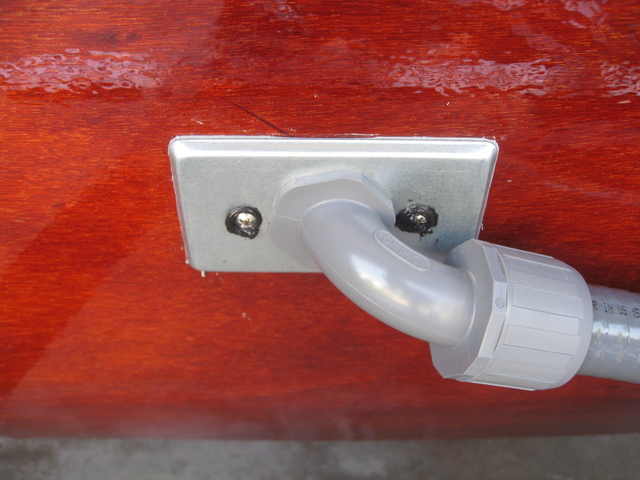
Here is the waterproof wiring connection from the front of the trailer to the tongue box. I am using some conduit and hubs to make it water tight as well as butyl tape and 3m 4000 under the screws and for caulking around the edges.
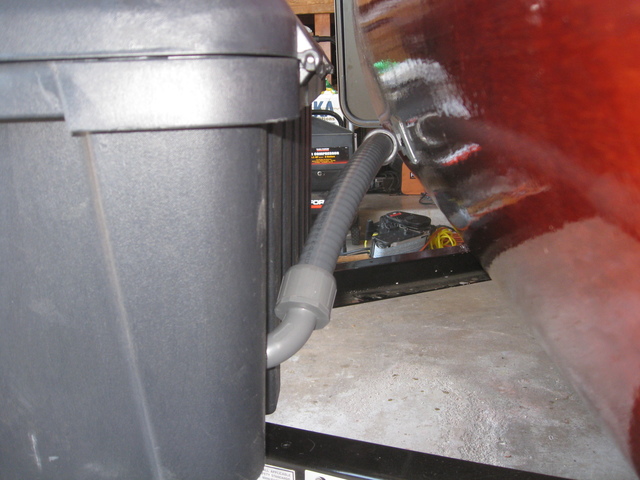
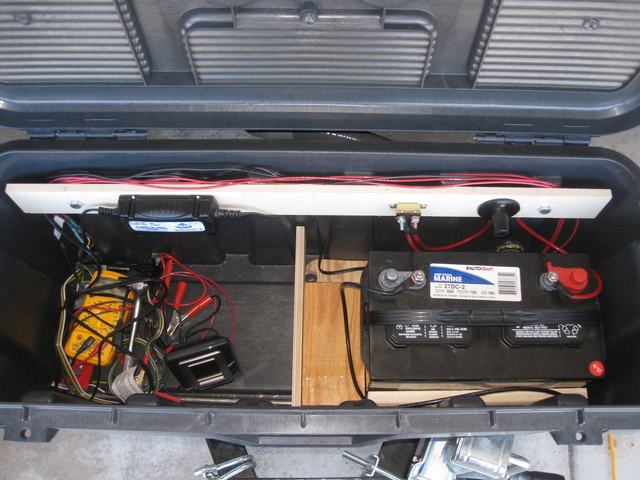
The tongue box with the battery and board mounted master cutoff swtich, 30A circut breaker, and 2 amp battery charger. There is also room for some tools and my wheel chalks. I attached the whole thing with 3/8" bolts mounted to 1" square steel tubing mounted across the tongue for support.
Skylight and fan sealed with butyl tape before caulking.

I used white and black 3m 4000 UV.
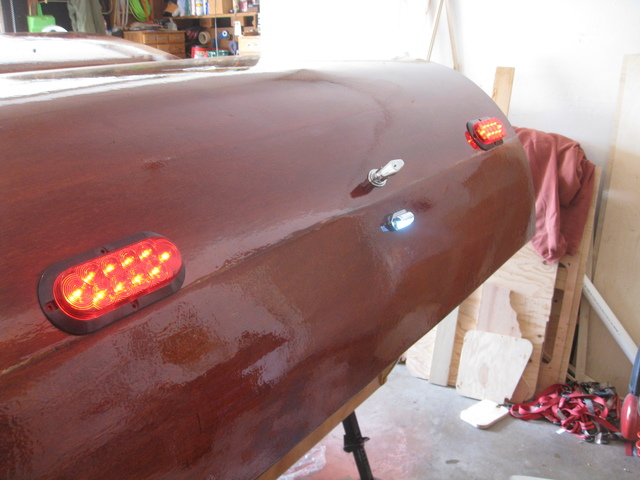
Lights getting installed.
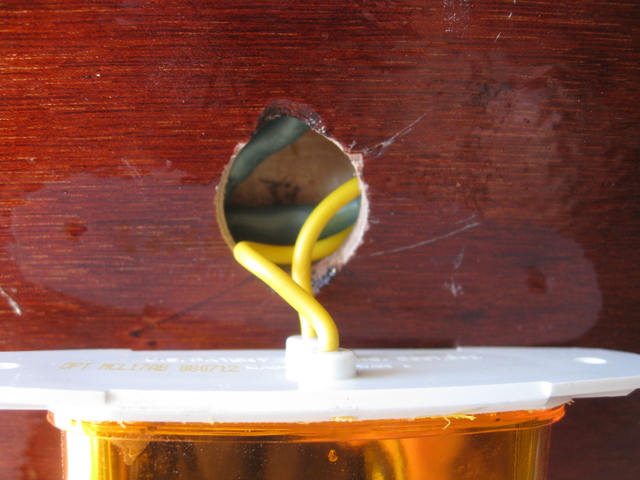
Here you can see the voids behind the lights which hold the butt connectors and extra wiring.
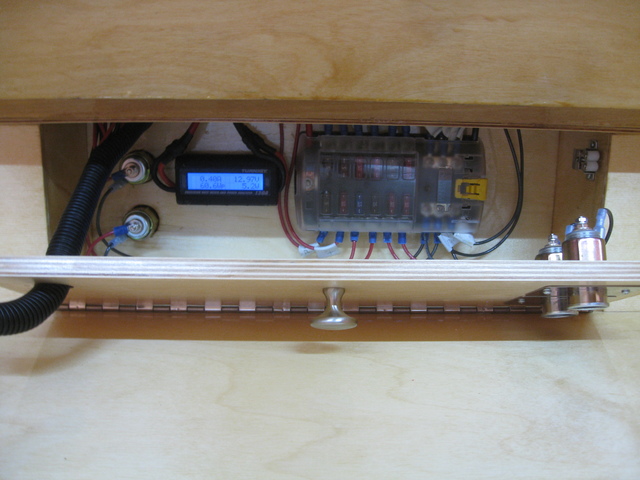
The fuse compartment with the Turnigy watt meter.
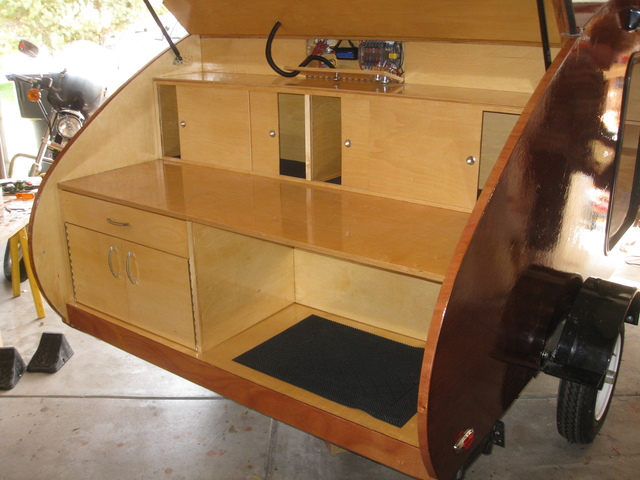
And finally the finished gally! I ended up using 130# struts.
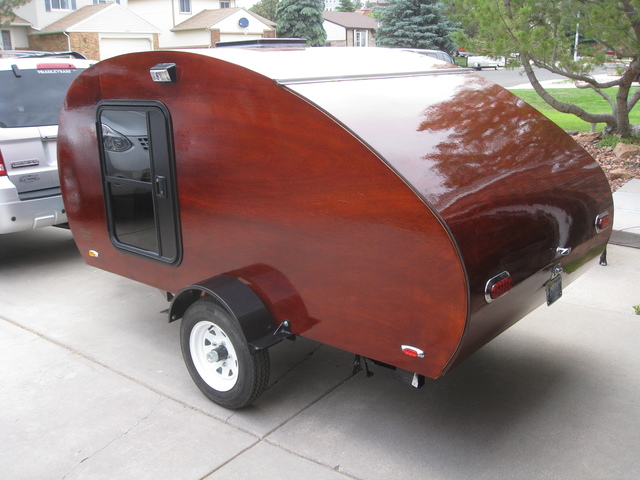
I marked the official completion date as June 22nd, as we camped in the driveway that night to test it out. It worked amazingly well and was very comfortable even with my girlfriend and my 50# dog! We are looking forward to our first out of town trip soon!
I will post another update soon with some better pictures and some more information. I am getting it weighed and will test it on the highway in the very near future!
Cheers!
Ryan


 I really dig the wood look.


