Thank you everyone for having the patience to endure my method, and for the most gracious complements.
And now, here is the post of last night's efforts (Friday... I fell asleep on the couch with the laptop in my lap).
The plan was to work on the street side door seal flange and shim arrangement to start, and then to set the vacuum bag back up in prep to laminate the curbside galley inner skin first thing tomorrow. I made good progress on the former, and did not get to the latter.
I need to warn you that my not so trusty camera has been acting up more than usual, given “unable to store in memory” errors after previewing more and more pics taken. Swapped cards and batteries, tried cleaning the card contacts, but to no avail, so I might be a little thin on pics tonight. (On the ride home from Mecca I stopped and got a new camera.)
It’s hard to see in this pic, but these are the blanks for the street side door seal flange shims. These shims space the door seal flange in from the inner wall panel giving the seal (which seals between the inside face of the door and the flange) a space to compress into.
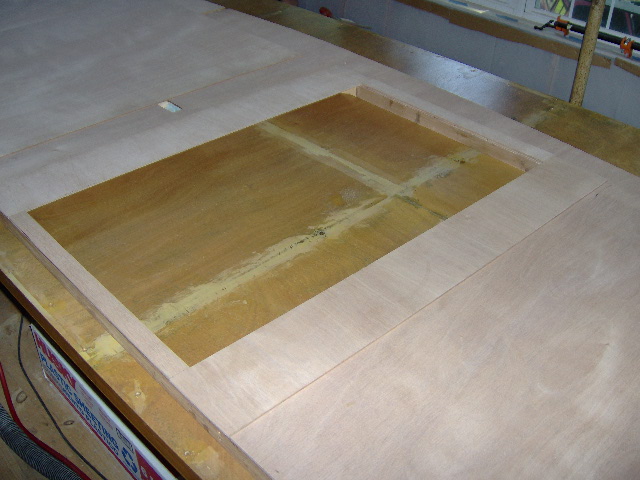
The perimeter of the shim is 2 inches wider than the door opening on both sides and the top, and matches the door sill at 1-1/2 inches at the bottom. The shim stiles (vertical sides) are both 6 inches wide, with 4 inches overlapping the door opening. Most of this will be routed away flush to match the door opening (2 inch overlapping the door jambs, 3 inches worth of radius at the corners, and an inch of run out into the tangent equals 6 inches). The stile shims will end up looking like tall skinny C’s matching the radius of the door opening; easier to fit this way and then just trim the excess out of the door opening with the router.
With the bottom of the header shim set flush to the top of the door opening the stiles ran a touch past the wall sill; easy to trim flush with the router later.
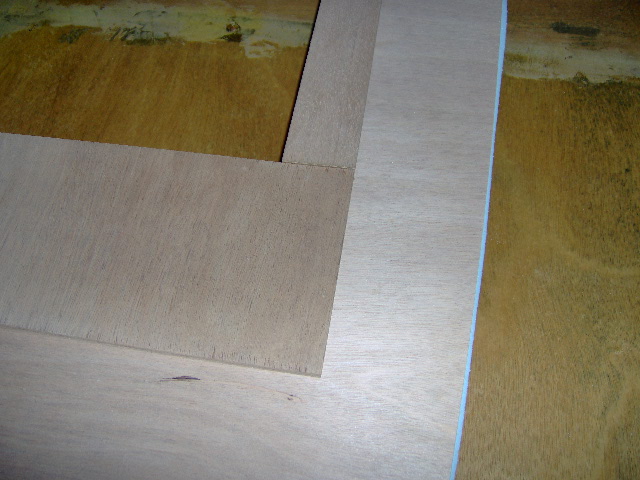
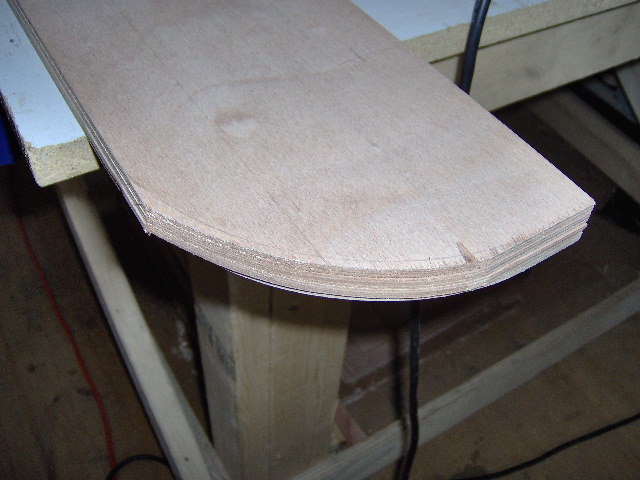
In the next pic the top of the wall is to the right and the front stile is at the bottom. This corner will be cut to a 5 inch radius, concentric with the 3 inch radius of the door (3 inch door radius plus 2 inch overlap = 5 inch).
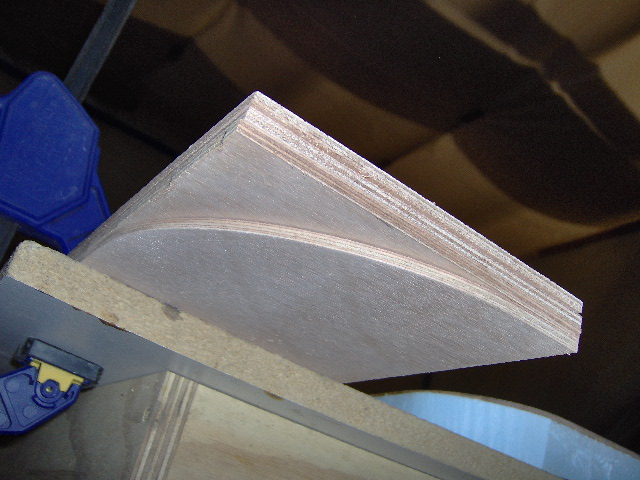
Next I laid out the arc on one of the stiles and marked the 5 inch radius with a compass; scored it wide with a utility knife (short stiff std. blade); rough cut to the score line with the cordless jigsaw (love that tool); shaved it close to the line with the Surform plane; and finished it to the line with the small sanding block. It just seemed easier and quicker to do it this way by hand, and just as accurate, as it would have been to make or adapt a template or jig.
I had three of the stiles precut from Rover Mike, but I had to rip and cross cut a forth from one of the scores of drops that I have left over. I haven’t said it for a while, so I will say it again: Ben’s table saw is a joy to use and has only gotten more confidence inspiring with the added convenience and safety of the dog rollers. Although I miss the quality of Ben’s cabinet grade miter saw, Karl’s well used DeWalt compound miter works just fine, too.
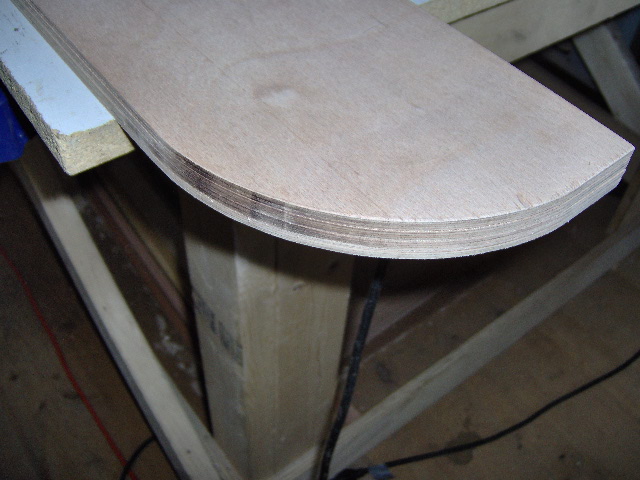
Next I stacked the rest of the stile blanks up on top, flush to the inside and top corners, and clamped the pile to the edge of the bench (pic looking up at the underside with the hand rounded style on the bottom).
In the interest of trying to avoid splintering and chip out, I transferred the radius layout to the top of the pile where I could see it; scored the top stile; and rough cut the stack with the jig saw.
Ran the router with bottom bearing flush cutter around the stack and got four rounded over stiles.
Next I masked and slobbered a little tiny batch of Bondo to fill the chip out at the door header that I reported on previously (this goes under the shim).
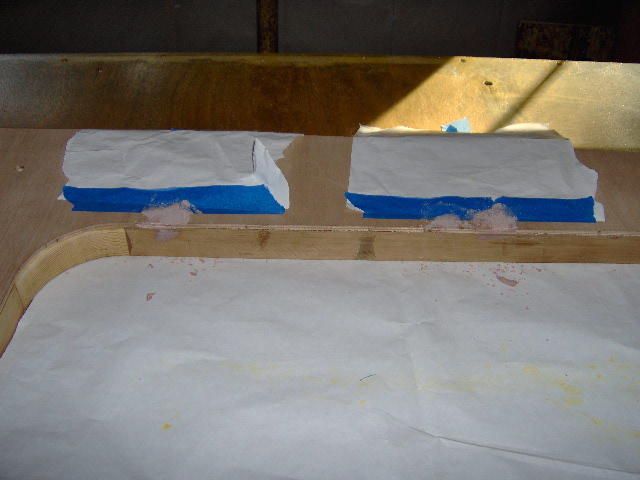
Knocked that down quickly after it cured.
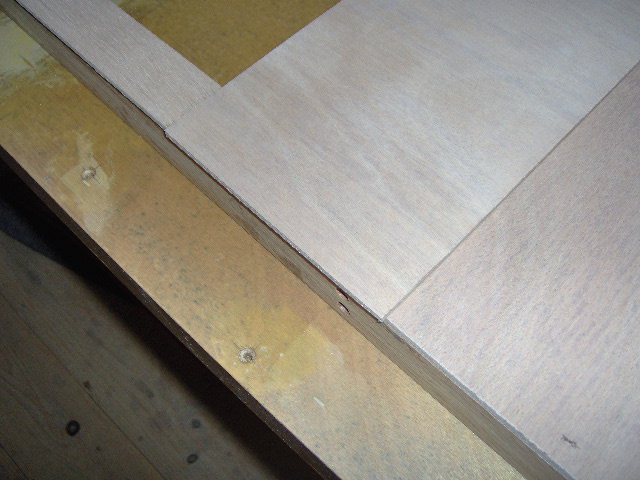
Now you can start to see how the shim will space the flange away from the wall panel. This next pic was taken from the top down, but I rotated it so the top is up (kind of skewed). Once I trim the inner edge of the stiles the 2 inch border of the header will flow around the front and rear of the door opening.
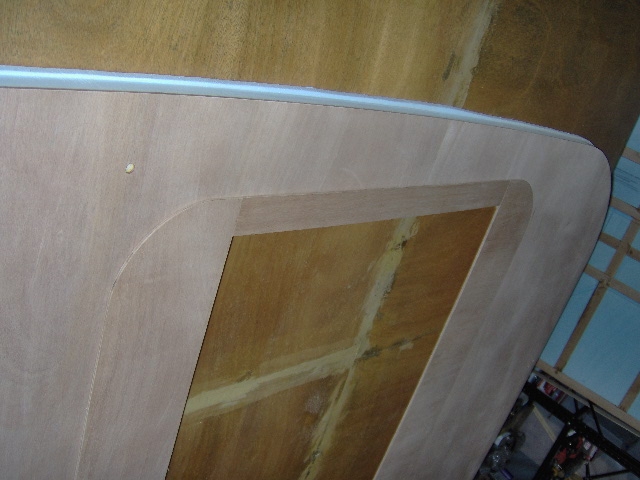
Another overall shot of the shims thus far, though hard to see the details. I guess that is good and means that the ply color and grain is blending in nicely… I hope.
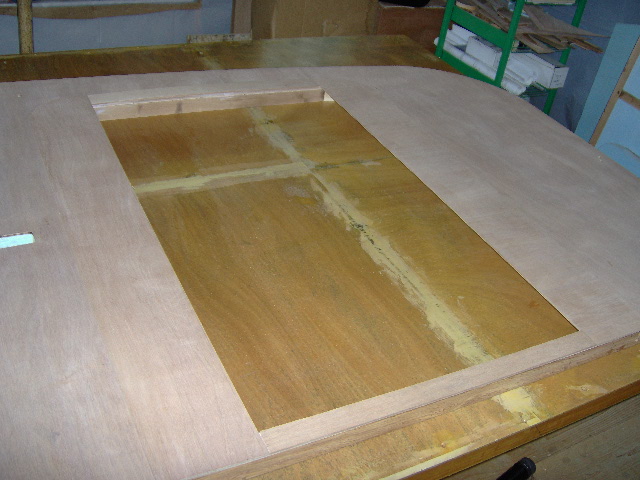
I spent a bit of time getting the shim parts to dry fit very exactly to the seal flange blank outside perimeter. I will glue the shims down first; then trim the inside opening flush; then glue the flange blank on (which is a solid single panel); then trim out the seal flange layer so that it overlaps the door by an appropriate amount to accommodate the seal. I want the shim and flange to fit very neatly together because I am sure that it will be very difficult to improve after the fact without messing up the inner wall skin.
The flange blank ran from exact, 36-1/2 at the top, to under, 36-7/16 at the bottom. The shim stack up from side to side was a little over, a consistent 36-9/16 inch (32 inch wide door with 1/4 inch clearance gap on each side equals 32-1/2 wide door opening; add 2 inches overlap each side equals 36-1/2). So I trimmed the header shim 1/16 and the sill shim 1/8 inch getting the shim and flange parts to all sit perfectly flush. I plan to dye and poly the face of all of the Okoume, and paint any exposed edges in a black semi-gloss, so the face of the seal flange will be dyed, but the raised edges will be blacked out.
I used one of the stiles as a template to round off the tops of the seal flange blank.
I need to source the door and hatch seals (probably from Grant Whipp) so that I can finalize the door flange inner perimeter, and make the seal recess rabbet in the galley wall edges of the side walls.
It was a productive 3 plus hrs.
Now Saturday, I will start working on posting up today's pic's and narrative. Another 6-1/2 hrs of work coming up.
 Just got my canvas roll in (brown truck) ... weighed a Ton .... Ugh !!!
 I just enjoy your detailed work and always get lost with the details you describe.


 And you can see how much "time and effort" it takes from just reading this thread... A Great job takes a Great Effort !!! Hats off to KC for his most Excellent trailer build , and explanations...
 Still think it would make a great Book !!
