Wow, lots of activity on the forums. Had to dig down to get to TPCE build thread.
Let’s see, where are we?
Oh yes, Monday. On Monday I went ahead and glued the rear panels onto the bulkhead wall. It was hot and humid, but not as hot and humid as the weekend, and being after the heat of the afternoon sun, I thought I could manage it. Trick is getting it done before the glue flashes off (with the fan turned off) and getting it under the pressure of the vacuum bag. A few things seemed to conspire against me.
I was trying to be conservative with the glue application to make sure that the wood could absorb all of the moisture. My initial test was just rolling glue onto the foam side, but after having some loose areas on the doors (and regluing the edges) I had been rolling both sides, foam and ply with a thin coat.
The shop vac has been being used heavily, and when I started this vacuum bagging thing I had just cleaned out the tub and installed a fresh filter; probably should have serviced the vac again.
In the heat, and with the fan off, I kind of rushed, what with rolling out the four different panels individually, dealing with the finish nails used for alignment, and suffering a balky pneumatic stapler (shoots blanks far too often), I could have used more staples, and there were some minor gaps along some of the panel butt joints.
Then I cheated and only folded the far end of the bag, rather than tape the seam. That there was probably my big mistake. I could feel some areas of the bag that were not pulling down as tight as I would have liked, and by pressing on the areas where the panels butted I had a sense that they were not laying flush. Too late, too much time had passed from the first roll out of the glue. So I piled on some weight and 2x6’s that I could grab close by, but, frankly, it was hot and I just gave up schlepping. Turned the fan back on and let the vacuum run for 45 minutes to an hour.
When I pulled back the bag I was pissed! Some of the panels were loose at the edges, as if they had curled up at the butt joints and perimeter, and the fairness at the butt joints was poor; big steps between panels where the edges had glued together rather than lying flat. They would probably not level out without sanding thru the top ply and into the next layer; ugly.
I even tried using the electric iron to reactivate the glue and get the panels to lay down flatter, but the wood was just too thick and the heat could not get thru (scorched the test piece).
Oh well, if I can’t fix it I can fair it all down and paint it a solid color rather than stain and poly. Spend some more time doing “The Hodder Fix” regluing the edges.
Good time to stop and ponder options. Seriously considered ripping it right back off, but figured that would do more harm than good, and I don’t have enough Okoume to start over.
Now Wednesday; let’s go thru the motions and see if it is really that bad. Maybe I can salvage it, and if I break thru the top ply trying to fair it, then I can do a painted back splash for the counter; maybe a sunset mural behind the counter and shelves.
Out with the 100 grit on the small block and the small hobby plane (matchbox plane). Rubbed and rubbed, and shaved a tad watching all the time for any tell-tale signs that I was busting into the glue joint of the next layer of ply. Made big improvements in most areas. There were only a few areas where I started to see the dark color of the next ply glue layer and stopped before achieving a flush surface. There was one area where there was a slight gap at the joint. I left the fine sanding dust from the fairing operation; carefully tamped some masking tape on my saw dusty T-shirt (so as to weaken the tape and not lift any more grain than already sanded) and drizzled some more TB2 into the gap. Took some of the fine dust onto my finger and brushed it back into the fresh glue; wiped the excess glue and pulled the tape up quick; then sanded some more around the joint with 220 grit to kick up some more fine dust and fill the glue (hoping it might take the stain a little better than just glue. Cheating, but hey, what the heck… things don’t always work out perfectly and I AM NOT A FINISH CARPENTER! I tried to tell you.
Well, I think I managed to save it. Despite the slight variations in flush at the panel butts, I think I managed to get the rear face of the bulkhead to an acceptable state that I can stain and poly it without having to resort to super fairing, filler, and/or solid color paint.
So what? At the very back of the counter, behind the Coleman stove storage, and under the shadow of the lower shelf, there will be a little line of darkness and unfairness that you will probably never notice. Only I will know it is there (unless you look very closely… please don’t, and… oh yeah… I just told hundreds of viewers. Dam boy scouts. I’m cursed to a lifetime of honesty.)
Of course the pics don’t show any of this level of detail, but let’s have a look just the same.
Here I am rough trimming the back panels of the bulkhead. You can see the pencil line I traced, same as before, using the width of the carpenters pencil as a gauge. And you can see the advantage of the LED lighted battery powered jigsaw (love that tool!).
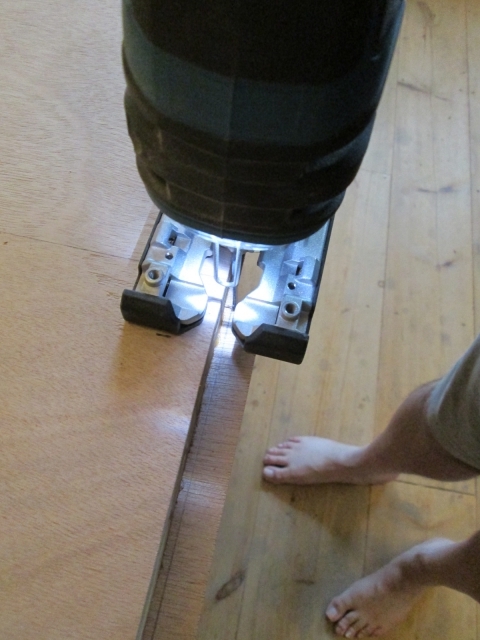
Please disregard my barefoot feet. Even though it was cooler and less humid, it was still just too hot to stay in my work jeans and boots, and I had forgotten to bring my flip-flops… again.
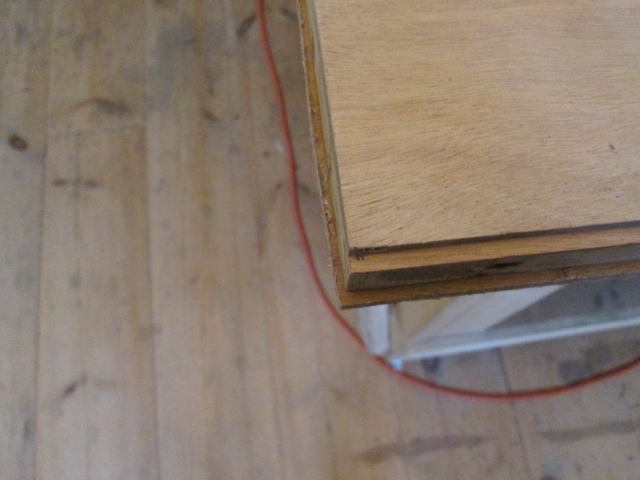
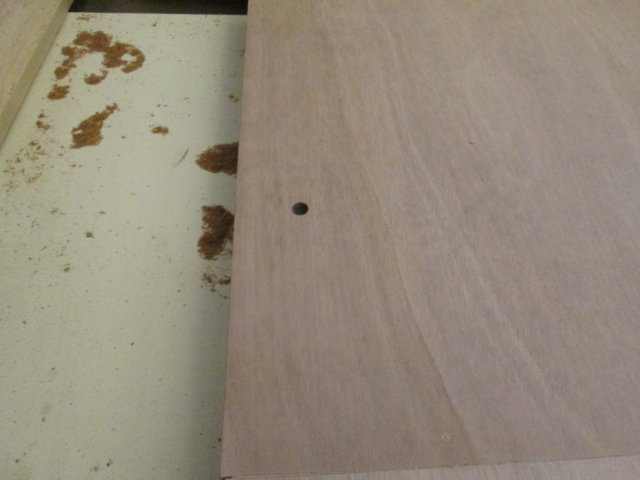
Let me try to explain this next pic. At the top right you can see the cabin side skin of the bulkhead with the rabbet along the side (lower edge in pic). Then you can see the exposed frame that will be glued and screwed into the dado of the side wall at the gap in the inner side wall panels. Then you can see the galley side panel edge after rough cutting with the jigsaw… makes for a cleaner cut when the jigsaw is pulling up into the face of the panel; less splintering; and then there is the orange squiggly line, which is the extension cord laying on the floor beyond the detail that I am trying to show.
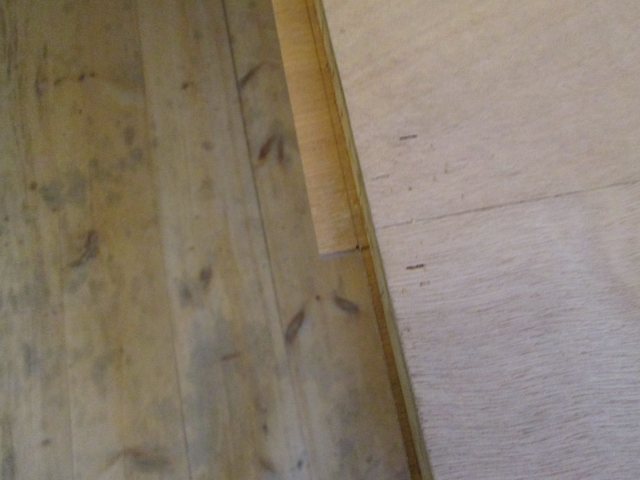
Completed part of the rough cut, showing the cut contrasted between panels.
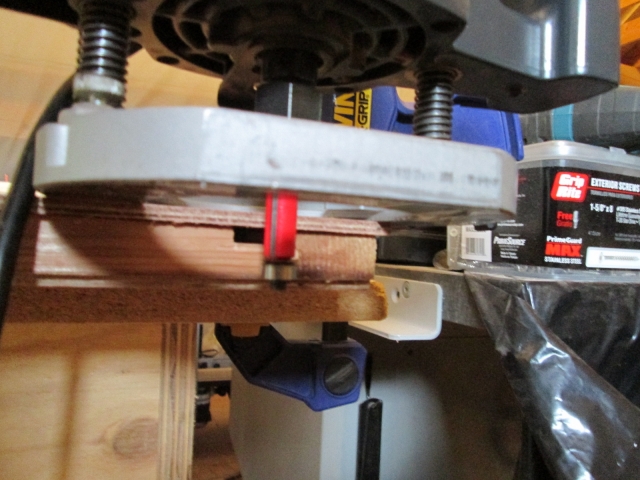
After doing the rough cut, I flipped the bulkhead panel over and remembered to set the bottom bearing bit so that it would not fall in to any holes, including the wire ways under the skin (dark area in pic).
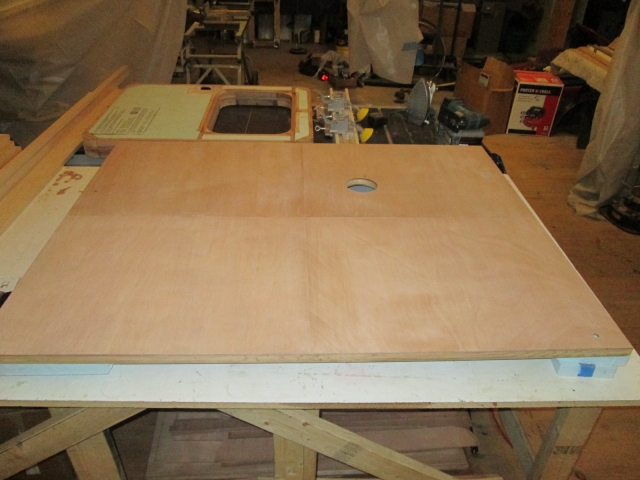
After a lot of hand sanding it wasn’t looking so bad. Also note that I had routed out the bulkhead fan hole to match the other side.

Used my marked up drawing to locate the wire way holes, measured twice, checked orientation twice, and drilled the holes. Used the prong on the end of the little circle compass to stab and dig the slug from the core bit out of the holes. Here is the top street side rear of the bulkhead where the hatch wires will come out and jump over to the hatch.
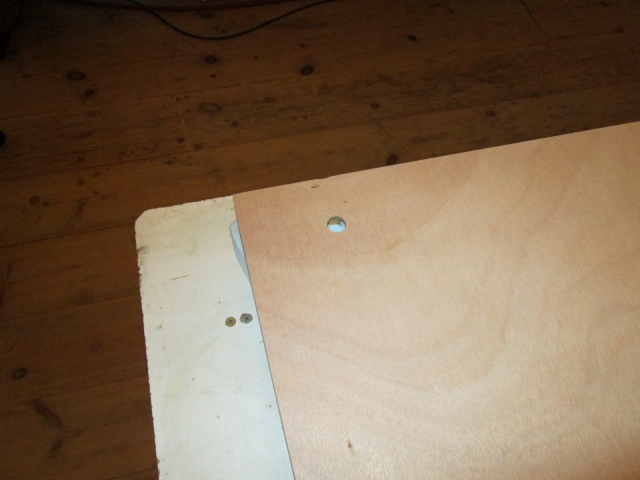
The little blue edge of foam sticking out from under the left edge of the bulkhead is just a spacer of foam being used to hold the bulkhead up off of the work table. The blue foam visible in the hole is the core of the bulkhead where the wire way trough was routed into the foam.
Here is the back of the bulkhead skin with the fan hole and fan wire hole cut.
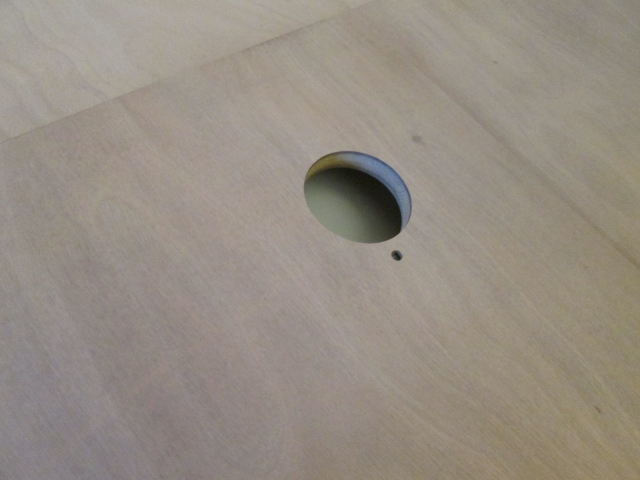
Kind of mundane, but this is the wire way hole in the back of the bulkhead skin where the hatch actuator switch wires will pass (shown upside down, curb side on left).
I won’t bother showing the holes that were drilled for the hatch actuator wires at the actuator lower bracket locations (they don’t really show up and are kind of meaningless at the moment), but here is another shot of overall progress after fairing (as best I could) and drilling all of the galley side holes.
Progress is progress and I have another 3 hrs in.
Still need to reglue some areas of the edges, but much less than I had originally thought!


 That may (or may not ) give you a really