The Poet Creek Express - Foamie Hybrid

Canvas covered foamies (Thrifty Alternatives...)

Moderator: eaglesdare

Re: The Poet Creek Express - Foamie Hybrid

Postby wagondude » Fri Jul 19, 2013 7:58 pm

:rofl: :rofl2: :rofl2:
Bill

TnTTT ORIGIONAL 200A LANTERN CLUB
101137
User avatar
wagondude
1000 Club
1000 Club
 
Posts: 1535
Images: 35
Joined: Sun Jan 16, 2011 7:41 pm
Location: Land of the Jayhawks

Re: The Poet Creek Express - Foamie Hybrid

Postby KCStudly » Sat Jul 20, 2013 8:49 pm

Glad you enjoyed that, Bill.

Was just a bit cooler today and there was a little blustering accompanied by the occasional cool breeze (until about noon), though just as humid, if not more. Out a little earlier today trying to get a jump start on the heat. 82 deg F by 8am.

I’d say out of the 5 hrs I spent in the loft, perhaps half of it was productive. Knocked off at about 2pm when it was 92 deg F and 70/ct humidity.

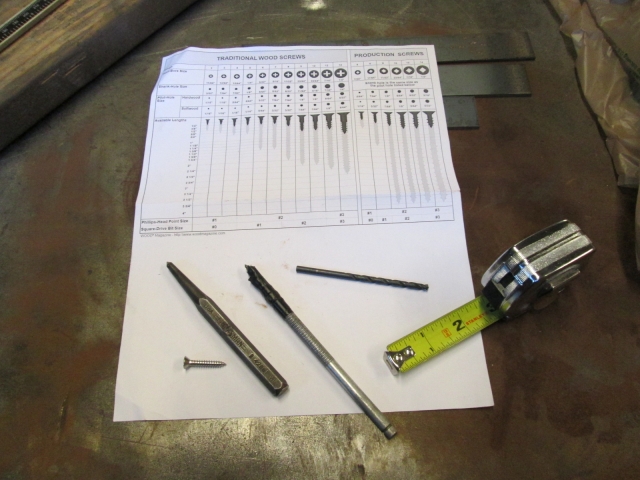
Anyway, here are some pics from last Thursday working on the rear floor trim for the galley. Wood screw size chart, SS No. 8 x 1 inch flat head screw, nice sharp center punch, layout scribe (with elec. tape on handle), measuring tape and a layout square (not shown).
Image

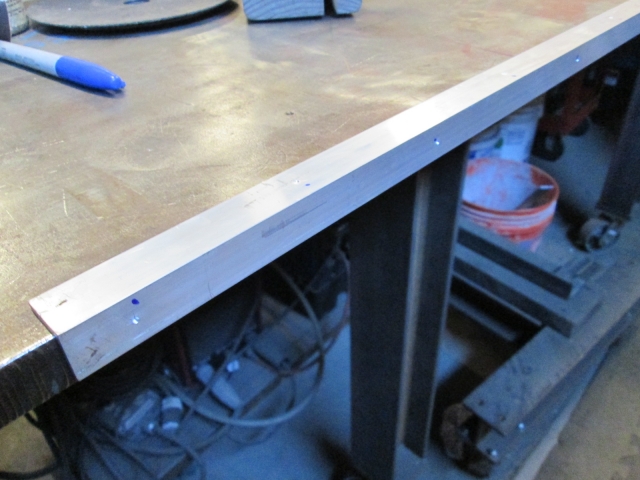
After some layout work dividing the screws up 6 inches on center you can see some of the prick punch marks.
Image

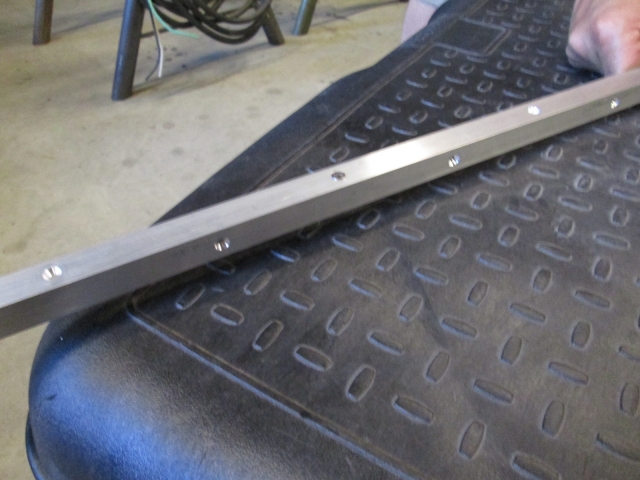
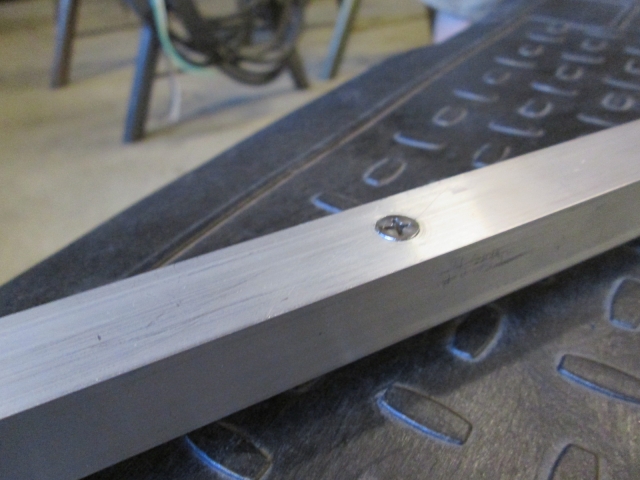
Sorry, no pics of the milling operation. Used a centering bit in the mill to drill them out, then just a quick hit with a file on the back side to remove any burrs.
Image
Image

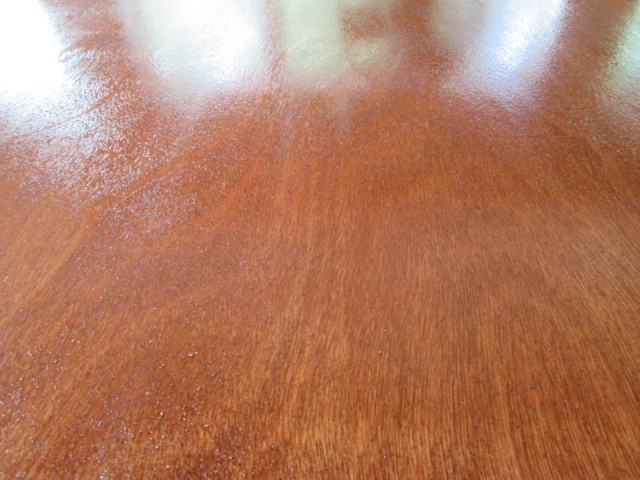
The guy at the Borg talked me into this wool fleece pad for applying the polyurethane.
Image
It didn’t cost any more than a good brush of similar size so I bit. Unfortunately, the first stroke on the galley floor left a trail of curly wool hairs in its wake. I quickly wiped that area clean with a paper shop towel, threw the wool pad in the trash, and got one of my good brushes out. (Later I dug the pad out of the trash and cleaned it, thinking that maybe it just needed to be broken in. Maybe I’ll give it another chance later.)

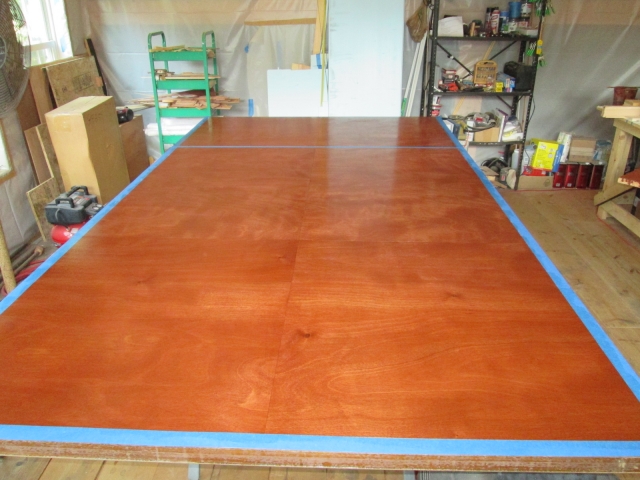
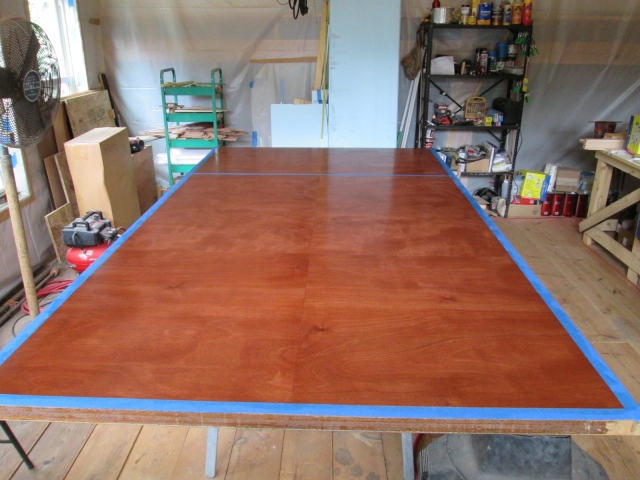
I got a little excited and took a few extra pics of the floor with the poly as it dried.
These first couple are fully wet.
Image
Image

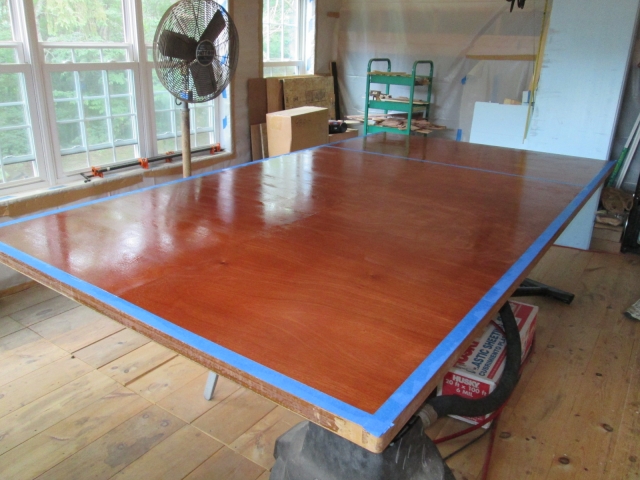
While that was setting I turned to the front of the bulkhead wall. I hadn’t really thought out my sequence for the day, and kind of forgot that I hadn’t sanded this down through the grits before I had started slinging stain on it. Well I wasn’t going to sand with the floor sitting there just feet away with a wet coat of poly on it, so I just went ahead and stained it anyway.
Image
Image
Got a few more frizzes, but I guess I’m not too worried about it coming out okay in the end.

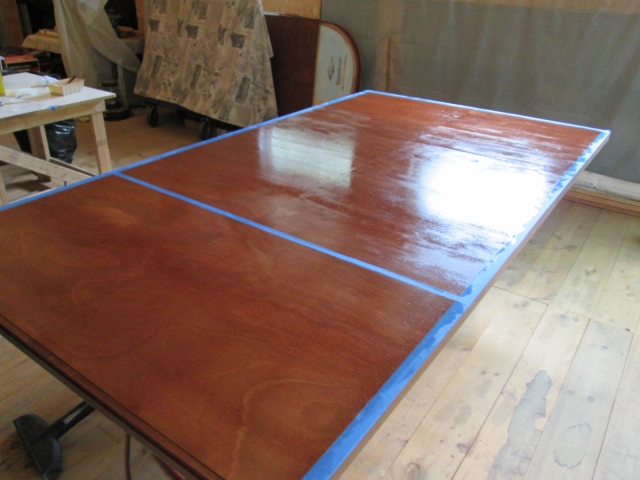
The floor after it was tacked up enough for me to feel comfortable turning the fan back on.
Image
Image

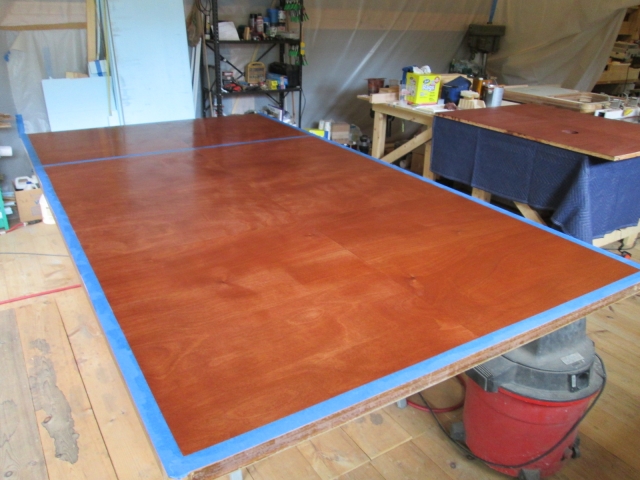
And this is just the first coat, nibs and all.
Image
Image
Judging by how this looks already, I think I will be thrilled with the final outcome.

I had resorted to rolling up one of the staining rags, soaking it in the water at the bottom of the ice chest that I brought with me, and wrapping it around my head to help stay cool. Sat for a while in front of the fan.

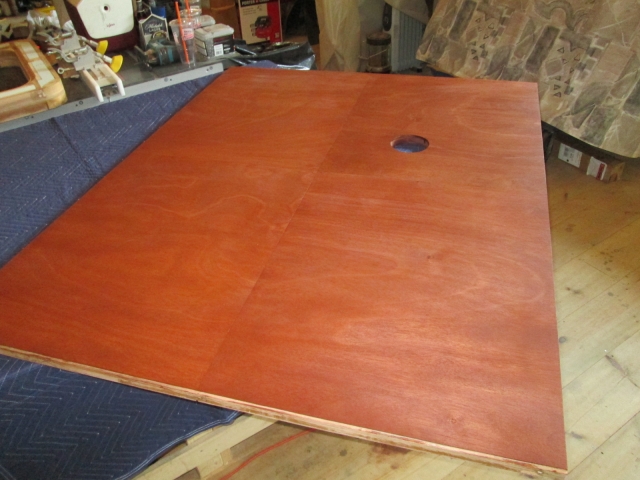
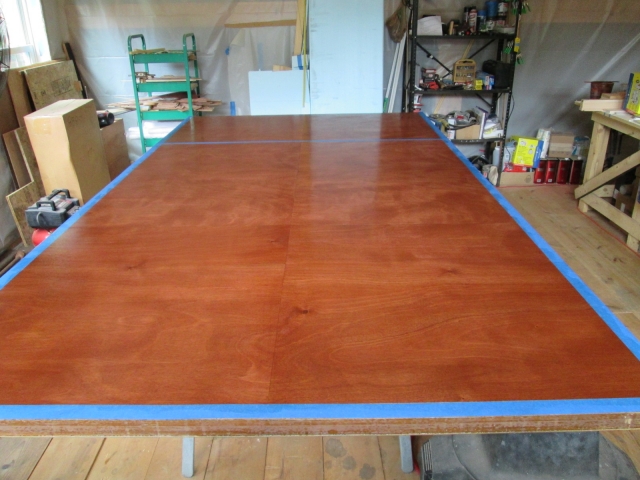
Here it is again pretty well dry.
Image
Image

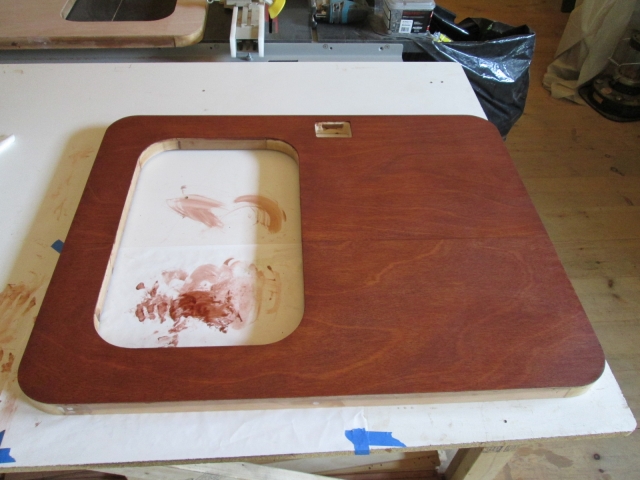
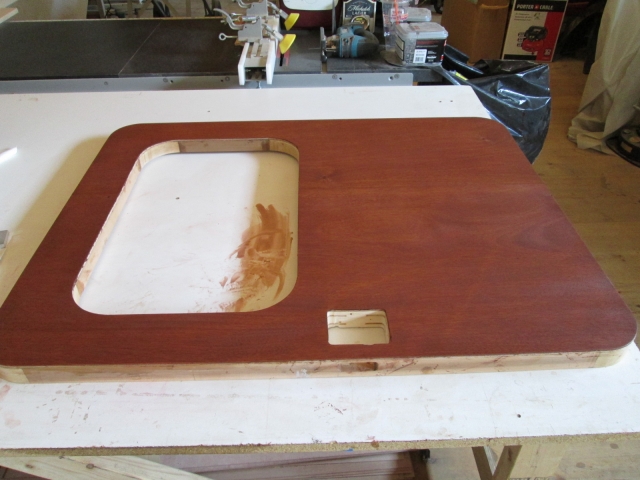
Now that the floor was pretty well dry, and the fan was blowing again, I felt comfortable sanding the inner skins of the doors.
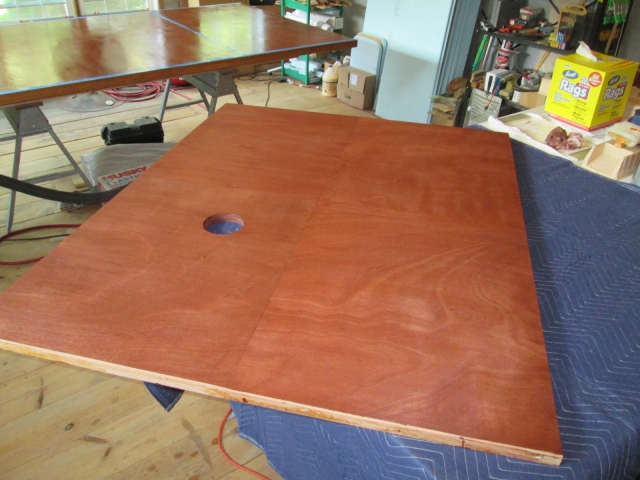
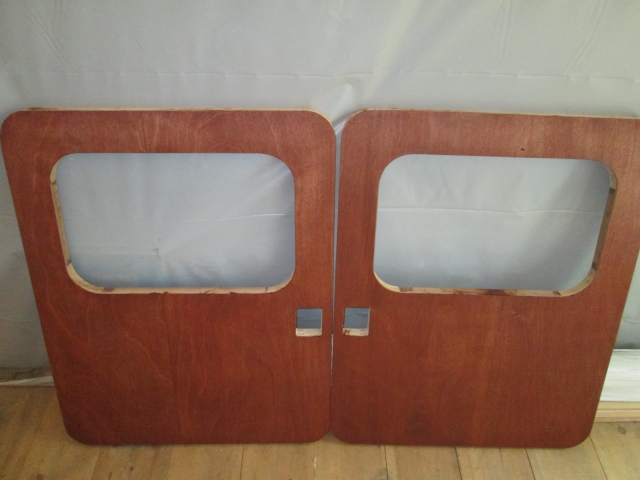
Curb side door stained.
Image

Street side door stained.
Image

And together.
Image

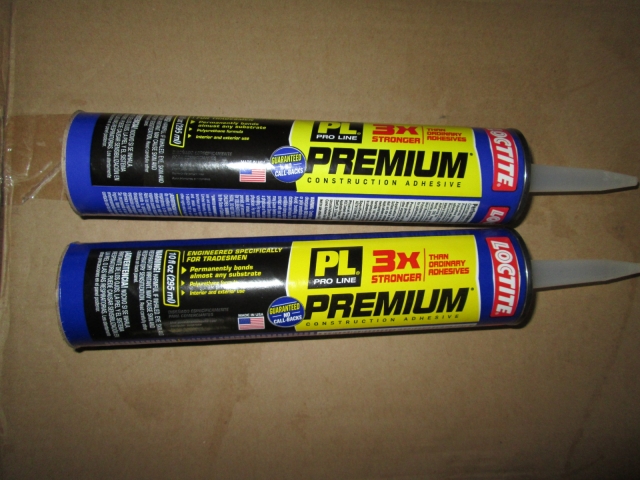
I did a little online searching about the PL375 I had bought, looking for application techniques, and found a lot of users complaining about how it has been reformulated and how they were very unhappy with the curing time and runny texture; so on the way home I took it back for a refund and got the PL Premium. Unlike the 375, it says it’s water resistant and paintable.
Image

All for today. Let’s hope the weather is cooler still tomorrow.
KC
My Build: The Poet Creek Express Hybrid Foamie

Poet Creek Or Bust
Engineering the TLAR way - "That Looks About Right"
TnTTT ORIGINAL 200A LANTERN CLUB = "The 200A Gang"
Green Lantern Corpsmen
User avatar
KCStudly
Donating Member
 
Posts: 9640
Images: 8169
Joined: Mon Feb 06, 2012 10:18 pm
Location: Southeastern CT, USA

Re: The Poet Creek Express - Foamie Hybrid

Postby GPW » Sun Jul 21, 2013 5:28 am

KC , That’s looking really SUPER !!! :thumbsup: 8) 8) 8)
There’s no place like Foam !
User avatar
GPW
Gold Donating Member
 
Posts: 14920
Images: 546
Joined: Thu Feb 09, 2006 7:58 pm
Location: New Orleans
Top

Re: The Poet Creek Express - Foamie Hybrid

Postby KCStudly » Sun Jul 21, 2013 7:51 am

Thanks, Geep. :)
KC
My Build: The Poet Creek Express Hybrid Foamie

Poet Creek Or Bust
Engineering the TLAR way - "That Looks About Right"
TnTTT ORIGINAL 200A LANTERN CLUB = "The 200A Gang"
Green Lantern Corpsmen
User avatar
KCStudly
Donating Member
 
Posts: 9640
Images: 8169
Joined: Mon Feb 06, 2012 10:18 pm
Location: Southeastern CT, USA
Top

Re: The Poet Creek Express - Foamie Hybrid

Postby GPW » Sun Jul 21, 2013 10:27 am

Dude, it’s like Fine Furniture !!! 8) :thumbsup: :applause:
There’s no place like Foam !
User avatar
GPW
Gold Donating Member
 
Posts: 14920
Images: 546
Joined: Thu Feb 09, 2006 7:58 pm
Location: New Orleans
Top

Re: The Poet Creek Express - Foamie Hybrid

Postby Mary C » Sun Jul 21, 2013 12:07 pm

KC, you are doing such great work. I just hope when I build my wood TD it will be half as nice as yours.

Mary C. :)
User avatar
Mary C
1000 Club
1000 Club
 
Posts: 1776
Images: 473
Joined: Mon Oct 15, 2012 6:29 pm
Location: Waco, Georgia
Top

Re: The Poet Creek Express - Foamie Hybrid

Postby KCStudly » Sun Jul 21, 2013 3:43 pm

Thank you GPW. I’ll give you the “furniture” part but will hold reservation on the “fine” part. I know I should be more gracious, and I am truly happy with the way it is turning out… I’m sure that I will be able to achieve that “I don’t know what it is, even level of quality”, but I don’t think my wood/finishing work will ever be categorized as “fine”.

I have never really spent any time doing this kind of work, so, again, I am happy with it, but I can still (always) see room for improvement.

Thank you Mary. You sure are working along fast and furious! Doing a right proud job of it, too. I am so happy to see you achieving your build goals on the first one. I often think maybe I should have done something simpler for my first one, get it done and camping, but then I am in for a penny, in for a pound. :eyebrows:

Karl has suggested that I spread all the pieces out and cover more ground with each round of poly, and that sounds like it would be more efficient, but, despite the weather being much nicer today, once that fan gets turned off and I start brushing it on, I only get so far before I have to watch out for the river of perspiration dripping into the finish. The icy head band helps.

Only got about 4 hrs in before I had a bunch of wet poly’d parts lying around and I was afraid to shuffle anything else around for fear of kicking up dust.

Started by blocking the first coat of poly on the floor using the small block and 220 grit, hitting the high nubs, then switched to a greenie pad to scuff in the low lying areas. Nothing here is that level and I didn’t want to break thru the finish on the highs to get to the lows, but I wanted to make sure that there was enough “tooth” for the next coat.
Image

Wiped that down with paper shop towels and laid down the second coat.
Image

I thought I was laying it on pretty thick (it is “high build” poly), but when I went back for a closer look after doing the first coat on the doors I could see a few dry spots. I will probably do a little touch up in those areas during the week before scuffing it all again for what will hopefully be the final coat.

Speaking of the doors, here is the curb side door inner with the first coat.
Image
Image

And the street side door inner.
Image

This is probably the least flattering angle that I could have possibly taken to show the panel joint in this door. I had been worried about the panel seams not looking too good and whether I would find them acceptable after finishing. I think I can live with this just fine… well, fine enough.

Thank you to all for following. This may get a bit tedious with all of the finishing that needs to be done, but the train will keep rollin’.
KC
My Build: The Poet Creek Express Hybrid Foamie

Poet Creek Or Bust
Engineering the TLAR way - "That Looks About Right"
TnTTT ORIGINAL 200A LANTERN CLUB = "The 200A Gang"
Green Lantern Corpsmen
User avatar
KCStudly
Donating Member
 
Posts: 9640
Images: 8169
Joined: Mon Feb 06, 2012 10:18 pm
Location: Southeastern CT, USA
Top

Re: The Poet Creek Express - Foamie Hybrid

Postby ghcoe » Mon Jul 22, 2013 7:26 pm

So which museum is this going to when your finished? A work of art and one of a kind needs to be preserved....... 8)
George.

Gorrilla Glue, Great Stuff and Gripper. The three G's of foamie construction.

My build viewtopic.php?t=54099
Working with flashing for foamie construction viewtopic.php?f=55&t=60303
Making a hot wire http://tnttt.com/viewtopic.php?f=55&t=55323
User avatar
ghcoe
1000 Club
1000 Club
 
Posts: 1982
Joined: Fri Dec 11, 2009 11:20 pm
Location: SW Idaho
Top

Re: The Poet Creek Express - Foamie Hybrid

Postby KCStudly » Mon Jul 22, 2013 9:26 pm

Well George, I am very happy that you think so highly of my efforts. I'm pretty sure that it's not museum quality... I'll just be happy to get it to Poet Creek!!!

It will be used! The galley floor will probably be scuffed the very first time I test fit a tote (so be it...I'm okay with that... at least it will be a good looking scuffed floor!), and the cabin floor will be covered with a mattress, but it seems to me to be a shame to just paint all of this nice looking wood, and I need the finishing experience to make the rest of it come out nicely, so...

Thank you and everyone else for the very kind comments. It does my ego good and reinforces all the hard work I'm putting in... even though I have no, "real teardrop installation experience". It's a good thing that I have plenty of other experience. So far my stuff is working out happily; I've been able to plan out the details, do the research, and solve all of my problems reasonably well (...at least that is my story). Of course I couldn't have gotten where I am at on this project without all of the help and information gathered here on the forum from all of the helpful people here. While I am learning new skills, I am also relying on many years of experience with mechanical things and fabrication, so I guess that must count for something. Maybe the trick is to just not be in a rush; don't get impatient or panic.

I went out to the shop today (Mecca) and hit the doors with the 220 grit and scuff pad, then started in on the floor. The paper was clogging up pretty fast and I hit a few spots where it was gummy underneath; probably areas that went on a little thick. So I stopped there and will let it sit 'til I get back out there on Wednesday. I could have shuffled things around and put a coat of poly down on the bulkhead, but I just didn't have much gumption today.

The heatwave has passed, so that is good news. :thumbsup:

Thanks again!
Last edited by KCStudly on Mon Mar 21, 2022 11:30 am, edited 1 time in total.
KC
My Build: The Poet Creek Express Hybrid Foamie

Poet Creek Or Bust
Engineering the TLAR way - "That Looks About Right"
TnTTT ORIGINAL 200A LANTERN CLUB = "The 200A Gang"
Green Lantern Corpsmen
User avatar
KCStudly
Donating Member
 
Posts: 9640
Images: 8169
Joined: Mon Feb 06, 2012 10:18 pm
Location: Southeastern CT, USA
Top

Re: The Poet Creek Express - Foamie Hybrid

Postby GPW » Tue Jul 23, 2013 5:08 am

Heatwave Gone !!! That IS Good News !!! Youze’ guys were Hotter than we are (unusual) :o
There’s no place like Foam !
User avatar
GPW
Gold Donating Member
 
Posts: 14920
Images: 546
Joined: Thu Feb 09, 2006 7:58 pm
Location: New Orleans
Top

Re: The Poet Creek Express - Foamie Hybrid

Postby grantstew8 » Tue Jul 23, 2013 6:57 am

KC this is looking awesome! This is definitely swiss watch quality :applause:


My build is looking particularly heath robinson. I'm learning so much both by watching other builders and just doing it. I can feel a version 2 coming on.....
Image
http://www.ChrisBeetles.com
User avatar
grantstew8
The 300 Club
 
Posts: 448
Images: 77
Joined: Tue May 28, 2013 5:26 pm
Location: Dunfermline, Scotland
Top

Re: The Poet Creek Express - Foamie Hybrid

Postby S. Heisley » Tue Jul 23, 2013 7:21 am

KC, I put my polyurethane on with a lambswool roller and pad but my polyurethane wasn't clear and I wasn't going for a smooth finish. One thing that surprised me was that the instructions said to first rinse the lambswool applicator (roller or pad) in cold water. I was a bit skeptical but rinsed it and squeezed out the extra water and then, with it still wet, began applying the polyurethane. It works...no loose hairs. The roller leaves a bumpy finish, not unlike some commercial trailer finishes that I've seen. I wouldn't do that for your clear finish. The pad might work for your purposes, I don't know.... I think that the way you applied your finish worked great. ...So, if it ain't broke, don't fix it! :lol:
User avatar
S. Heisley
Super Lifetime Member
 
Posts: 8866
Images: 495
Joined: Mon Sep 17, 2007 10:02 am
Location: No. California
Top

Re: The Poet Creek Express - Foamie Hybrid

Postby KCStudly » Tue Jul 23, 2013 8:28 am

Thanks, Grant. You are doing fine on your build and I am sure that you will be camping before me. There is something to be said for 'build as you go', and 'get 'er done' approaches.

Thanks for the suggestions and kind words, Sharon. Were you using water based poly? Mine is oil based and the wool pad did not include any instructions for preparation, just cleaning instructions (i.e. rinse, do not soak).
KC
My Build: The Poet Creek Express Hybrid Foamie

Poet Creek Or Bust
Engineering the TLAR way - "That Looks About Right"
TnTTT ORIGINAL 200A LANTERN CLUB = "The 200A Gang"
Green Lantern Corpsmen
User avatar
KCStudly
Donating Member
 
Posts: 9640
Images: 8169
Joined: Mon Feb 06, 2012 10:18 pm
Location: Southeastern CT, USA
Top

Re: The Poet Creek Express - Foamie Hybrid

Postby aggie79 » Tue Jul 23, 2013 8:34 am

Very nice KC!

I agree with GPW - your finishes look they are from high end furniture.

Take care,
Tom
Tom (& Linda)
For build info on our former Silver Beatle teardrop:
Build Thread

93503
User avatar
aggie79
Super Duper Lifetime Member
 
Posts: 5405
Images: 686
Joined: Tue Aug 07, 2007 5:42 pm
Location: Watauga, Texas
Top

Re: The Poet Creek Express - Foamie Hybrid

Postby KCStudly » Tue Jul 23, 2013 8:46 am

Thanks Tom. :)
KC
My Build: The Poet Creek Express Hybrid Foamie

Poet Creek Or Bust
Engineering the TLAR way - "That Looks About Right"
TnTTT ORIGINAL 200A LANTERN CLUB = "The 200A Gang"
Green Lantern Corpsmen
User avatar
KCStudly
Donating Member
 
Posts: 9640
Images: 8169
Joined: Mon Feb 06, 2012 10:18 pm
Location: Southeastern CT, USA
Top

PreviousNext

Return to Foamies

Who is online

Users browsing this forum: No registered users and 12 guests