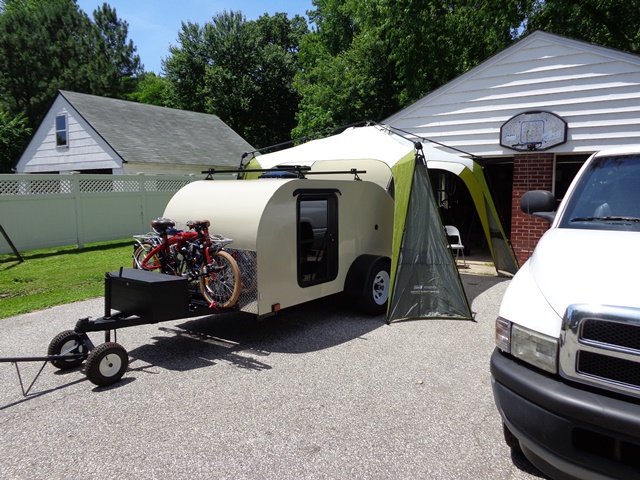
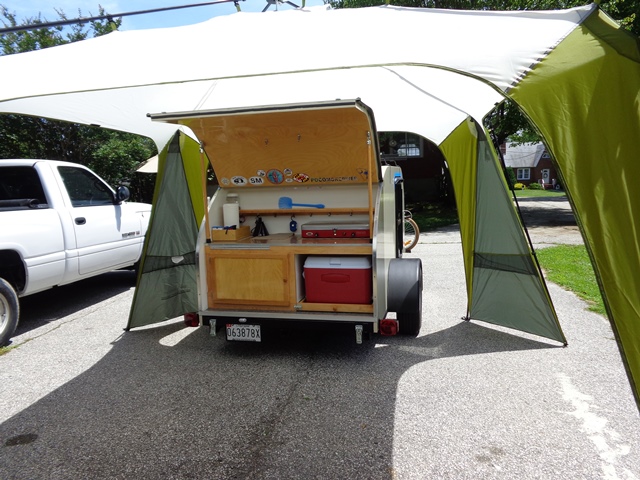
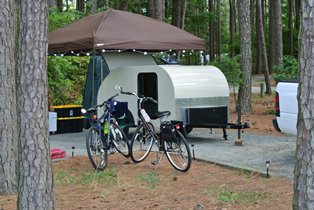
The Sagwagon is finally finished. It now has everything that I envisioned when I first started planning it. And I honestly can't think of anything else that I could do to it that would make it suit our needs any better.
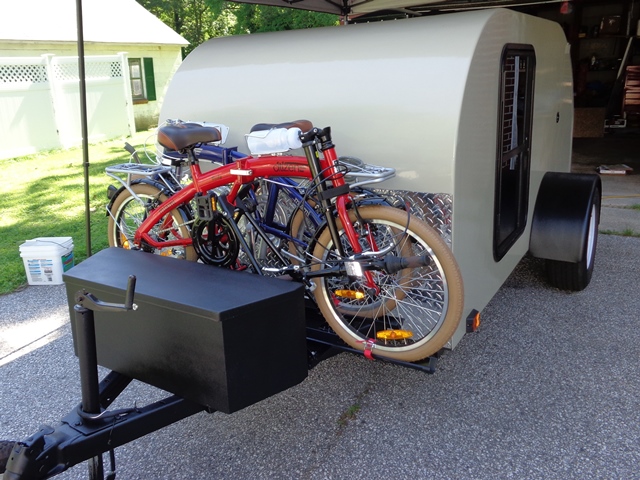
Over the course of the past two weeks I have added bicycle racks on the front to carry our Citizen Miami Folding bikes. I covered them in some detail in another thread.
http://www.tnttt.com/viewtopic.php?f=46&t=60043&p=1082439&hilit=bike+rack#p1081870 This week I added a strap to secure them even better. They are rock solid, no movement whatsoever.
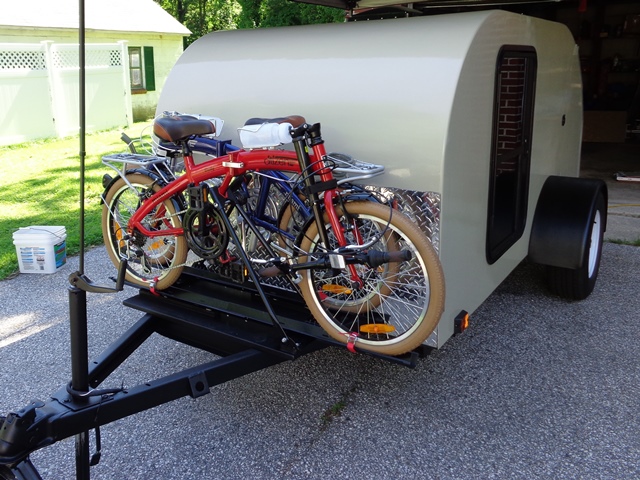
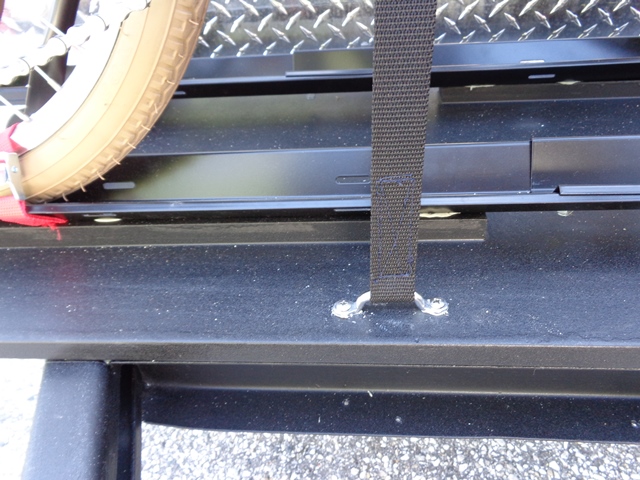
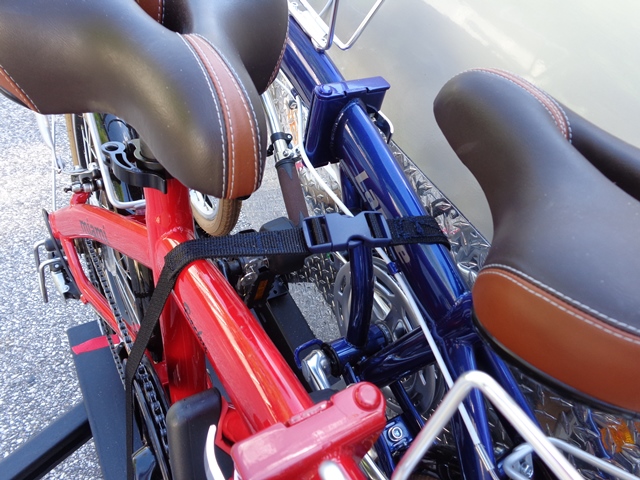
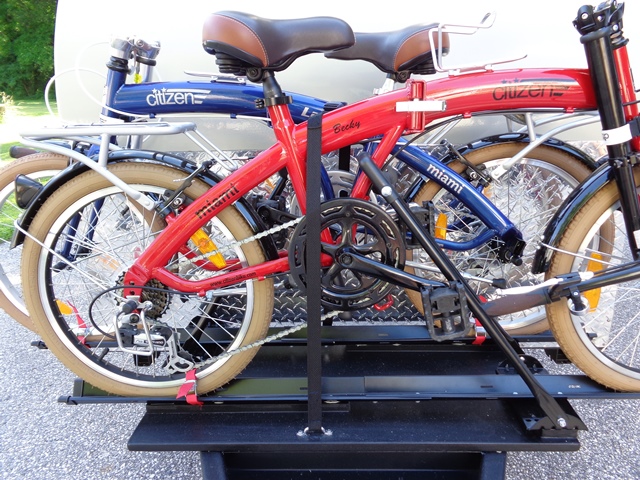
The tongue box has been moved forward of the bike racks. We were nervous that maybe we wouldn't have enough turning room for the truck but Lance did some pretty tight u-turns with it and we had at least 6-7 inches of clearance between the back of the truck and the box. All is well.
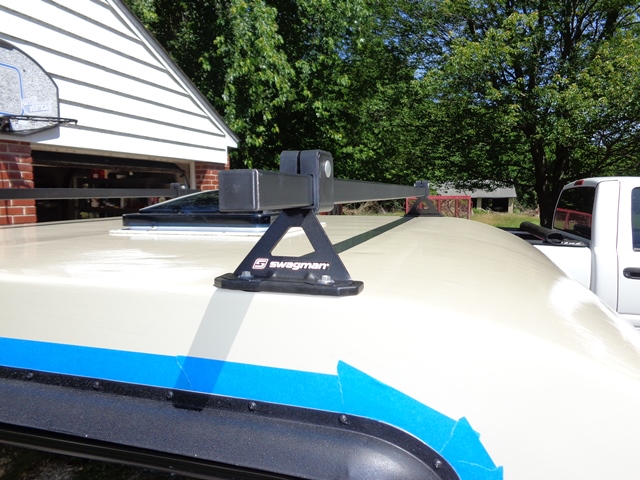
I also added a roof rack so that we can carry either a canoe or kayaks. This is a Swagman rack that is designed for use on top of a pop-up camper. I had looked into buying the roof racks from Little Guy, but they cost almost $400. I got this rack for $100 on Overstock.com.
http://www.overstock.com/Sports-Toys/Pop-Up-Trailer-Rack/7307721/product.html?refccid=VXAA57QB5EEIMXCIGWM2EKDVQQ&searchidx=0 It is quite substantial, good quality, and has a 150# capacity.
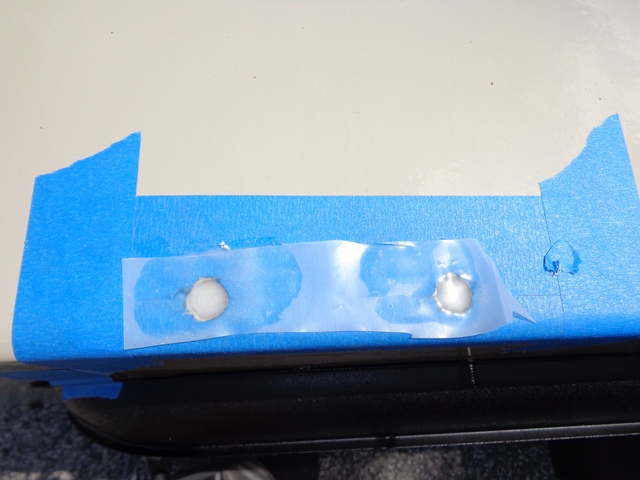
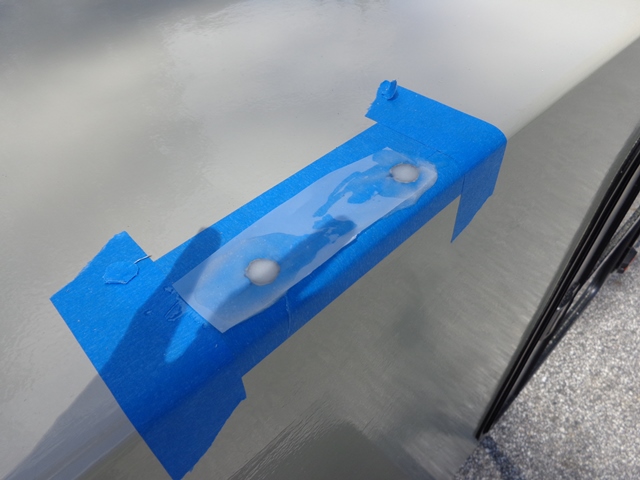
Rather than bolting into the walls from the side like the Little Guy rack, the risers for this rack sit flat on the top. I thought the best support was to be found right over the walls but I was concerned about screwing into the end grain of the plywood. I know endgrain isn't that strong to begin with and I was concerned that if the screw holes ever began to leak it would wick through the plywood walls and delaminate them. Being the anal retentive epoxy fiend that I am, I drilled out the screw holes oversized and filled them with thickened epoxy. I masked the holes off with blue tape, poured in the thickened epoxy and then smoothed over the tops with plastic. By doing this I was able to push the epoxy down into the holes well, get the top of the epoxy smooth and level and eliminate the need for any sanding after the epoxy had hardened. Then I redrilled the screw holes and set the screw in the center of the hardened epoxy. This gave the screws something much harder to bite into and completely protects the plywood from any water ingress. Of course I also used a lot of bedding compound.
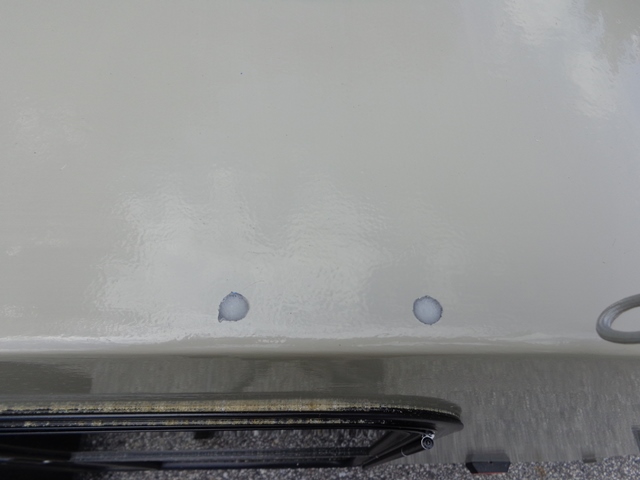
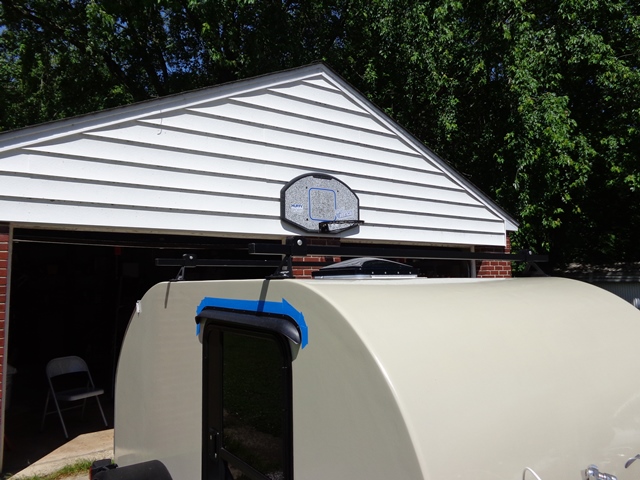
I also installed my rain caps. I have had these since the beginning and was back and forth about whether to install them, but I'm glad I finally did it.
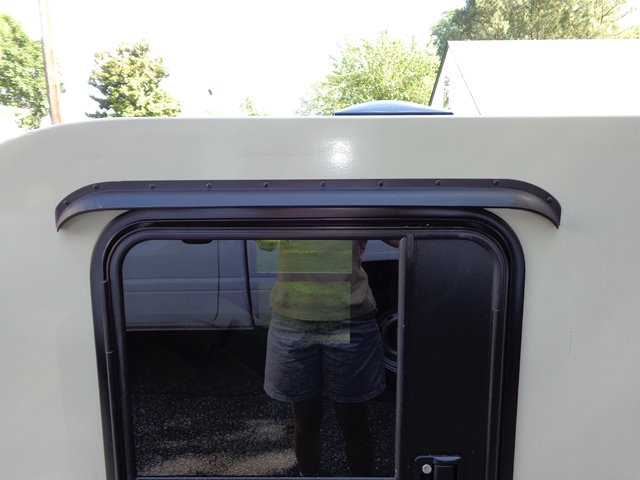
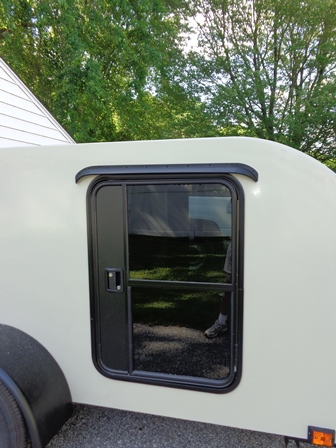
The bike rack platform, rain caps, tongue box, and fenders have all been sprayed out with Rustoleum Truck Bed Liner. The enamel seemed to chip off of the fenders too easily from road debris. I have the word of Woodbutcher that the truck bed liner is a little more durable. We've already put at least 4000 miles on our tear, and we're just getting started, so we need stuff that can stand up to a lot of use. Since I was painting the fenders anyway (and I really like the look of it) I decided to do everything else to match.
The only thing I haven't got at this point is a decal. I had hoped to find something distinctive that fit with the personality of the teardrop and what it means to us, but I just haven't found quite the right thing yet. Rather than just stick something on there for the sake of having something, I would rather wait until I stumble on just the right thing.
Building this teardrop has been one of the most rewarding things I have ever done. And using it has added a whole new dimension to our lives. We have a whole new group of camping friends that are almost like family and we can travel more often and more cheaply than we ever have before. We may have a bigger camper someday but we will always have the teardrop. And for anyone who is wondering if they can, or if they should, build one (or buy one), I say go for it. You will never regret it.
