Since my last post I have gotten some more done on my build. Work has been busy so I have been spending my time build rather than posting.
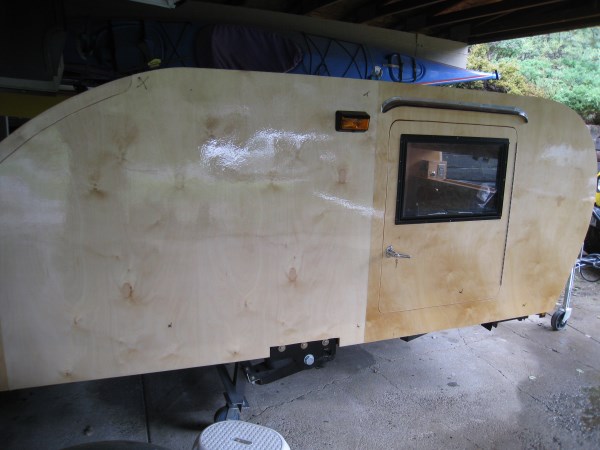
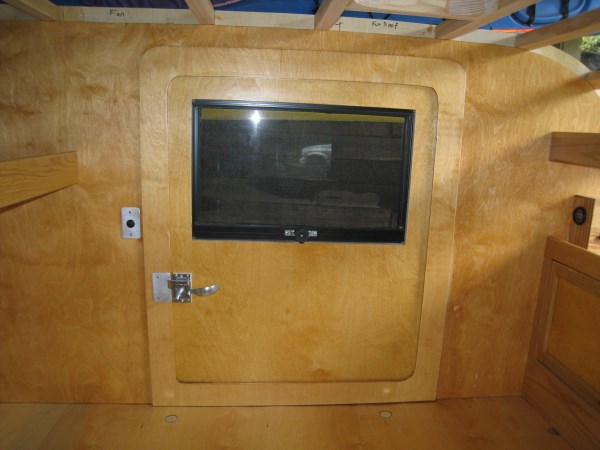
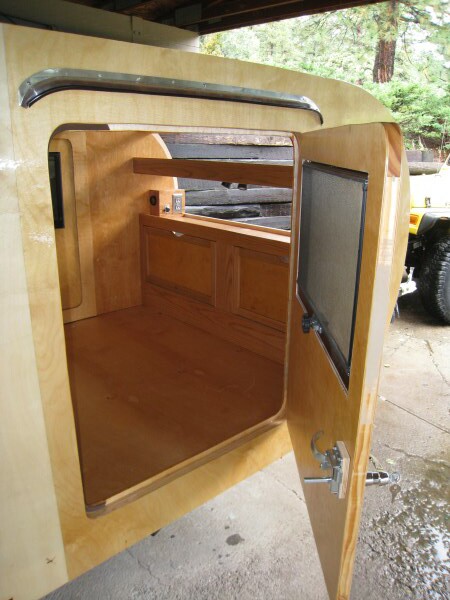
I installed and test fitted the doors, door handles, windows, porch lights, light switches, drip rails etc. I drilled holes and screwed them all in place to make sure everything fit as I had planned
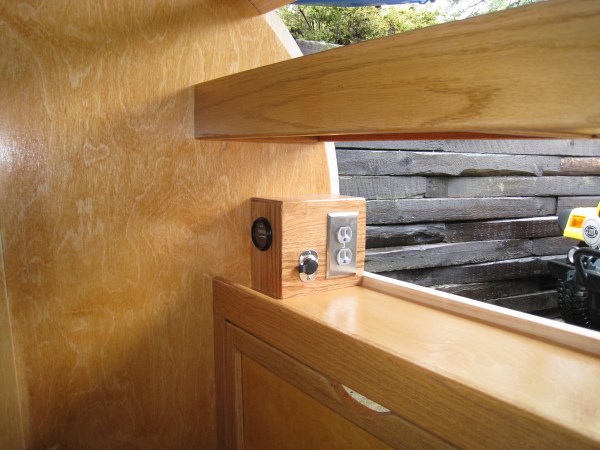
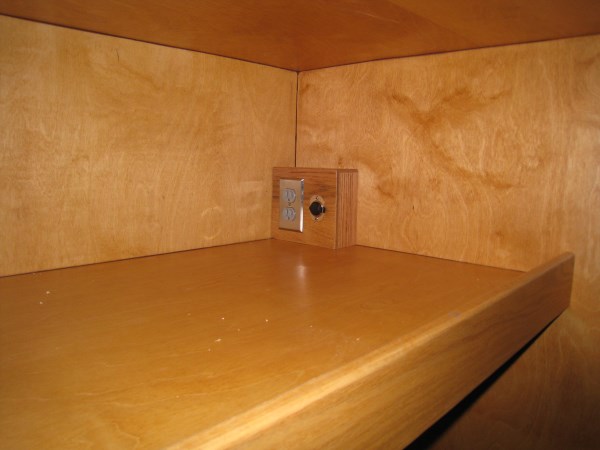
I built power boxes out of ¼ red oak to house my AC and DC outlets. I have one in each corner of the cabin. The front ones will mount flush to the headliner and the wire hole will not be seen as they will go through the front into the box.
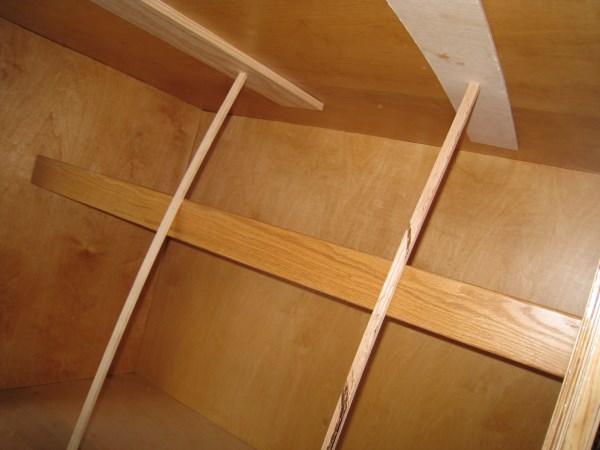
For the rear shelf power boxes I didn’t plan a conduit when I built the walls, so I decided I would use ½” plastic water pipe and cover with black corrugated wire loom in the corners and run through to the ceiling and drop wires from the roof down.
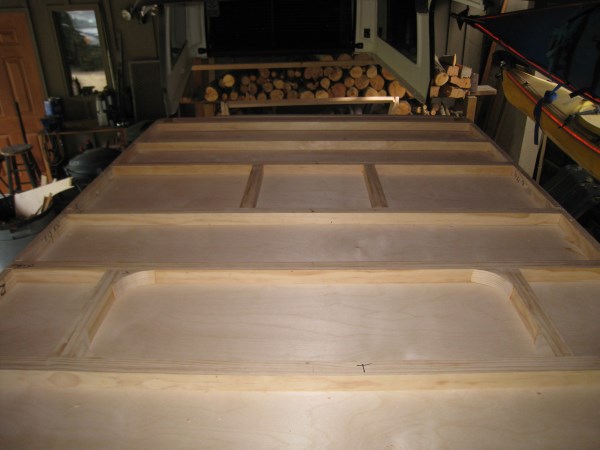
I cut out and joined 2 and a half 1/8” sheets Baltic Birch panels for my headliner. I use Titebond II wood glue and glued a 6” wide 1/8” Baltic Birch baker board over the butt joint
I stained and varnish the headliner on my work bench. I then installed the headliner as a test run. It took most of a day to dry fit. I had to recut the length, then cut all of the side wall frame blocking that I had cut out earlier to create the headliner shelf. Each piece had to be cut and belt sanded to fit and then screwed into place. Once it all fit I took it all back apart and used PL premium glue to install the headliner permanently.

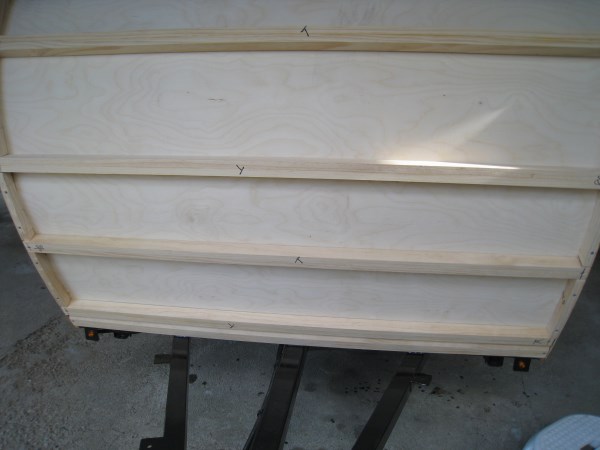
I used a few small stick to prop up a to press the headliner to the bottom of the spare where they were glued. It ended up fitting great in all but one small area where I had a gap. I caulked the entire interior with a dark brown caulk to fill any gaps between headliner, floor to walls etc. This will also seal from any liquid spills inside seeping through the gaps under the walls and any gaps bugs could crawl in.
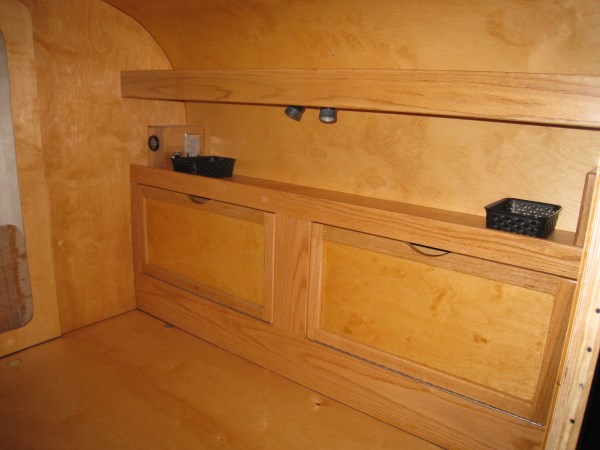
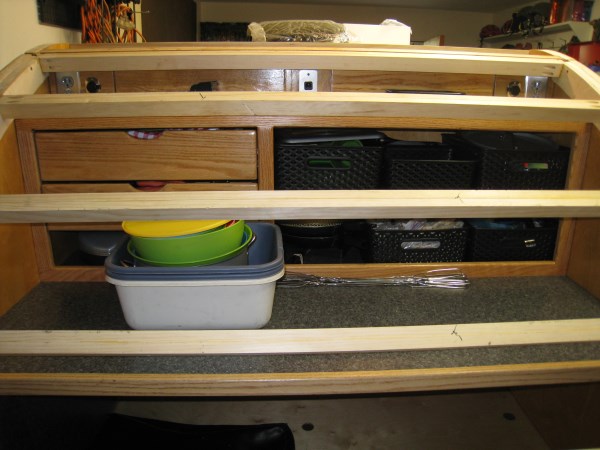
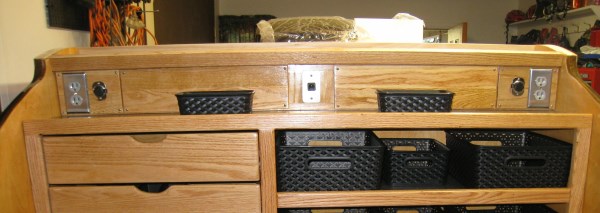
Here is picture of my headboard with headliner installed. Power panels laying in place and some plastic baskets from Target which are for pocket items like keys, wallet etc.
I then started working on the galley. I built my counter top out of ½ plywood and covered with my Formica I had ordered. I made a red oak front edge and also have a piece of aluminum I could use if the red oak doesn’t wear well. I had planned shelves and drawer up top and slide out shelves for the coolers down below. I pulled out camping gear and played around with it. I couldn’t come up with a plan for the lower galley that I really liked, to many unknowns, couldn’t fit everything and wasn’t sure we would always (if we didn’t take the kids) need two coolers etc. I decided I would leave the lower galley open for now and camp with it a few times to decide if I wanted to build any slide outs or shelving. I focused on the upper galley. I build a red oak face frame and made a place to hold the stove from moving around. I then test fitted it with the hatch in place.
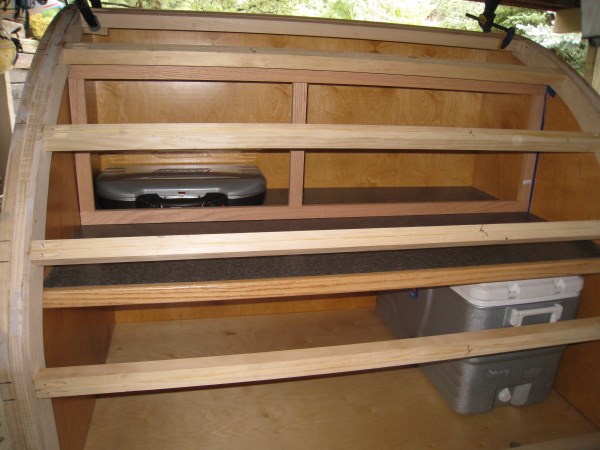
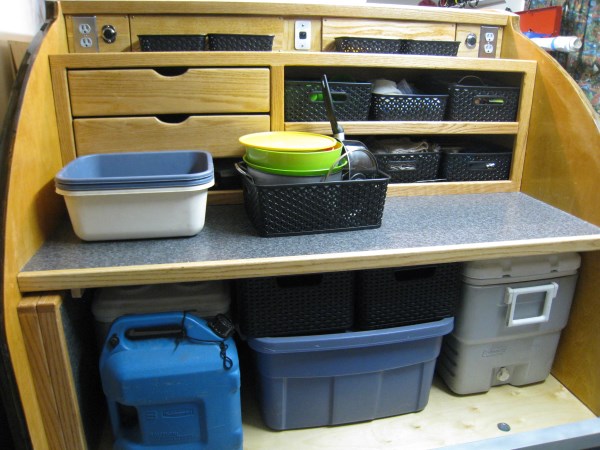
I then decided to split the rest of the upper space into two shelves with a lip. I had planned to find some containers, basket etc. to hold loose items to keep from sliding. I used my Formica to cover the two upper shelves and had enough for two side table tops. Here is the roughed out area.
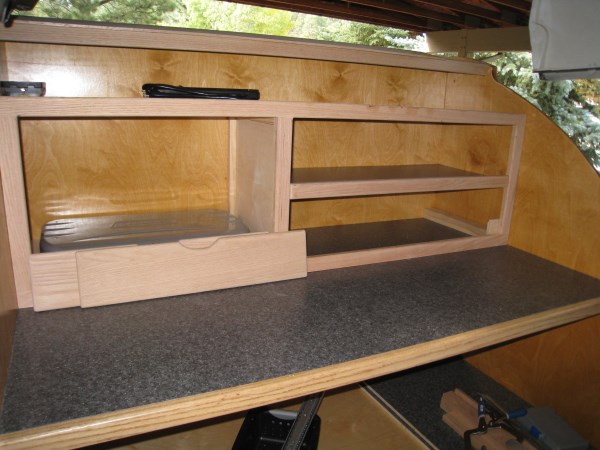
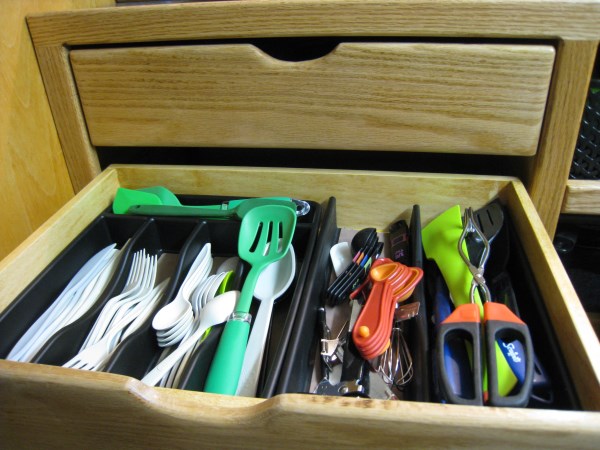
I built two drawer and use ½” red oak as the faces.
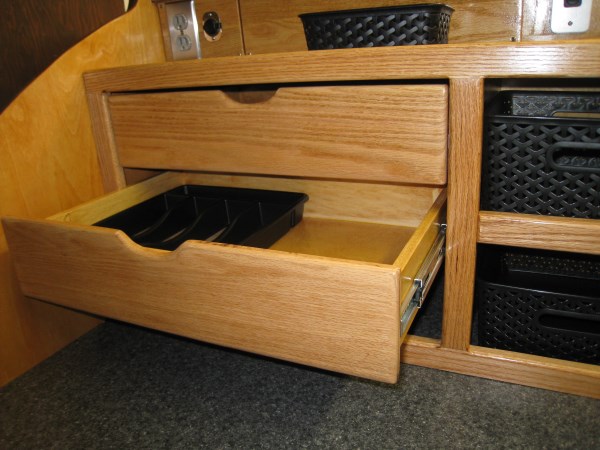
When I was all done I pulled out my camping gear again and tried to place all items. I then went looking for containers and ended up finding at Target some black plastic baskets that fit pretty well and looked good.
I then did a test fit again to make sure everything clears the hatch
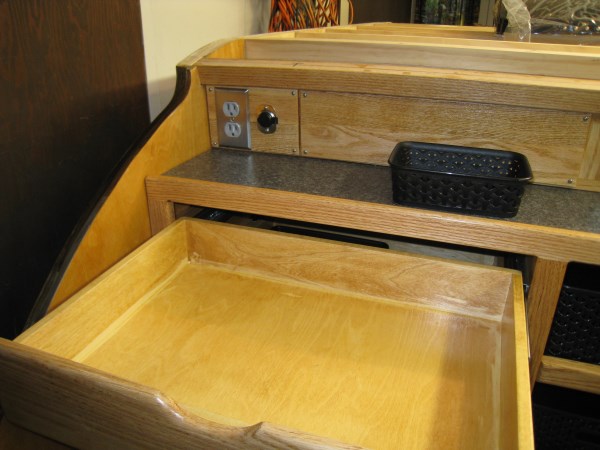
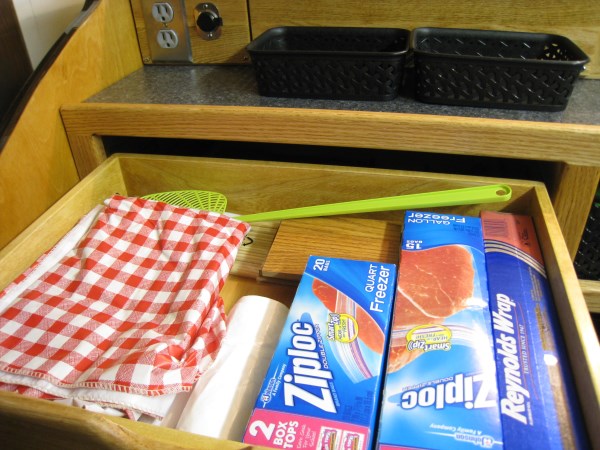
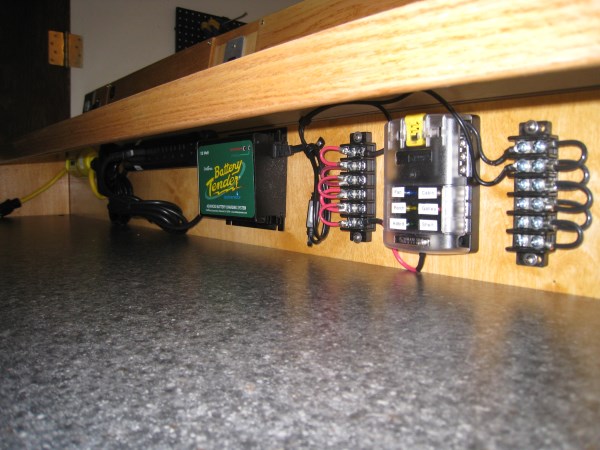
I am still deciding where to put the battery and decided it would depend on weight balance. I can put it in the front storage box, or the rear fender, or in the lower galley. I decide to use the very top back area under the hinge as my electrical panel area. I am running a ¾”plastic wire loom along the back corner for wires from battery and junction box for trailer lights. Easily modified as needed once I decide where to put the battery. I decided I would mount all of the items (GFCI, AC Outlet, fuse panel, etc.) on the upper bulkhead . I decided I would make an access panel to cover it, but have access in case I need to change a fuse, reset a power strip etc. I also wanted a place to mount my switch for the overhead galley hatch lights and a place to put AC and DC outlets in the Galley. Here is what I came up with.
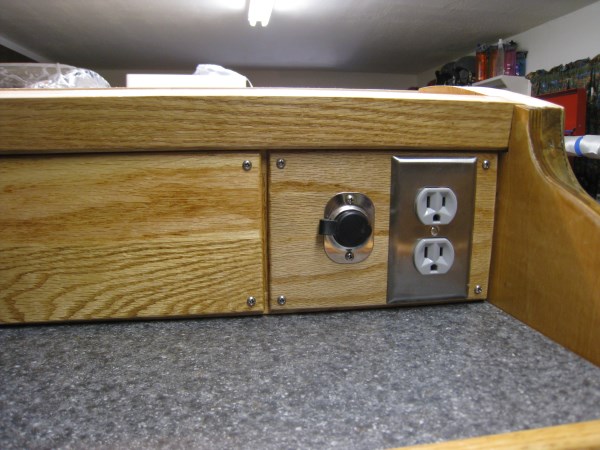
My Marinco inlet, GFCI, Power strip with breaker, DC fuse panel etc. will be behind this panel
I built a removable panel that house an AC and DC outlet for each corner of the bigger panel, and then put the hatch on/off light switch in the middle
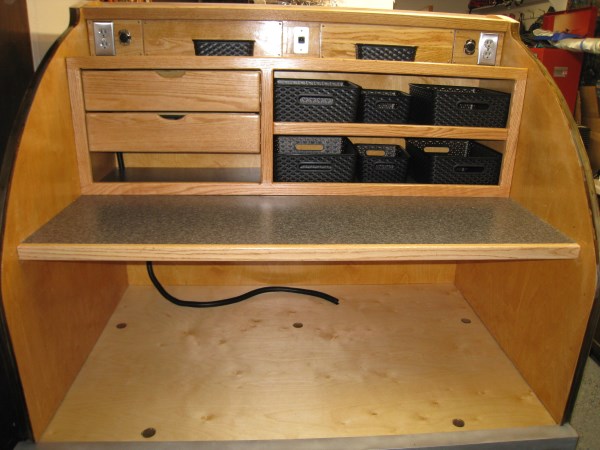
Here is the galley all built out and ready for camping gear. Some day after a several camping trips I may build out the lower galley, or leave open and flexible.
My next effort is to do all of the AC and DC wiring, test it out and be ready to cover the roof and hatch lid with 1/8” Baltic Birch, fiberglass and epoxy.


I'm interested in the timbren axle too.