The Bummer offroad build

...ask your questions in the appropriate forums BUT document your build here...preferably in a single thread...dates for updates, are appreciated....

Re: The Bummer offroad build

Postby Silvrzuki77 » Sat Jul 20, 2013 6:30 pm

Alright got my windows and door latches in!!!!
Here is the first door soo far.
Image
Everything soo far seems to be fitting great. Need to go by some more 1x4 tomorrow hopefully. Have family in town and then leaving for san diego monday soo we will see how far i get. Should be buying the aluminum beginning of August when some friends get back from vacation soo I have help installing it. Gettin closer!!!
Silvrzuki77
Teardrop Master
 
Posts: 188
Joined: Thu Jun 21, 2012 3:55 pm

Re: The Bummer offroad build

Postby Ben » Sat Jul 20, 2013 8:35 pm

That floor is way too clean! Do u even work in there? Lol
Going broke quick fixing a bad start!
Ben
Teardrop Master
 
Posts: 200
Images: 221
Joined: Sun Aug 05, 2012 8:39 pm
Location: Hocking hills Ohio

Re: The Bummer offroad build

Postby Silvrzuki77 » Sat Jul 20, 2013 11:36 pm

Its only clean when i post pictures!
Silvrzuki77
Teardrop Master
 
Posts: 188
Joined: Thu Jun 21, 2012 3:55 pm
Top

Re: The Bummer offroad build

Postby KCStudly » Sun Jul 21, 2013 8:01 am

Silvrzuki77 wrote:Its only clean when i post pictures!


Don't think of us as company; think of us as family. A little sawdust here and there is acceptable ...as my grandmother would have said, "in the bosom of the family." :D
KC
My Build: The Poet Creek Express Hybrid Foamie

Poet Creek Or Bust
Engineering the TLAR way - "That Looks About Right"
TnTTT ORIGINAL 200A LANTERN CLUB = "The 200A Gang"
Green Lantern Corpsmen
User avatar
KCStudly
Donating Member
 
Posts: 9640
Images: 8169
Joined: Mon Feb 06, 2012 10:18 pm
Location: Southeastern CT, USA
Top

Re: The Bummer offroad build

Postby Silvrzuki77 » Sun Jul 21, 2013 8:25 am

Lol
Silvrzuki77
Teardrop Master
 
Posts: 188
Joined: Thu Jun 21, 2012 3:55 pm
Top

Re: The Bummer offroad build

Postby Silvrzuki77 » Mon Jul 22, 2013 12:14 pm

First door put together and dry fitted still deciding on which hinges to use.
Image
Image
Image
Image
Silvrzuki77
Teardrop Master
 
Posts: 188
Joined: Thu Jun 21, 2012 3:55 pm
Top

Re: The Bummer offroad build

Postby KCStudly » Mon Jul 22, 2013 1:33 pm

LOOKS GREAT! :thumbsup:
KC
My Build: The Poet Creek Express Hybrid Foamie

Poet Creek Or Bust
Engineering the TLAR way - "That Looks About Right"
TnTTT ORIGINAL 200A LANTERN CLUB = "The 200A Gang"
Green Lantern Corpsmen
User avatar
KCStudly
Donating Member
 
Posts: 9640
Images: 8169
Joined: Mon Feb 06, 2012 10:18 pm
Location: Southeastern CT, USA
Top

Re: The Bummer offroad build

Postby Silvrzuki77 » Sun Aug 04, 2013 10:55 pm

Alrighty got some good updates!! Glued my front aluminum on the other day.
Image
Had two buddies come over and give me a hand cutting and gluing the sides on.
Image
Takes at least 24 hrs for the glue to set, cant wait to see it with all my ghetto clamps off.
Silvrzuki77
Teardrop Master
 
Posts: 188
Joined: Thu Jun 21, 2012 3:55 pm
Top

Re: The Bummer offroad build

Postby bpalmer » Thu Aug 29, 2013 8:45 pm

Nice will be following your build
User avatar
bpalmer
Teardrop Advisor
 
Posts: 65
Images: 61
Joined: Sat Mar 31, 2007 10:30 pm
Location: Broken Bow Oklahoma
Top

Re: The Bummer offroad build

Postby Silvrzuki77 » Thu Aug 29, 2013 9:06 pm

I do have a few updates. Here is the aluminum siding all glued on. Man if you even look at the aluminum wrong it scratches!! Eventually I am going to wrap it to match my hummers. I started doing the extrior hatch also, still need to finish the very back of the roof and upper portion of the hatch. Tomorrow I am ordering all the trim and hatch hinge. I have the water pump and boat style water fill on their way. Picking up a a couple of aftermarket heavier duty samurai leafsprings to replace the beat down stock ones. Have a lot going on.ImageImageImage
Silvrzuki77
Teardrop Master
 
Posts: 188
Joined: Thu Jun 21, 2012 3:55 pm
Top

Re: The Bummer offroad build

Postby Silvrzuki77 » Thu Aug 29, 2013 9:07 pm

Hey getting quite a bit done! Installed the filler tube.
Image
General idea of the fill except im going to use a 45 degree bend
Image
Got most of the trim in
Image
I siliconed where all the aluminum edges meet and filled all the holes with silicone.
Image
Also started the galley trim
Image
Everything has the butyl tape underneath the trim. Both edges are now done and and all the body seams are covered.
Silvrzuki77
Teardrop Master
 
Posts: 188
Joined: Thu Jun 21, 2012 3:55 pm
Top

Re: The Bummer offroad build

Postby Silvrzuki77 » Thu Aug 29, 2013 9:16 pm

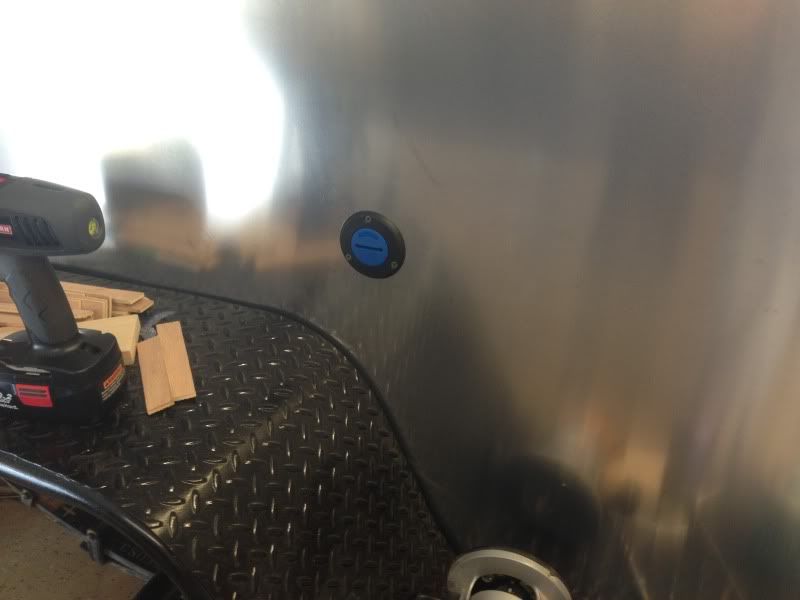
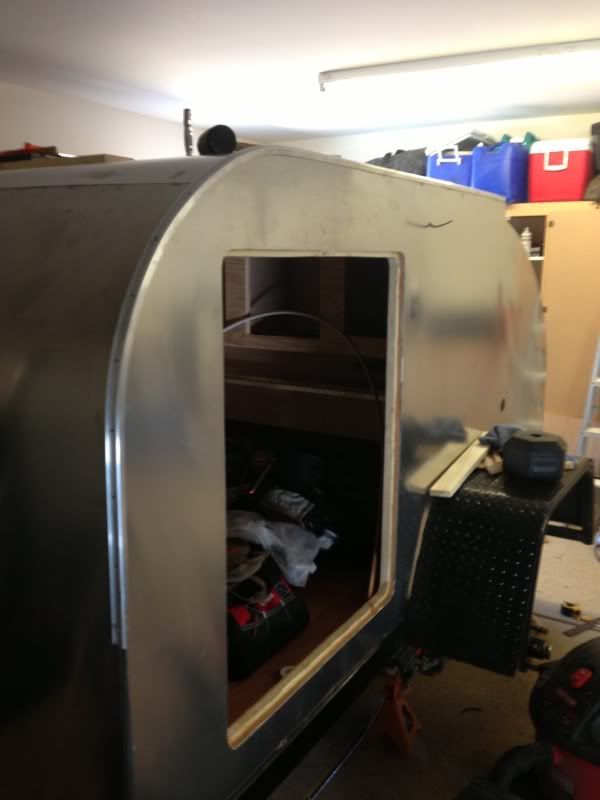
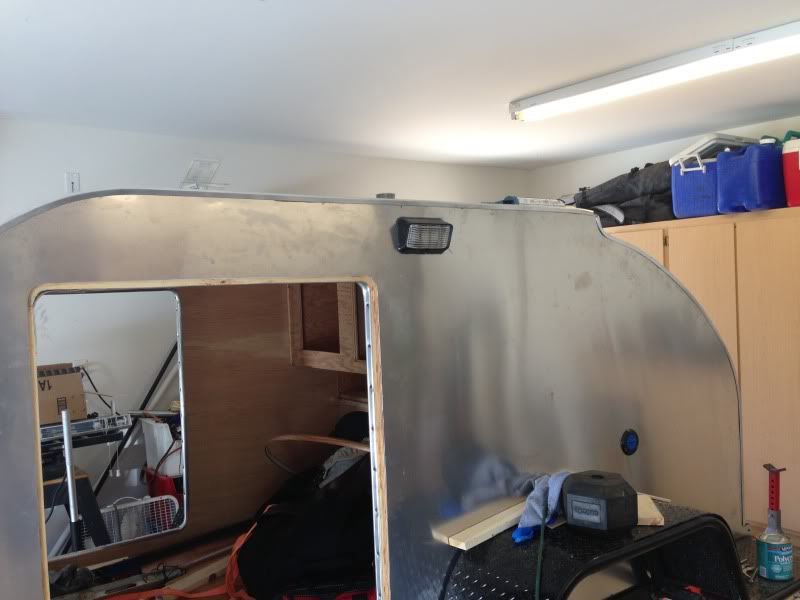
Todays progress siliconed the exterior trim and around where the aluminum and trailer frame meet. My exterior door trim became interior door trim. Trim was a little too wide going to have to figure out another option. Mounted and wired my exterior flood lights.
Image
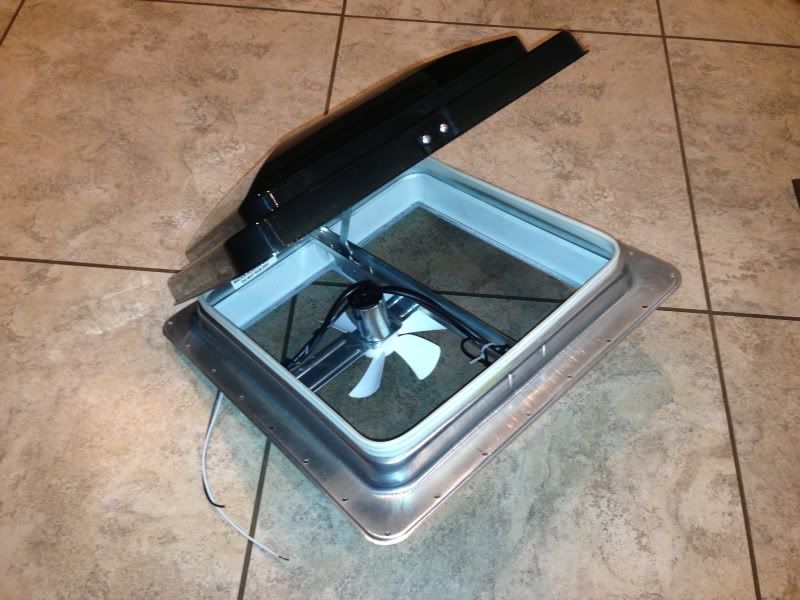
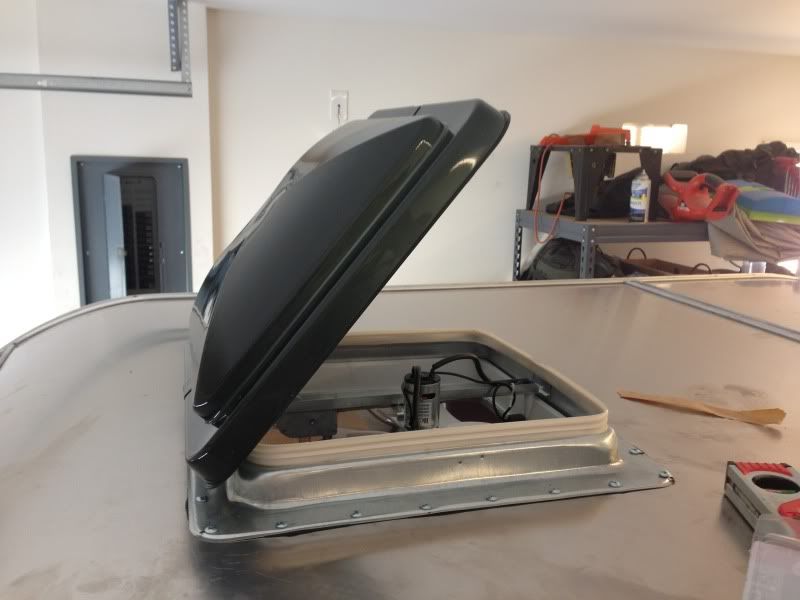
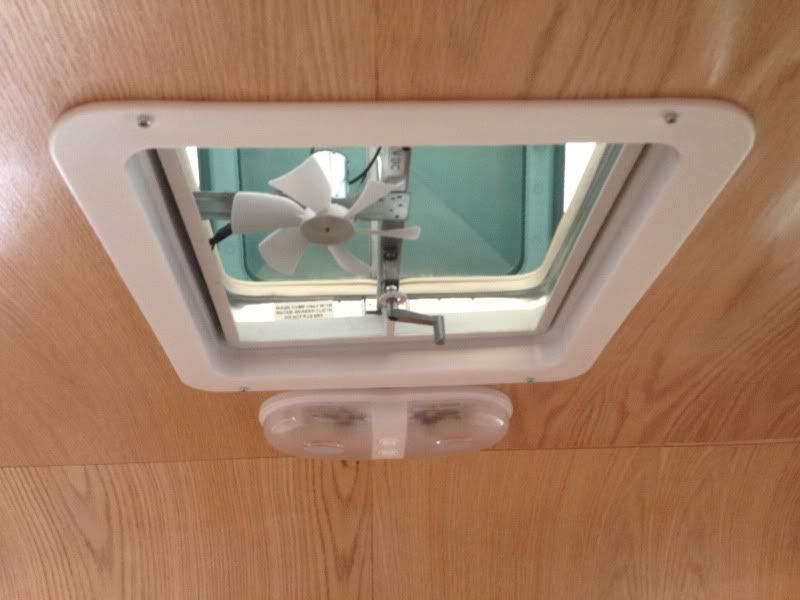
Siliconed around the housing also.
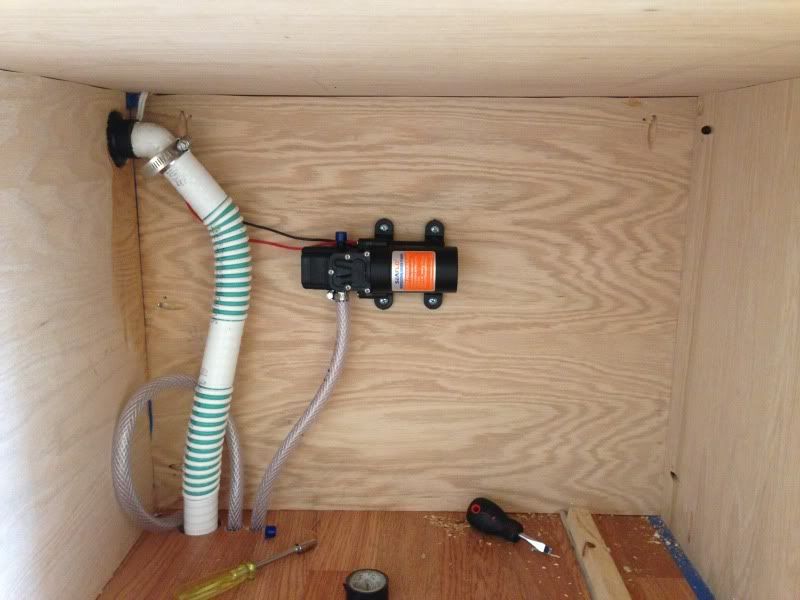
Plumbed all the water lines off the tank and into the rear. Going to end up putting foam around the lines.
Image
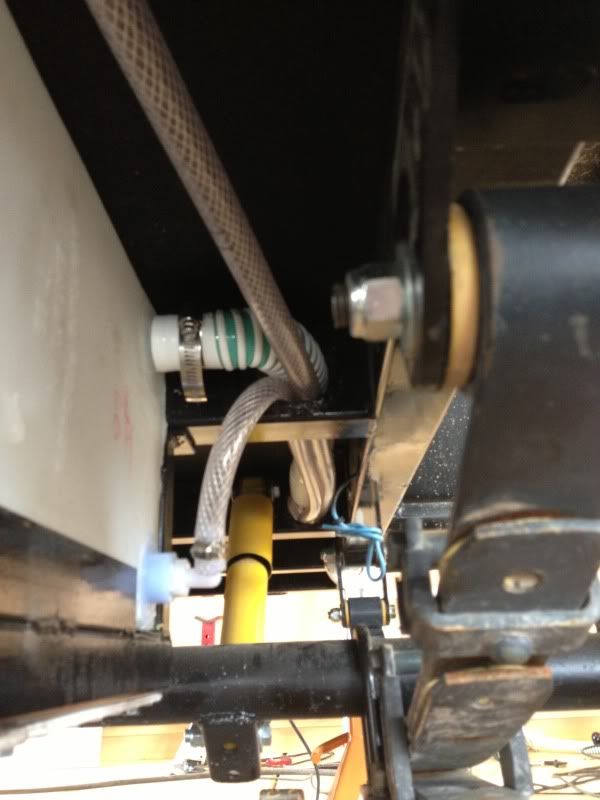
Installed the water pump. Should have good access to everything and be easy to work on.
Image
Had a set back though. I was given a set of rear leaf springs, I thought were heavier duty. They work better than stock but not going to cut it. I can push down and bottom the tires on the fenders. Going to order some heavier rear springs that are 265/lbs versus the stock 0/lbs replacements.
Bummed lol
Silvrzuki77
Teardrop Master
 
Posts: 188
Joined: Thu Jun 21, 2012 3:55 pm
Top

Re: The Bummer offroad build

Postby S. Heisley » Fri Aug 30, 2013 3:05 pm

That is really looking NICE! :thumbsup: :applause:
User avatar
S. Heisley
Super Lifetime Member
 
Posts: 8869
Images: 495
Joined: Mon Sep 17, 2007 10:02 am
Location: No. California
Top

Re: The Bummer offroad build

Postby Silvrzuki77 » Fri Aug 30, 2013 3:15 pm

Thanks!! Hope to get another good update today. We will see lol
Silvrzuki77
Teardrop Master
 
Posts: 188
Joined: Thu Jun 21, 2012 3:55 pm
Top

Re: The Bummer offroad build

Postby Silvrzuki77 » Sat Aug 31, 2013 10:26 am

Got my roof vent yesterday.
Image
Super easy install. Planning eventually pulling the fan and replacing it with a computer fan.
Image
Also installed my interior dome light
Image
Started working on installing the hatch trim till i ran out of butyl tape. Maybe the local rv store will have some I can get tomorrow.
Silvrzuki77
Teardrop Master
 
Posts: 188
Joined: Thu Jun 21, 2012 3:55 pm
Top

PreviousNext

Return to Build Journals

Who is online

Users browsing this forum: No registered users and 0 guests