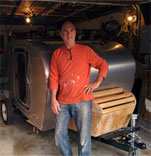
I have been busy over the last few weeks and got all of the AC and DC electrical installed, wired and tested out. For my AC wiring I used a Marinco inlet and I bought a 2 foot GFI extension cord, cut the end off and hard wired to the Marinco inlet. The Marinco inlet is mounted up high and comes directly into the electrical panel area to avoid cable routing clearance issues in the lower galley.
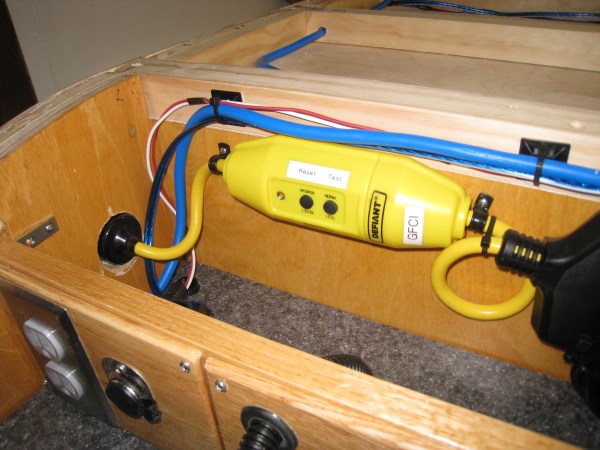
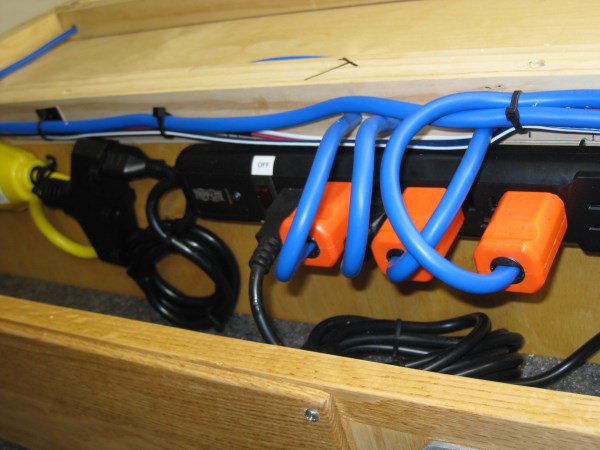
I then plugged into the GFI cord an outlet strip with a built in 15 Amp circuit breaker. I used this simple AC setup instead of an AC breaker box. I bought a 14 gauge blue extension cord and used it for my AC wire to my AC Outlets. I cut the wire to length, tinned the wires for the AC outlet connections and on the other end put on a 3 Way plug connector so I could plug each one into the outlet strip. I have a total of 6 AC outlets, one in each corner of the cabin and one on each side of the galley. I daisy chained the galley outlets to save one open connection on the outlet strip for future needs, Since I didn’t know what I may want in the future I decided it was easier, cheaper and better to wire them up now than regret at later time that I didn’t do enough.
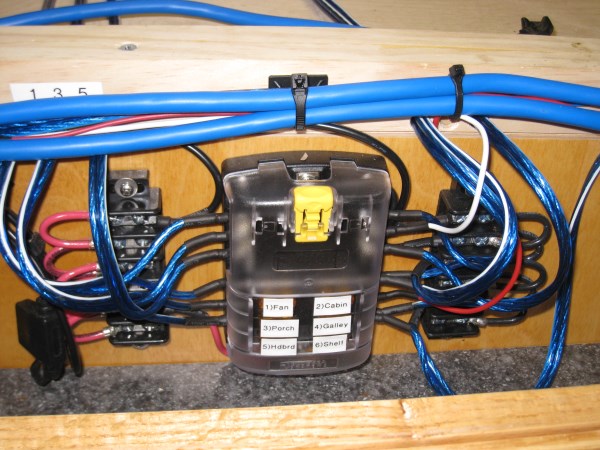
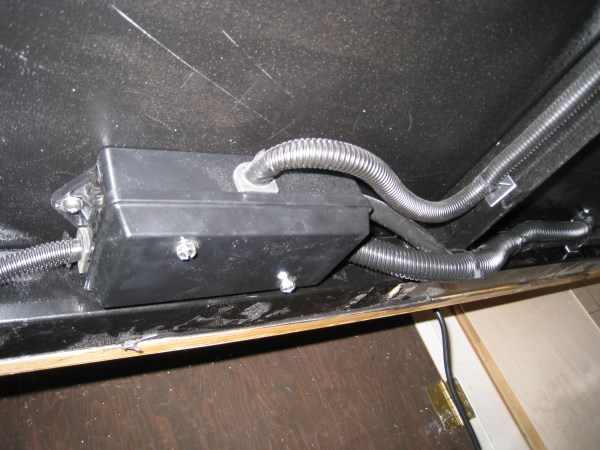
For my DC I used a Fuse panel and two terminal strips. I used the terminals strips. One for additional grounds and one for the positive side where I connected the terminal strip to the fuse inlet with 10 gauge wire and then ran the battery and battery tender to the terminal strip. I ran the 12 gauge speaker wire from each fuse connection to the 12 volt outlets, and lights. I have a total of six 12 Volt DC outlet one in each corner of the cabin and one on each side of the galley. Again I decided it was easier, cheaper and better to wire them up now than regret at later time that I didn’t do enough. My thoughts were we would use the front headboard shelf AC and DC outlets to charge phones, ipods, etc. The cabin gear storage shelf AC and DC outlets for future heating blankets or portable electric heater, and the galley AC and DC outlets for whatever we think of in the future such as fan, juicer, blender, radio, etc.
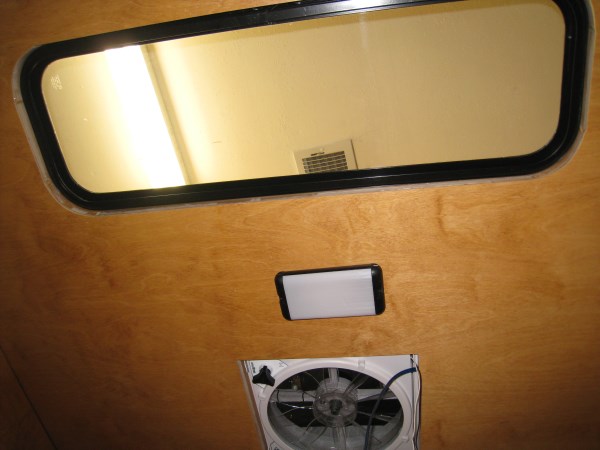
I also had to wire the Maxxair fan, interior overhead light (on a 3 way switch), reading lights and galley hatch lights and switch. They were all bought as LED or I converted to LEDs.
My thoughts are that if I go to a camp ground where I can plug in I can run everything DC off the battery tender which puts out 5 Amps I won’t need a battery right way.
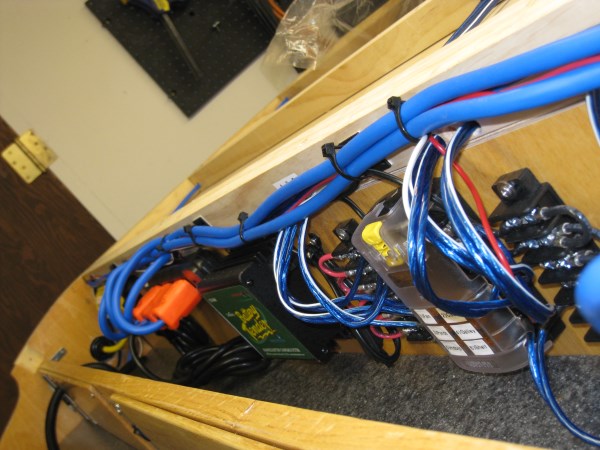
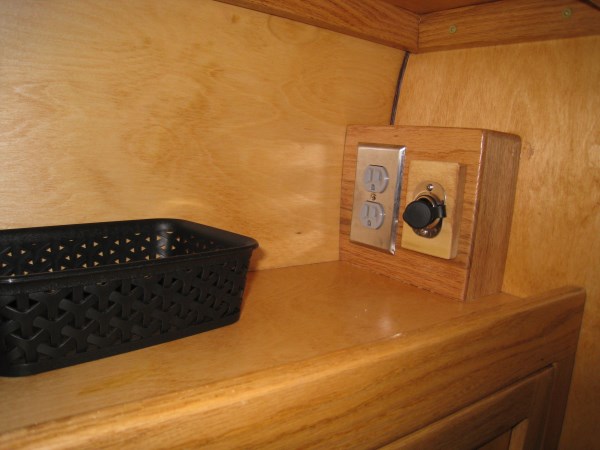
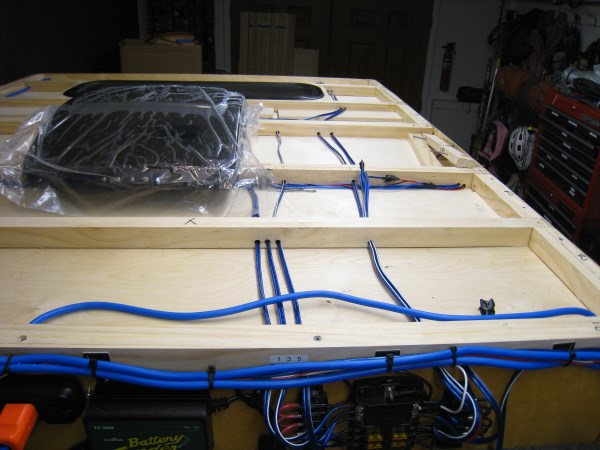
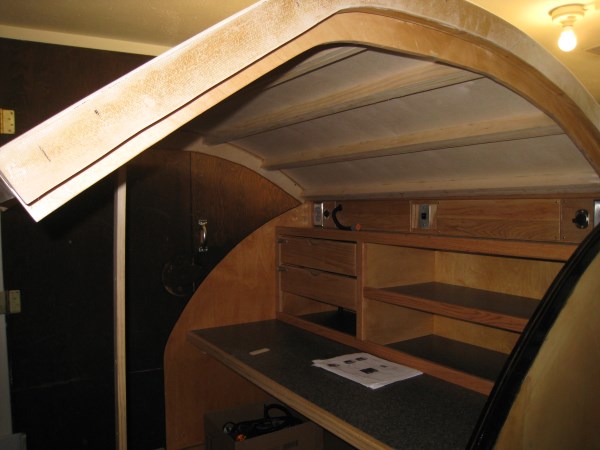
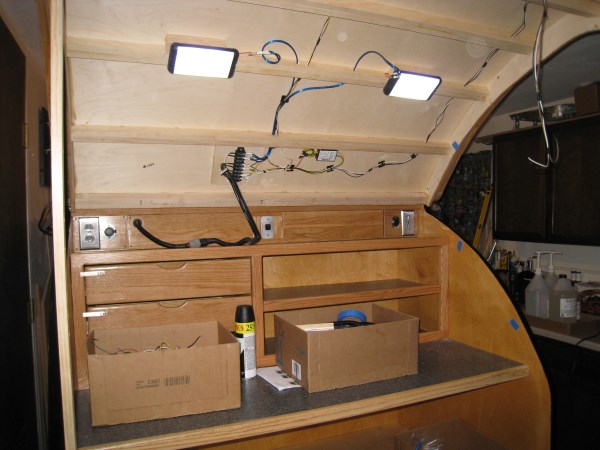
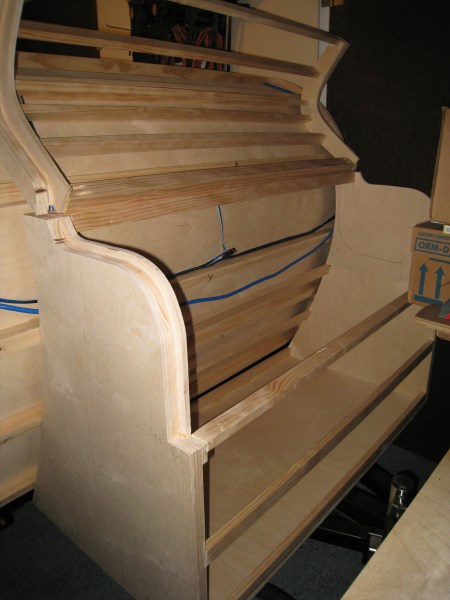
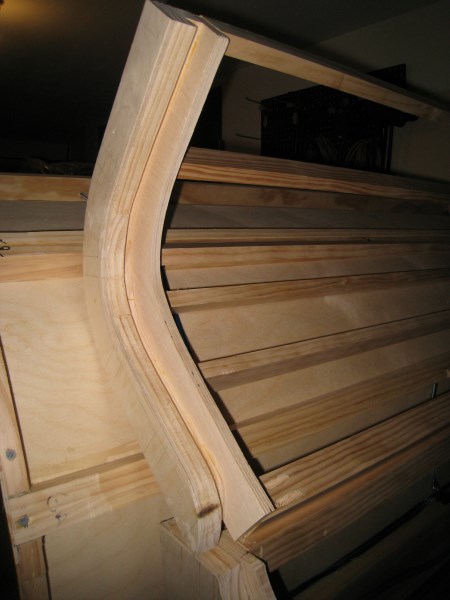
Here is a shot of the entire electrical panel area above the upper galley shelf that will be hidden behind the panel I built to house AC and DC outlets and switch for the galley hatch lights
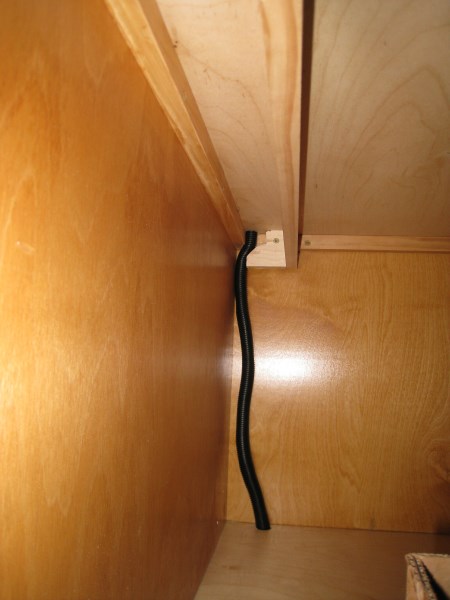
I used a grommet and passed my hatch wiring cable that will provide power and tail light wiring to the hatch lid

I ran the hatch wires for the tail lights, 3rd brake, and backup lights and the 10 gauge wires for the battery through a corrugated cable cover down through the galley shelf and through the floor along the back corner of the galley to my junction box underneath the floor. I planned to store my side tables along the left side of the lower galley wall and needed to build a stop so they wouldn’t squash the corrugated cable tube. Here is a view of the side table stop with cable beside it. The table stop also keeps the two side tables from falling over sideways
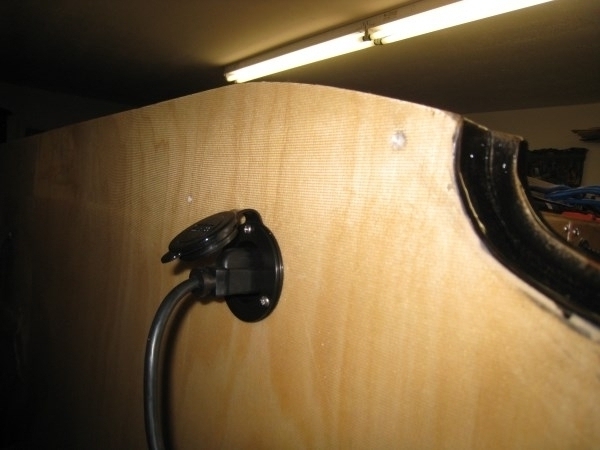
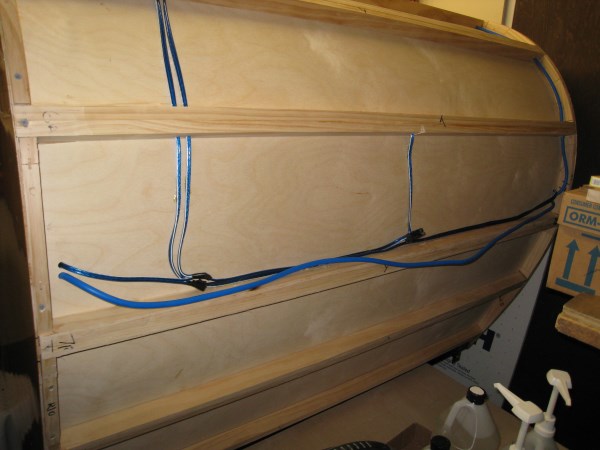
To get AC and DC power to my cabin rear shelf power boxes I used ¾” plastic water pipe and covered with corrugated wire loom. I glued the power panel box and pipe in place with PL premium glue and ran the wire from the power panel across the roof and down to the boxes and outlets. I can access the wiring by removing the AC outlet and DC socket

For my front shelf power boxes I ran the AC and DC cords cross the roof and into a hole in the front headliner right into the power box
The other front shelf power panel isn’t mounted yet as I determined if I glued it in place I cannot access my battery meter wiring in case of future issues. I am looking at ways to make the power box removable
Here are some pictures of the wiring across the roof.
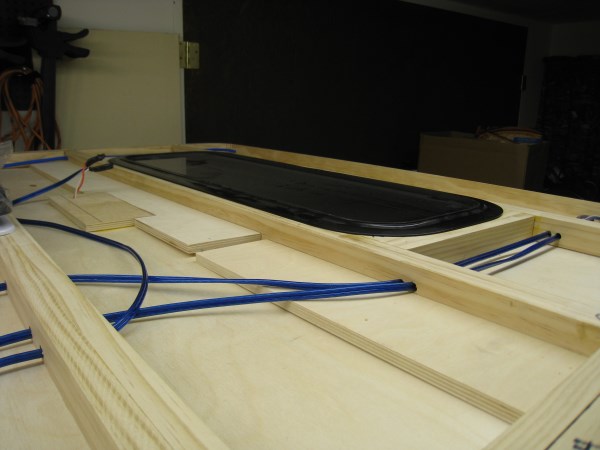
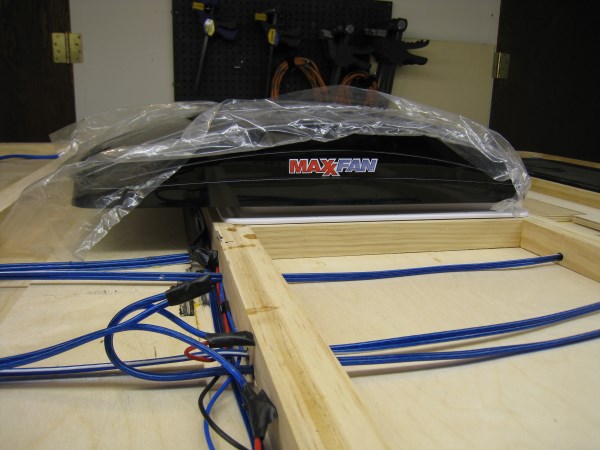
I also routered out my fan and sun roof openings and test fit the fan and sun roof window. I wired up the fan and tested it out. I am using a Max Air 6200K with a smoked top, manual open, without remote. The Maxxairr is over kill but I decided it was not much more money than a fantastic fan and rain cover. The Maxxair has the rain cover built in and you can leave it open in the rain. It has 10 speeds and is reversible and acts as a fan inside if the rain cover is closed.
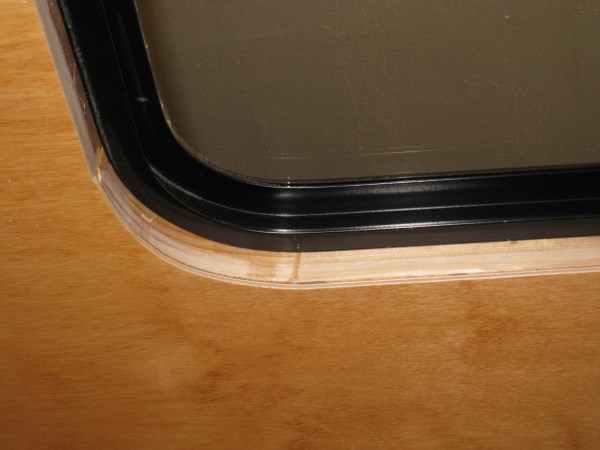
As far as my fixed sun roof goes the trim ring I have doesn't really fit it is for a thinner wall and I got the windows off ebay so I am thinking of just screwing the window from the top through the aluminum windows ring and painting the opening in the roof black so it will not show as much from the inside (2nd picture). Any other suggestions?
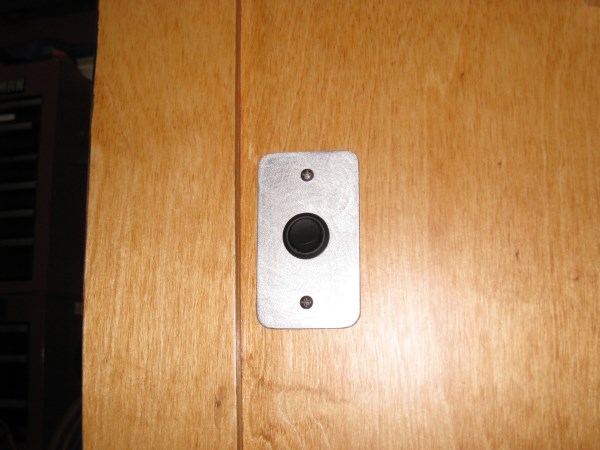
Here is my three way switch panel for the cabin over head light.
I skinned my galley hatch outside and temporarily installed the hurricane hinge to test the fit and clearances.
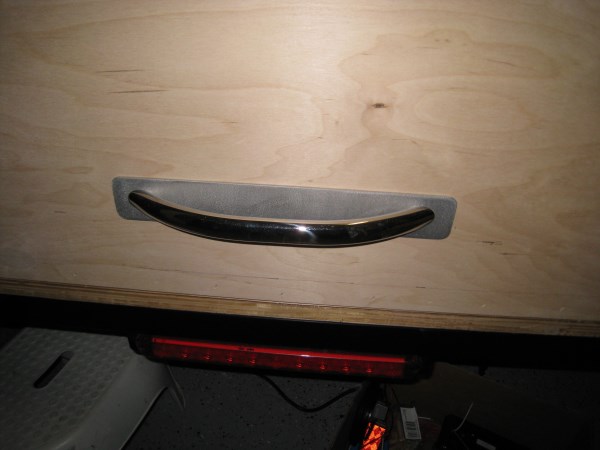
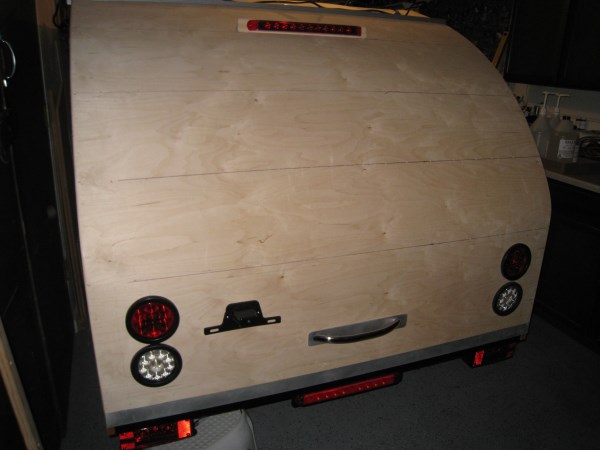
For the hatch handle I am using a 12" stainless steel boat hand rail. It has an nice grip and is big and easy to grab a hold of. I made some aluminum plates for each side to help even out the stress load. There will be a 4" diamond plate panel along the bottom of the hatch after I paint it
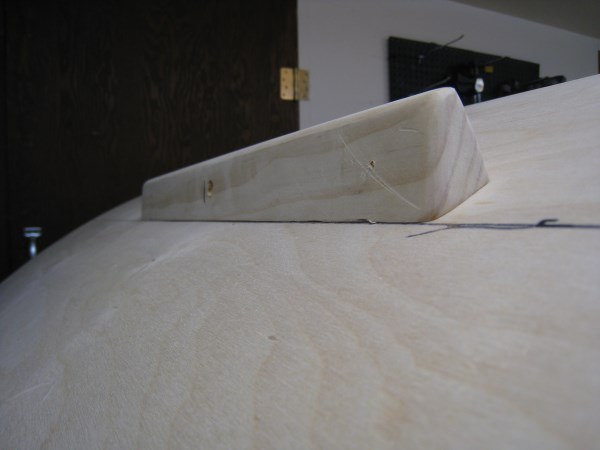
Based on a suggestion from drewh1 I made a bracket to move the third brake light up higher and test fitted it in place
I glued in blocking for the tail lights. handle, etc. and cut all of the holes and started wiring the hatch
Here is the hatch partially wired. I ran out of heat shrink so I didn't get it finished

Here is the hatch lights powered on during my testing of the hatch wiring
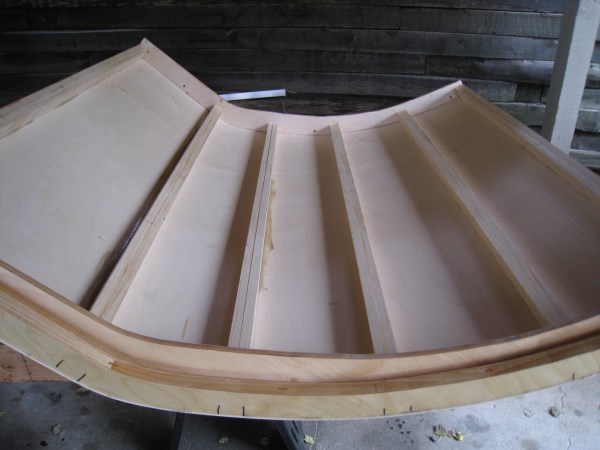
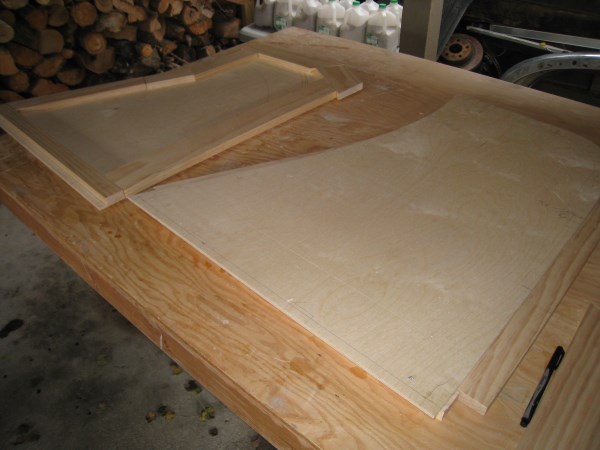
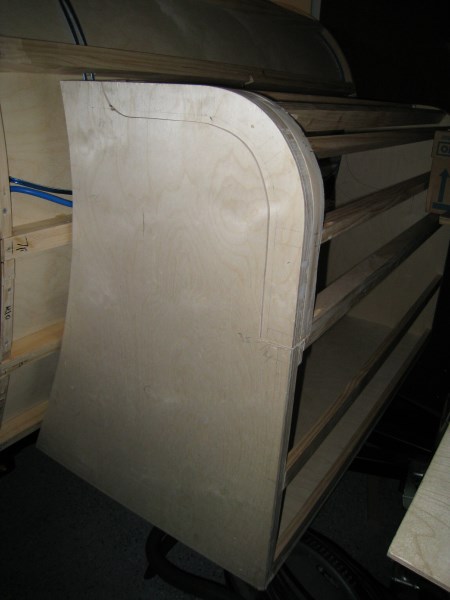
I also decided on my front storage box design. I cut the bottom from some scrap 1/2" Baltic Birch (BB) and the sides from some left over 1/4 Baltic Birch. I framed and skinned the sides like I did my galley using Steve Fredericks method and then cut out the lid and made my spacer and gussets.
I am going to us a hurricane hinge like I did for my galley hatch. I assembled the storage box together with 1x2 spars.
Here is a side shot with open and closed lid
The biggest road block I have now is I went to my Baltic Birch supplier to pick up 5 sheets 1/8” BB to finish enclosing the roof, tongue box and hatch and they said they were out. I asked when they would be getting more in (thinking it was a few days or week) and their response was sometime maybe in December. I was planning to take Thanksgiving week and two weeks at Christmas to finish the build and be ready for paint so I am currently looking for alternative suppliers to decide if I pay more and have some BB shipped or wait.