I made some really good progress tonight in the 2-1/2 hrs that I put in. But first let’s get caught up on the weekend’s efforts.
Saturday I started by replacing the tongue jack on
The Charcoal Briquette.
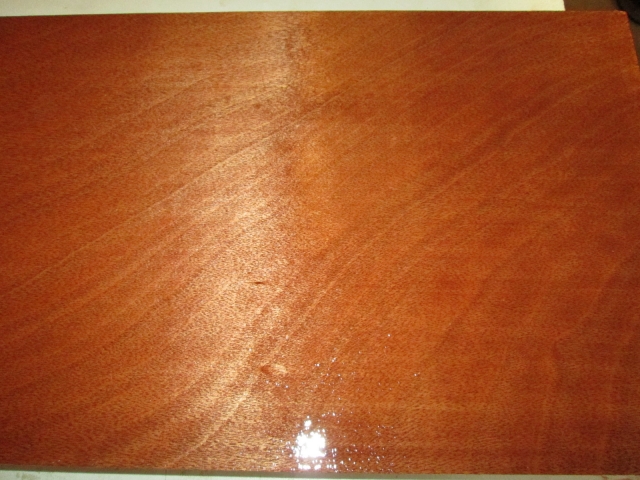
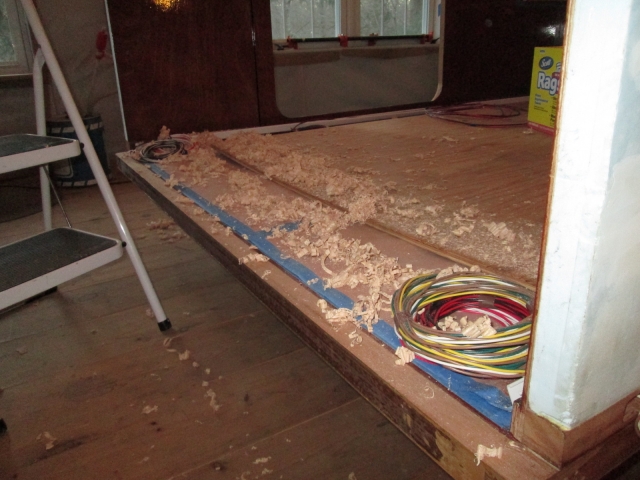
Then I very carefully scraped a few drips of poly off of the bottom side of the rear cabinet floor panels. Wiped around these areas with a rag just damped with mineral spirits a little to smooth the edges of poly left by the scraper. I didn’t want to build up a real thick coat where it tends to collect at the edges, lest not be able to slide the panels into the ledgers after all of the coats go on.
Then I laid the first coat of poly on the second side.
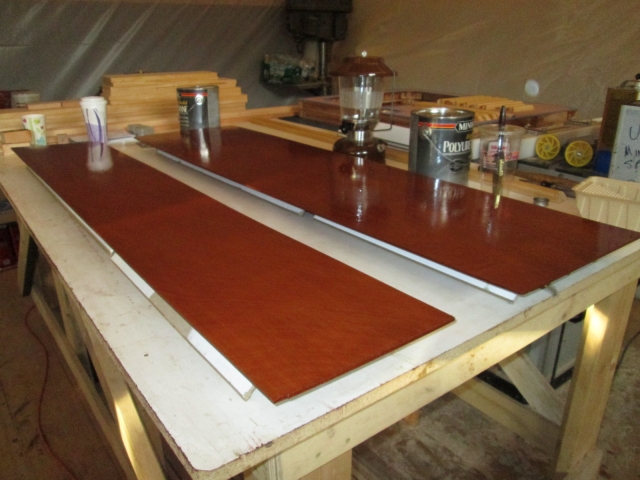
Sunday it was still cold out. I scuffed up the first side of the cabinet panels in prep for a second coat, but didn’t want to risk a failure by putting the second coat on in too cold conditions.
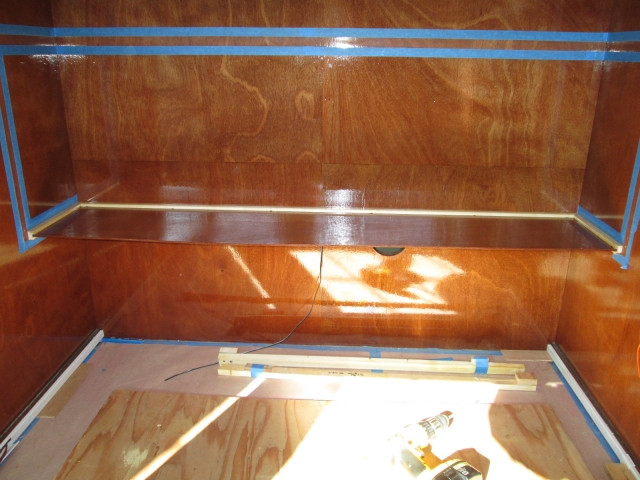
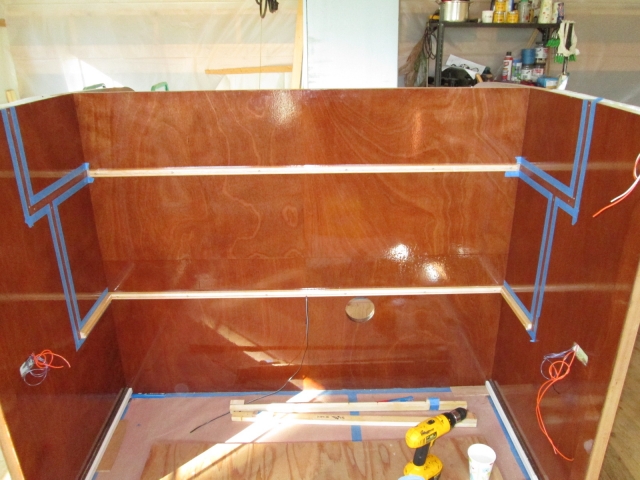
By this time the temp in the loft had come up some to where I felt comfortable starting to glue and screw the ledgers in for the rear cabinets. Bottom rear first.
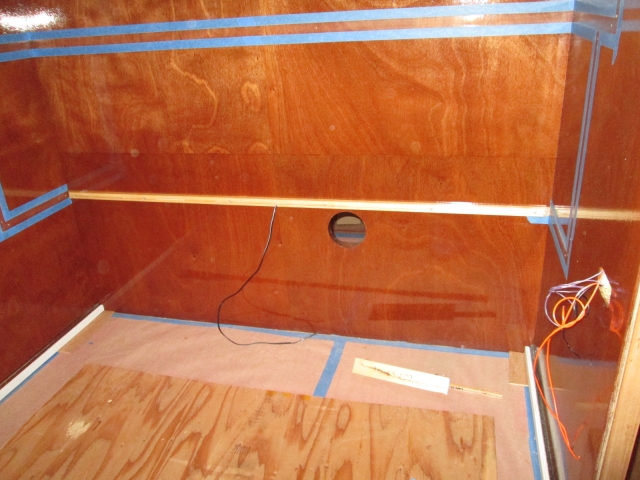
Then the lower rear sides.
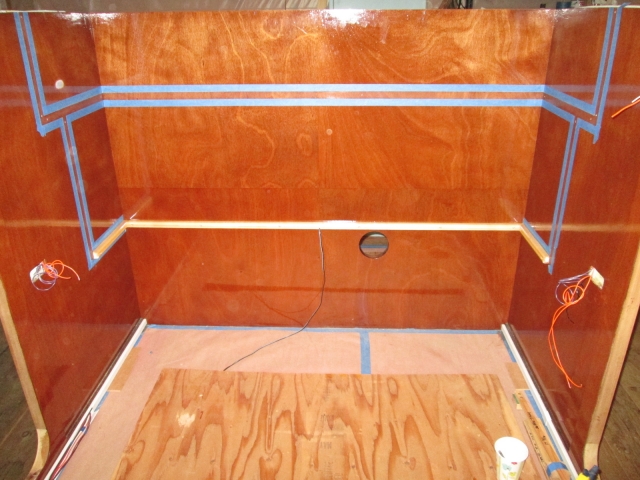
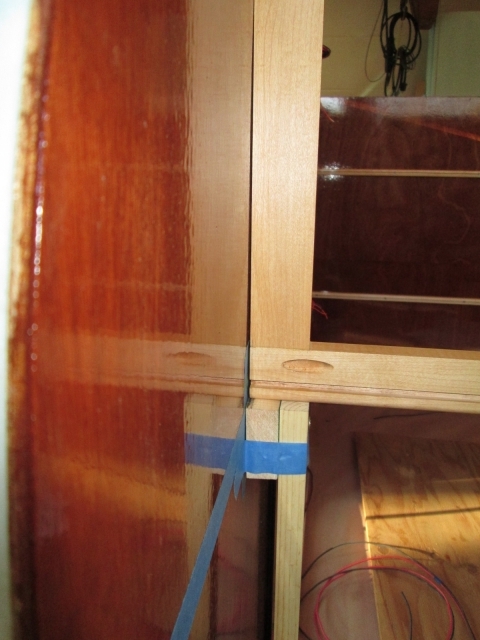
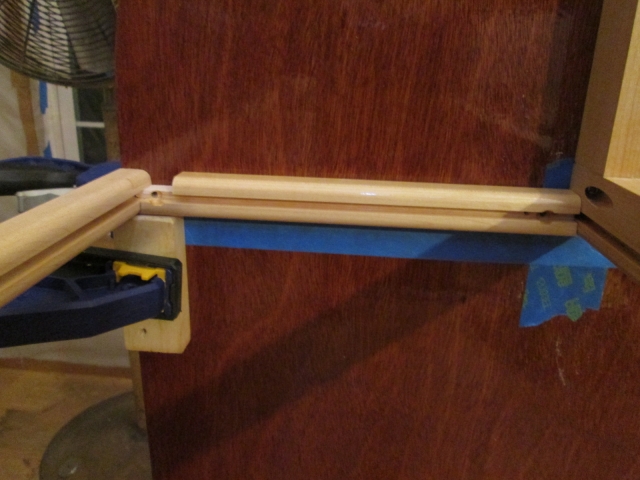
I couldn’t resist checking out how it will look with a panel in the ledgers.
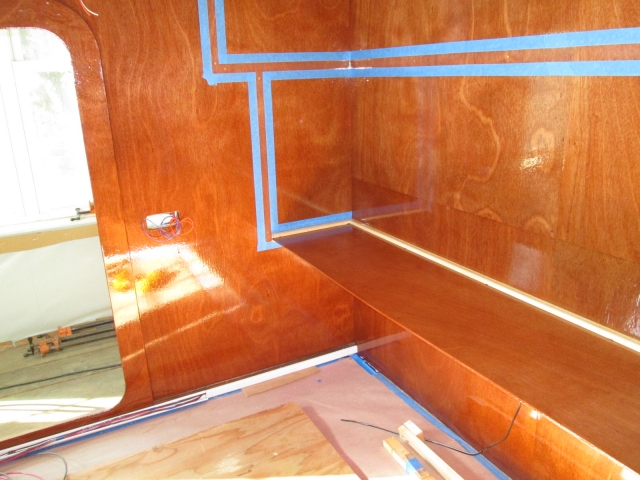
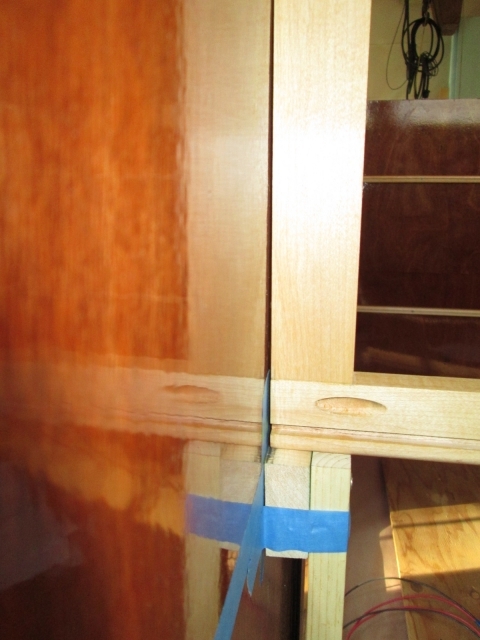
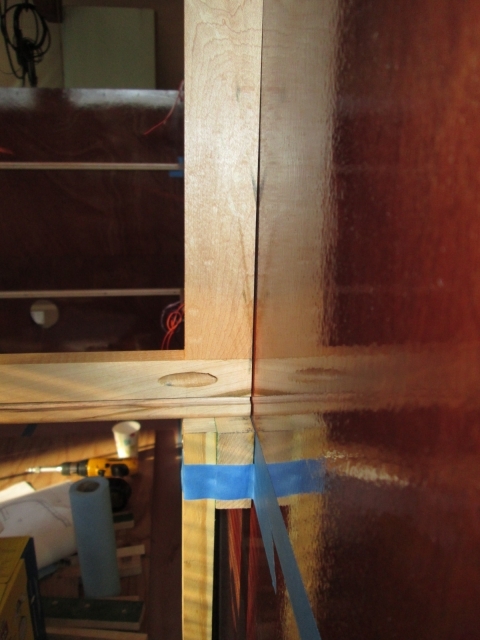
Then I glued the upper rear ledger in.
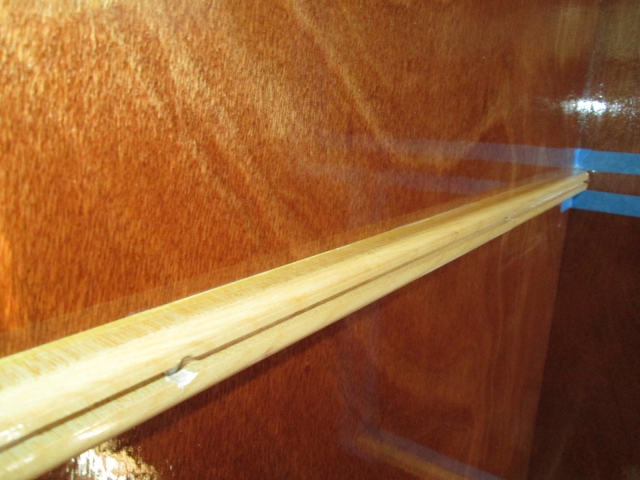
The tape really did a great job masking the glue. I was able to wipe the joint with a damp shop towel to remove excess w/o it hazing the nice finish. The upper side ledgers will have to wait until the lower panel and face frame have been installed for good.
Still had some daylight, so I started to layout the location of the front cabinet face frame. I cut down the story poles I had been using at the rear and used those to set the framing square representing the front and bottom of the frame and side ledgers.
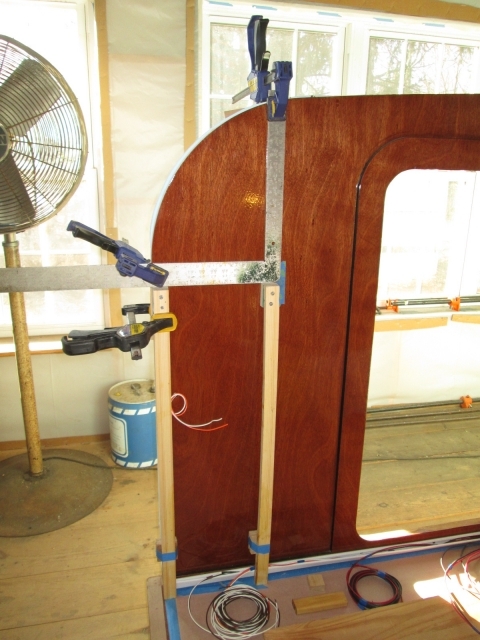
By clamping the square in place I was able to mask the “front” of the face frame against the side wall and use that and the story poles to help align the frame.
The walls both seemed to be leaning out at the top so I used the quick clamps to pull them in snug to the frame (with pieces of ply on the outside to spread the clamp load onto the foam).
That still didn’t pull the wall in snug at the bottom of the frame. Street side gap.
And curb side gap.
I didn’t have a long enough pipe clamp up in the loft (didn’t occur to me at the time to look downstairs, doh), so I bodged up a twisted twine clamp to pull the middle of the wall together. Here I have clamped a small block on the inside of the wall to set the front ledger on (to act as a spacer), and a larger block on the outside to spread the clamp load.

Here is the ledger (not in the correct orientation) just acting like a spacer of the correct width for now.
Here is the same arrangement on the curb side, but you can see the gap between the ledger and the inside face of the wall.

Next I drove a screw with the head sticking out into each of the outer clamp blocks, tied a piece of twine around the heads of the screws, and twisted it up using the small stick of wood in the middle.
Resting the twisting stick on the ledger prevented it from unwinding.
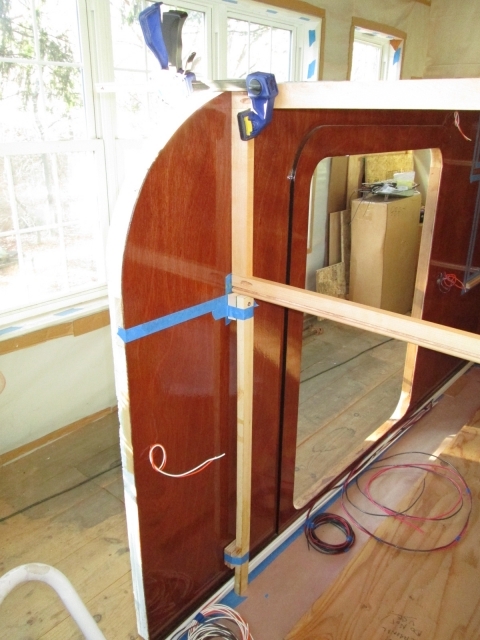
I was able to pull the walls in enough to comfortably draw the walls in the rest of the way by driving the Kregg screws in (temporarily) from the “back” side of the face frame. Here are the gaps after drawing the walls in with the twine, but before driving the screws. Street side first, then curb side.
Once I drove the screws the gaps closed up entirely.
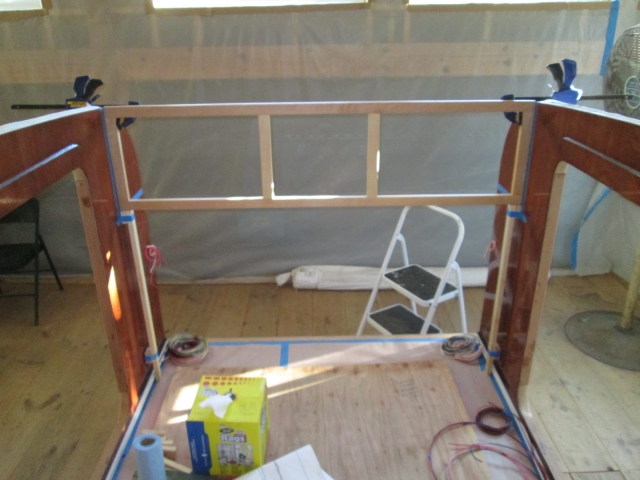
Next up was matching the top of the frame to the ceiling profile. Here’s what we have to deal with.
Curb side.
Street side.
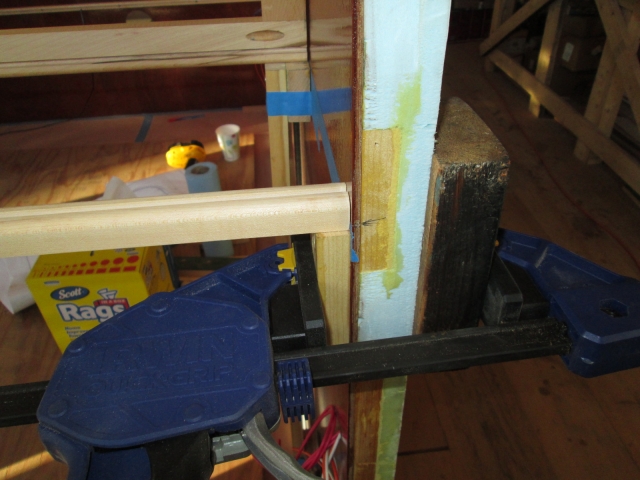
I thought about taking an angled skim cut on the table saw, but it was still missing its drive belt at that point. So I trimmed the little lip of foam on the outer edge of the wall so that the plane could pass by readily.
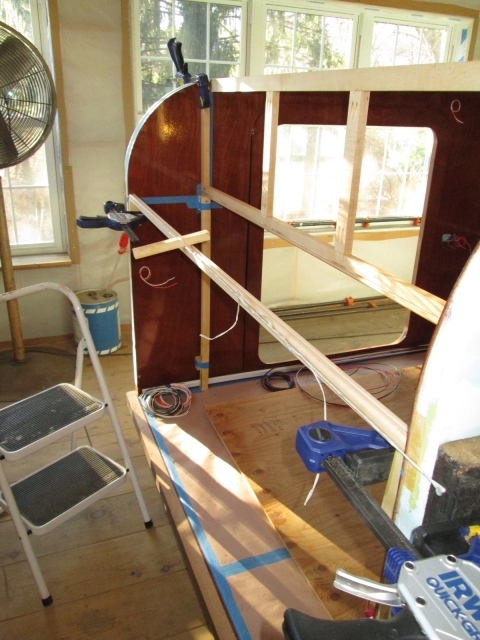
Next I laid the aluminum straight edge across the tops of the walls and clamped it to the face frame so that I could trace a reference line on the front and rear of the frame. Then a combination of the block plane, the Surform rasp, and the small sanding block, and you get this.
The thin slat lying across the walls was used as a fairing strip to help check the fit.
And now today, Monday. Still too cold.
Knowing that I would eventually need to use the table saw again, and I not knowing when Ben might be back out, I went ahead and ordered a new belt and a spare. Turns out that Ben had been there today and installed a new belt. Doh.
I started by screwing a piece of welding wire with a carabineer clip to the ceiling joist so that I could hang the turd up; should have done that ages ago.
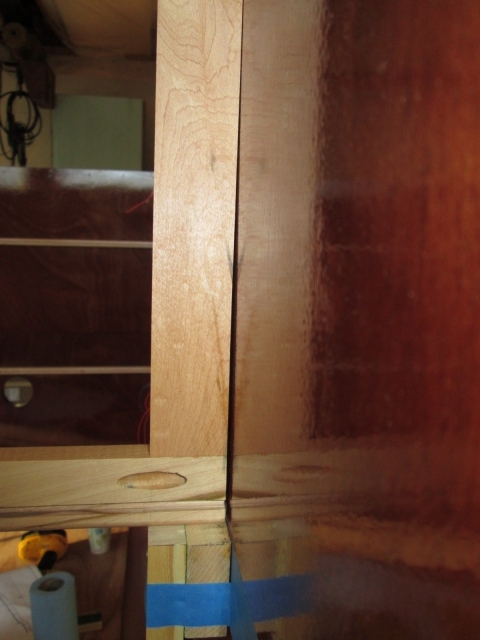
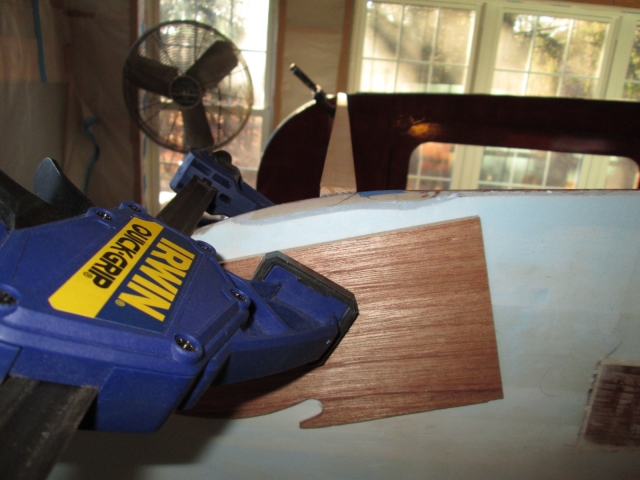
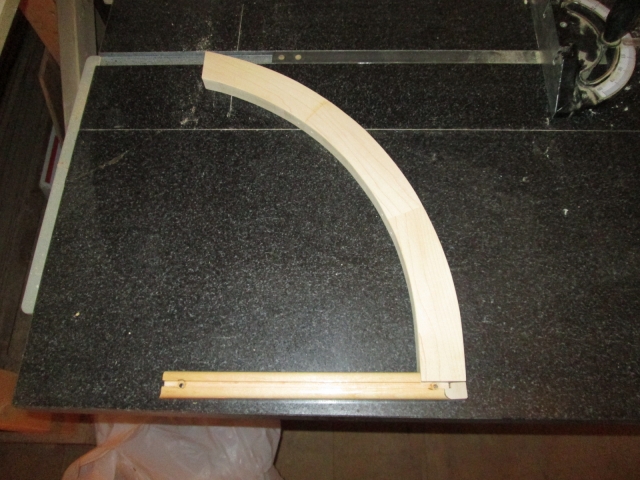
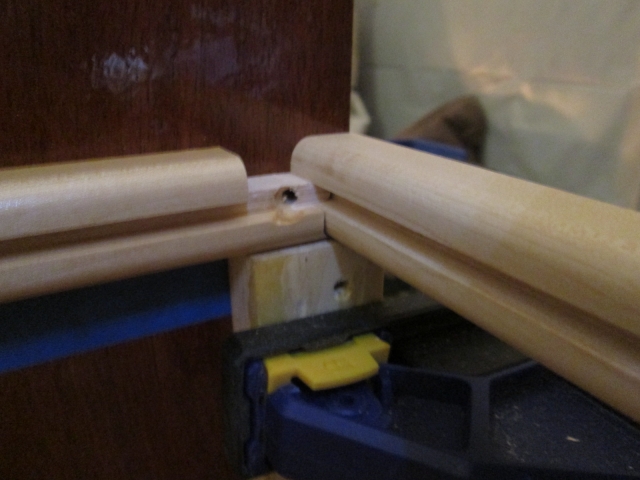
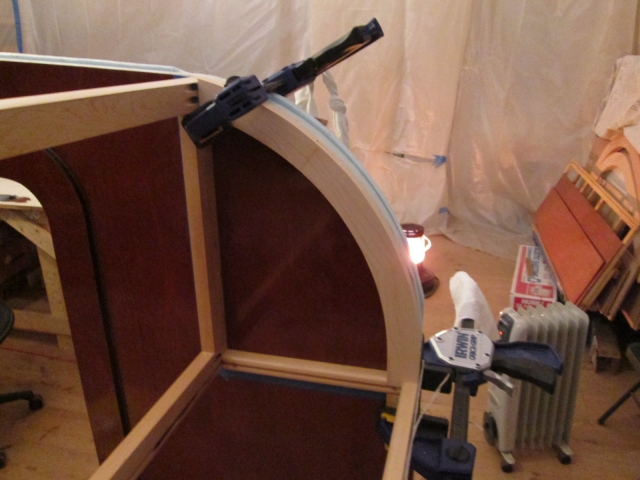
Next I noodled out how I was going to join the small front “riblets” to the cabinet ledgers. It’s a tricky little cope, considering that I do not have a big honking profile router, nor profile blades. Here is a mockup showing how I removed the top lip of the side ledger (so that the riblet takes its place in the front corner of the cabinet), and have coped the bottom lip so that it nests under the front ledger. The remaining wood behind the panel groove in the side ledger would key into the groove in the front ledger, except that the ends of the front ledger will be rabbeted to receive the very front of the riblet.
Here is the street side being dry fit, before rabbeting the front ledger.
Same thing on the curb side.
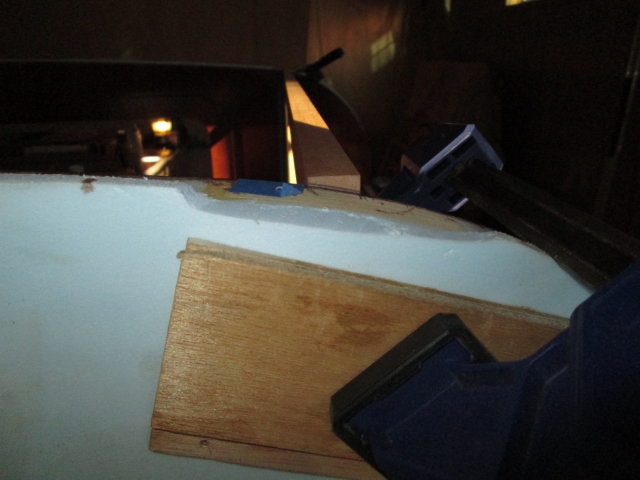
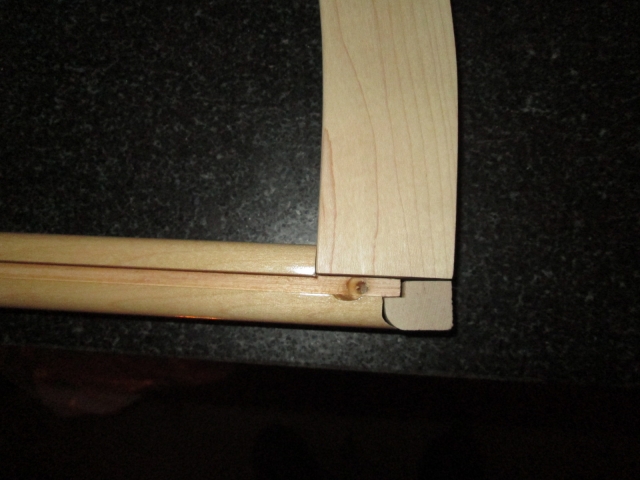
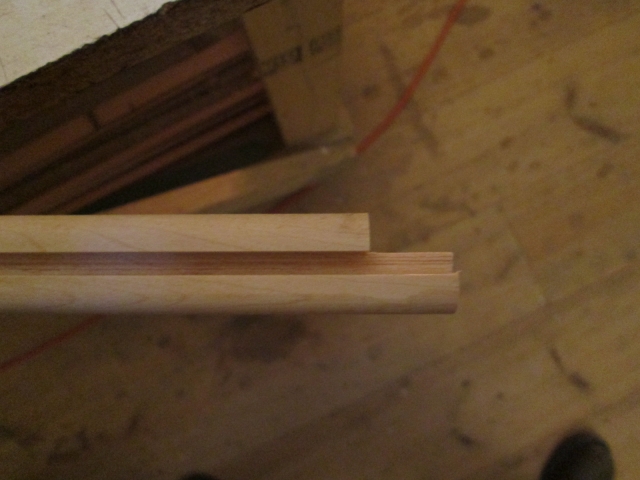
A little better detail shot of the curb side where you can see how the cope on the bottom of the side ledger wraps around the radius of the front ledger, and how it keys into the front groove.

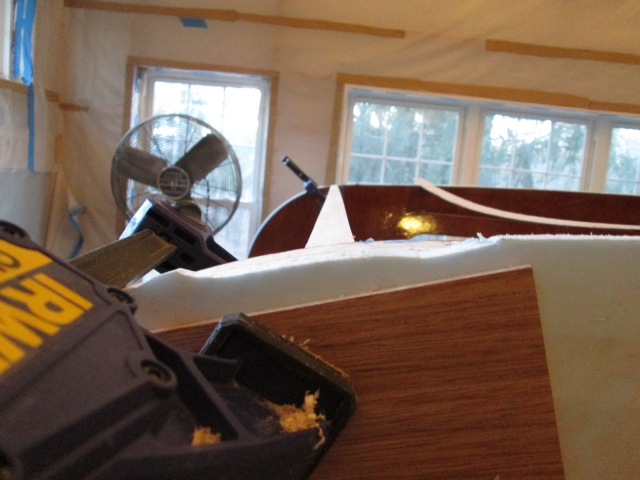
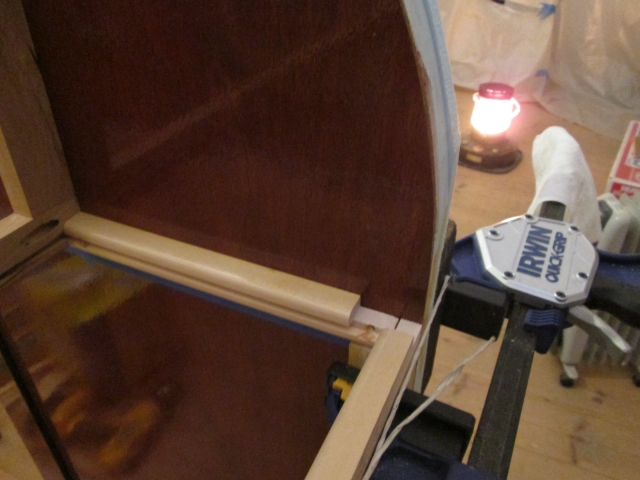
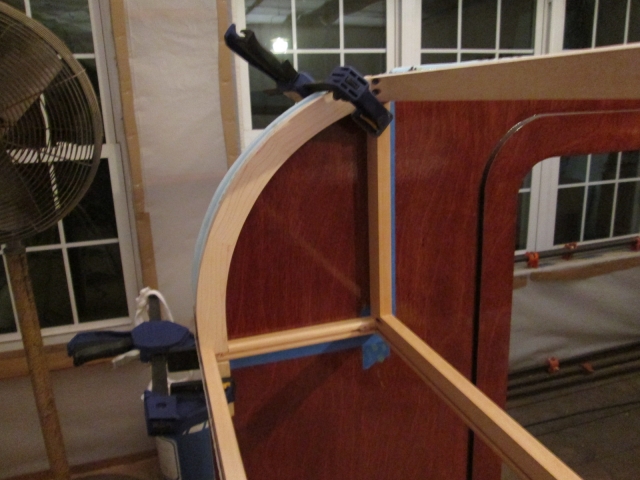
Then I put the rabbets in the ends of the front ledger. Here is the curb side.
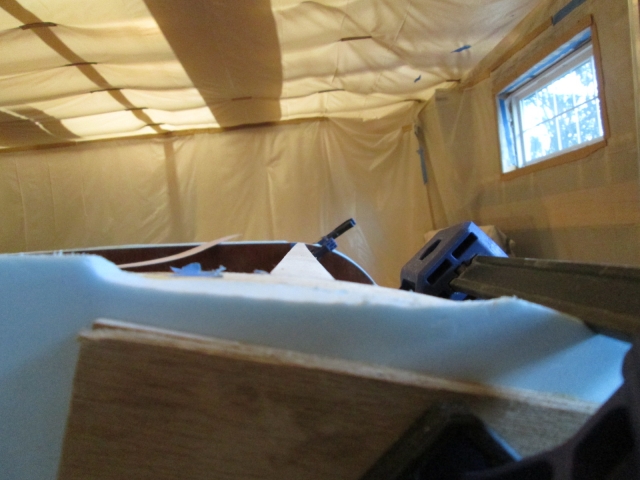
Here is the pocket that is formed for the riblet to key into (street side).
And the riblets starting to be dry fit.

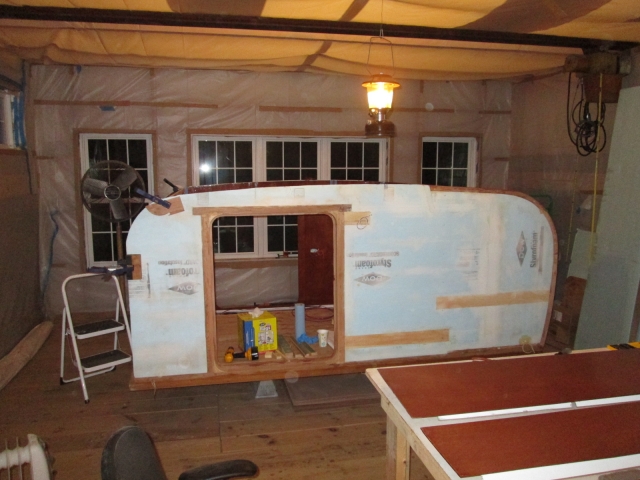
Between the frigid weather we are having, wearing the headlamp instead of a hat, and turning the electric heater off now and again to plug the table saw in, it was cold and the temps in the loft only ever got up to 43 deg F tonight. I’m going to need some warmer weather to get through the next big steps. I can switch back to working on the electrical for a while, if I need to, and some of the trim (switch blocks and plates); and that makes sense to get done before the roof goes on, but the cabinets need to be finished and done to get to that next major hurdle.

 It was COLD here this morning too ... 54F ... BRRR!!!!


 I hope, I hope,
  I know how it is life keeps getting in the way!!!


 You may want to warm up the loft before trying to paint ... what does the can say ?


 You obviously haven't priced National Luna's 12VDC portable refrigerators.