I hope everyone had a nice Thanksgiving! We did.
I put another 4-1/2 hrs in today working on the dry fit and screwing the front cabinet ribs into place.
Despite the appearance of the previous pics, there was a lot more fitting to do to get the riblets situated. They were all sitting proud of the profile, so I needed to take a skim cut off of the bottom of them.
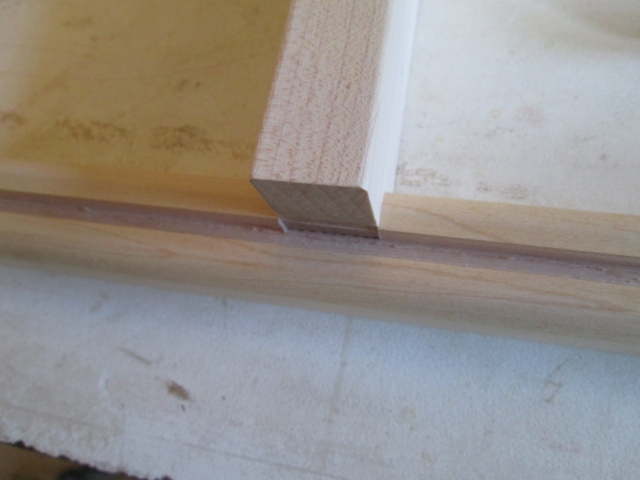
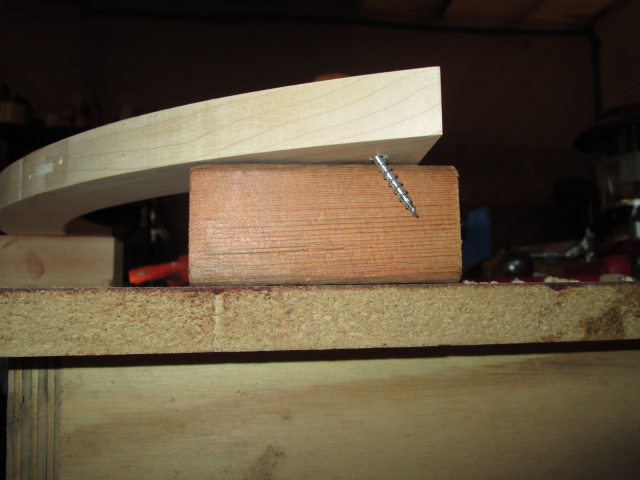
Here I have clamped a waster piece of wood to the table saw fence and plunged up into it by raising the blade. This will allow me to take a skim cut from nothing to the thickness of the blade.
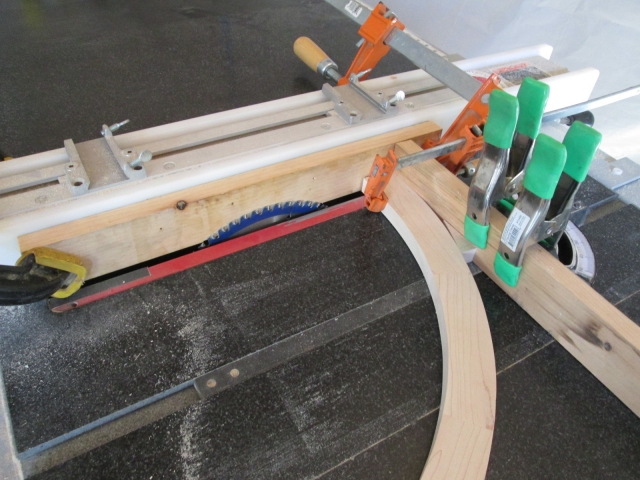
Also note the backer clamped to the miter, and the wedge piece helping to stabilize the curved riblet, which is also clamped to the miter backing piece. This allowed me to run the piece thru the saw taking a blade width while keeping my hands well clear of the blade.
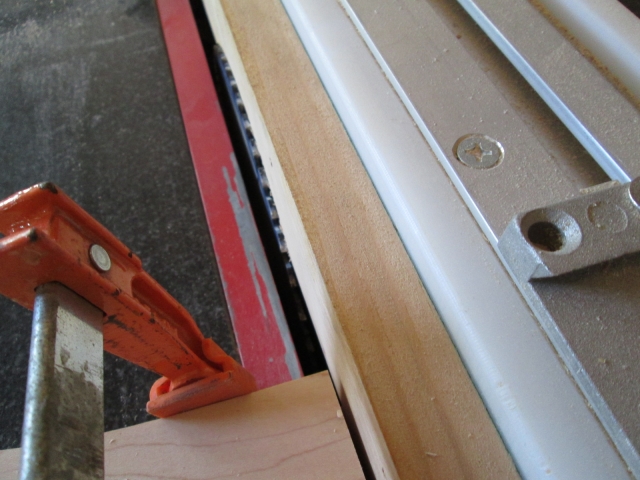
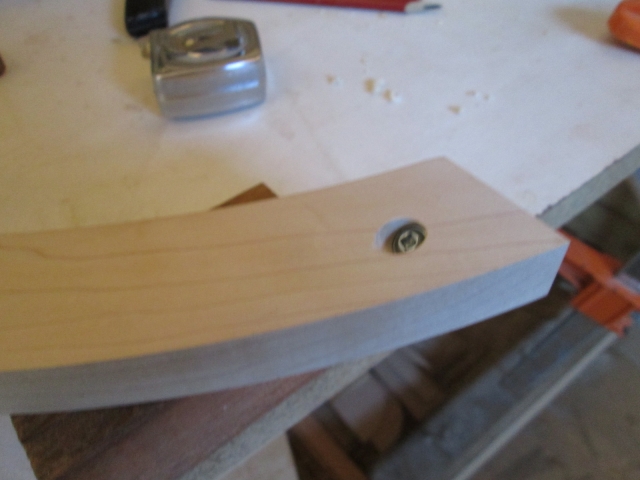
Top view of the skim cut.
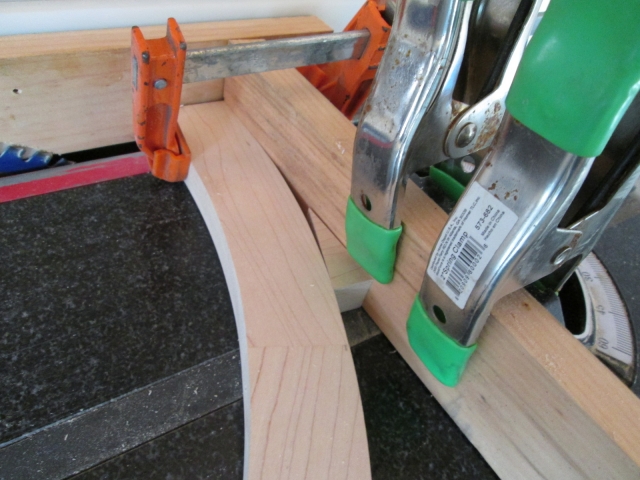
A better look at the wedge. All I had to do was hold the outer leg of the riblet down to the table (probably didn’t even need to do that).
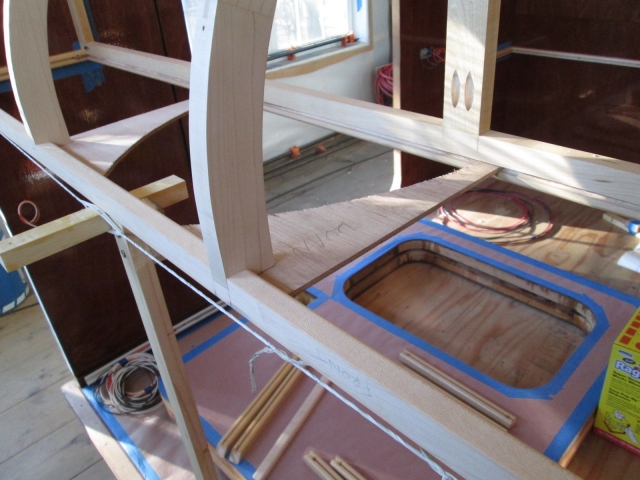
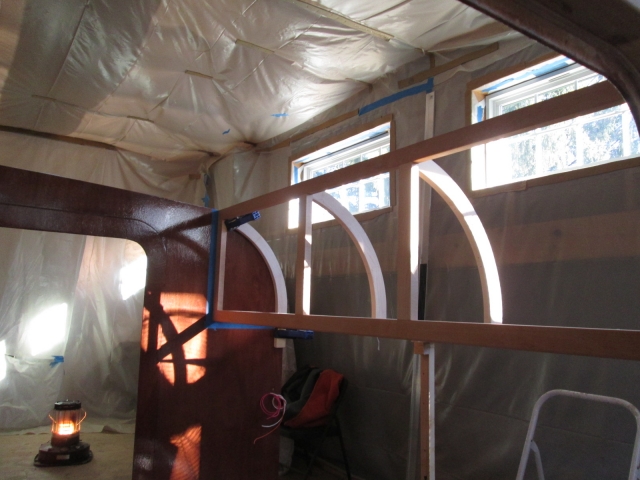
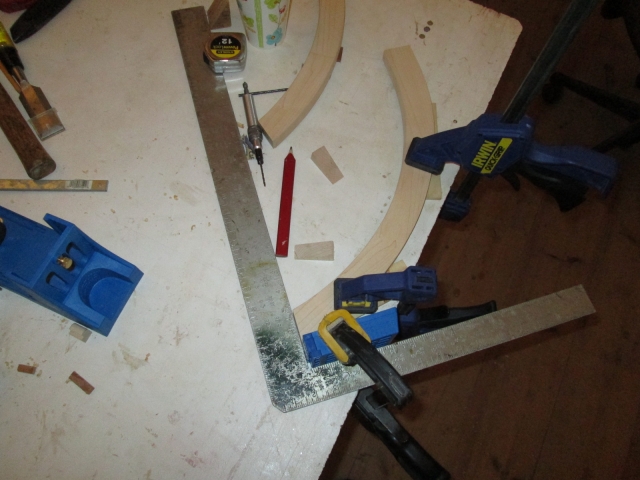
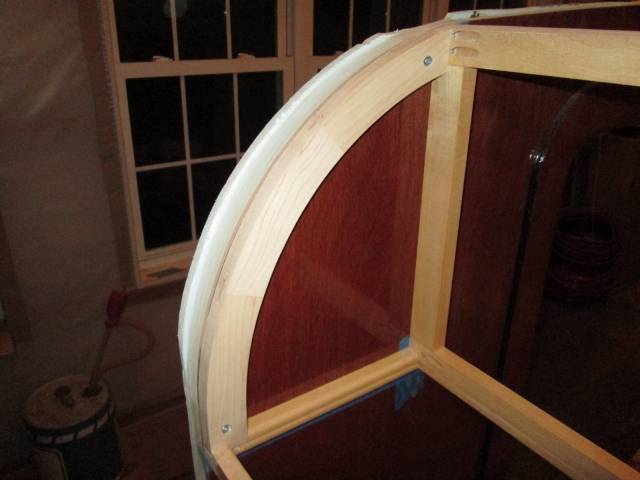
Once I was happy with the fit of the riblets up against the walls, I marked and cut the dadoes in the front ledger for the riblets that fit behind the stiles in the front cabinet face frame. Here is a dry fit on the work table.
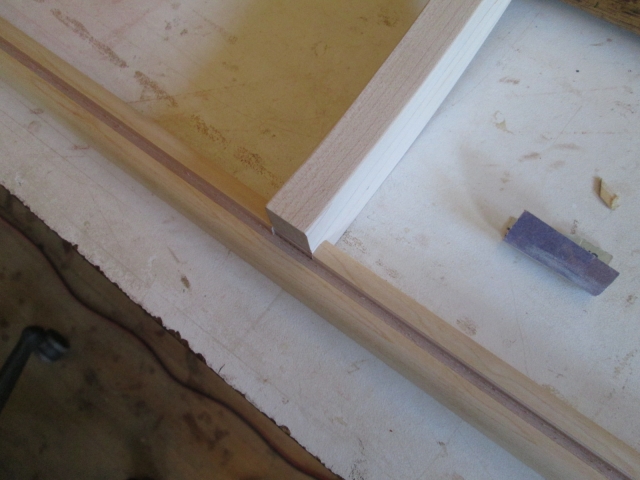
Using a couple scraps of 5 mm ply (or luan) as spacers I was able to trim and fit the middle pair of riblets.

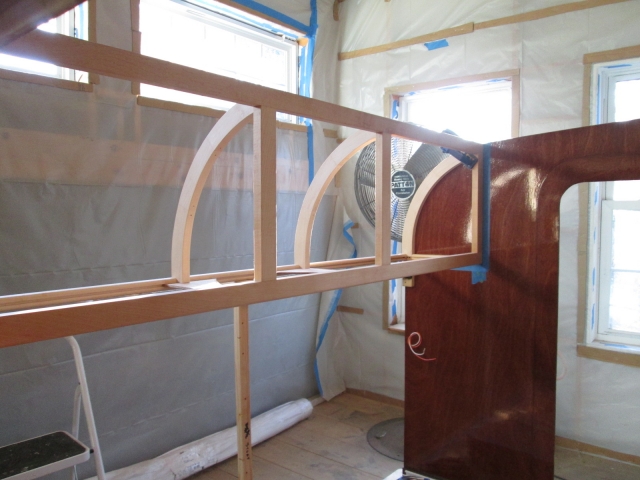
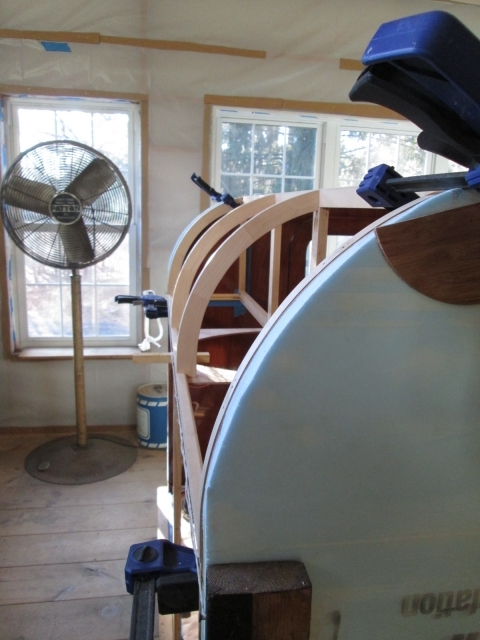
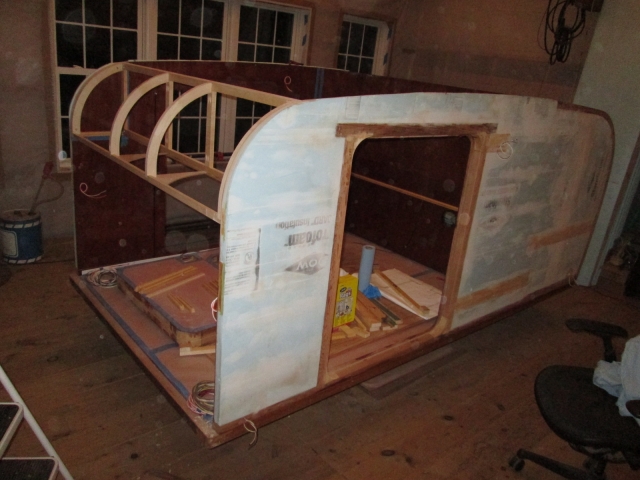
I was feeling pretty good about how things were going and that means more pictures! I’m a mechanical person by nature, not so much a free form artist. My craft tends to be geometrical and one of form following function in construction, rather than coloration or organic shapes. To me this is art.
So now that I had the riblets fitting pretty well I needed to figure out how to get all of it fastened for glue up. There is nothing at the front to screw that front ledger to and not much meat left on the ends of the ledgers to screw into the walls. It’s all part of the plan to use less wood (...yeah, right

) and therefore have a leaner build. Just need to work a little harder on the details. That, and my desire to minimize the number of exposed fasteners for aesthetic reasons, meant that I had to get creative at keeping the fasteners from clashing with each other.
I used the Kregg drill on the side riblets, but experimented on some scraps to set my own angles and depth of the seat. This let me screw the side riblets into the blocking in the walls, but avoided running into the pocket screws of the face frame and ledger.
By changing the angle of the pockets, I was also able to minimize the visual impact; the heads of the screws are recessed and the pockets are not as long and tapered as they would have been if using the jig.
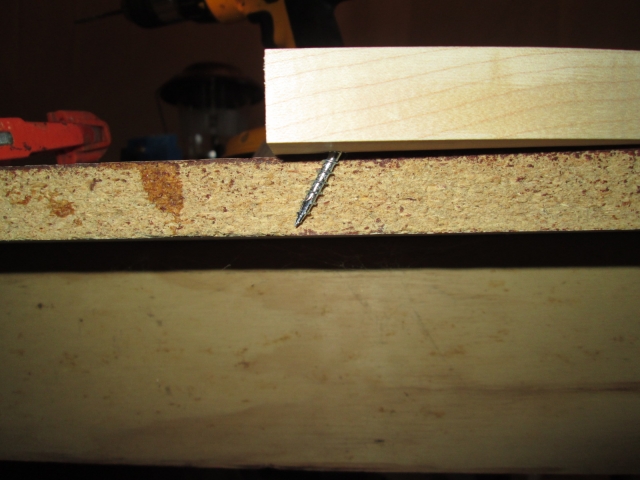
For the middle riblets I opted to screw up thru the bottom of the ledger at the front even though it meant screwing pretty much into the end grain of the rib, and having the screw heads visible on the underside of the ledger. I figured that it would be difficult to see any way due to the catchall key shelf underneath, and there just is not that much meat in the ledger to set an angled screw.
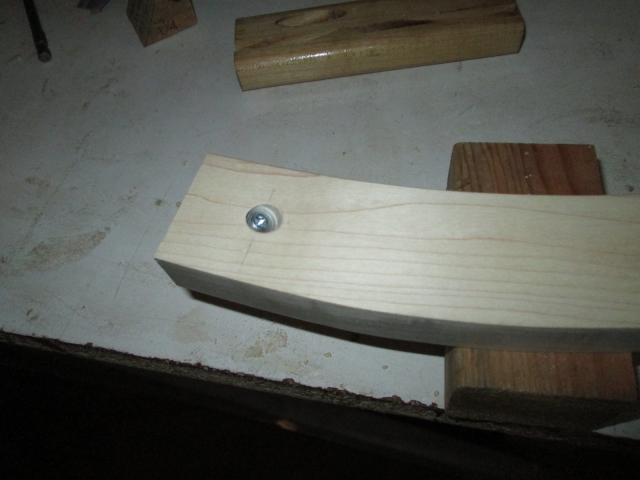
At the top of the riblets I had plenty of meat to run the pockets in thru the "back" of the ribs, and plenty of meat in the face frame to screw into, but the curve of the riblet would not clamp into the Kregg jig cleanly. So I needed to get creative. I shimmed the riblet off of the table and clamped it down with one of the holes in the drill guide centered (nearly), then used the framing square to align the drill guide and clamped that down.
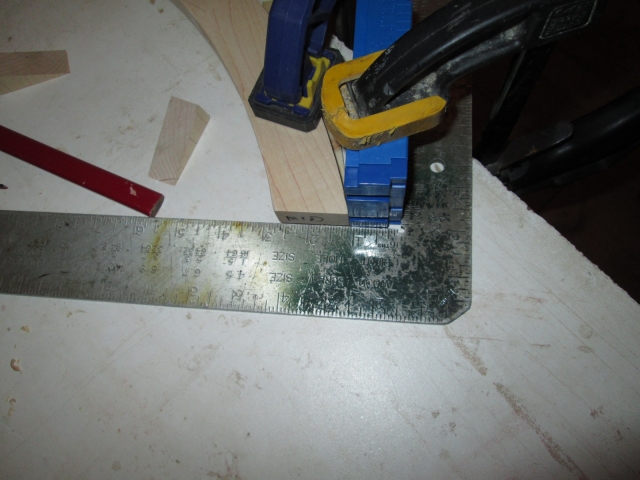
I ended up adding a couple more clamps and fiddled with the location of the hole and depth (by sliding the drill into the upper hole in the jig and eyeballing how it looked over the top of the clamped rib) until I was happy with the screw depth and angle.
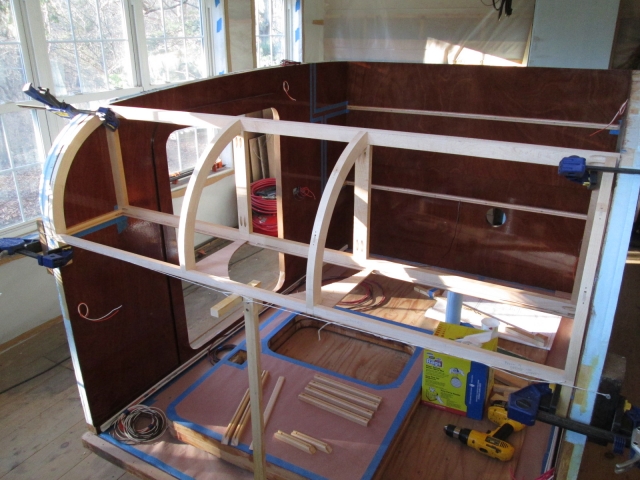
Then I screwed everything together dry. They only strayed by about 1/16 inch here and there, but I didn’t want any gaps between the ceiling panel and ribs, even if it is inside of the cabinet, so I worked the edges of the wall with the little matchbox plane and small sanding block to where the ribs and walls matched very nicely.
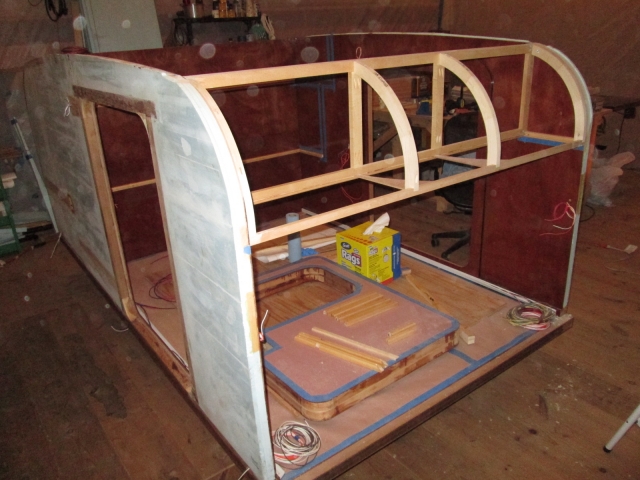
Happy.
Now I just need things to warm up a tad, just 5 deg’s or so, so that I can lay down some more poly and glue.


 At least it’s Inside ... could be worse eh ?

 Shouldn’t be hard to cobble one together...
