Wood Fenders
34 posts
• Page 2 of 3 • 1, 2, 3
Making a pair of one off fenders is certainly not worth the trouble.
That does not mean I won’t do it, just that it doesn’t make any sense, so don’t tell my wife.
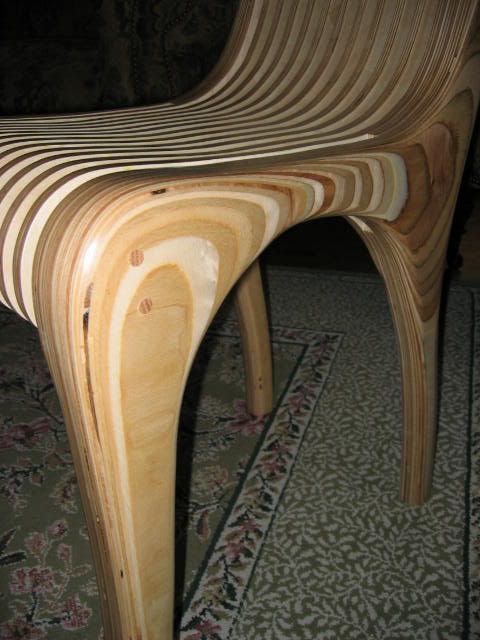
However, if I used the right foam, I could build a pair of fenders as Andrew suggests -- bread and butter style. Smooth the foam and fiberglass the form.
Once the fiberglass is thick enough and smooth, the foam can be removed -- dig out with a spoon, or solvent -- leaving just the fiberglass.
Easy? NO. Fast? No.
Possible, YEA.
dave
-

dwgriff1 - 500 Club
- Posts: 947
- Images: 4
- Joined: Mon Jul 04, 2005 4:20 pm
- Location: SW Idaho
wow! whilst reading this thread, i just experienced a "ontogeny recapitulates phylogeny" moment. to wit, the thrill of witnessing and participating in the problem- solving process for just one facet of the construction of a tear just struck me. silly? maybe. fun? definitely! john, your idea would result in a beautiful fender. andrew, your engineering prowess just shines time and time again. steve f., as soon as i saw your cub-roy pattern, i knew that i'd found my profile. thank you all--it's an honor to rub virtual elbows with each of you. regards,
steve
steve
the government does not produce one single bushel of corn, one single barrel of oil, or one unit of any other commodity. the only way it obtains the money that it awards to its chosen recipients is by taking it from others who earned it. this is called "voluntary taxation".
- stedi
- Teardrop Builder
- Posts: 47
- Joined: Sat Feb 18, 2006 5:03 pm
- Location: Dowagiac MI


