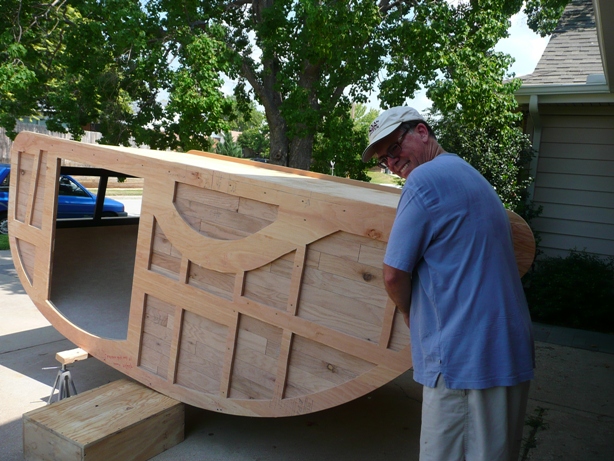
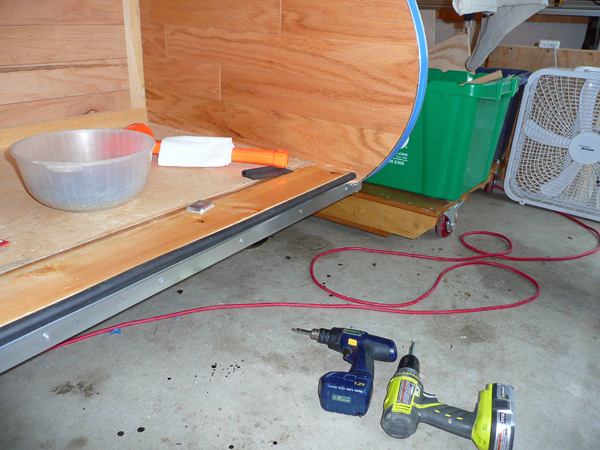
How you build your roll pans depends somewhat on how your frame is contructed. My frame has a platform of 2x2 steel tubing with the tongue mounted welded to the bottom of the frame. I extended my walls 2" to cover the platform. Most of the radius of my front and rear roll pans were above roll pan so I framed that portion of the front roll pan and rear hatch similar to how Danny showed. For the 2" depth of the roll pans that projected below the floor and over the platform, I built them up out of solid wood and planed them in place to match the roll pan radius.
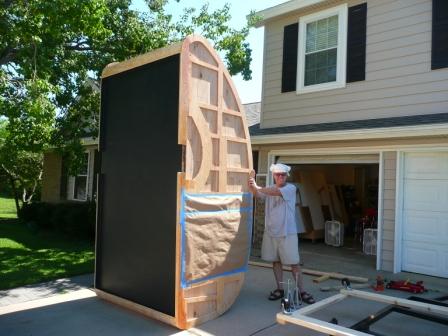
These pictures showed how I did this on the front roll pan. To make it easier, I flipped over the teardrop so that the floor was up.
I approximated the radius by bevel cutting the wood on the table saw, and then glued it into place.

I then added more boards until I built up the roll pan to the depth of the platform.

And then I planed and sanded the boards until the matched the radius.

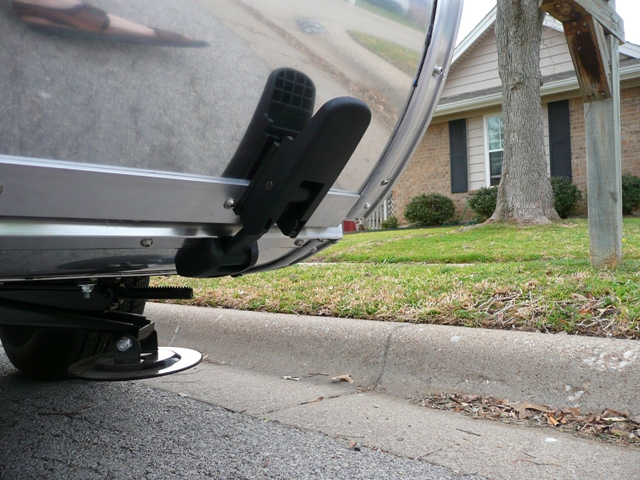
I did the same thing for the rear roll pan. You can kind of get an idea what both roll pans and the extension of the sidewalls to cover the platform look like in this picture.
I really had to scratch my head to figure out how to the rear hatch/roll pan seal. I ended up using a vertical edge at the galley floor.
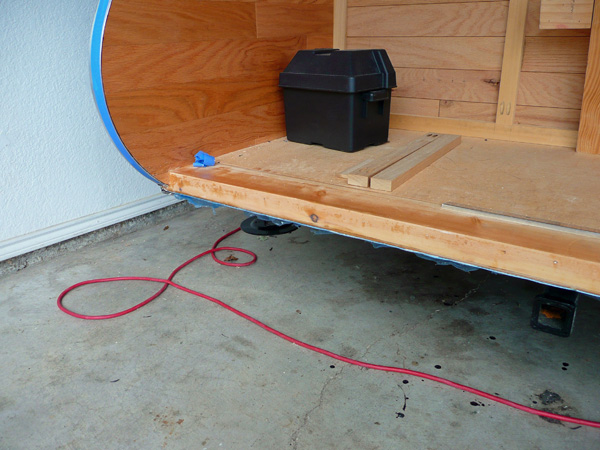
To this I installed a "P" shaped weather seal.
I then added aluminum trim to the flat part of the seal.
I don't have a picture of it, but the lower edge of my hatch is vertical and uses the same detail but is upside down to the galley. This way the bulb part of the P shaped seal on the hatch overlaps the bulb part on the galley floor and each bulb part seals against the aluminum trim of the opposite side.
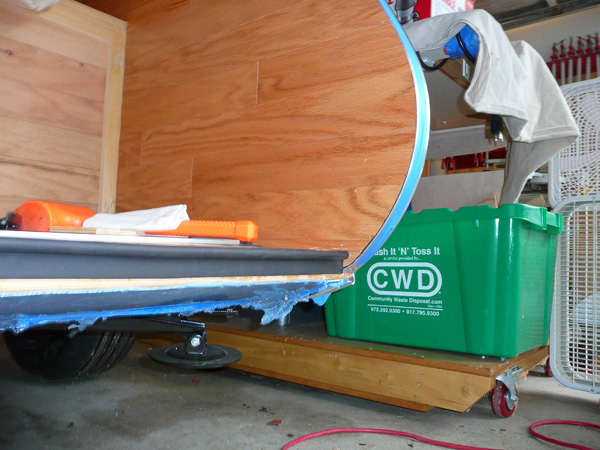
Here's a picture of the hatch closed where you can see where the hatch and floor meet and the rear roll pan below the floor.
Hope this helps.
Take care,
Tom