Spring hanger torn off...probably my fault!
60 posts
• Page 2 of 4 • 1, 2, 3, 4
Re: Spring hanger torn off...probably my fault!
![]() by working on it » Wed Feb 26, 2014 1:09 pm
by working on it » Wed Feb 26, 2014 1:09 pm
Kc-actually, I am measuring it with my caliper here at work (l have the broken off piece with me). It is .104-.105 in three places. 12 gauge? If you remember my build, it started out as a 50x60 trailer with 8" wheels.
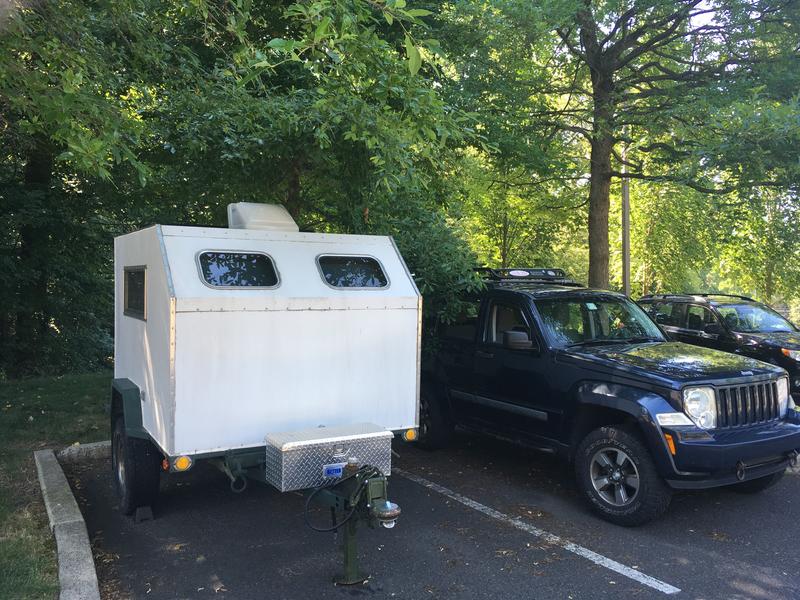
2013 HHRv "squareback/squaredrop", rugged, 4x8 TTT, 2225 lbs


- *3500 lb Dexter EZ-Lube braked axle, 3000 lb.springs, active-progressive bumpstop suspension
- *27 x 8.5-14LT AT tires (x 3) *Weight Distribution system for single-beam tongue
- *100% LED's & GFCI outlets, 3x fans, AM/FM/CD/Aux. *A/C & heat, Optima AGM, inverter & charger(s)
- *extended-run, on-board, 2500w generator *Coleman dual-fuel stove & lantern, Ikea grill, vintage skillet
- *zinc/stainless front & side racks *98"L x 6" diameter rod & reel carrier tube on roof
-

working on it - 2000 Club

- Posts: 2189
- Images: 457
- Joined: Tue Oct 04, 2011 9:05 pm
- Location: DFW Texas
Re: Spring hanger torn off...probably my fault!
![]() by Redneck Teepee » Wed Feb 26, 2014 7:59 pm
by Redneck Teepee » Wed Feb 26, 2014 7:59 pm
The readings you show are awfully thin for the type of structural support needed, not to mention the shock that has already proven itself destructive. Rob's suggestion to scab the 1/4" angle is probably your best fix to rectifie the situation with out basically starting over. The 2" angle will take the bulk of the shock produced by the spring hangers, and the existing frame will have a new resting place with proper support. I would not weld the ends of the angle as this will keep the frame from flexing freely and possibly produce another crack in the thinner material. Being the old worn out weldor that I am, I would enlist the help of a good heli-arc weldor to stitch weld some angle iron as discussed at least 6" past the hanger brackets each side... with say 2" of weld, skip 4", weld 2" etc. By doing this you spread the load out, and stitching it allows the metal to move or flex with less tendency to crack at the welds. A good heli-arc weldor can keep from burning thru your frame because of the metal thickness differential by diverting the bulk of the heat to the angle iron........ Just my 2 cents worth  ....Hope I make sense
....Hope I make senseI fear the day that technology will surpass our human interaction, the world will have a generation of idiot's.
-
Redneck Teepee - Silver Donating Member
- Posts: 853
- Images: 21
- Joined: Fri Dec 27, 2013 5:00 pm
- Location: Central Ca.


