Thanks. I'm located in Peoria, IL. I thought I had filled out my location, guess I hadn't. I did now anyway.
So my dad came over today as well. I took no pictures till after we were done today (he snapped two while I was working and he was waiting on me), when he's helping, we move along quick, he doesn't like sitting still. This is a good thing, considering I want this camper livable
before April 19th.
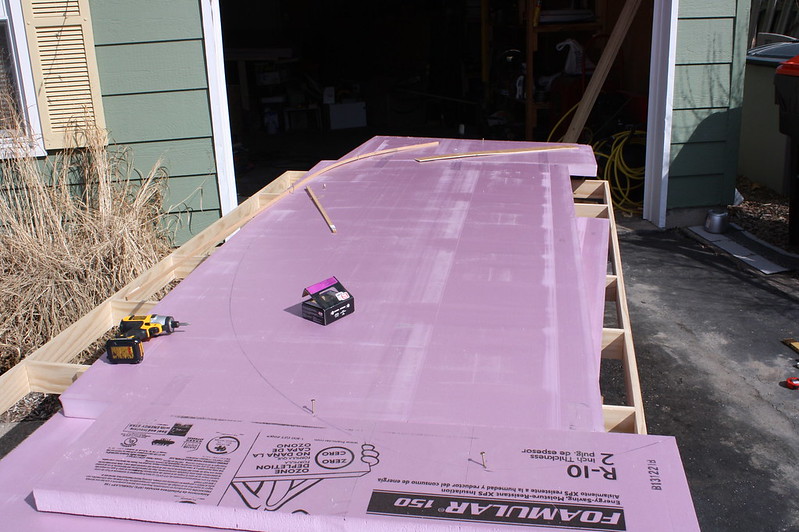
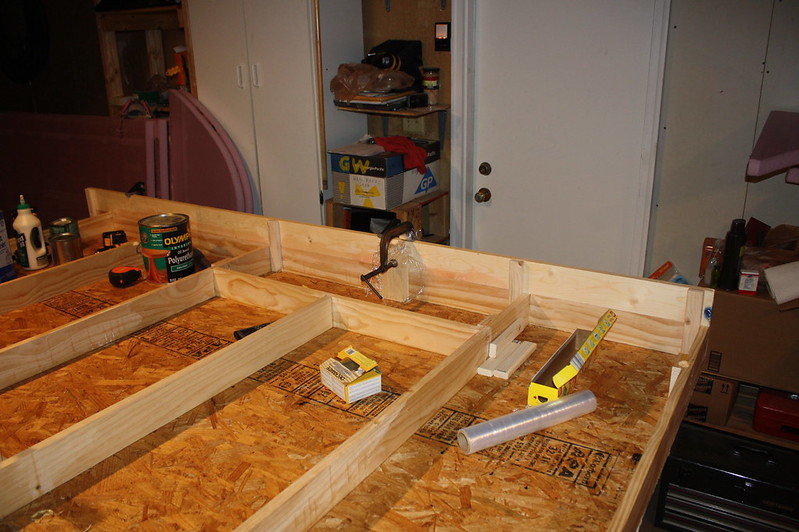
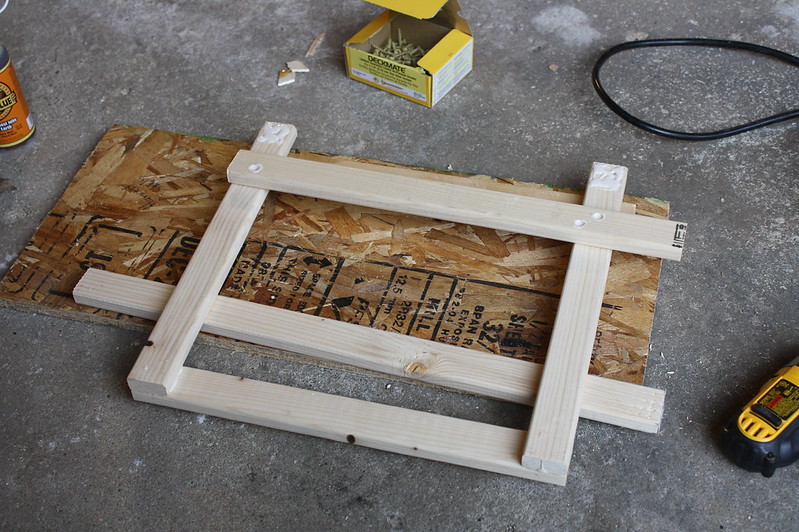
Today we worked on the floors. We lined up the first sheet of OSB on the framing, and then I got on my creeper, went underneath, and outlined all the 1x4s with pencil. I did this because they were not all straight, some where bowed sideways a bit, and being only 3/4" wide, there is not much room for error in drilling the screws.
 Outlining the 1x4s
 by
jseyfert3, on Flickr
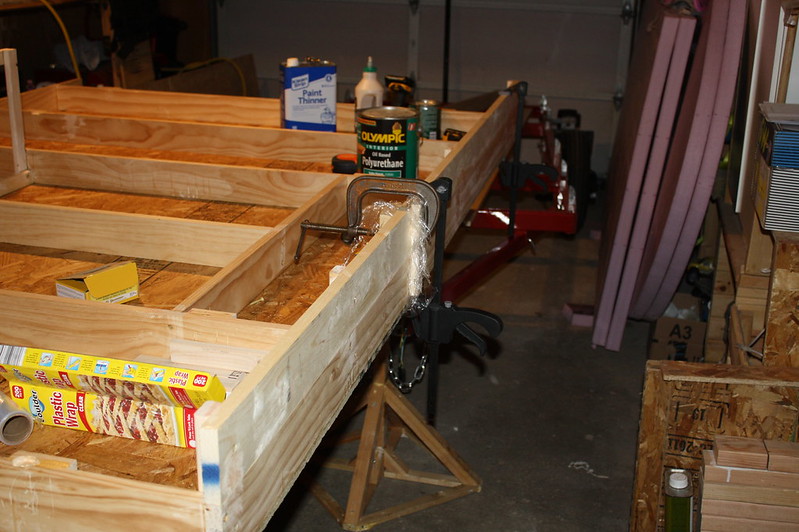
When it was outlined, we flipped the sheet upside down and drilled screw pilot sized holes using the outlines, at the corners and approximately every 9". We then flipped it right side up, lined it back up, and drilled and screwed two holes on opposite diagonals of the OSB. Once secured, we used the pilot holes in the OSB to guide the drill bit to drill the pilot holes into the 1x4.
At this point all the pilot holes were drilled. We unscrewed the two holding screws and flipped it upside down again. Using the pencil lines as a guide, we ran a beads of Titebond III everywhere it would sit on a 1x4. We quickly flipped it over, lined it up, and screwed in the two opposite diagonals first, then screwed in the rest of the screws with #8 x 1.25" Deckmate screws (the same type as I used for the 1x4 framing, just shorter). When complete, I got on the creeper, and used my finger to smooth the oozing glue into a fillet, and wiped off the drips.
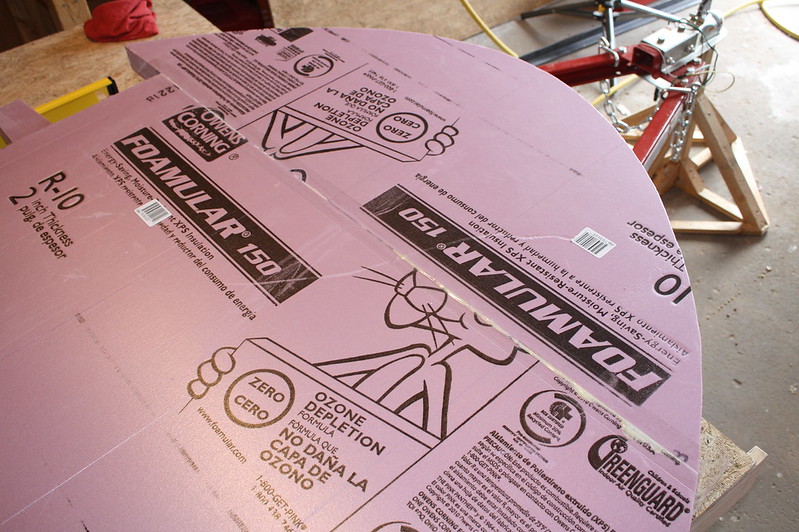
As one sheet is not wide enough, we cut about 18" off another sheet. Doing this, I learned I need to get a blade with some nice fat teeth for cutting OSB, not the cheap stamped blade my Skilsaw came with. The blade wanted to jam up when using a guide piece of wood, and when I tried to freehand, it didn't jam (though it was still slowing down), but it cut this really crazy curve at one point, I couldn't really make the saw go where I wanted it to go. A nice carbide tipped blade should help with this.
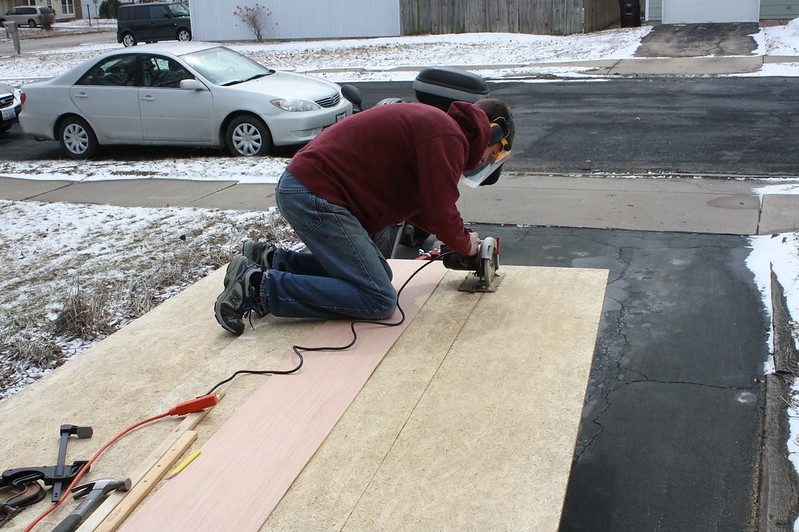 Cutting 18" off the Second Sheet
 by
jseyfert3, on Flickr
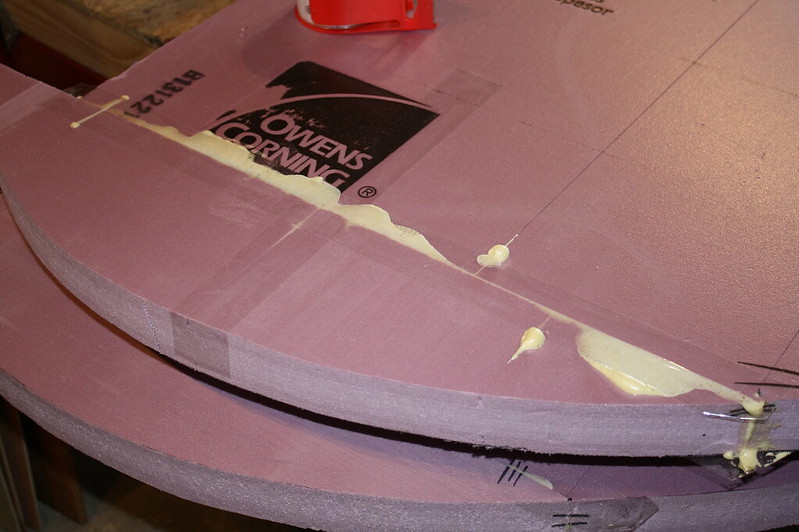
After it was cut, we lined up the size that was cut at the factory with the other piece of OSB. I noted some high points, and hit them with a belt sander. When we got as close as a gap free joint as we were going to get, we repeated all the above steps on this piece, with one additional step. After laying out the Titebond glue, we wet the side of the OSB already mounted, then ran a bead of Gorilla Glue along the piece we were gluing, and quickly put it in place as glue was starting to drip. I did this because the GG will foam up and help seal the joint.
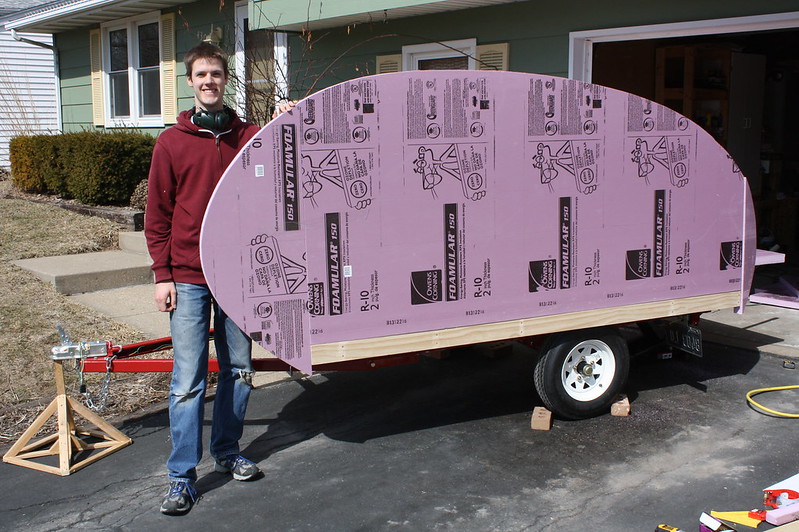
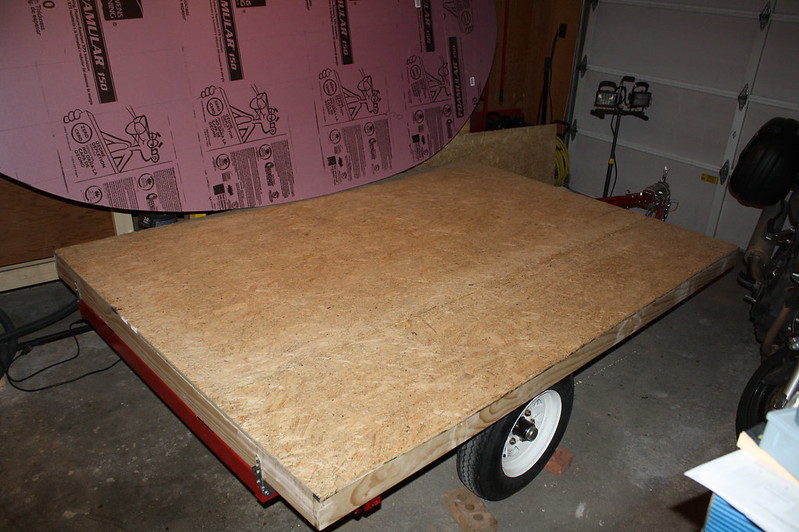 Floor Assembly Completed
 by
jseyfert3, on Flickr
We overlapped the OSB slightly on each side (a little more on the side I had to freehand cut), I will go back to this after the glues dries a bit and trim it off with the router.
I have not waterproofed the wood yet. I wanted to put the OSB on while the framing was screwed into the trailer, as well as allow good wood to wood glue joints between the 1x4s and the OSB. I will unscrew and flip the entire floor assembly once the glue dries, and begin coating with the 75% paint thinner, 25% poly mix to get a nice, deep waterproof coating. Once done, I'll flip it back right side up, and it will be screwed down for good (after I paint the trailer).


 Hmmmm. Interesting.
  I may be capnTelescope, but sometimes they call me capnObvious.


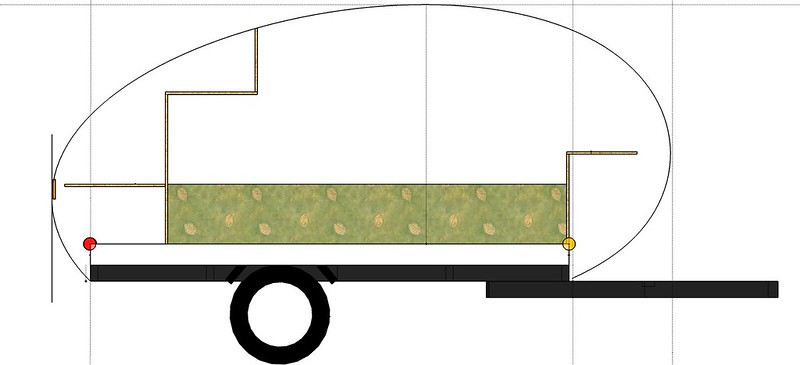
 The enclosure I was referring to is the one you are building on your trailer. Yes, you want to leave the bottom tray of the stock enclosure intact.
 You need free air circulation around the outdoor half of the a/c unit. Ambient air needs to get in, and hot air out. If, as I understand it, you are building a box with a fold-down door around the unit, then an expanded metal bottom would let the air in, and the door lets the air out. Or, you can make your box as wide as possible, so plenty of air can get in on the sides of the unit when the door is open.