What day is this? It’s all becoming a blur, what with the long hours continuing at work and still putting my time in on TPCE.
Let’s see, last night was Thursday. I tried restacking the dado set with the good rake in place of the chipped one and the cut improved but was now not square to the edge, so I ditched that plan and switched over to the router table. Made some sawdust.

(Later I found that the set screws in the die cast table insert were vibrating around, so I reset those and staked them in place.)
I made these rabbets in the front inside edges of the locker side panels by making a couple of passes with a half inch bit. I have a 3/4 bit, too, but I guess I thought that might be too aggressive (used it later after finding the soft pine to cut easily). If I had planned things out better I might have left the panels a little longer and trimmed to final length afterward to avoid the little bit of chip out, but it’s just not that critical in this application.

The floor of the locker gets 3 rabbets, one on each side and across the front. Used the miter gauge for the cross cuts.

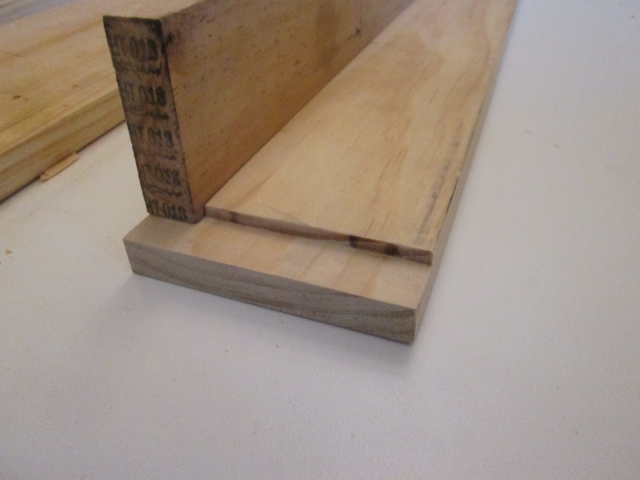
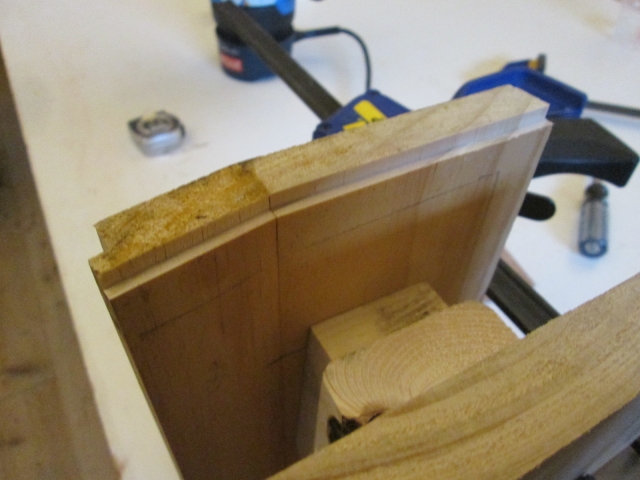
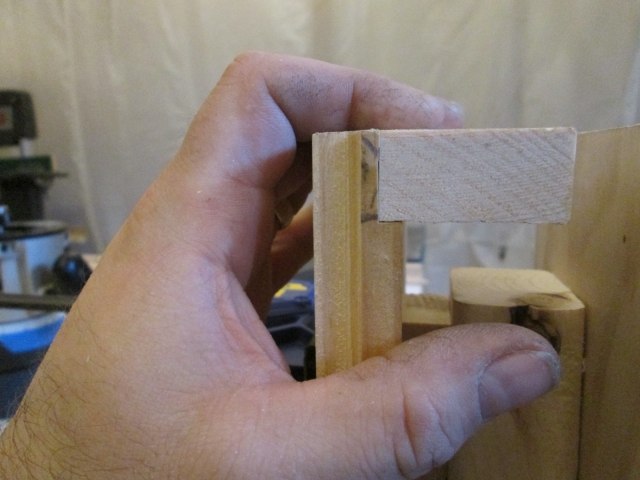
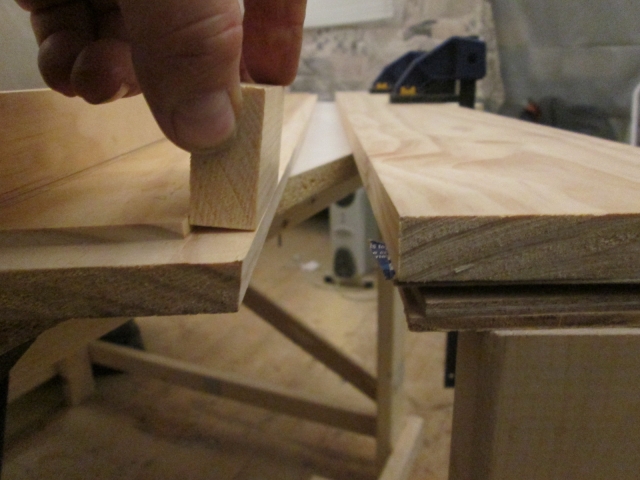
I used this darker piece of scrap to check fit and demonstrate how the locker floor, side and front panel will come together. The small piece represents the front panel that will be front to back with the tongue box. The side with no rabbet will butt up to the lower part of the cabin front wall.
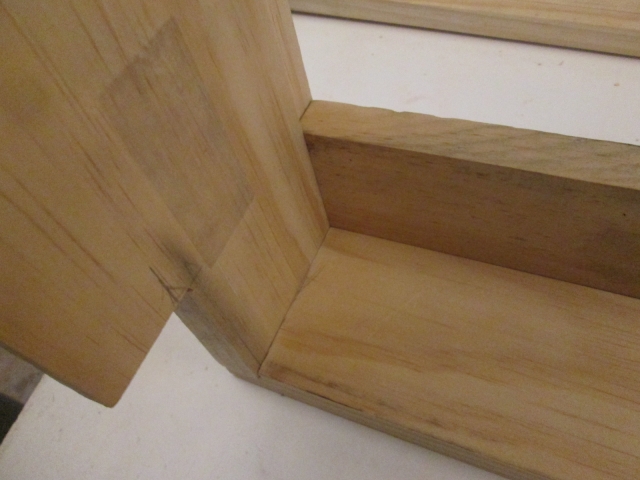
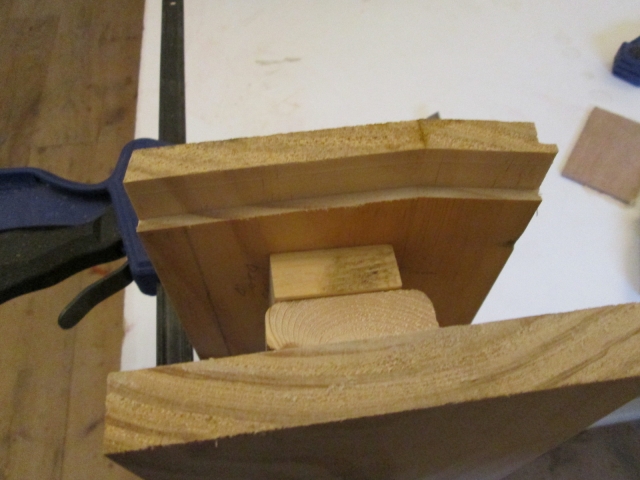
This is looking down into the street side of the well of the locker from what will be inside of the cabin.
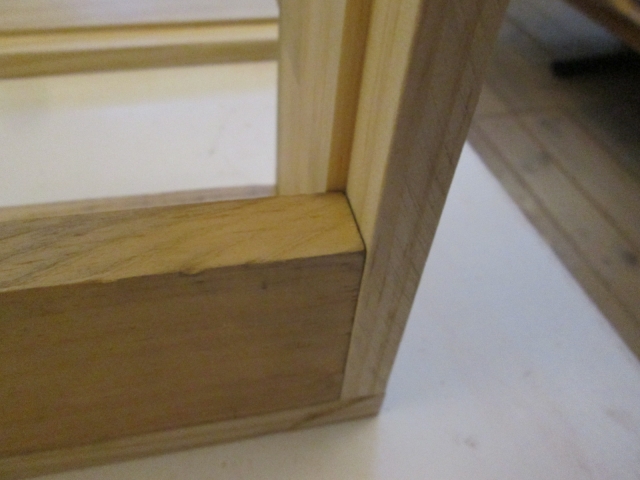
This is the lower front of the locker on the street side.
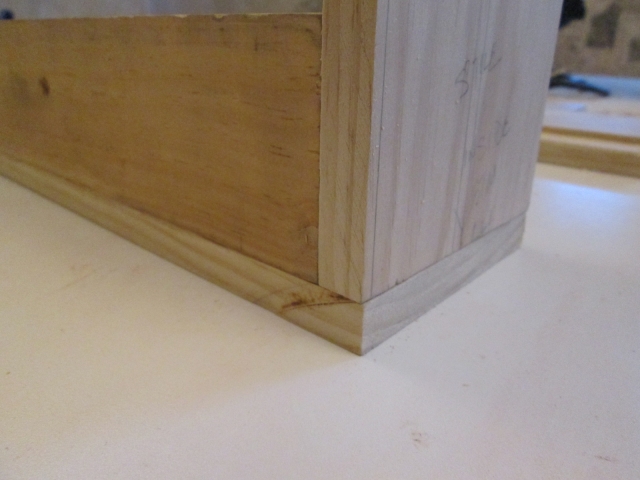
And the same thing looking at the front 3/4 view from the street side.
Tonight (Friday?) I continued with the rabbets in the locker cap. This was slightly more complex because the length of the cap is two pieces mitered together at 10 degrees, and the rabbets needed to be on the inside to receive the side and front panels.
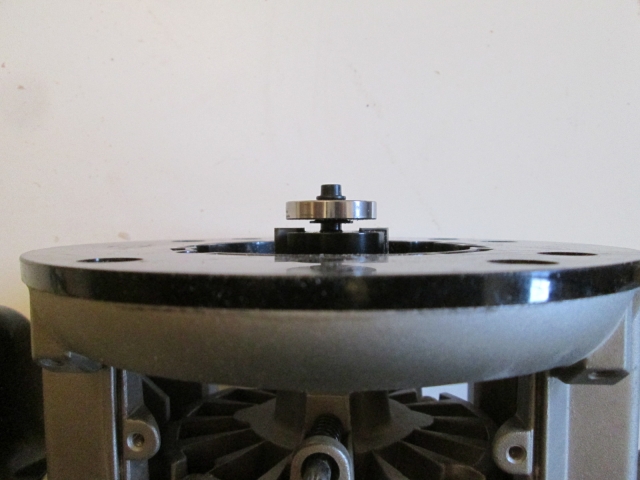
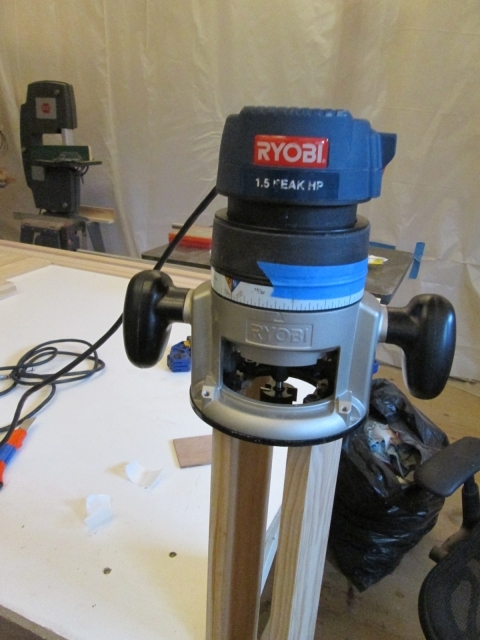
But first I had to pull the router out of the router table and reinstall the shoe. (The router will fit in the table with or w/o the shoe, but I can get the bit a little higher with the shoe off.)
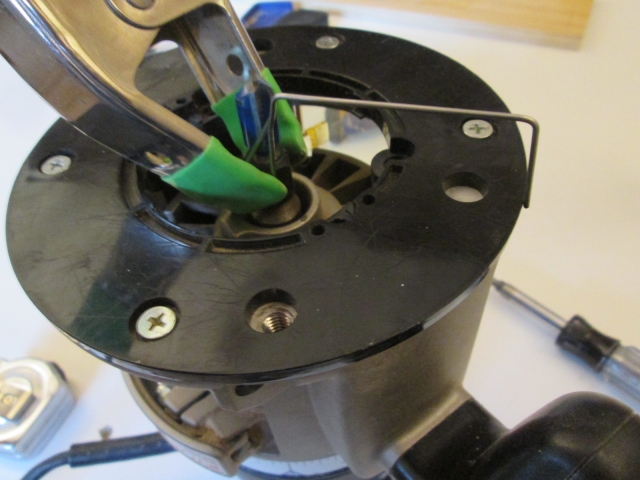
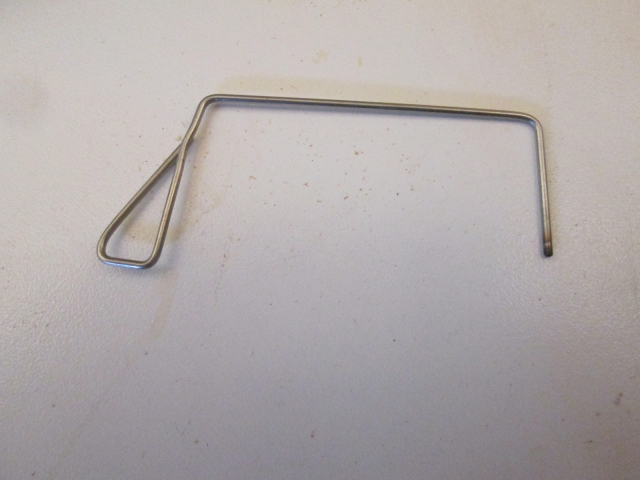
I made an improvement to my centering “feeler gage” technique that I use to make sure the shoe is concentric with the bit. Rather than just spring clamping the wire to the cutter (which isn’t super stable), I bent the wire so that it can be clamped onto the wrench flat of the collet nut so it was much more stable and worked much better.
For the side rabbets in the locker cap I used the rabbeting bearing bit. It’s 1-1/4 inch diameter x 1/2 inch tall with a set of bottom bearings of various diameters. By selecting the bearing with the correct difference in diameter and changing the depth of cut, rabbets of various depths and widths can be made.
I started with a bearing that would give a 1/8 deep rabbet, planning to switch to 3/16 inch for the final passes.
Again, if I had planned better I would have made the rabbets before mitering and joining the pieces that make up the cap. Now I had to get creative. Because the inside of the cap is not flat, I couldn’t run it through the router table or saw.
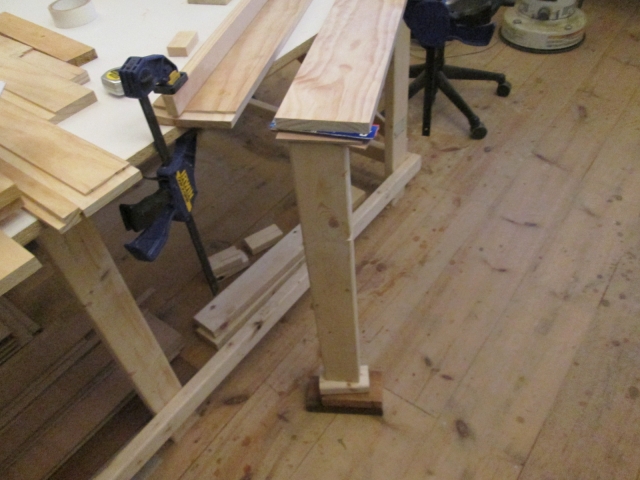
I like to have gravity helping, rather than working against me, so to do the end rabbets I stood the cap on end on the floor next to the leg of the bench; shimmed out for the lip of the table with a couple of 2x4’s propped up off the floor to match the rim boards of the bench; double side taped a couple more blocks to the underside of the cap; spaced with another 1x; and finally shimmed one of the front panel boards (which are shorter) up off the floor to match the height of the cap. All of this was clamped to the table leg.
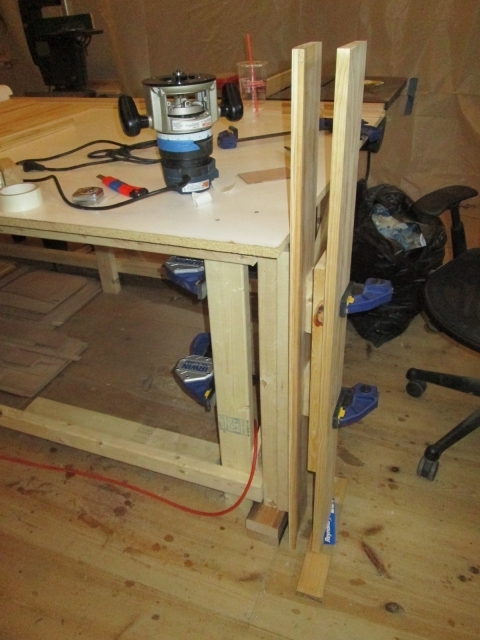
The reason for all of this was to provide a stable base to run the router on to make the end rabbets under the cap. During this “dry” practice test, I found that the boards had a bit of spring in them so I added some more spacer blocks up top and clamped them in.
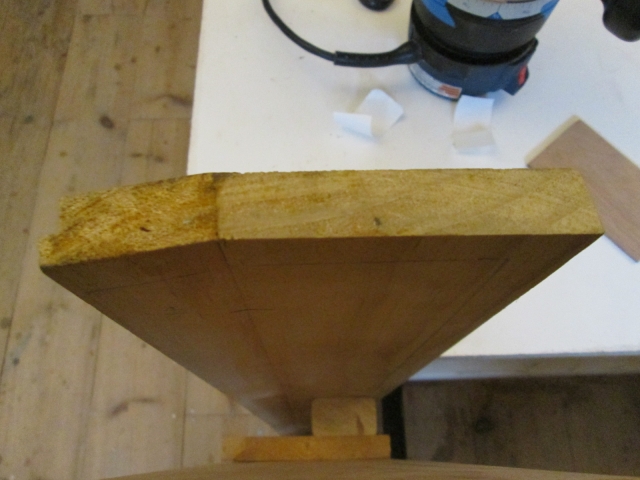
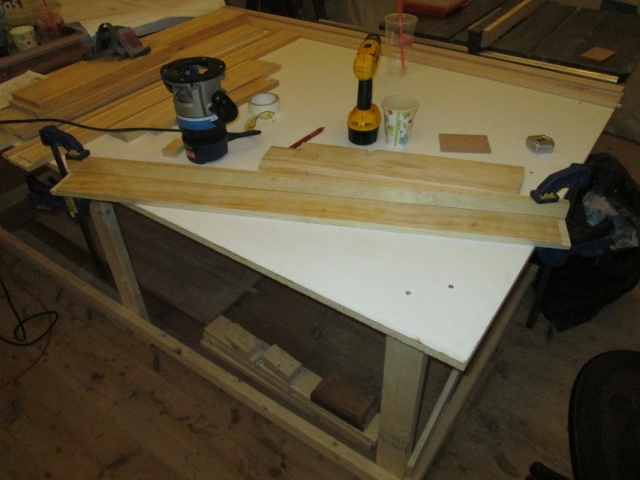
Here you can see the results of the first pass. The soft pine cuts like butter, and the set up time was well worth the effort, as it made the actual cutting process go error free.
Switched to the 3/16 inch offset, and completed the rabbet in 2 cuts.
Flipped the board around and was able to finish the other end in just two passes.
Another set up change to get the underside front of the cap. Again, better planning and I would have waited to rip the bevel on the front edge until after doing the rabbet. No good way to reference the front edge, so I used one of the 5 deg beveled drop pieces (left over from ripping one of the cap sections) as a guide fence. This let the fence piece ride up on the beveled section of the cap and was close enough to the 10 deg included angle to get the job done.

By clamping across the corner of the bench I was able to keep the clamp bars to the rear and out of the path of the router.
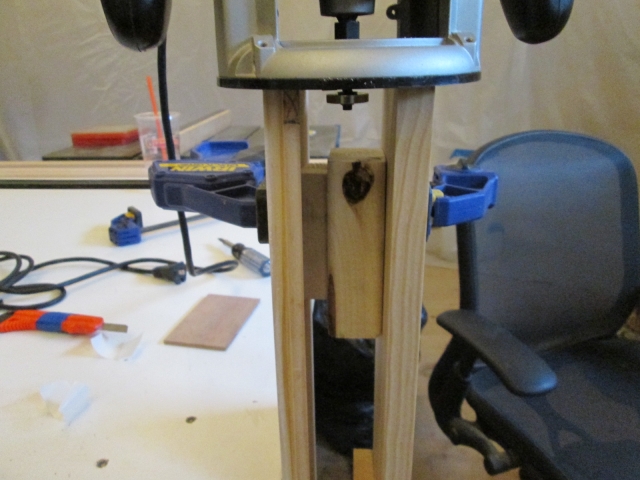
Because this makeshift fence was on edge, allowing it to flex a little in the middle where I couldn’t get a clamp on it, I screwed a small backer block down to keep the router from pushing it out.

To support the router shoe better I clamped another 1x6 down adjacent to the edge to be cut.
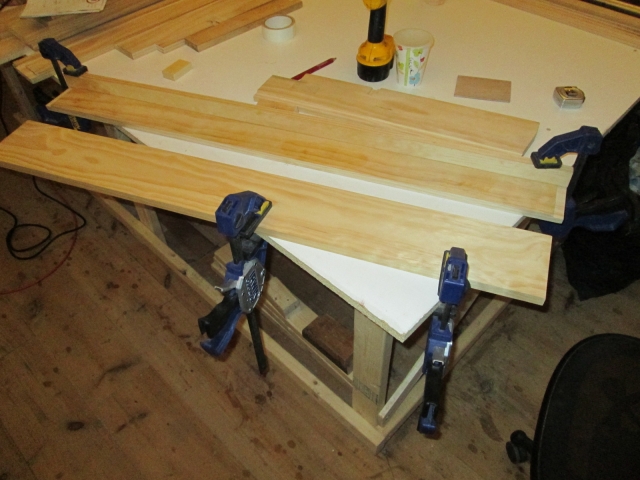
This proved to be too springy where it hung off the table, so I propped it up with various blocks, shims and a piece of 2x4 (I’m sure this is exactly how the most experienced carpenters do it in all of the finer cabinet shops

).
Switched to the 3/4 diameter straight cutter and made a couple of passes freehand, taking smaller bites at the full 3/16 inch depth, until reaching the fence for the “final” pass. Actually, I had to make a small adjustment to the fence to account for the slight angle where the front panel will be beveled at the top.
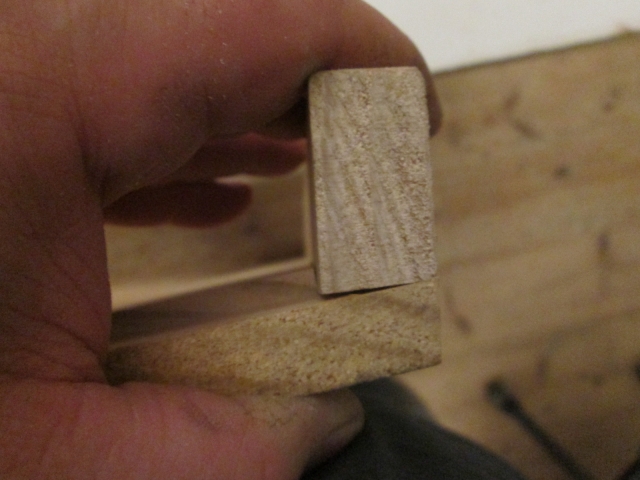
Here is another fit check made using the 5 deg bevel piece, which is closer to the actual 10 deg bevel required.
Did a little clean-up and called it a night. All of that took about 3 hrs and saw me thru to about 7:45pm.


 ...or restore my hot rod p/u truck ... or take the boat out).
 ) in 3 or 4 days.


