Its amazing what one can get done over a 3-day weekend! (Okay, I had a little help from the GF and my buddy)
Prepped the roof panel to install the acrylic windows. I used DAP ALEX Plus to seal the acrylic panels in place. The paper backing will come off the acrylic after all the caulk is dry. I did trim back 3/4" of the paper backing prior to installing so the caulk had something to adhere to.
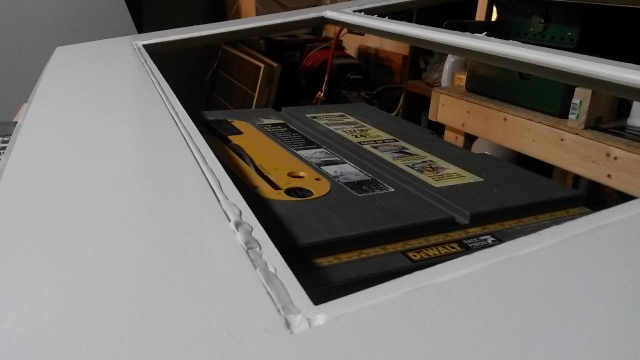

Also installed the frosted front window using the same method.
Had to tape the inside face to protect the frosting spray paint.
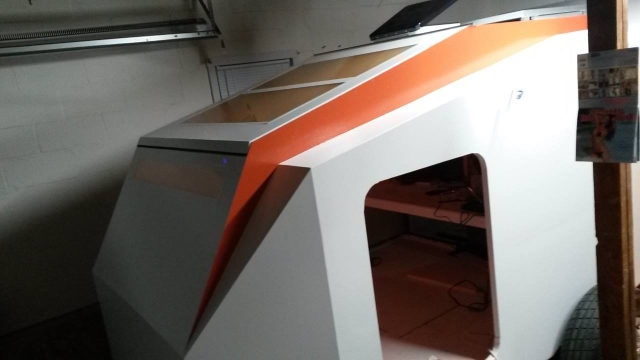
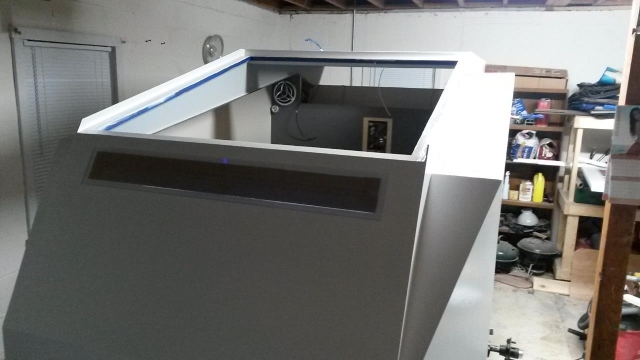
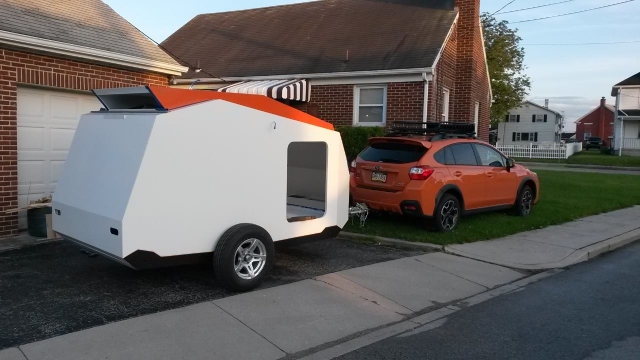
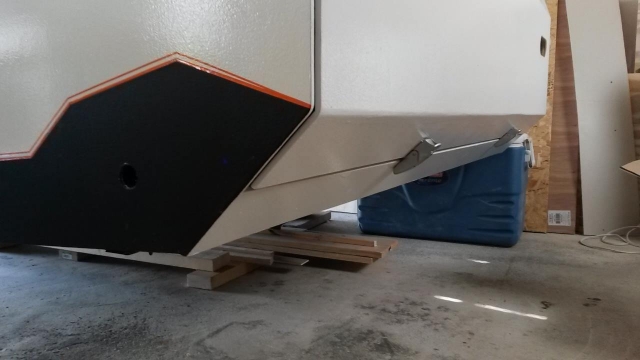
On Saturday morning, it seemed like as good of a time as any to start the exterior design. Flat black went on first.
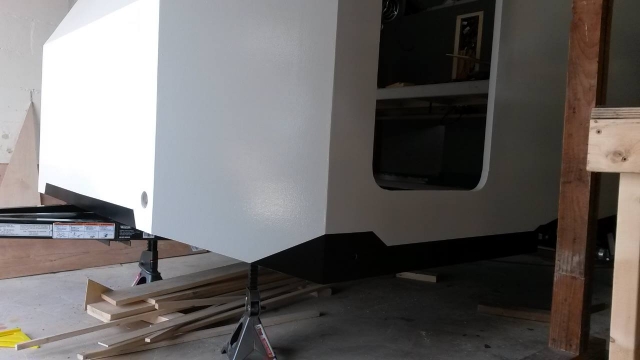
While that was drying, my GF and I made a trip to Lowes to pick out a shade of gray for the sides of the trolley-top.
No, you aren't seeing things. The plan changed. Decided that it needed some color to liven things up a bit.

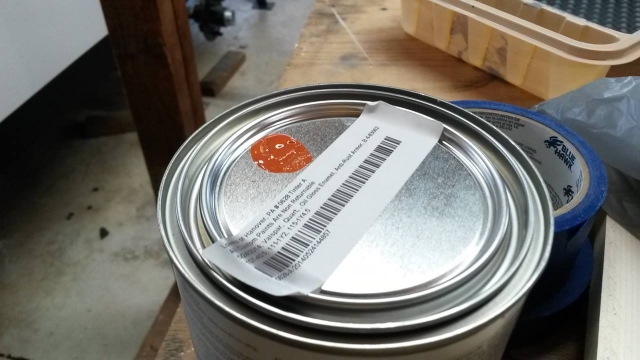
We took in a small bumper plug off the Crosstrek and had them color match as best they could. Impossible to match an automotive color in regular paints, but its close.
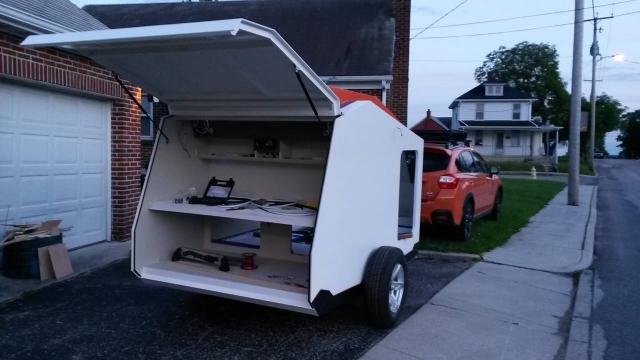
Did I mention we got the galley hatch installed?

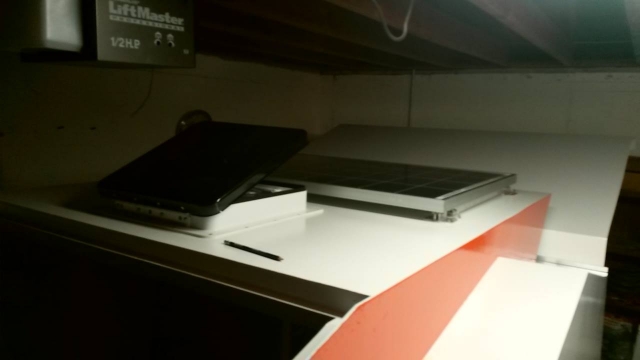
With a pair 100lb gas struts. These feel a bit strong right now, but I still have to install the solar panel on the hatch.
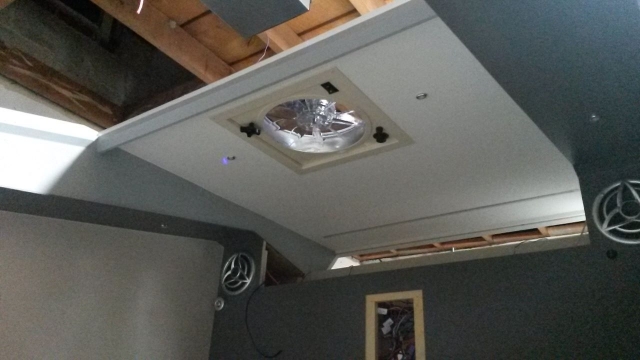
Saturday night my friend came over and helped attach the rooftop solar panel. By the time he got there I had already installed the Fantastic Fan.
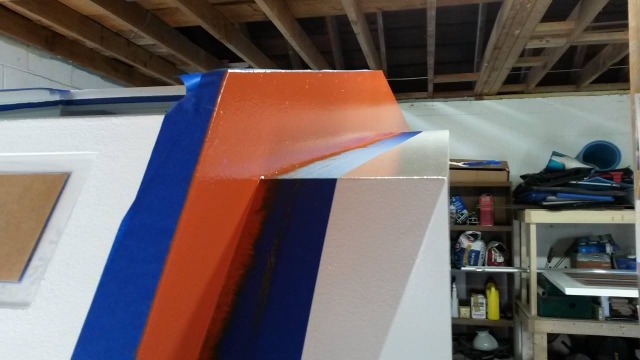
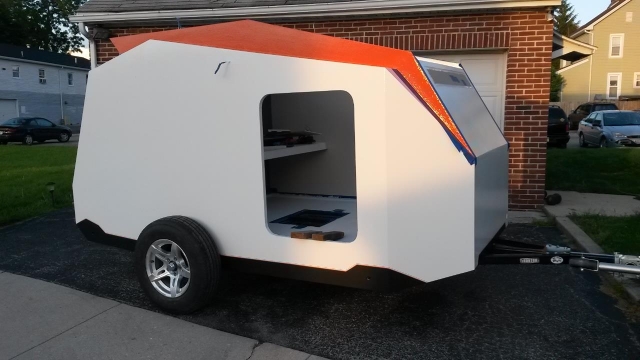
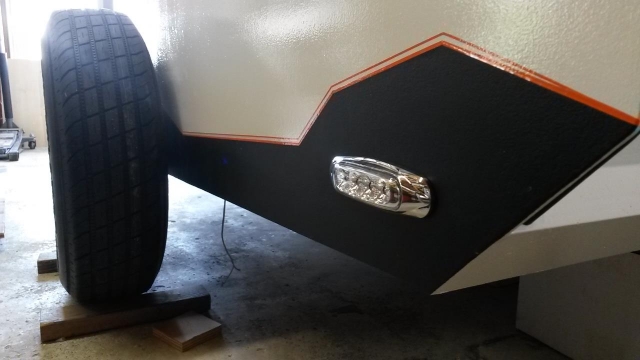
On Sunday morning I installed the Southco V7 latches on the hatch, because otherwise I wouldn't be able to maneuver it in and out the garage since the hatch struts were installed. Some orange pinstripe also made its way onto the camper, followed by the side marker lights.
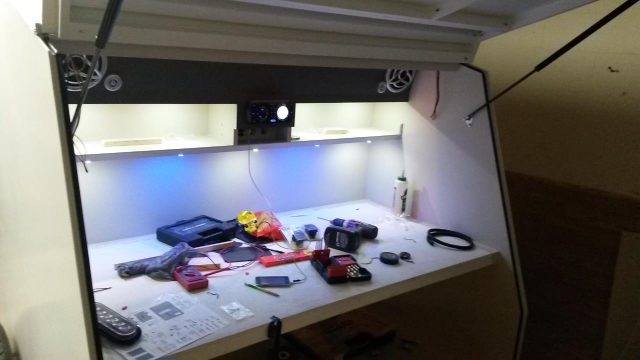
Then the rest of the day was spent wiring. All the wires were already run up to the electrical compartment, but no connections to the PD4045 had been made yet.
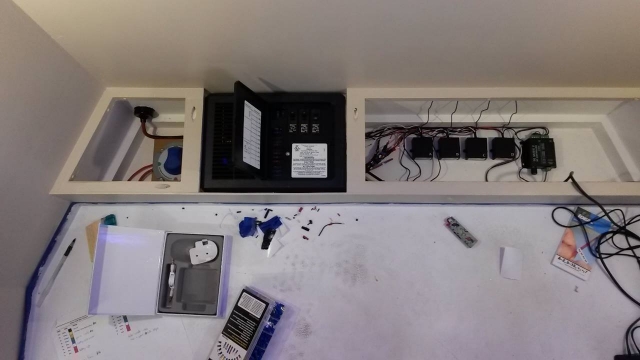
The 4 similar black boxes (labeled A,B,C,D) are the control units for the 4 channel RF remote switches for all the trailer lighting. Then the 5th box is the RGB controller,which has a mode that changes the colors of the LED strips based on the beat of the music.

Warm white interior light pods and rear RGB LED strip....
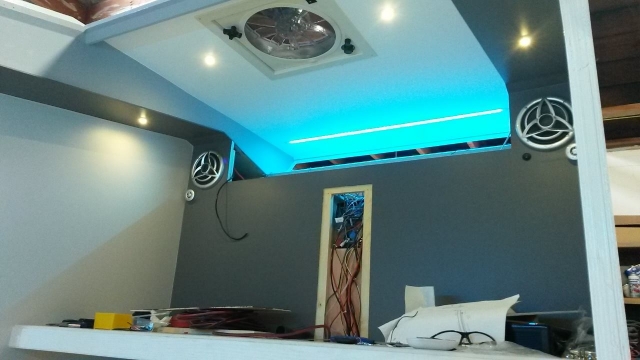
Front RGB strip and reading lights.
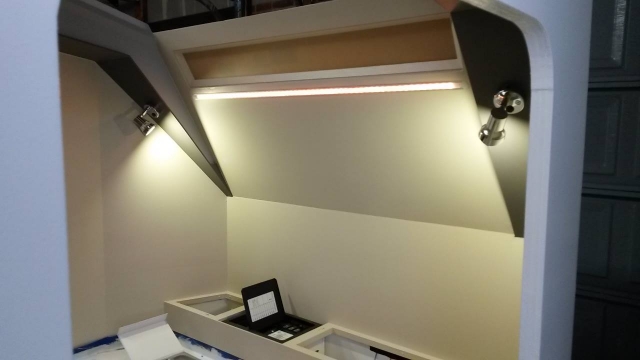
Some of the galley lights (still in progress). Its really hard to see in this pic, but the light from the RGB strips projects down into the galley via a small acrylic window. Better pictures to come....
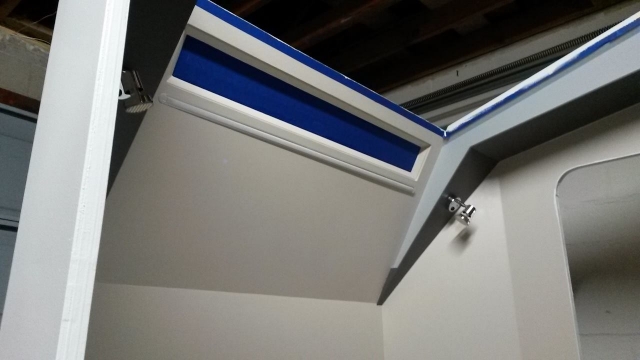
And finally, the front roof panel is installed! It still needs the struts and latches.