.
Thank you Lamar. I can get behind that.
Bonnie, I see you are making the Nookery your own; good job on the AC door cut in!

GPW, it is a roof, but I'm not sure that I'm going about this in the right order. I'm concerned that if I can't train the front curve well enough, and have it stay trained while I mask, stain it all, and poly at least the main part of the ceiling, that I will have one hell of a time getting the front to curl again while attempting to glue it down. We'll see.
Here's today's update.
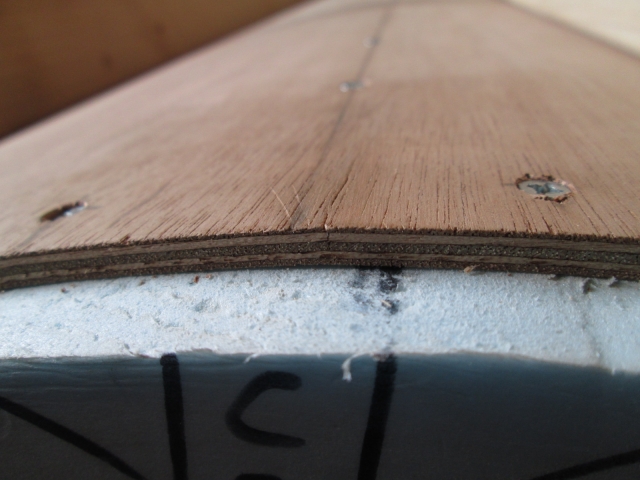
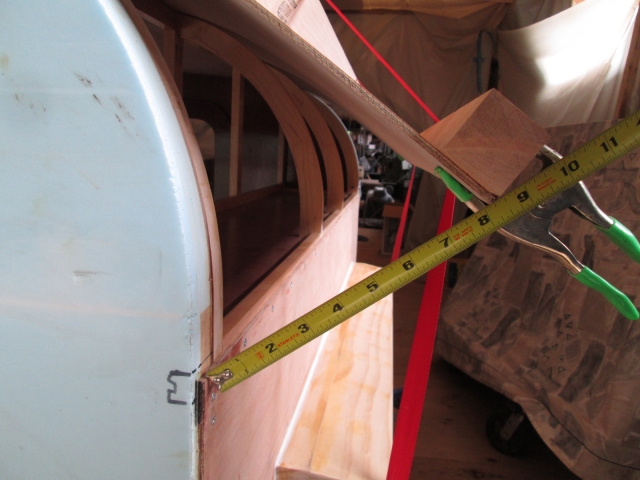
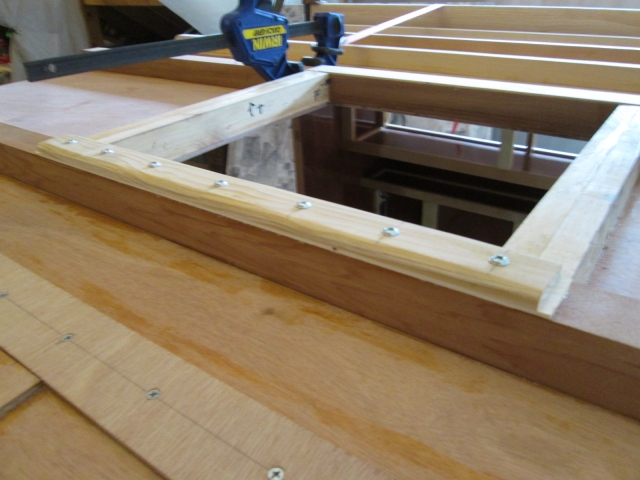
So yesterday I measured the gap between the corner of the front panel and the ceiling panel and it was 12 inches. Before I pulled on that anymore I wanted to address this little chink in the edge of the ply; that little pop I had heard and seen. If you look very closely just to the right of the smudged pencil line you can see a split in the first 3 layers of ply.
I decided to reinforce this area with small swatch of fiberglass tape and epoxy resin.
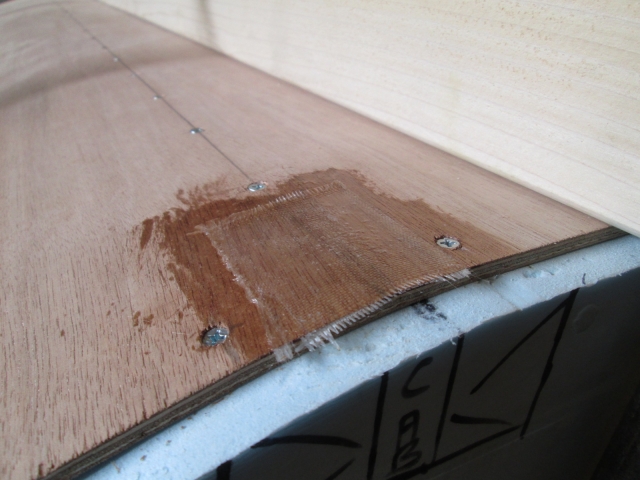
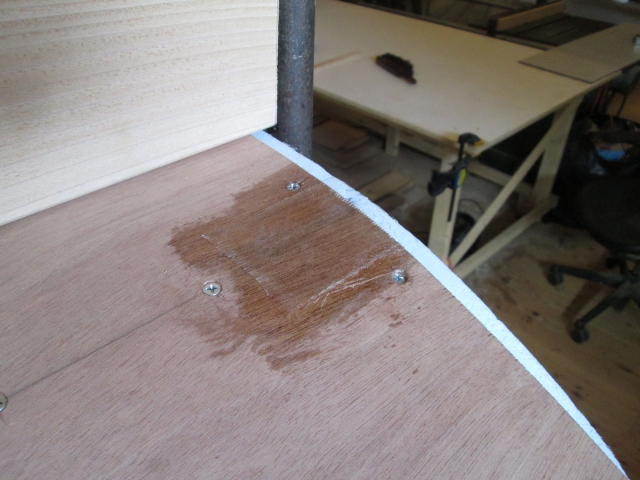
I had to be careful not to cover the screws over. Here it is from the other direction after it cured enough to trim the little riffle off of the edge.
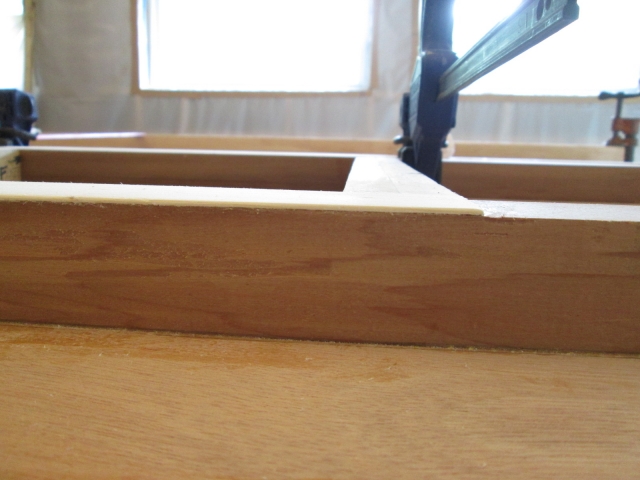
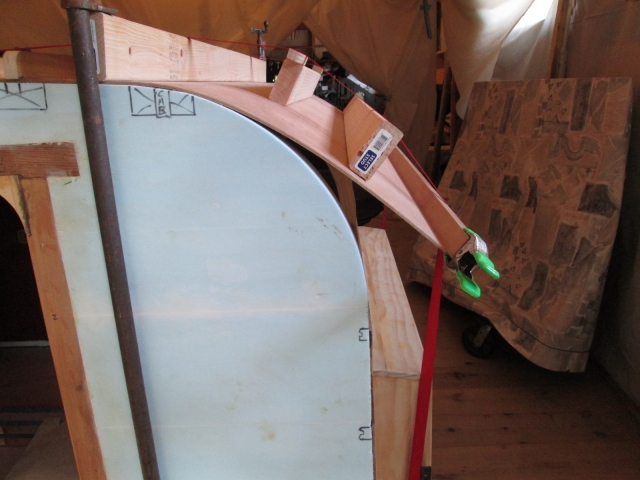
Since this is only a dry fitting the panel was trying to lift between the start of the radius and the first spar. On final installation I intend to glue the main portion of the panel up to the front cabinet face frame, and then do the front radius in a second stage. Once it’s glued on top I don’t think it will be an issue, but for now I added a 2x4 to act as a temporary brace across this area and clamped it down using pipe clamps hooked under the floor.
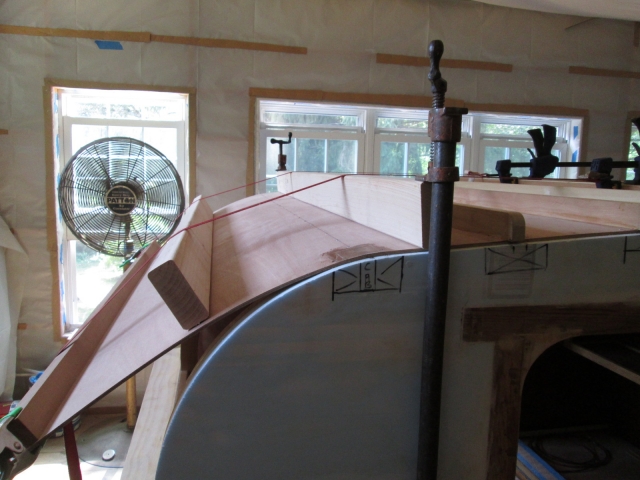
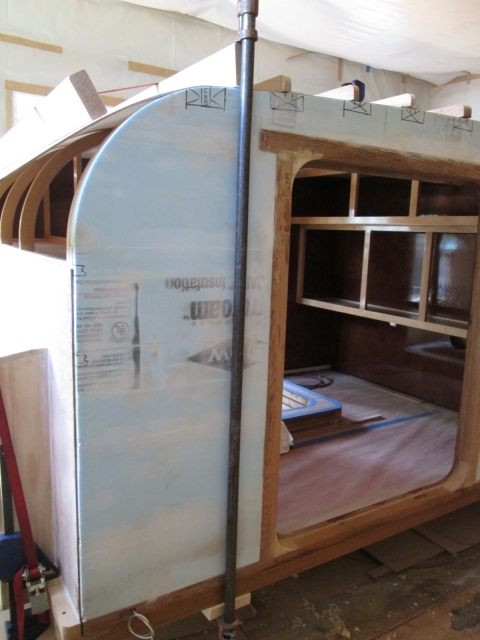
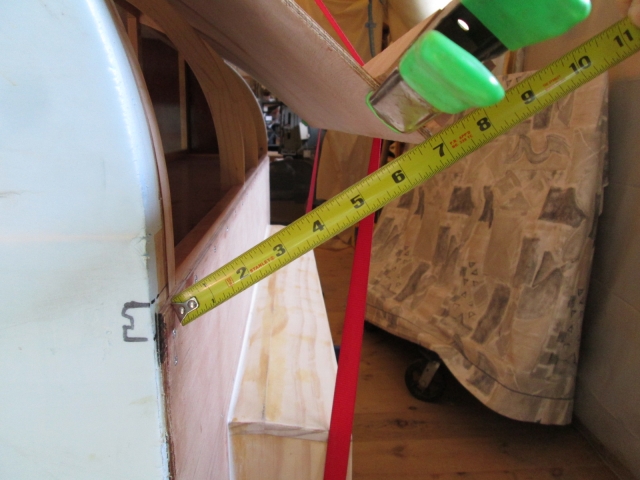
Then I sucked up on the straps taking the gap down to about 8-1/4 inches.
I’m a little concerned because despite the seemingly good progress, there is still a gap where I would like to put the next batch of screws. I can’t screw into the front riblets too close to the face frame because of a conflict with the pocket screws there.
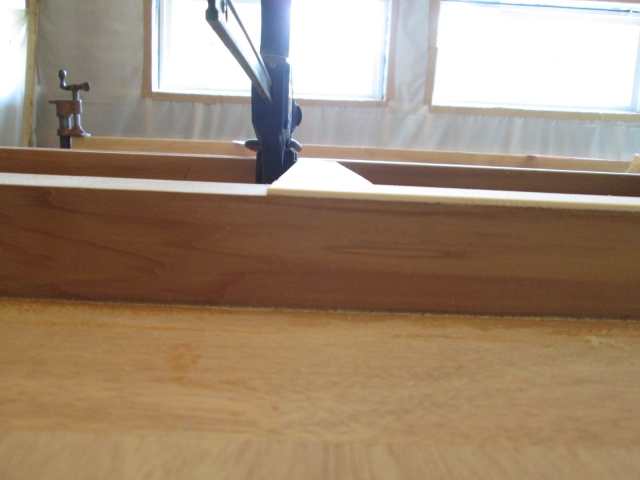
Next I shaved some wedged shaped shims from a 2x4 (actually, I ripped them on the table saw) to level out the vent spars in way of the vent fan mounting flange. Here is the dry fit.
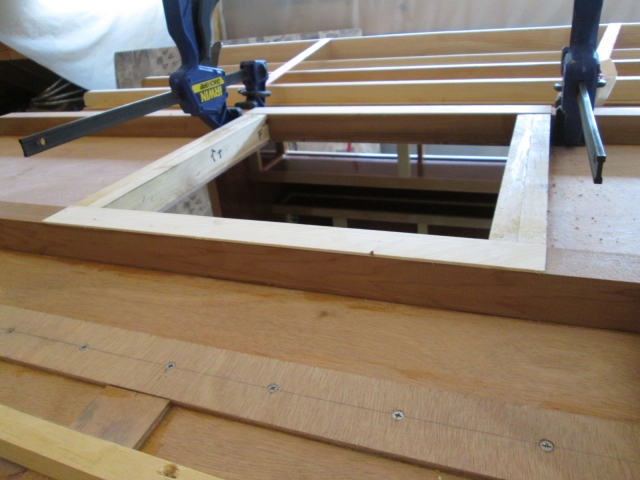
I figured that the shims were thin enough that the spring clamps would ripple them, rather than clamp them flat. My quick clamps were occupied holding the ratchet straps and the spring clamps wouldn't grip it all with a backer added, so I just screwed the 2x4 off cut down as a temporary clamp bar to spread the load from the screws. Used the Kregg screws because they have washer face heads and wouldn’t split the backer like flat heads would.
I couldn’t reach the front easily, so will glue that one when the ceiling panel is back on the bench again. For now I just worked on it to get it fair, since it wasn’t perfectly fair coming off of the saw. Here is the rear shim after the glue set. I shaved the rear edge flush to the spar with the little matchbox plane and sanded the curb side corner down just a tad ‘til it was nice and flat with the vent riblet. Curb side looking forward first, then street side.
I did all of this while standing in the galley and reaching up over the bulkhead wall.
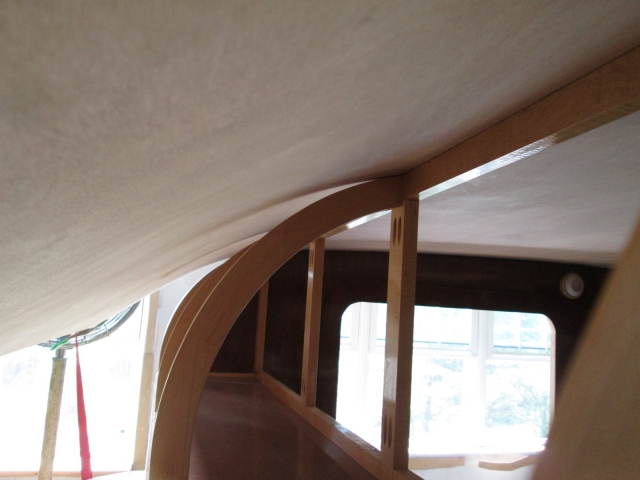
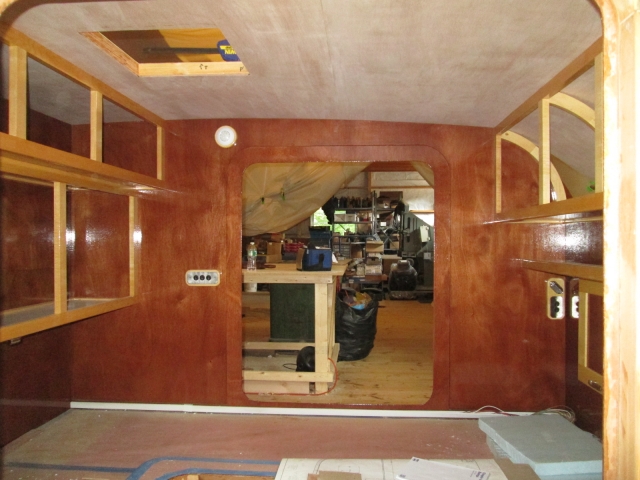
Here are a couple shots showing how nicely the ceiling is fit to the bulkhead, cabinet face frames, and side walls. First looking thru the street side doorway at the curb side, and then looking thru the curb side door at the street side.
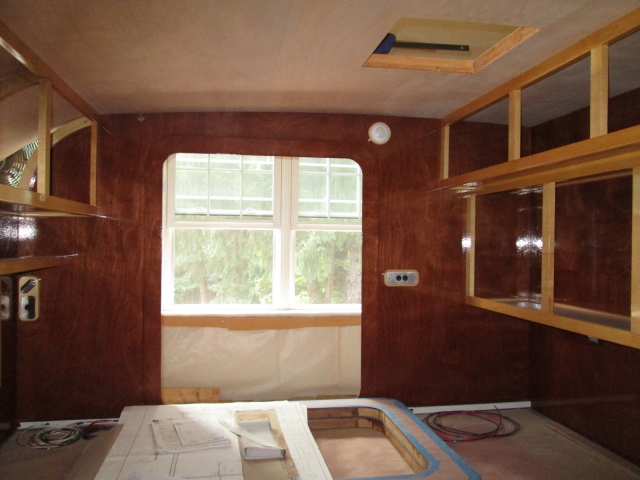
I got inside and traced around making reference marks to show where I will need to mask off the glue areas. I will hold the tape back from these marks enough to be sure that the finish dives under, but still leave plenty of glue surface.
Before leaving for the day I added another temporary backer and sucked the ratchet straps down a couple more clicks, now at about 7 inches to go.


 Knowing nothing of covering it with fabric then , we possibly could have saved it with a “skin” , which now thinking , if a thin skin were to be applied


 )
)