No joke, Tony. Truth be told, I kinda of wish that some hydraulic struts had landed in my lap instead. I think that they would be a much more practical solution (instant opening and closing, fail safe operation, easier integration, and lighter weight).
I just sort of lucked into the actuators and thought the novelty would be kind of cool. They have been done before, so it's not like I'm breaking new ground, but there is sort of a "neato factor" to them, so that’s cool enough for me to go to the extra effort.
I won't try to run them with the hatch until I get the hatch skin fully glued, so that the hatch frame is stable. The cabin side hinge spar needs to be polyed, glued and screwed, and the hinge needs to be installed. To install the hinge I also need to drill out the second hole pattern for the screws that will hold the rubber seal and trim over the piano style hinge.
I will figure out how to share a video when the time comes. My camera does take video, but I have also been thinking about asking the wife for a Go-Pro (or equal) this year for Xmas (it’ll be here before we know it). I’d like to document the Poet Creek trip, and we could use it on the chunker, too. Any advice on what to get for an action style camera, and/or accessories to go with it?
Thank you Mary. I’m glad you were able to share the inspiration! I appreciate you sharing that.
Wolf, when a vehicle goes over it is a good idea to clear the combustion chambers before trying to spin the engine over. On a gas engine you would pull the plugs and spin it over; not sure what to do on a diesel. The thing is when they get sideways or upside down, the crankcase oil can run past the piston rings and cause hydraulic binding with damage when you turn the engine over. Sounds like you guys handled the recovery yourselves and all went pretty easy.
So back to the build. I climbed inside the galley again with my head lamp and a nice sharp pencil, while Karl held the lower hatch skin in place on the temporary cleat and hard up against the upper skin. I could see that where it butted up against the lower spar was not even (the spring in the upper skin must be pulling up on the middle ribs and flexing the lower spar up in the middle). In hindsight I probably should have clamped the bumper blank onto the bottom to see if that would pull it in straight, but instead I scribed a pencil line and planed the lower edge of the lower skin to match the spar as is (my thinking on the hatch as a whole is to try and build it where it sits without inducing stresses that might try to warp it out of shape later).
Next I climbed back in, and, with Karl’s help again, scribed the joint at the upper skin. To play it safe I ripped a good 1/4 inch away from the line and used the small hand plane to creep up on it. Here is the lower skin clamped to the bench getting planed.
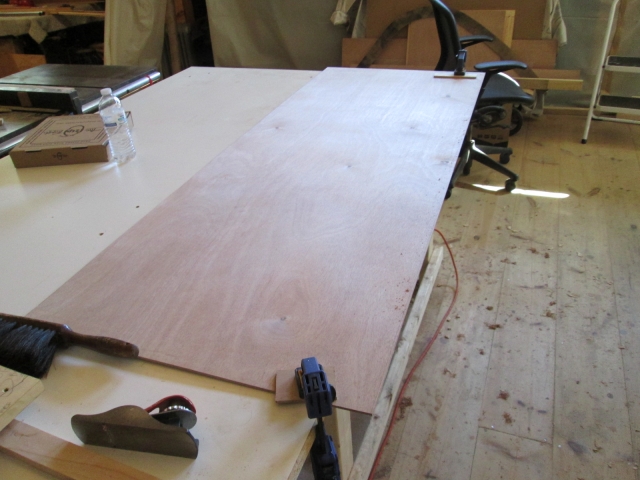
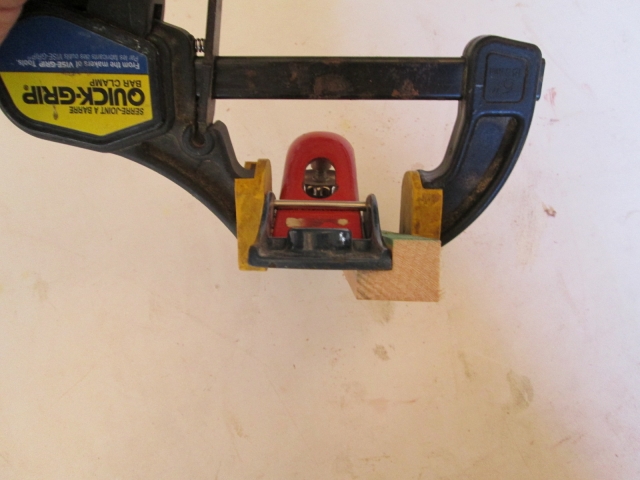
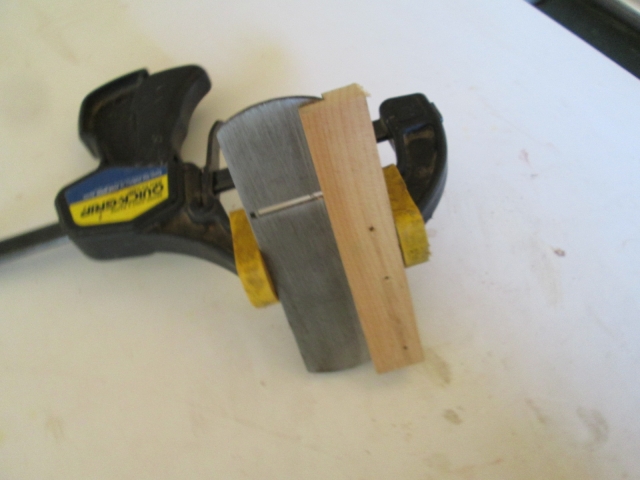
To help me hold the plane square to the edge I clamped this little scrap that already had a rabbet in it (a scrap of half lap siding left over from the barn).
After several trial fits to make sure the edges of the skins would pass each other and creeping up on it, it was time to remove the upper skin from the hatch frame and lay the two skins down flat together to see what was what with the joint.
Just a minor adjustment with the plane and they fit pretty well. The larger upper skin was a full 4 ft width with factory edges, so they were not as crisp as my hand planed edge; had a little roll from being handled and the corners were a little beat up. The corners don’t matter because they will be covered when the sides of the hatch get wrapped, but if I had been thinking I might have taken a skim cut on the upper skin before scribing to it so that I could get a better splice. I think it will be okay. I remembered to tape each edge first, then taped the two pieces together. Was a bit awkward to flip, but I managed.
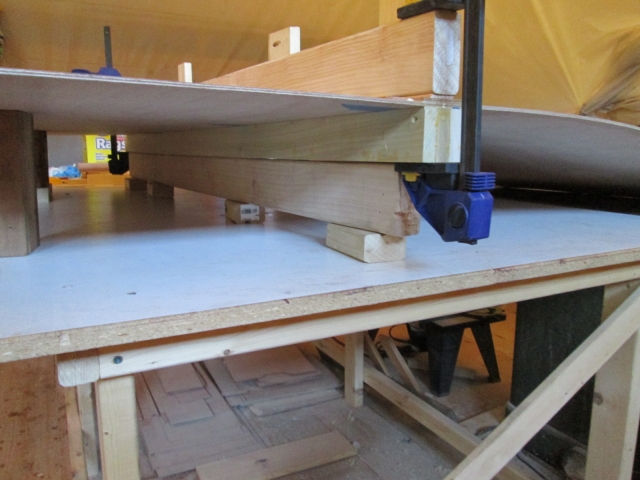
My long 2x4 I had used to clamp the roof skin butt splices to the bench with had been cut down for something else, and the curve trained into the upper skin made it a bit awkward, but I managed to prop everything up enough to where I could manage the curl and get it clamped up flat at the joint. Used the tape on the inside as a hinge to open the joint, and my double sided taped temporary cleats to help align the backing piece, then glued it, closed it up and clamped it using the wedge shims, same method as before.
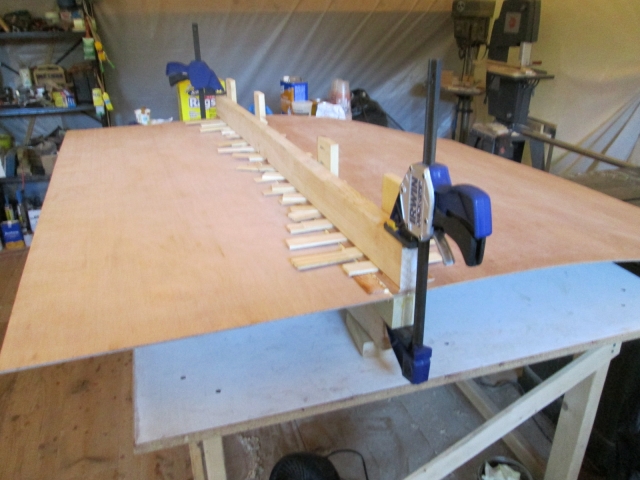
That’s the hatch bumper blank under there backing up the joint and adding to the pile, and the hatch rib spacer jig acting as the clamp strongback on top. The rest are just spacers to help accommodate the curl in the upper panel.
After that sat for a good hour or so and I had some time to contemplated a few details, consider the galley light mount and more of the hatch build sequence, I pulled most of the clamp setup (but left the backer in place to help stabilize) and got Karl to help me move the panel up onto the cabin. I needed to use the saw and thought that it would help to let the skin drape over the back of the galley (albeit backwards) to have gravity help hold the trained curl. Here it is draped over the back.
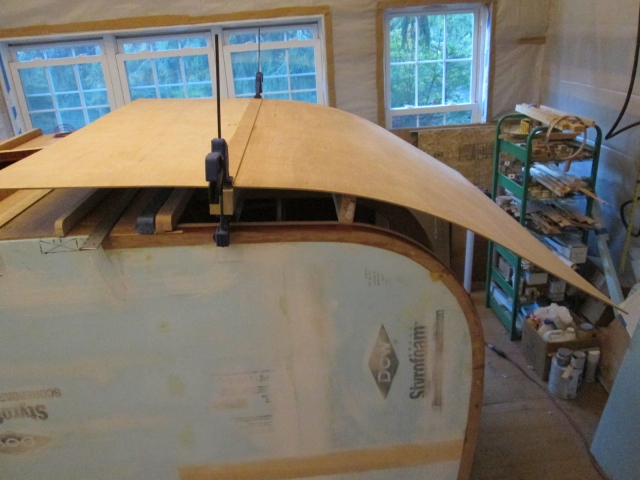
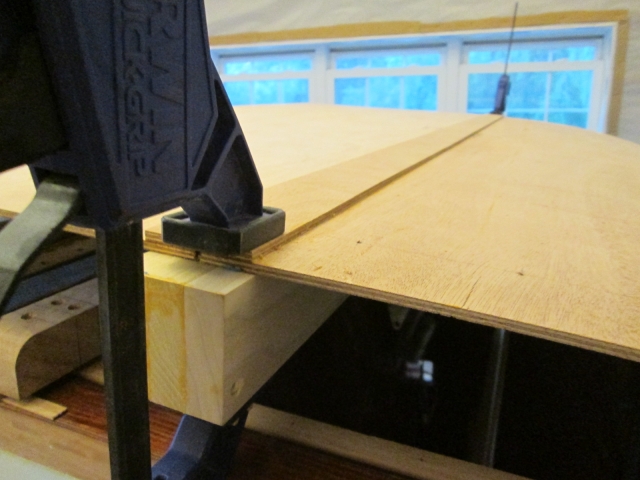
A better look at the spline backing up the splice. Under the clamp it looks like there is a big gap at the joint, but that is just the rolled corner of the ply that I mentioned.
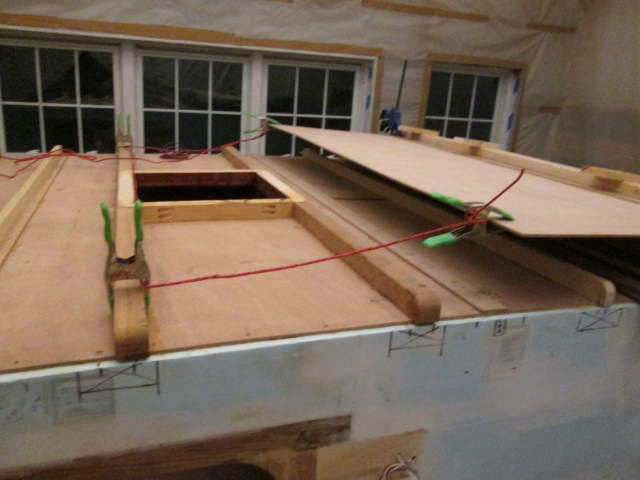
This wasn’t super secure just balancing up there, so just to be on the safe side I used a few spring clamps and a length of para cord to tether the skin so that it couldn’t slide off.
Trying to conserve bigger pieces of wood and wanting to use a relatively light species for the permanent cleat that will back up the lower edge of the hatch skin and help attach it to the lower spar, I decided to rip a shorter scrap in half and do a half lap joint to glue it back together as a longer, narrower piece. I guess I missed a few pics, but I did the rip on the table saw then used the miter guide to nibble away the half lap. Here it is under the clamps after gluing. (Not really picture worthy, I guess.)
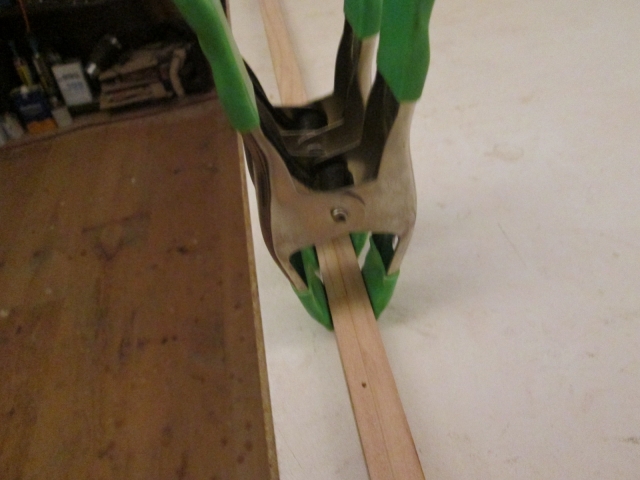
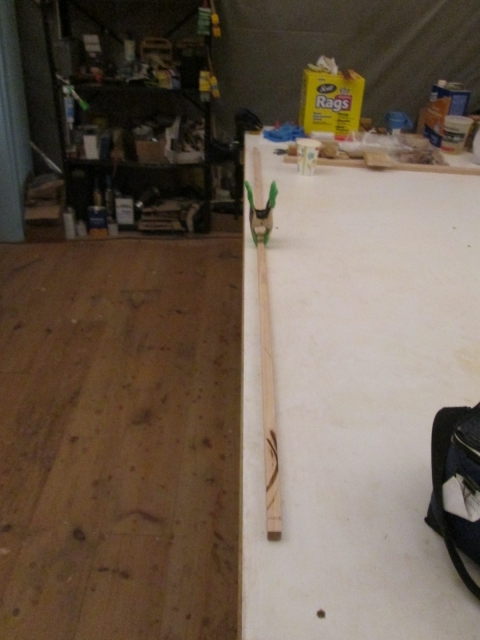
This piece will get ripped again to set a slight angle on the rear top so that the screws that will attach it down onto the top of the lower hatch spar (where it will eventually get covered with foam) will pull the edge of the skin in tight to the ribs, while also leaving room for the drill motor to drive the screws.
Next time I plan to finish this cleat, get it glued onto the lower edge of the skin, and start dry fitting the skin to the hatch frame again so that I can pilot all of the screw locations for the lower skin; and check to see that all is still fitting as planned before final glue up.
Trains a rollin’.



 ). From there I might just pull the whole hatch assembly off and try a little experiment; make some temporary stretchers a little shorter than the shelf frame and counter rail, and see if it has the desired affect pulling the wall(s) into position before I commit to cutting the good pieces. Either way, I will wait and trim the skin flush to the wall after the hinge has been installed.


 Randy
Randy