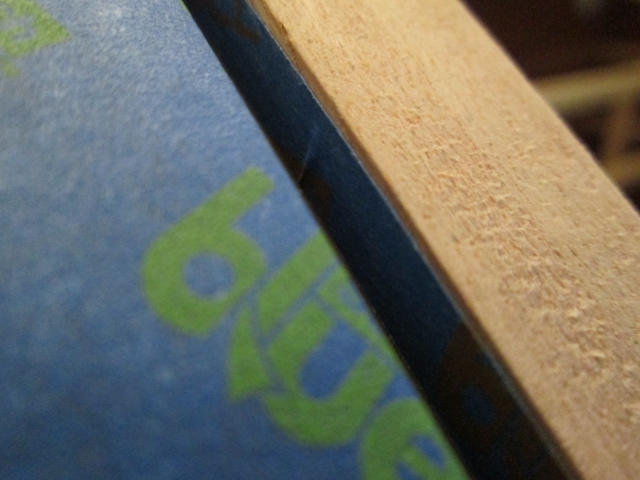
More prep for gluing the hatch skin. I used the almost 2 inch tape along the top edges of the walls. By placing the edge of the tape even with, or just slightly over the edges of the outer ribs, I was able to use a small hobby stick (tongue depressor like Popsicle stick) to fold the overhanging portion down into the gap.
A second pass with the stick (the lighter colored piece of wood at the top of this pic) tucked the flap of tape onto the inside surface of the walls.
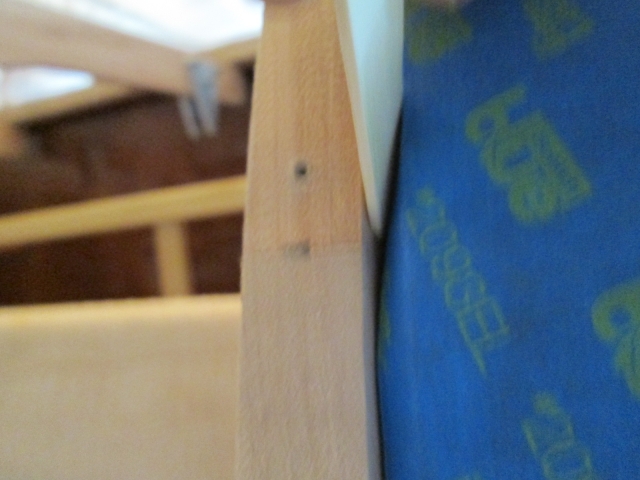
Taping the inner facing edges of the ribs was pretty straightforward, just had to do the “squirrel in a cage” routine to get the top middles.
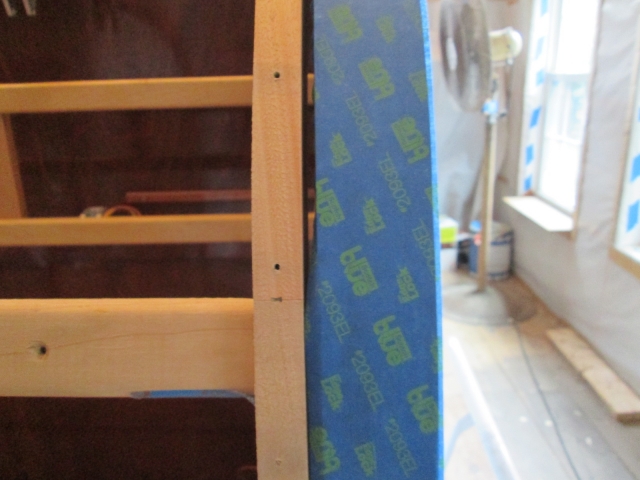
I didn’t think that I would be able to tape the outside edges of the two outer ribs (should have thought to do that before mounting the hatch frame in the galley), but with the success using the stick to tuck the wall tape, I thought maybe I could do a little something. I used the almost 1 inch tape on the tops of the ribs, bridging the gaps to the inside edges of the walls, as before; then tucked the flap of tape onto the side of the rib using the stick; then ran the razor knife using the top of the wall as a guide to trim the tape all along just below the top face.
I have learned that it is far easier to deal with a small even line of glue contact; than it is to pick blue tape out of a pinched joint (the blue tape stands out like a laser beam if you don’t get it all).
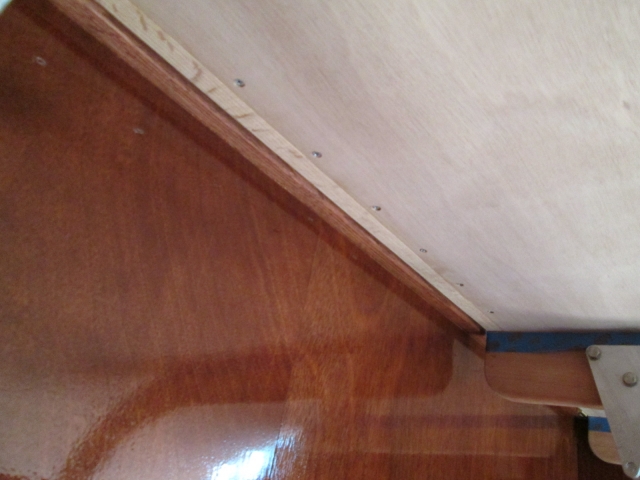
Propped the skin back up on the bench, laid out and predrilled the screw holes along the inside top edge where the skin will be screwed to the rabbet on the underside of the hinge spar.
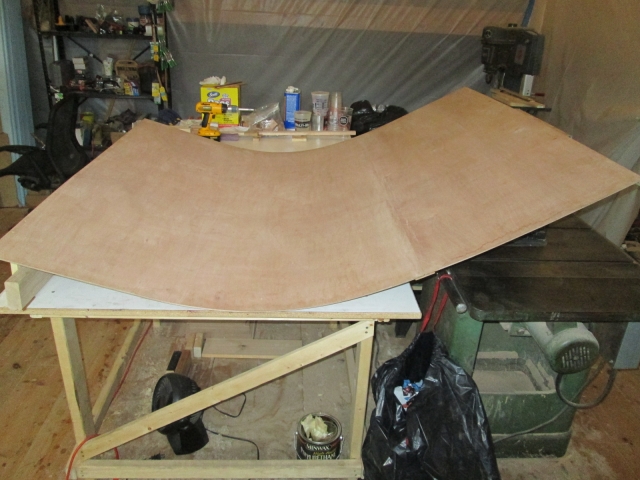
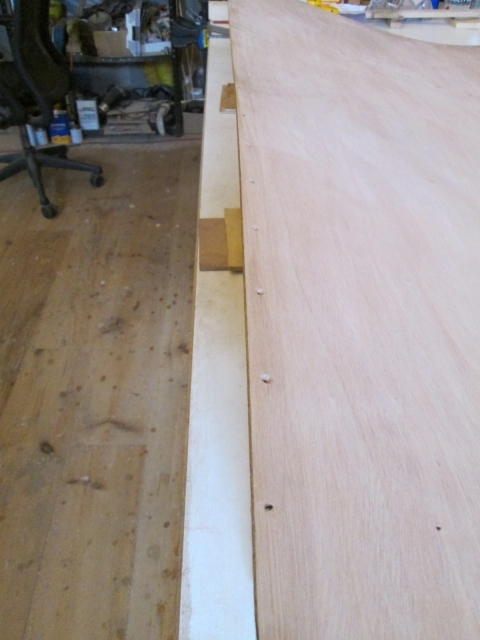
That was yesterday. Today when I went to move the skin, it got away from me when trying to flip it. The bottom edge slid along the bench until it found the gap with the table saw, where it whacked the edge of the saw and I heard a “POP”. The dark mark on the cleat is where it hit the edge of the saw. The glue joint with the cleat held up fine, but it split the first ply back a ways.
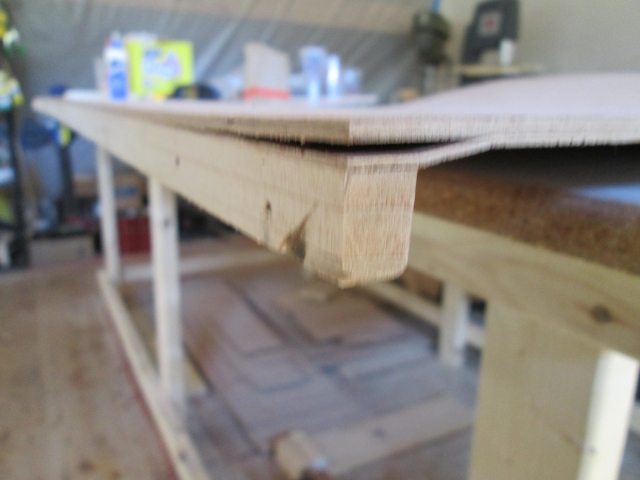
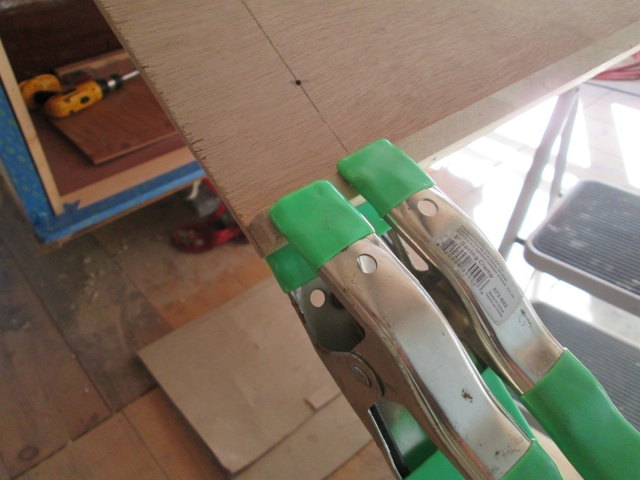
Kind of frustrating (select your favorite cuss word here), but not hard to fix. Just forced some glue into the gap, dragged the glue around in the gap with a thin blade, and clamped it up.
Didn’t even wait for that to cure before stuffing the skin back under the hinge spar to predrill for the screws there (squirrel took this picture after driving all of the screws for a dry run).
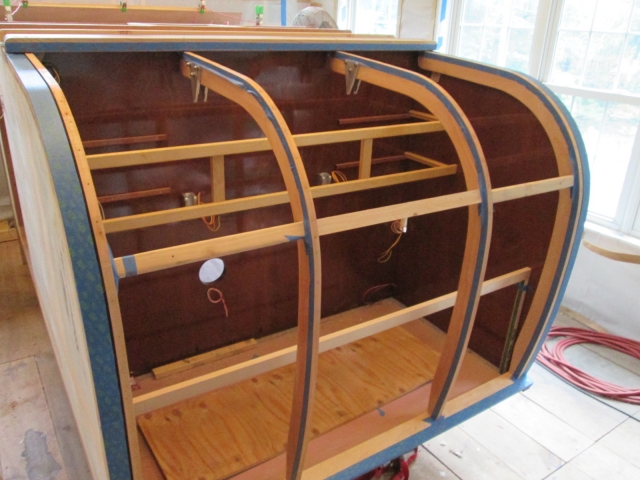
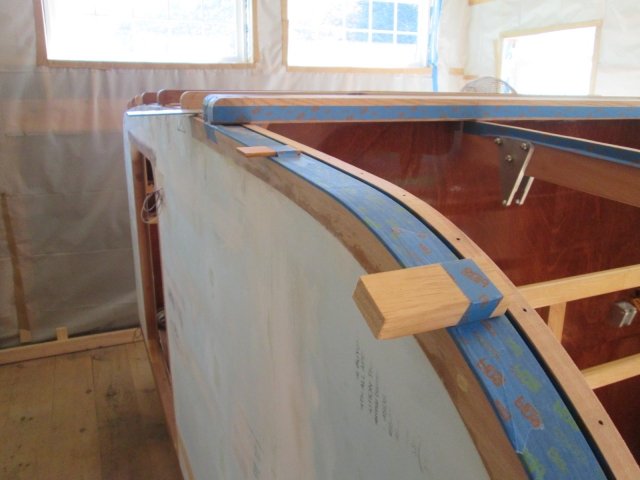
While I had the skin up there I placed these temporary spacers on the walls in the hopes that, once I had the ribs all coated with PL, I would be able to get the front edge of the skin under the hinge spar and positioned before setting it down on the ribs without smearing glue all over the underside of the skin.
Well, there was no time for pics during the actual glue up. I used the home made notched credit card to spread PL Premium along the top front edge of the skin and on the tops of the ribs; stuffed the front edge and screwed the four deck screws down thru the spar and skin into the ribs; then climbed under into “the cage” and screwed up thru the skin into the spar all along the front edge. Unfortunately, I wasn’t able to control the skin well enough to keep it on my spacer blocks (Karl was on the road doing an install), so I had a couple of big smudges of PL get on the field. I kind of predicted this, so I had already staged a paper towel damped in spirits, and while I was in there I wiped it off as best that I could.
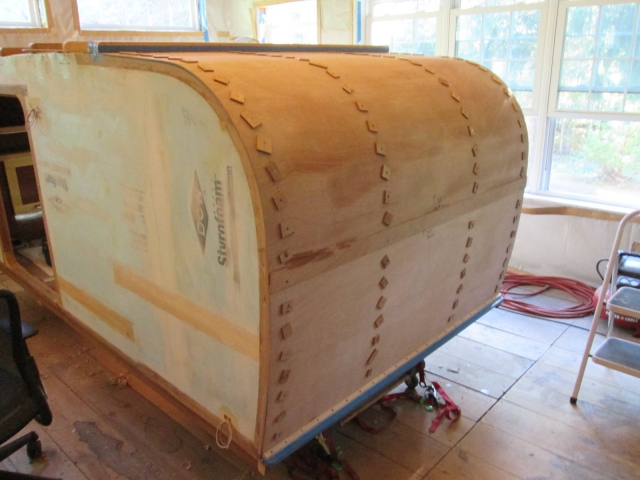
Next it was back outside where I started driving all of the screws down into the ribs, removing the spacer blocks as I went. When I reached the tighter radius I applied glue down the back sides of the ribs, spritzed the ply with water and continued screwing. There’s no glue under the cleat at this time, but I did screw it to the lower hatch spar to make sure that the skin was tight all the way to the bottom.
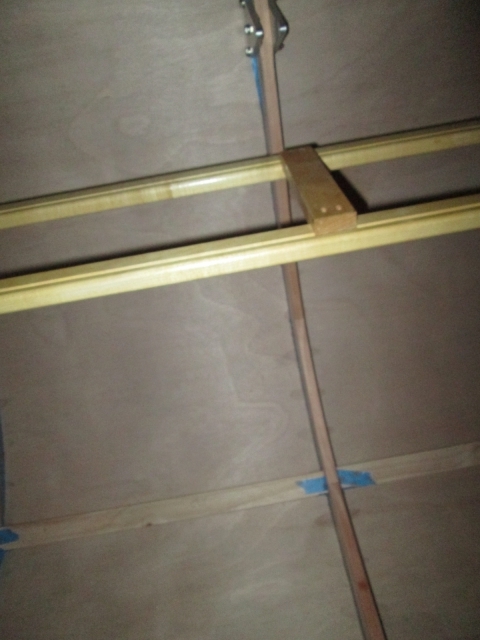
I stuck my hand thru the vent fan hole in the bulkhead to get this pic looking up. You can see some of the water marks from previous soakings seeping thru the screw holes, but experience suggests that these will be unnoticeable when the stain goes on.
Before wrapping up for the day I cleaned all of the tools off of the bench and put a first coat of polyurethane on the cabin side hinge spar (no pic).
And the train kept a rollin’.


 The turtle won!


 I’m thinking sock-like , sewn seams , fitted like a toaster cozy ... slip it over the cabin glue it down and allow it to shrink tightly in place ...
