Today I started by swapping out those last few screws in the hatch skin and removing the last of the wooden washers.
I decided to compromise on what I’m going to call the Paper Towel Brace (PTB). Rather than hanging the hatch again and going to all the trouble of getting the actuators to work in order to decide where to place the PTB, then having to take the hatch back off to apply the poly; I decided to make an educated guess and just screw it in place w/o adhesive. I can still pull it out, sand the hatch stain and glue it back in, or even move it later, but for now it just made sense to do it this way.
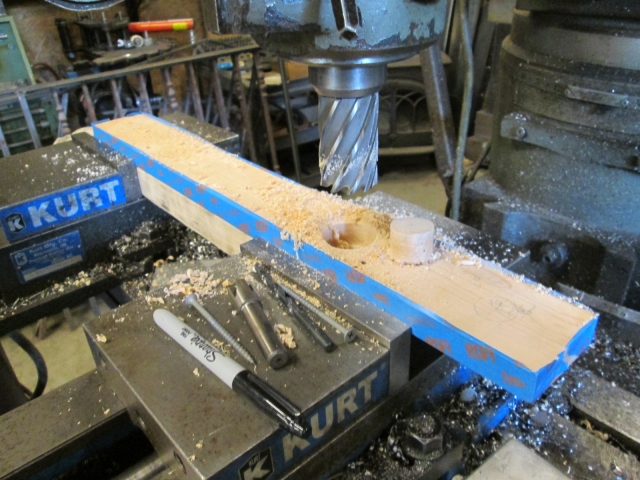
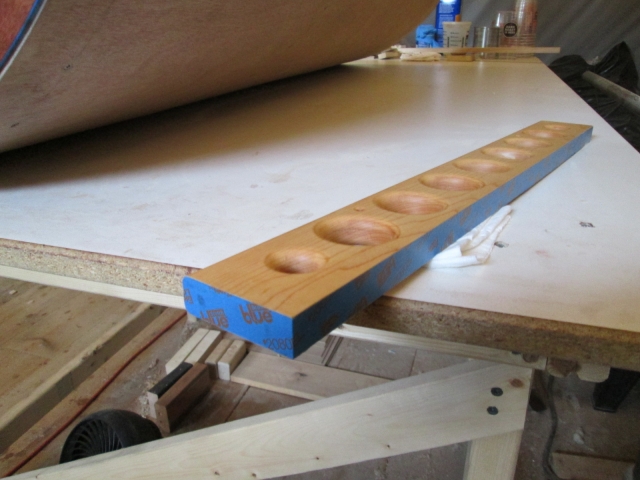
Here we go. I had already cut the 1x3 maple to length, done my layout and put the pocket screw holes on the “back” side. Here I have masked the edges, backed the blank up with a 2x3 to avoid breakout, and have core bored the first of seven 1-1/2 inch lightening holes. The plug (or core) is shown next to the hole.
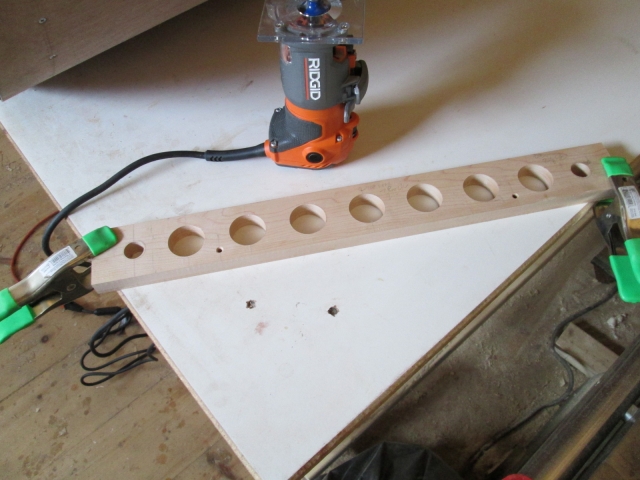
The two smaller holes on either end sort of give a tapered look, but also fit between the pocket screw holes on the other side. The two much smaller holes on either side of center will be where the actual paper towel hanger will attach.
There are a few things going on here. First, the small hole for the towel hanger has been chamfered. I plan on using paracord for the hanger; the cord will be knotted on the back, will pass thru the hole, and will hang down in a loop for the towels (perhaps being threaded thru a length of SS tubing, and with a wire hook on one end to make changing rolls easy); the chamfer eases the edge of the hole so the fibers of the cord won’t fray. The large lightening hole on the right is as routed, and the one on the left is after hand sanding with 220 grit sand paper.
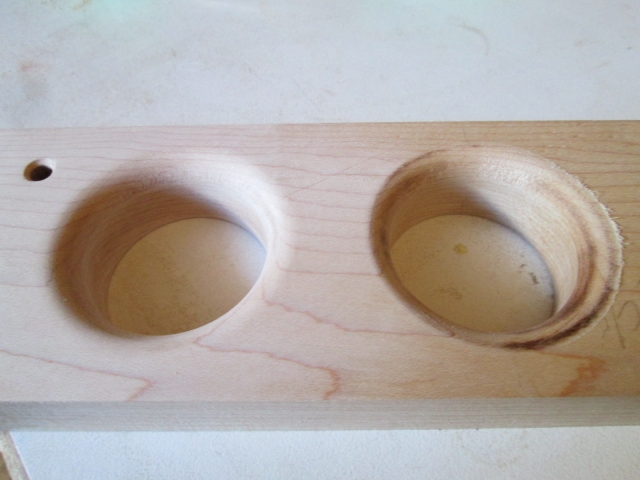
I rounded over all of the holes on both sides using the 1/4 inch round over bit, except for the backs of the smaller holes where I used the 3/16 radius bit (to avoid encroaching on the pocket screw holes).
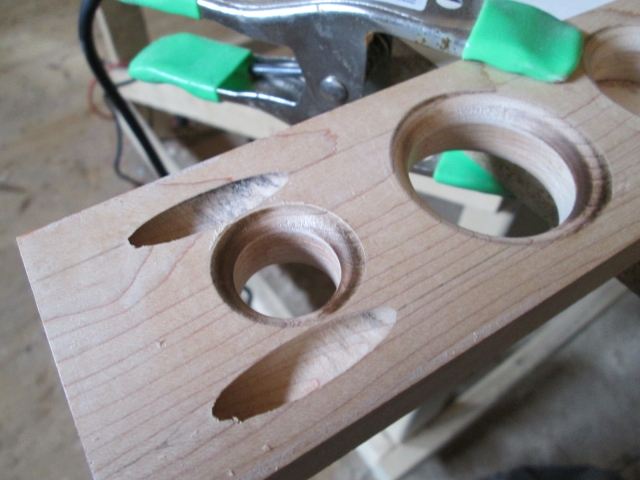
The upper edge of the PTB will be hard up against the hatch skin, but the lower edge needed to be rounded over. Since the hatch ribs are 3 inches deep and the PTB is only 2-1/2, I wanted the edge radii to butt into the sides of the ribs. To keep from accidently rounding over the end of the blank I used a scrap of wood and one of the pocket screws to act as a waster to start and finish the router on. (The dowel was used with a piece of sandpaper wrapped around it in order to sand out the discoloration from drilling the pocket screw holes.)
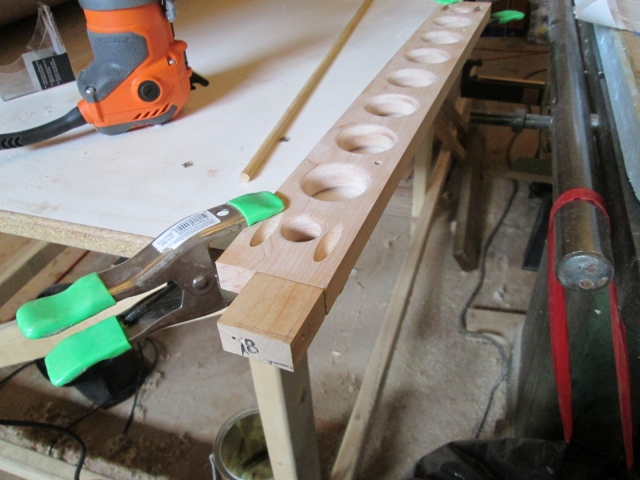
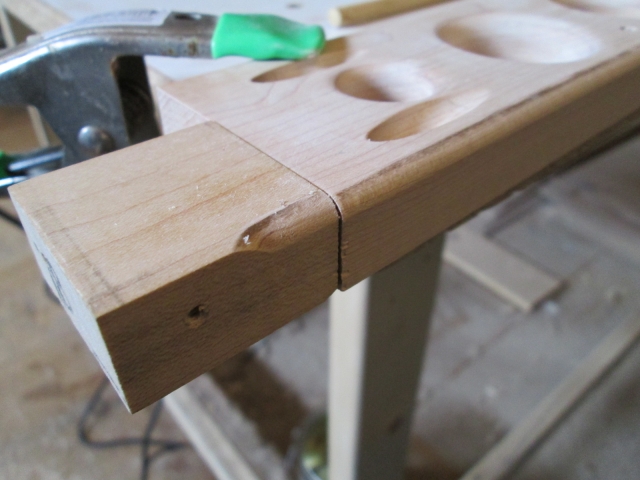
Here it is all sanded out.
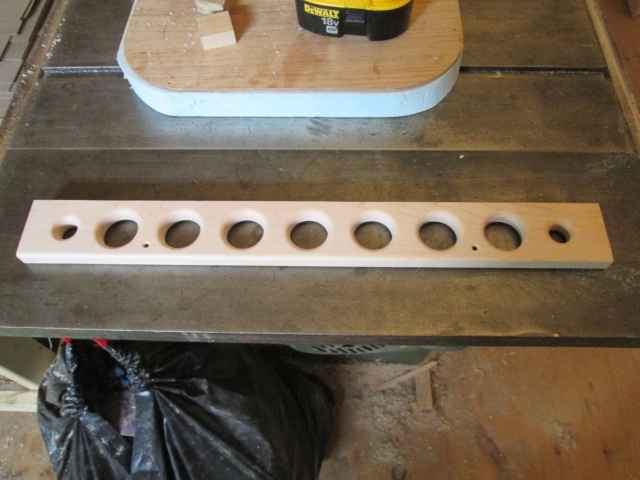
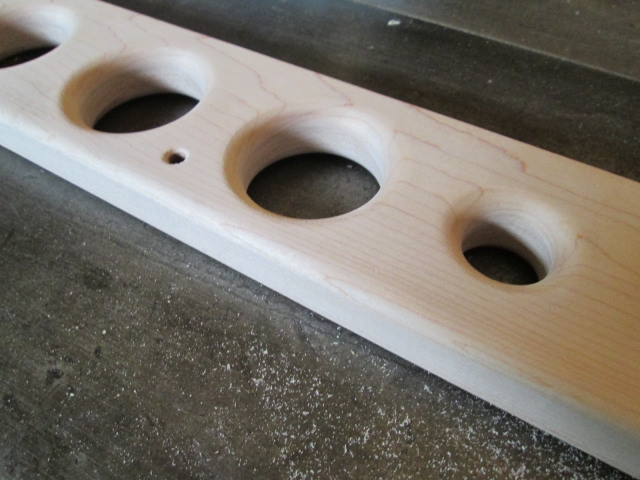
Here it is with glue edges masked (still hadn’t decided at this point) and natural oil stain.
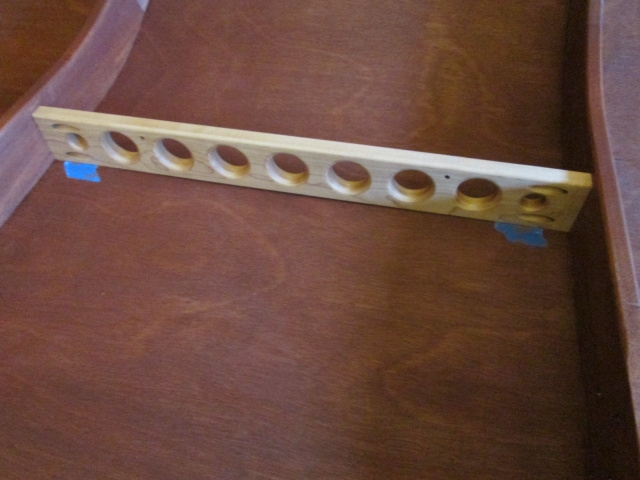
Looking at the underside of the hatch from the hinge edge, I measured to a point where I hope the roll will dangle and perhaps drag on the “front” rail of the upper galley shelf. If I got this close to correct, the rail will act like a friction brake and will keep the towels from stripping off in the wind. If not I will add a bobble on another piece of cord that will perform the same function. Here I have placed blue tape at 14-1/2 inches from the edge of the hinge spar to act as a guide for locating the PTB. I had to press out slightly on the ribs with the palms of my hands as I pushed the brace down with my fingers. The tape kept me on track; once the brace was seated it was a snug fit and I didn’t want to move it around too much for fear of scratching the finish.
Another thing to note in the above pic is the dark shadow showing how the skin is bowing away from the brace. At this point I drove the pocket screws in to pin the location, then measured carefully to locate screws that will come from the top of the skin and land between the lightening holes; the horizontal row of screws in this pic.
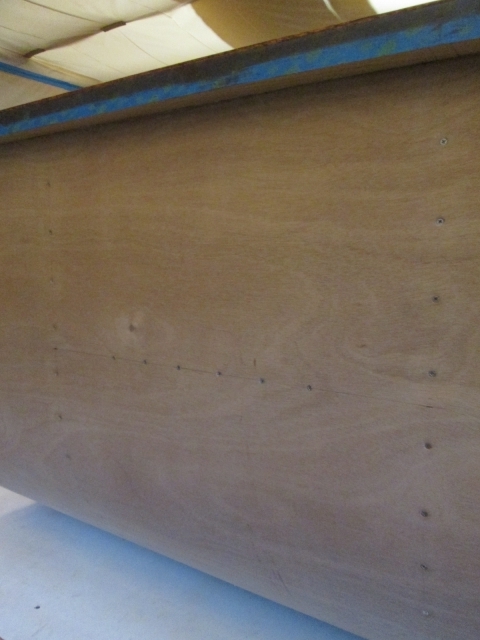
That sucked the skin up nice and tight to the brace.
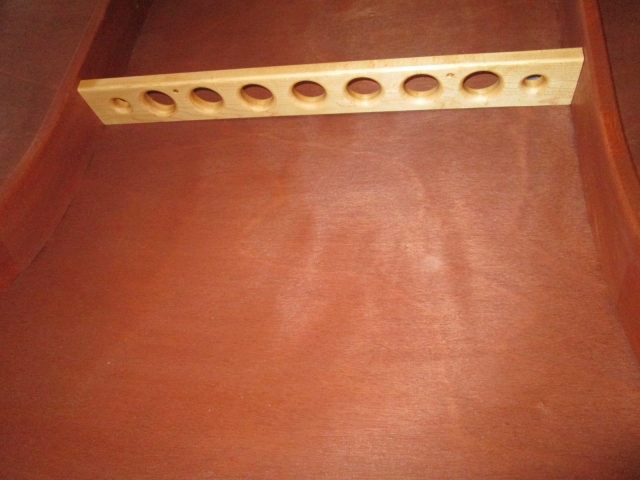
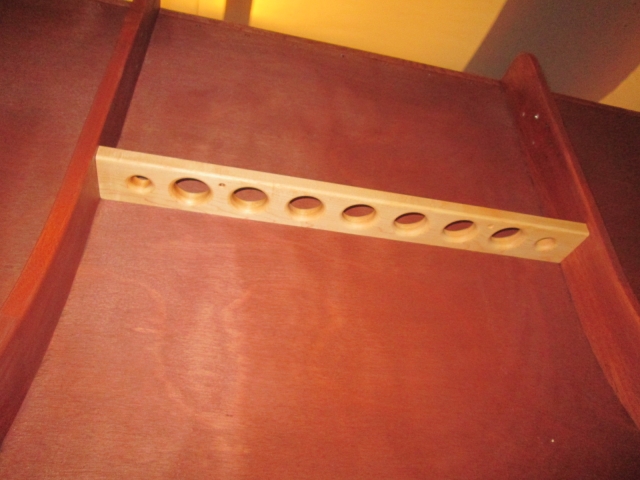
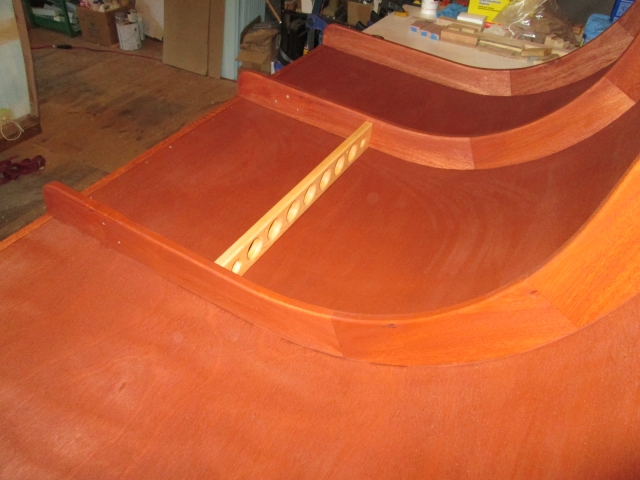
About 6 hrs on what I hope will be another signature feature.
Happy train rollin' along.


 ).
).