70 at night? Psssshhhhaaaawww. Kid’s stuff.

Tried the heater out and it would not light the pilot. Oh well. I set it aside for now and will do some more research later. Maybe I can fix it or send it in for service, if worth it. At about a C-note for a new one it might just be a wash if I can’t fix it myself.
I decided to stop waffling over the paper towel brace and decided to glue it in now. It just didn’t make sense to put the poly on everything w/o gluing it in. If I find that the towel hanger won’t work the way I want it to I will engineer something else. Pretty much the same procedure as before with a couple of things to note.
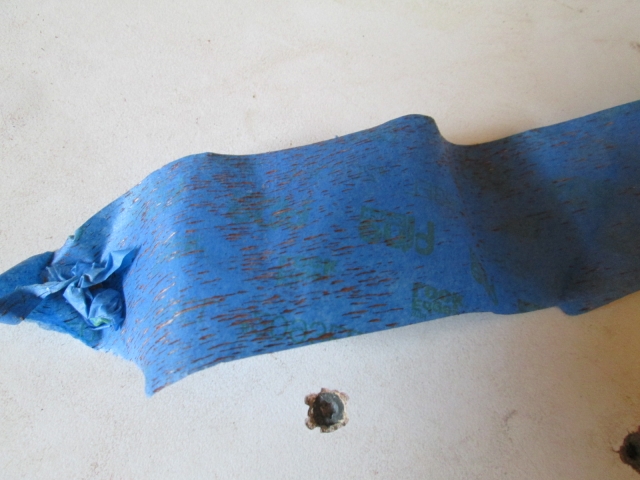
First, I did a double mask technique. Before unscrewing the brace I used the wide tape to mask right up to the brace. (On the Rib Brace I had used the narrow tape and went “outside the lines” a little when sanding.) Once I had removed the Towel Brace, I laid an overlapping line of the narrow tape to back mask under the edge. That way I could sand only the area under the brace that won’t show; then once I peeled the top layer of tape the bottom layer showed me right where to line the piece back up and it was already masked for glue. Here you can see that I have sanded the stain and have started to pull back the top layer of tape.
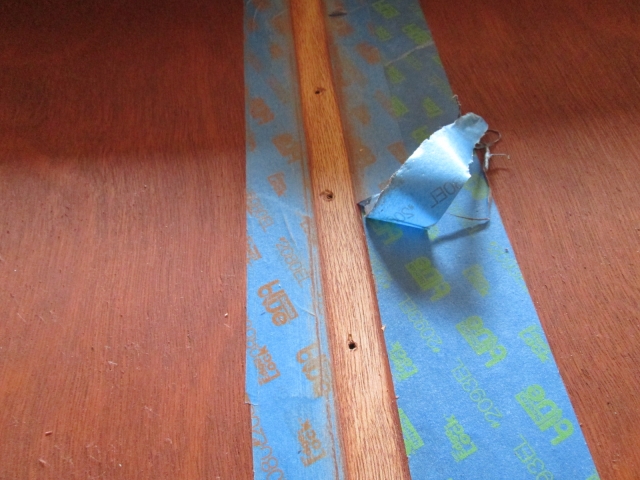
Even though I tamped the tape off on my T-shirt first, the wider stuff (which was the earlier style before they reformulated it) lifted some of the wood fibers and took the stain with it.
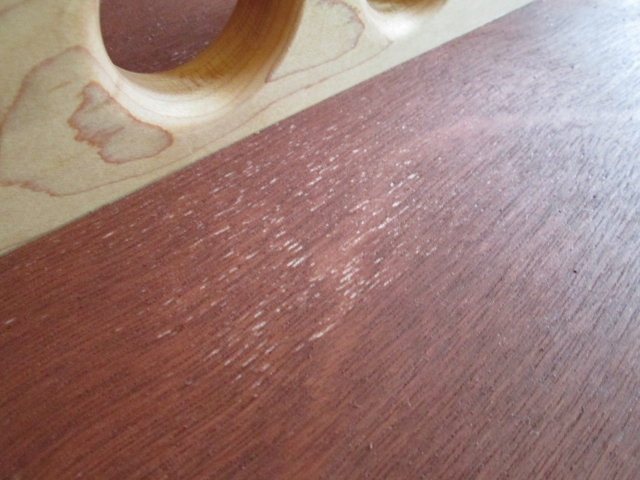
I know from experience that I can’t blend the stain (it gets blotchy), and I for sure don’t want to get in to a vicious cycle sanding, masking, and staining, so I think I will try a little targeted staining with a cotton swab. Thing is, I didn’t have any swabs with me, so I decided to put that aside for now. By turning the hatch sideways on the bench I was able to keep it clamped up on end, freeing up the end of the bench and the saw table.
Am I finally ready to start fitting foam on the roof? The dusty operations conflict with putting poly on the hatch, but apparently I’m not in any hurry to do that, so, yes. Let’s cut some foam!
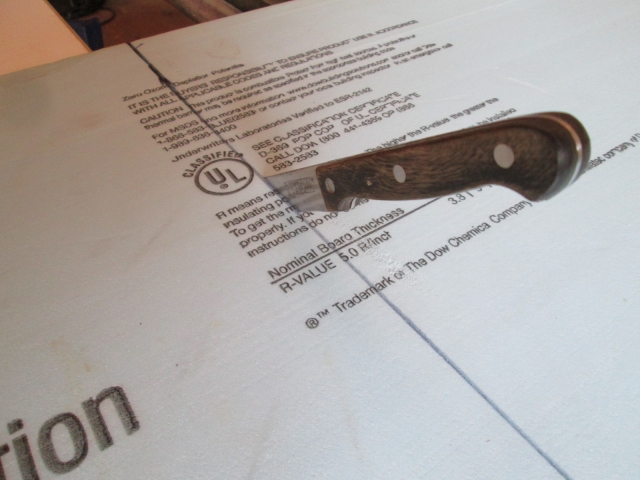
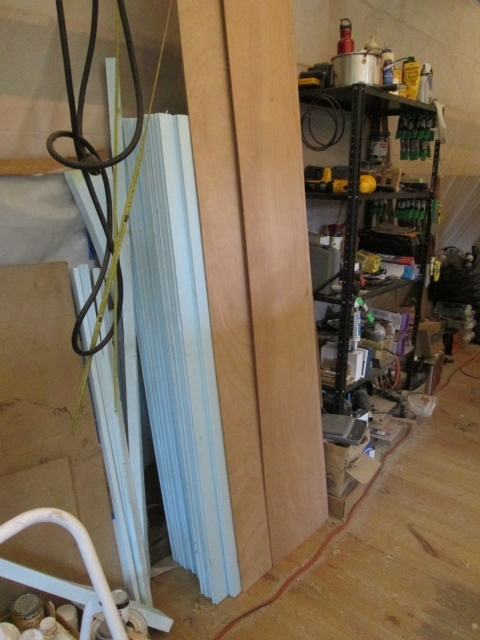
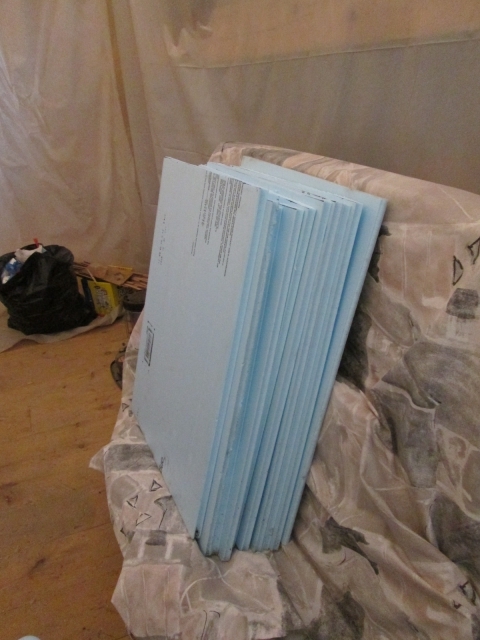
I have 15 sheets of 3/4 inch thk x 2 ft wide x 8 ft long tongue and groove foam, which I had to order special. I forget what I based my usage on as far as how sharp my pencil was, but the plan is to use the 3/4 on the tightest curves first, so if I run out I can piece some of the leftover 1-1/2 thk stuff in on some of the flatter sections, or buy some more 1-1/2 thk to supplement.
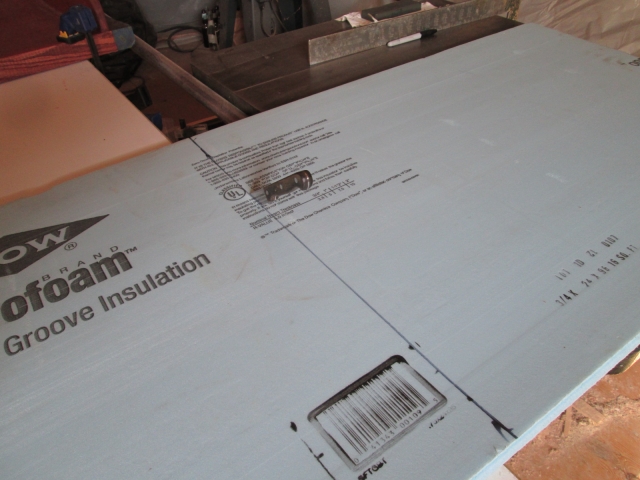
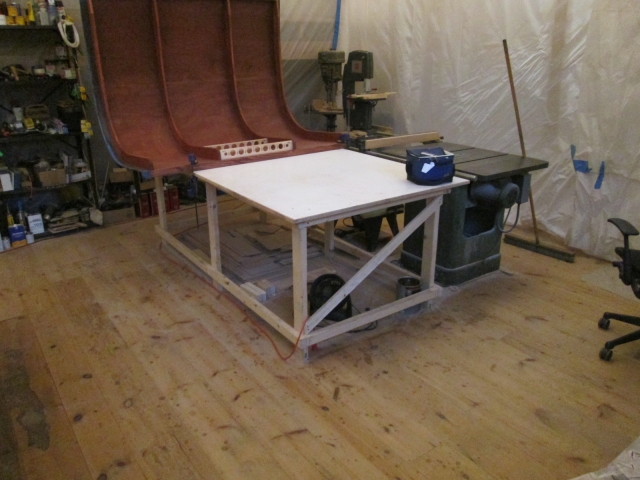
Anyway, I want to be able to use full length pieces of the 3/4 inch for the outer 2nd layer so I started by setting up a cutting station to cut all of the sheets to 64-1/4 inches (the width of the camper plus a little extra for trimming). Working on the end of the bench I was able to use the gap between the bench and the saw table so that both sides of the cut were supported.
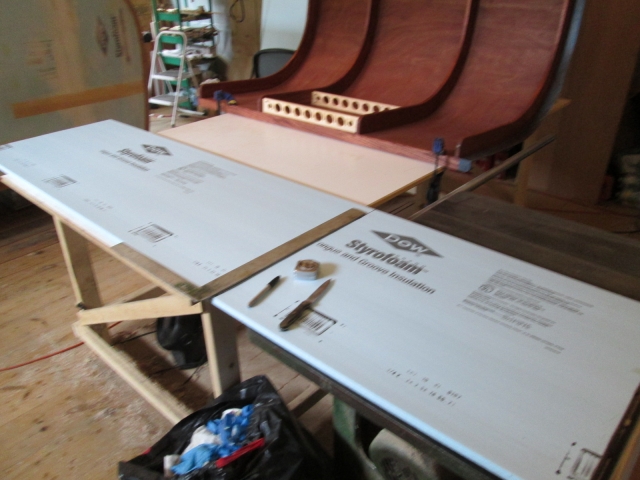
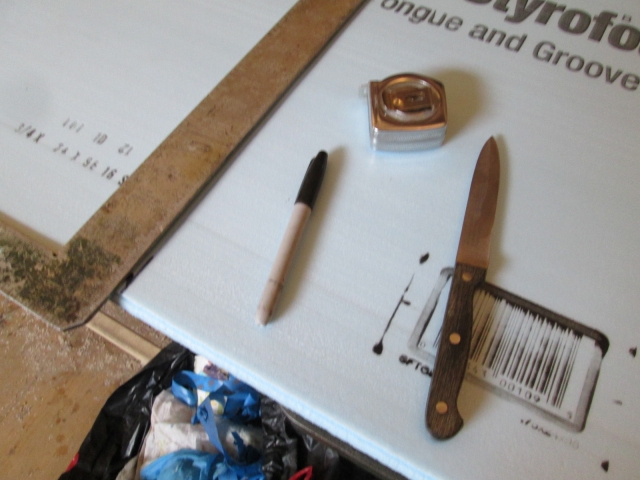
Tape measure, sharpie marker, framing square, and steak knife.
Not hard to make reasonably straight cuts.
Cutting right close to the work bench worked best to prevent flex.
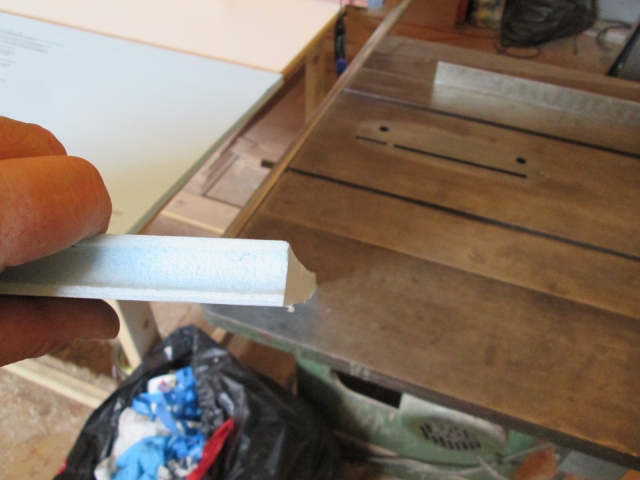
Holding the knife at a decent drawing angle, keeping it buried in the cut, and moving along in a reciprocating action yielded good results.
I tucked the now shorter full length blanks back in their spot (behind some spare 5 mm plywood drops).
Which left me with 15 of the shorter ends to get started with.
Now the first thing I did was to consider if I could glue two of these together to make more of the longer pieces. Well, as it turns out 64-1/4 from 96 leaves 31-3/4, so two together would come up 1/2 inch short. At first I was upset with myself for not doing this math earlier, but then I realized that it would be foolish to try and get every last piece exact w/o any allowance to trim. So I fooled around for a while taking some 1-1/2 inch scraps and ripping 3/4 inch filler pieces. Really just experimenting to see how the stuff handles on the table and band saws.
When I started to fit the pieces on the bench, as if to glue them together, I realized how much work this would be, and how silly this was and decided to just start fitting pieces onto the front of the cabin. I mean, why glue it together when the goal is to get it glued onto the camper? Cut out the middle man, so to speak. And besides, where the pieces don’t butt in the middle, I can just squirt some GS in there, or even leave an air gap. It will all be covered by another layer anyway.
After looking at a few pieces and doing some test bends over the front profile radius I decided that it was a little tight to try it w/o kerfing. It looked like it might go, or might pop, but the deciding factor was that w/o kerfing I would have to go thru some contortions and methods to deal with the springiness while the glue set, whereas with kerfing the strain would be relieved and the panels would form easily.
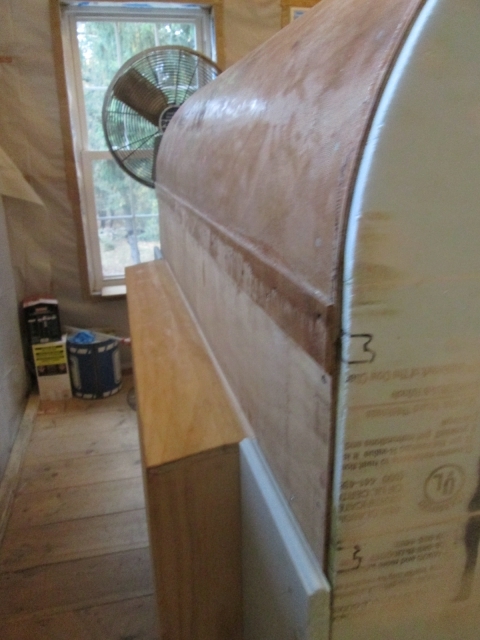
So I started by fitting a couple of smaller pieces on either side of the locker bump out to get me to the first full width area where I could lay out a rabbet for the splice backer on the skin, and the start of the radius for the kerfing.
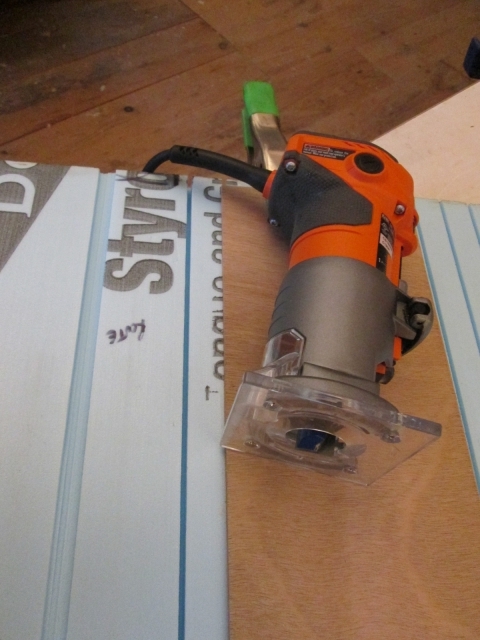
I started out on the table saw thinking I would plow out the rabbet, but that was going to take way too long with many cuts, so I skipped to the kerfs and figured I would complete the rabbet with the router. I didn’t recall the math for calculating kerf spacing, and, although I had figured all of that out in the model, the callout never made it onto the plans. It was probably for the better; using 1 inch spacing was much easier to figure when changing the rip fence. I went with 1/2 inch deep kerfs (2/3 the thickness) and ran two of the short sheets for each saw adjustment. Pic’s in a second.
Once the kerfs were cut I switched to the router with a 2 flute 3/4 inch diameter straight cutter and a piece of 5mm as a straight edge. The straight edge got me the second side of the rabbet, then I just free handed the rest up to first few cuts I had made on the saw.
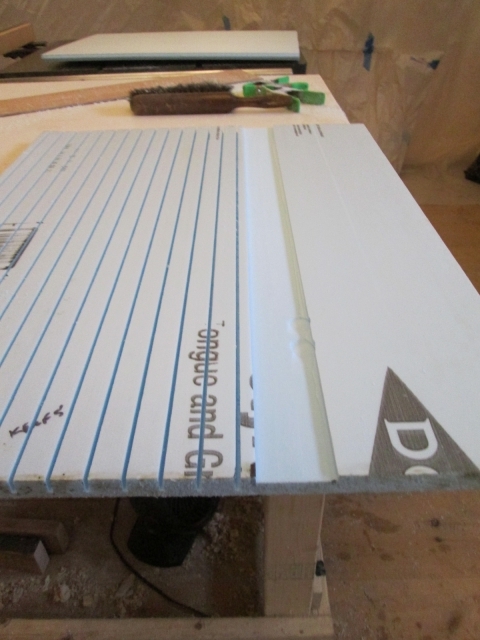
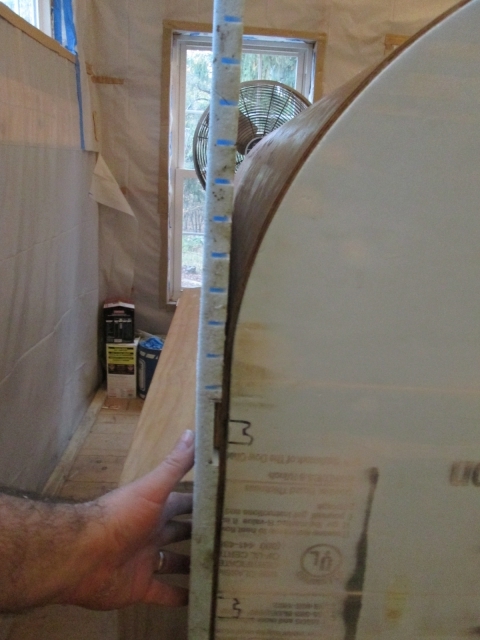
Here you can see the lower corner piece next to the locker bump out, and the splice backer for the ceiling skin a little higher up at the base of the front radius.
The rabbet fit over the splice…
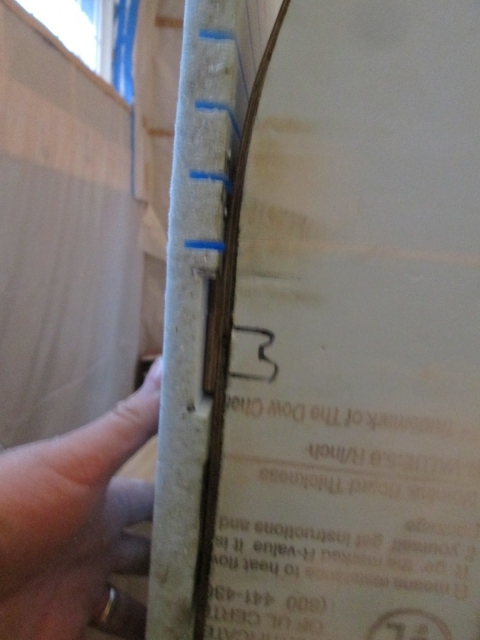
… and the kerfs getting it done in a dry fit test.
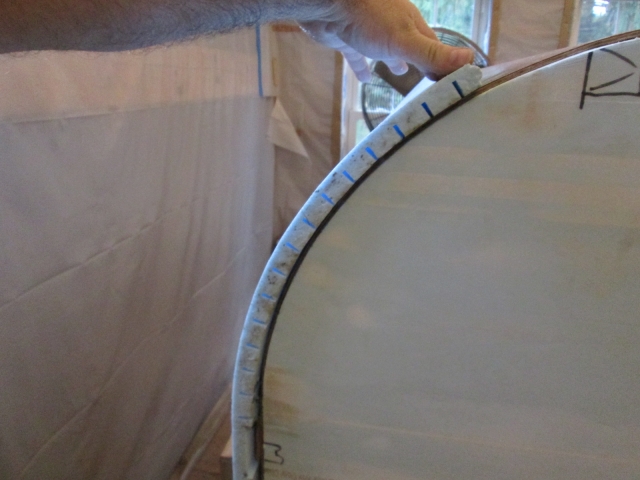
The kerfs aren’t optimized as the gaps don’t close up, but I like the fact that the curve is fairly even with not much ‘flat-bump-flat-bump’ action.
Now I just have to decide which glue to use. Anyone know what will get foam to stick to hardened epoxy? Yeah I know, thickened epoxy, but how about something less expensive and easier to dispense?
I’m thinking for the raw wood-to-foam I’m going to go with the very thinly applied TB2.
Finished up today by doing a moderately thorough sweeping of the shop.
Another 6-1/2 hrs but it doesn’t seem like I have much to show for it. One foot in front of the other.
Friday is smoked corned beef brisket night at
Chester’s BBQ, which is on the other side of home from the shop, so I don’t get there on Fridays very often. But since I had an early start today, I made an exception.


 .... well, that’s a bummer ! But the Turkeys are Cool eh !!!
 ... reminds one of the old gas radiant heaters we grew up with here with the inner ceramic elements ..


 From that experience, I’d suggest anything protruding, that could cause noggin lumps , should have a soft Rubber bumper of some sort ...
