I did up a composite floor of wood and foam rather than sheets of ply. This gave me a stiff floor while keeping the weight down, and decent insulation to boot.
I started by ripping 2X4s for the perimeter frame to accept the 1/4" ply skins. I also ripped a notch to accept the bottom 1/4" of the sidewall skins so that the end grain of the ply would never be exposed. It will also give more glue surface for a stronger wall-to-floor corner joint. Due to a gaffe in setting up the saw that I didn't catch until I had made the second rip, the space for the insulation was going to be 3/4" instead of the 1" I had originally wanted.
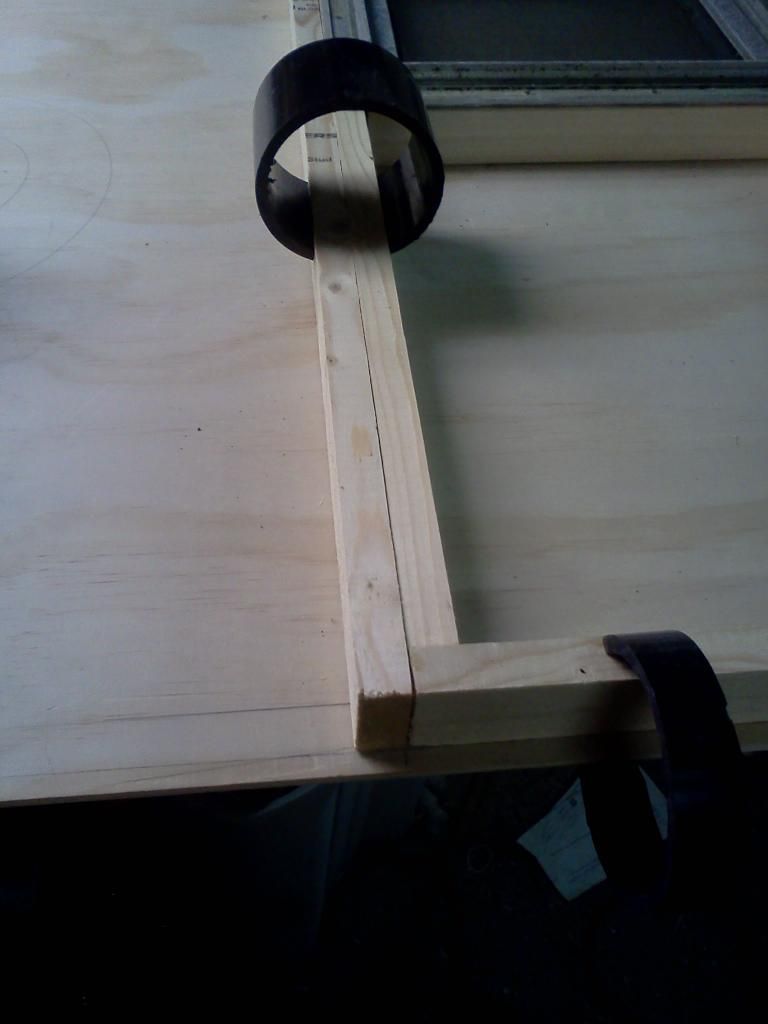
I mocked up the floor to wall joint with some scrap pieces - the 'thousand words' is no problem for me, verbose as I am, but a pic still beats it:
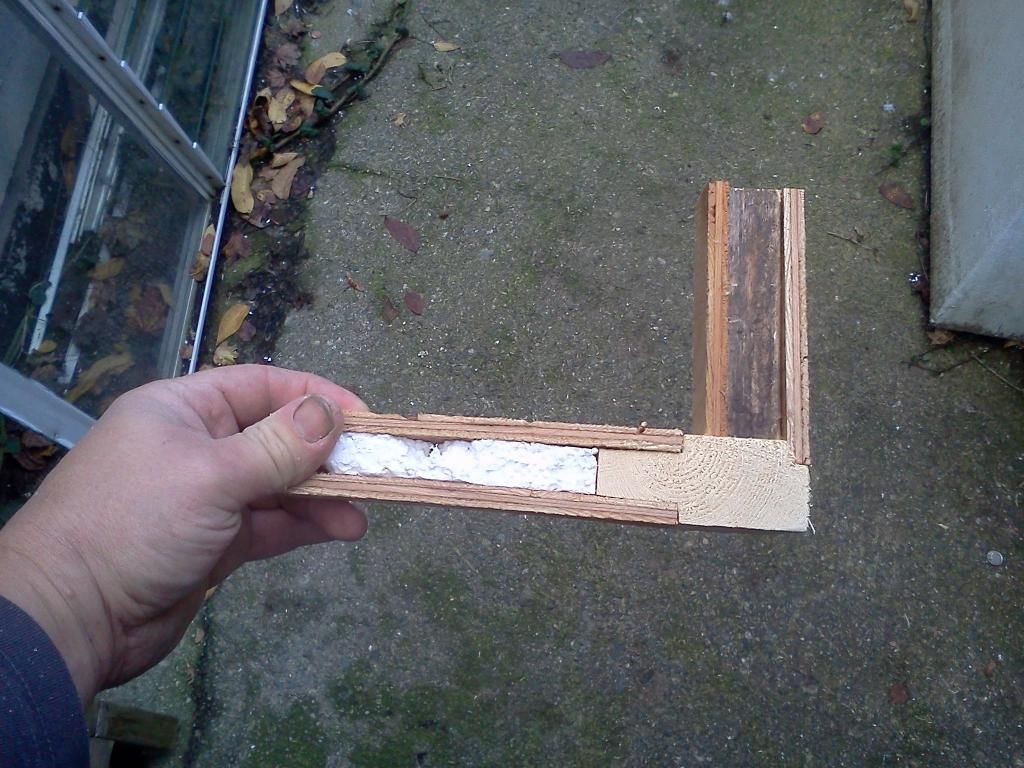
The upper floor skin in the pic is 1/4" scrap rather than the 5mm ply I'm using so it isn't sitting proud the way it is in the pic. On the right is the 1X2 wall stud (on the flat) and outer skin, but what it doesn't show is the lower sill plate of 1X2 that will be glued and screwed to the 2X4 frame below, exactly the way the walls are secured in building a house.
I forged ahead and continued ripping the rest of the 2X4 with the new dimension after coming up with plan B. Locally, I can only get Korolite (XPS - white beaded styrofoam) sheets in 3/4 - EPS (the blue and pink) is available only in 1" and up. The internal spars I had ripped 1" wide from 3/4" stock, so I could lay them on the flat and use the 3/4" as the height instead. I could have laid in 1" blue foam and longboarded down the 1/4 in a flurry of pink or blue snow, but opted to just use the Korolite instead. I didn't like it in the floor in the other build, but that was because my top skin was too thin and didn't spread the loading out enough so the foam was crushed in spots, creating voids. With 1/4" ply and internal framing (which the other floor also didn't have much of in the name of saving weight) I doubt I'll have the same problem.
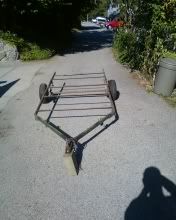
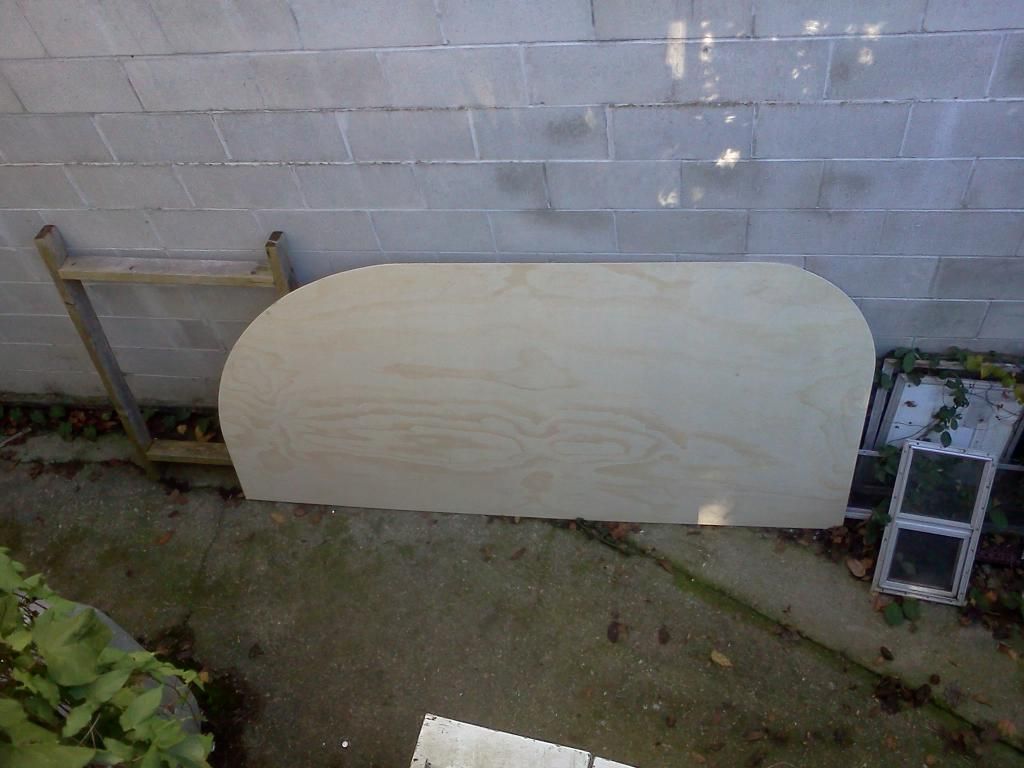
The main reason I went with a perimeter frame rather than just sandwiching the framing between the skins was because my trailer's frame rails are 48" apart inside-to-inside, so a 48" wide plywood sheet had to 'grow' a little wider to fully bear on them. This is the donor I'm starting from:
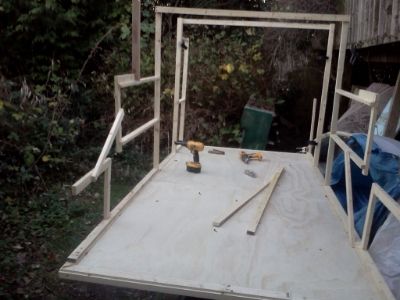
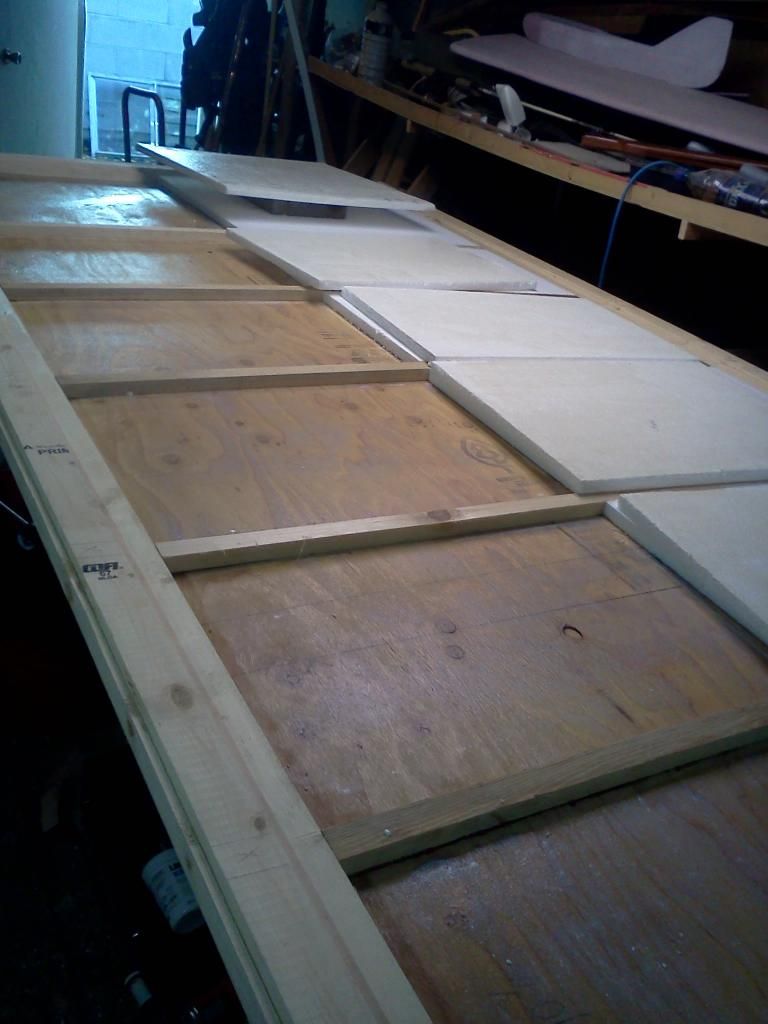
I didn't start taking pics right away, but I did get a couple of the floor going together. The frame is assembled with mitred and screwed corners and the lower skin is pinned on. I'm using TBIII on the wood joints and latex contact cement on the foam. Glue is dry and just about to put the rest of the foam in:
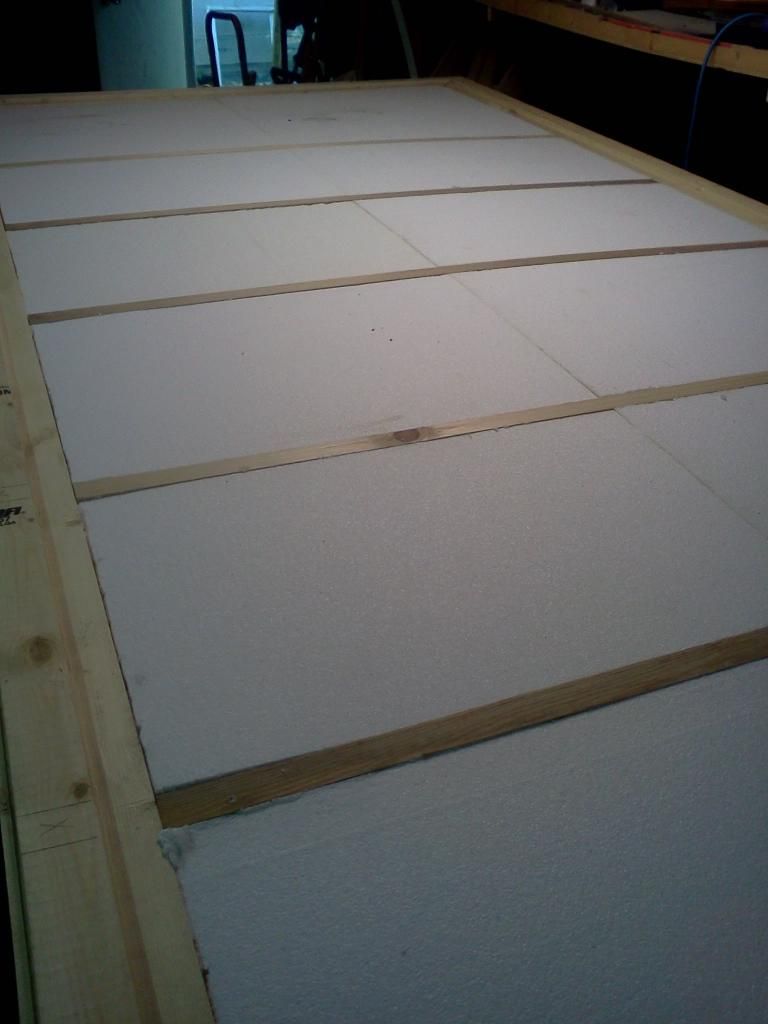
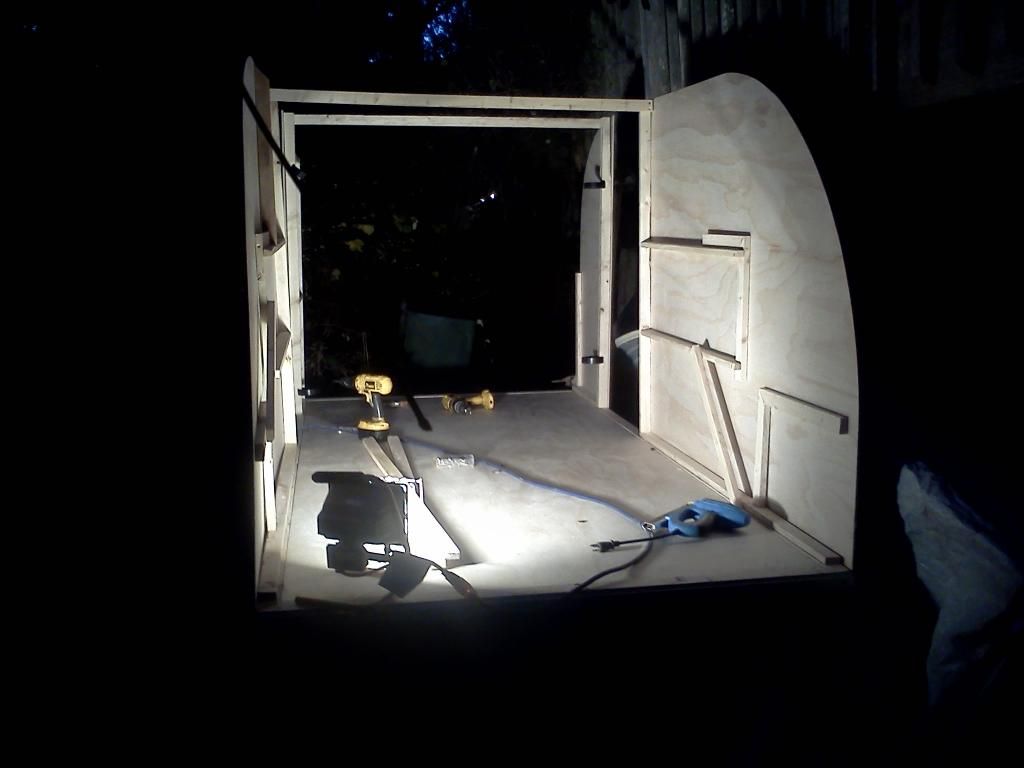
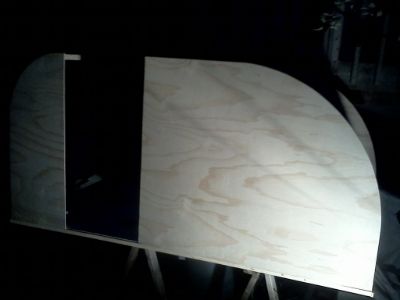
The upper skin is on as well now and I've got the sidewall skins profiled and cut out. I ripped all of the 2X4s to the same dimensions, so it grew in length as well. That's not a problem for the trailer because it's longer than I need, but it does mean that the wall skins need to be 'stretched' a bit to run to the outside of the frame rather than to the inside like the floor skins which will happen at the door cutout.
I waffling between having the leading edge (hinge side) of the door set either 12" or 18" back from the nose. I like the look of 12" on paper, but 18" means that a square-ish door can be taller without needing a radius at the front top corner to match the profile's radius. My major consideration, though, is ergodynamic with respect to getting in and out of the trailer and bed. I don't want to decide on one way and then wish I'd done it the other way, but such is building...and life

I am starting on the wall framing today - gotta wrap this up and head out to pic up the 1X2 and the undercoat and carriage bolts for the floor...
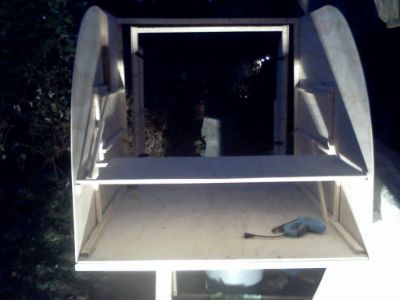
Because I have to minimize the amount of time I have a trailer 'under construction', I am pre-fabbing as much as I can in flat panels in the basement. I figure I'll frame the walls right onto the skins, leaving space for the roof spars. That should also make it easier to assemble the whole thing on the frame.
..."should"....


 ...... wish I could get some up from my project.