I have been distracted by cold weather and narrow thinking.
Hung up on the process and not thinking logically.
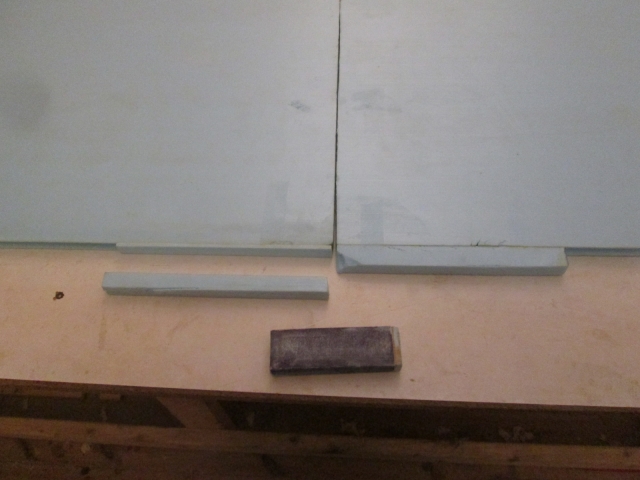
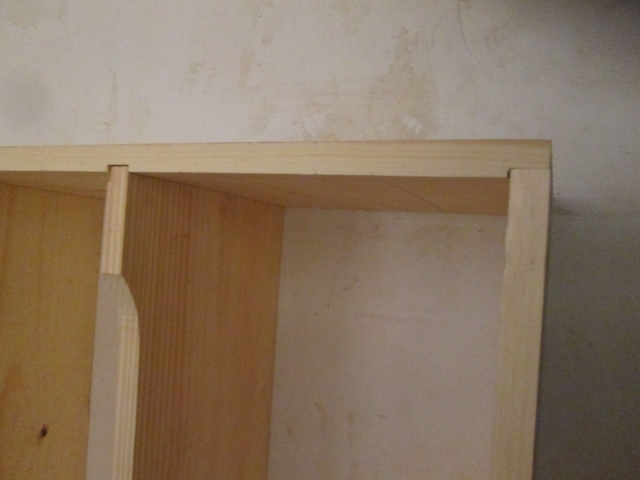
Back a few days ago I glued the bits that I had cut off of the tops of the front wall foam on either side of the locker on to the lower edges of the first two pieces of ceiling foam, shown here with the two outside edges butted together for the picture op. The one on the right (the curb side) is shown as glued, while the one on the left (street side) has been cut down leaving a sliver to match up with the rock guard blocking installed previously.
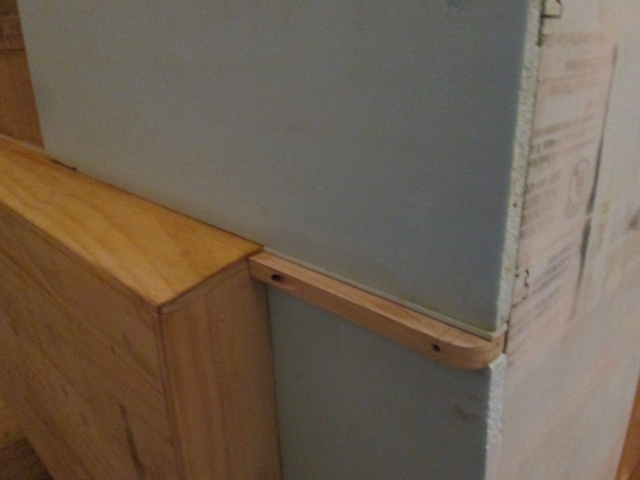
Here is a dry fit after sanding the edge until I got a good fit.
It was at about this time that I realized it probably would have been much less work and time to have just squirted some GS in the gap, trimmed the excess and been done with it. Narrow minded thinking No. 1.
Now it got cold. I am really opposed to hauling my TB2, and PL, and GS, and poly, and paint, and wood filler, and epoxy, and etc., etc. home, and to the car, and into work (so it doesn’t freeze in my car during the day) and up to the loft and repeat every day. It’s hard to predict which products I may want for each session, or what the temperatures will be (i.e. which products will be an option for me to use). So I finally got it in my head that I would build a “hot box” or warming cabinet. Nothing too complicated, just a cabinet with a shelf that would fit a couple of one gallon cans, my glue bottles and a few smaller items with a 40w incandescent lamp to provide some heat. Maybe use some extra foam to insulate it, and practice my skinning technique by gluing some bed sheets on the outside.
Talked about my plans with Karl (he suggested that I just use an ice chest cooler, or build something that could be used in the build later… I briefly considered turning my cooler slide tray into a built in custom cooler), and the guys at work (Larry also, had independently suggested using a cooler), but I wanted something that would hold all of my stuff neatly w/o having to rummage thru each time I was trying to reach for something.
So I went and bought a couple of 1x10’s to build the cabinet (needs to hold some weight), and a 2x8 1 inch thk sheet of Fomular 250 (pink, the 1 inch matching some stuff that came as packaging for Karl’s new 3 phase panel giving me enough foam to cover all sides and only buying one sheet). I also got a metal octagonal box, simple ceiling fixture, cord grip connector, associated jam nut, and 2 pack of bulbs. I even salvaged the plug and zip cord off of the shop radio that got fried by Karl’s electrical troubles.
Karl again pondered if there wasn’t some way that I could put the effort into something that could be used later, but I had the plan in my head already and the materials in hand.
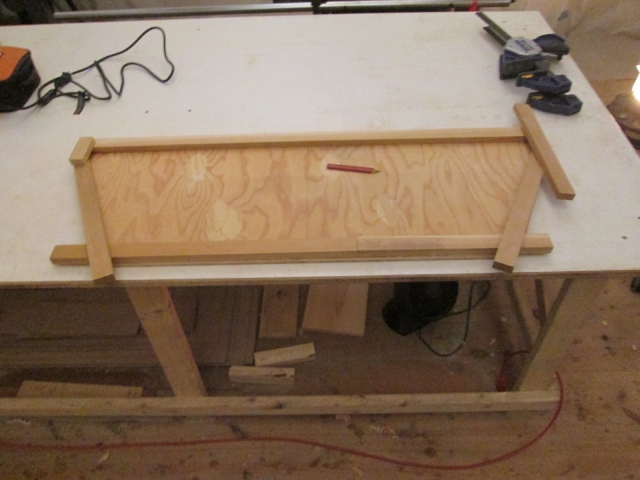
Spent an evening cutting, rabbeting, dadoing and dry fitting the box. This is the back side. I used the band saw to cut a pair of slots that would allow the air to circulate between the lower and upper shelves.
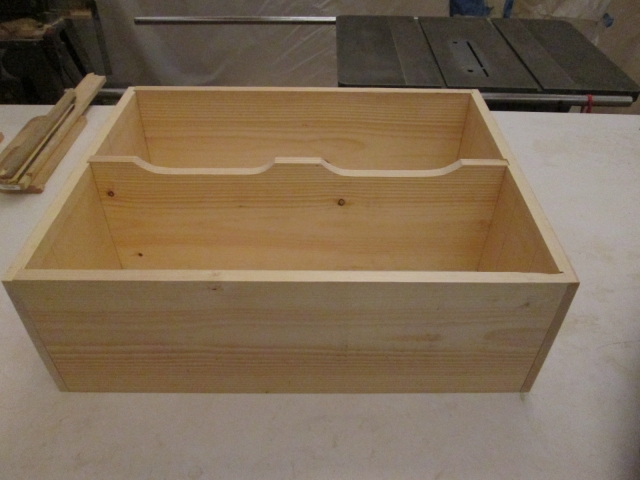
The next night I ripped the middle shelf down to allow for the thickness of the back and rabbeted the back edges so that the rear panel (some scrap melamine) would fit recessed/flush. Drilled 3 pocket holes in the underside of each end of each shelf, then glued the shelf section up with PL (only 45 deg F in the loft at that point, so not TB2). Glued and screwed.
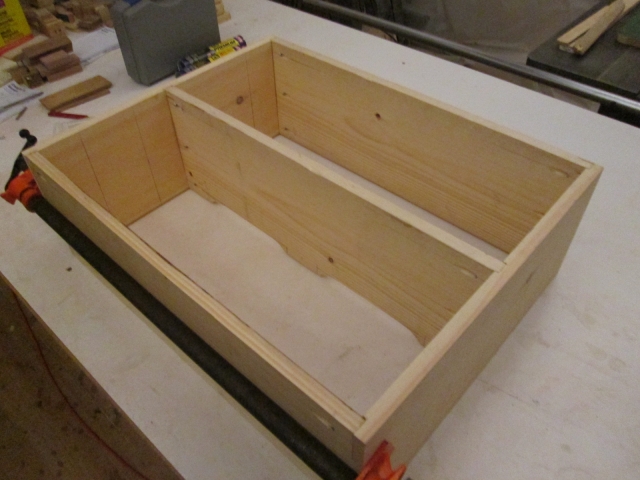
I had considered putting the middle shelf up higher, but decided there was no need to store the rectangular mineral oil can in there (in fact that would be more of a fire hazard) so just centered the shelf to fit round gallon paint and poly cans.
On the ride home I realized that the one gallon plastic jugs of TB2 are taller than the metal paint cans and probably wouldn’t fit standing up. Doh. Trying to decide if I should stay the course or make a change, Karl’s words kept ringing in my ears, “sure would be nice if you could build something that can be used later in the build”.
Later at home that night it struck me. It was right there in front of… almost on the tip of… my... tongue... box. I should be building my foam walled tongue box. The tongue box would easily contain all of my goodies, and it needs to have a hole in it for shore power and solar charging connections anyway, so easy to pass the lamp cord thru. I was hung up on the cooler aspect of building an insulated box. I didn’t even remember the tongue box because I had put that off mentally until the cabin is fitted to the trailer, when I can make sure the box is built streamlined to the front locker bump out. End of narrow minded adventure No. 2, almost.
So tonight I at least finished the shelf so that it had a back on it and some feet, rather than it being a total waste.
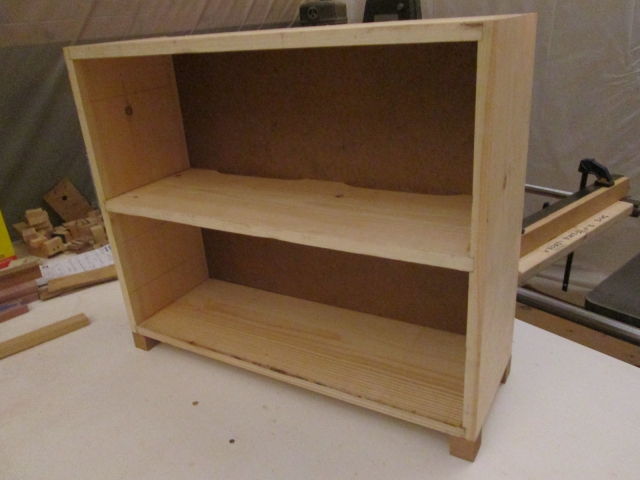
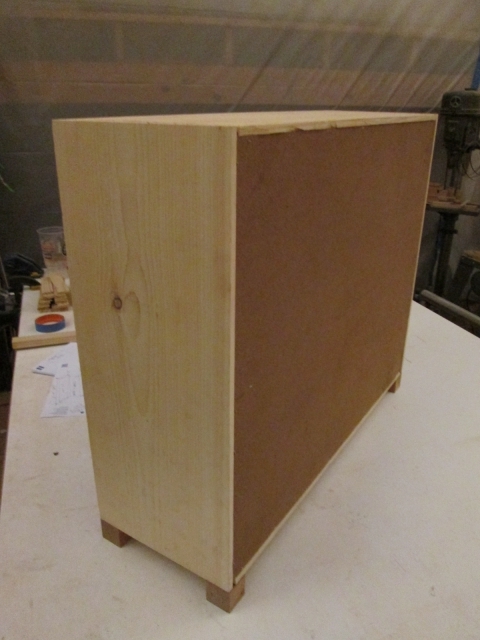
Not my best work, but sturdy and functional; I’ll probably load it with stuff that has been laying on the floor off the end of the bench next to my other supply shelf.
That done I decided to start building the tongue box (TB). I had to modify the original 1/2 inch ply floor piece that I made way back when in order to accommodate the locker bump out and keep the TB from getting too close to the trailer jack handle. That took a rip on the table saw. The locker came out about 3/8 inch narrower than the original plan for the TB, so I had to nip a touch off each side of the rear section; used the powered miter saw.
The lid of the box will be sloped in a continuation of the shed angle on the locker, so I did some careful measuring, allowing for the air gap between the two. Decided if I err on the short side a little; the TB can be shimmed up, if need be, to suit the line of the locker. If all else fails when everything comes together and I just can’t get things to line up the way I want, I can modify or rebuild later.
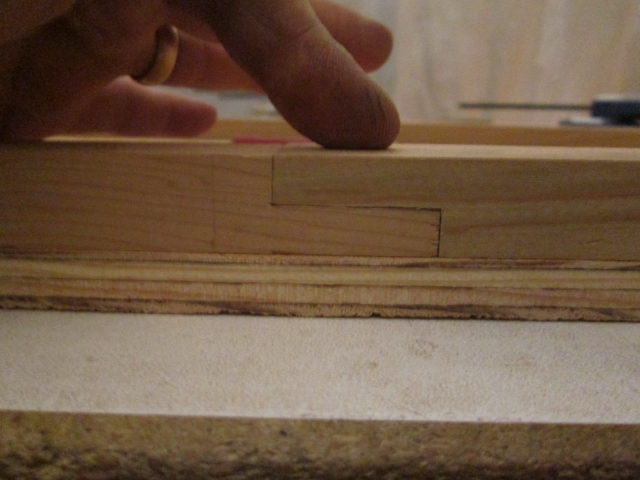
Rounded the front corners of the TB floor piece and started scrounging thru my cedar 1x2 drops to see what I could piece together for the top rim/lid sealing surface.
The rear piece was exactly the length needed, but was thicker than 1x and had to be ripped to 3/4 inch. I didn’t have a piece long enough for the front, so routed a half lap to join two shorter pieces. Worth the effort to me to be able to use the lighter weight and rot resistance of the cedar.
Disregard the temptation to make the top lip frame match the floor of the box. Because of the slope it will need to be a little longer front to back (the hypotenuse plus enough to plane the edges plumb). I was just using the floor of the box as an approximation for selecting the stock.
Tomorrow is supposed to be the beginning of a small warming trend, so I should be able to glue stuff.