Yesterday I got the underside of the floor coated according to plan. I will might slather on some more and get it onto the frame as well to seal up the cracks between the two and the fasteners holding it all together (1/4" galv carriage bolts). Black goo is a bit like explosives that way: figure out how much you're going to need, then add a bunch more.
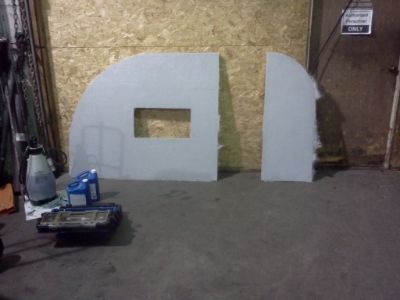
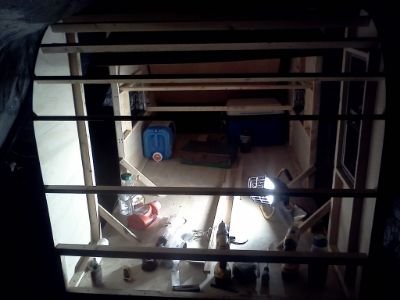
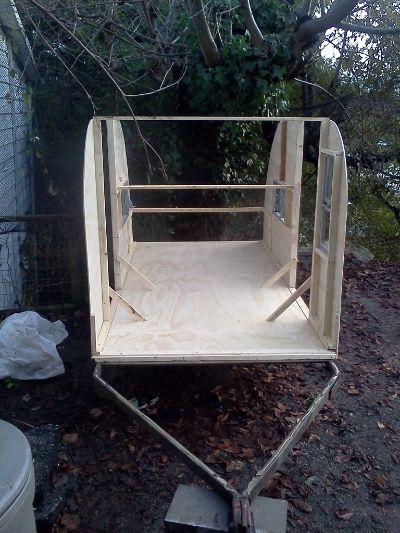
I've kept a weather eye (aaargh, matey !) on the weather all week so I would be ready for the break in the rain forecast for today. It was nice and warm today (10 degC) so, with the glue and the panels kept inside and a t-shirt on, I glued on the walls.
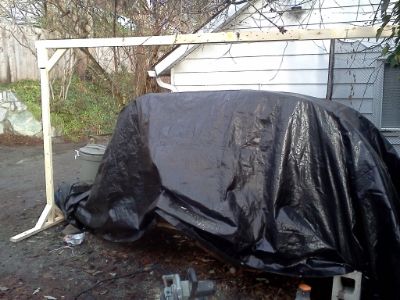
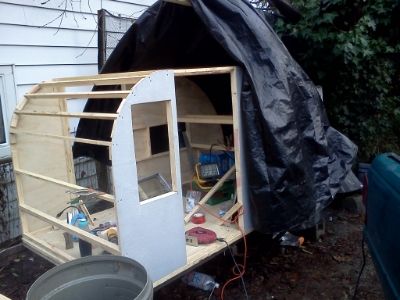
Anyone familiar with camping in the rain (and experienced tarp-ologists) in general will of course know that I need to support the tarp between the spars or I'll get giant pools of water that will be looking for an excuse to dump their entire contents onto the bare wood floor and framing. In order to foil ol' Murphy, I threw a piece of doorskin over the roof spacers to keep the tarp from sagging between them. I guess it's just as well that this is a 4X8 build, eh ?
I wonder if anyone's ever come up with a way to drain a tarp full of water without that water drenching whatever the tarp was meant to protect in the first place ? Of course, there is some kind of perverse pleasure in just slitting the 'belly' and letting the water splash everywhere.....but then again, I was always the kid who found the nearest mud puddle whenever he got a new pair of sneakers.
Enough babbling: on to the pictures !!
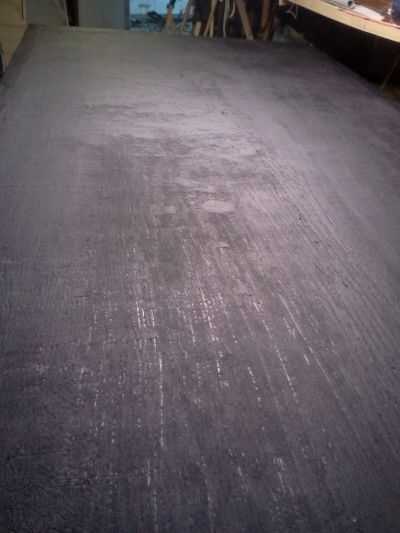
The black goo went on about 9am yesterday and by lunchtime it was tack free, though by this morning I could still leave a fingerprint in it if I pressed hard.
I used Bakor Roof Patch, which I've used before on utility trailers. It never really 'hardens' but it goes on runny enough to soak into the wood and hardens enough that you don't really get any on you when you're handling it. That said, I'll be carrying it by the edges and the top side and in latex gloves...
In warm temps, it softens up a bit and self heals from rock chips. If I make my own wheel wells (probably), I'll use it as a liner there as well.
I haven't done this in a while and, if memory serves, I thinned the first coat down into a paint last time I used it. I was looking at the quart can and figured I'd need two. They were $9 a piece and the gallon can was $20 so that's what I came home with. Those marketing folks know their business, eh ?
My 4X8 surface used about half the gallon but it's a bit thin in a couple spots - not a big deal since it's soaked into the wood really well but I still want to get a thicker layer on it. If some is good, more is better (again with the explosives references) The label mentions a 3mm (~1/8") film thickness, which I've pretty well got in the first coat.
I used the disposable yellow plastic drywall knives and it went on well with a 3" notched and then a final smoothing with a 6" straight blade.
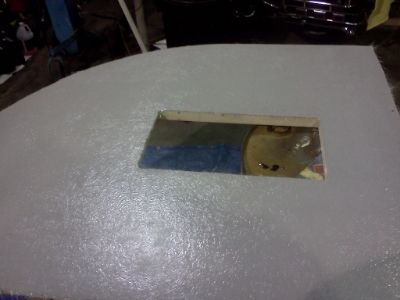
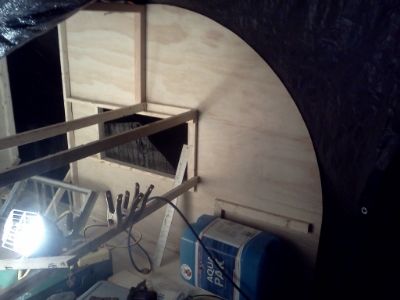
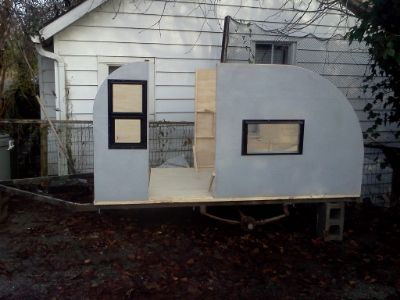
One thing that's been bugging me is that I didn't line up the bottom of the windows on the (port) side that has two windows. I wanted to keep the vertical window high so that it would allow light in but provide no sight line outside from pillow level. One the other hand, I wanted to be able to see out the jalousie windows while lying in bed, so they are lower. I'm not happy with the end result and may wind up re-framing and lowering the forward window to match. It really depends on how I lay out the door windows - if I can hide that transition in height, I'll leave it and live with it. If not, I'll make some sawdust.
When I get rolling on a job, I tend to go all in and sometimes can't be bothered to stop and grab a pic....which is exactly what happened today. I got the floor bolted down with 1/4-20 X 5" galv carriage bolts. I drilled through the existing holes in the frame and used those holes as pilots to counter bore the top with a 5/8" spade bit to recess the heads of the carriage bolts so the sill plates on the wall frames would sit flat down on the floor's perimeter frame.
I then marked out where the walls' sills would land, slathered it up with PL and screwed the walls' sill plates to the perimeter frame. Everything lined up as it should and hit its marks, but I'm still happy I did the dry fit on sawhorses first !!
Anyway, more pics...
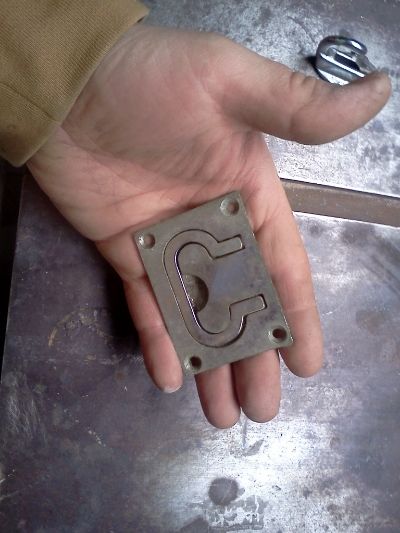
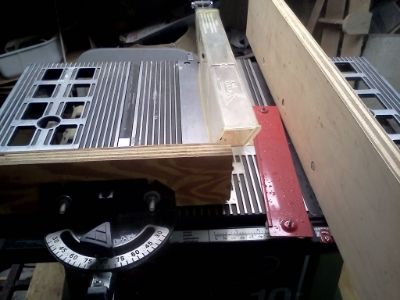
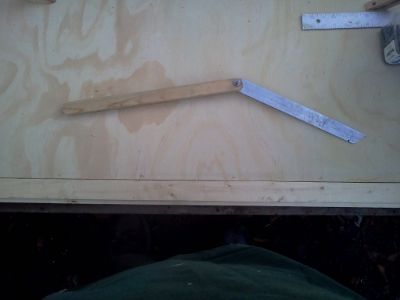
I also copied the angle of the bridle so I can cut the outer edges of the tongue box floor to match. I used bevel guage I made years ago for use in boats and it paid for itself yet again.
If I get some shop time this week I can now plug away on the tongue box and hopefully get enough of it done that I can start making up my battery cables. It's supposed to dump rain all week so working on the trailer is out. I seriously envy you folks with build space in the garage !!!