A little progress today but, because the rain socked in again, the pics had to be taken under the tarp.
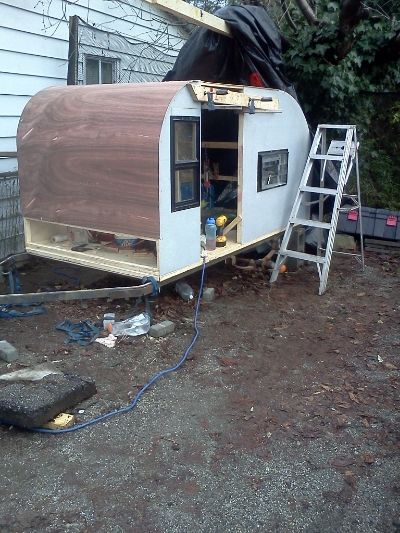
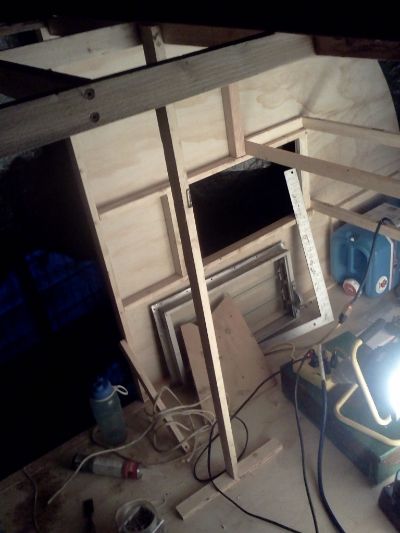
I got the roof hatch opening framed and I let in the header over the other door (had to cover the light with my hand)
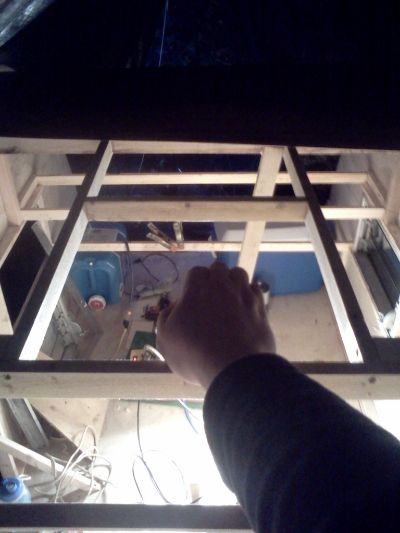
In the back you can see (from L to R) the water can, stove (the work light is sitting on it) and cooler I'm using for layout. The cooler is where it will sit on drawer slides and the water container will be above it on the upper shelf. For transit, it'll be further back from where you see it though on that side in order to help balance the weight of the cooler (batteries are on cooler side as well, although on tongue). There will also be a jerry can of water in front of where it sits if there's room when it's all together, otherwise it'll be beside it.
With that stuff done, I'm ready to start skinning the roof. Something funny happened that made me thinking about the overbuilding we all tend to do:
The largest single section of unframed roof is going to be about 20" (& full width) of the flat spot on the top of the Benroy profile just forward of the hatch hinge spar (clear fir 2X2). With two laminations of the 1/8" ply plus glass and the three glassed-in 1X2 rails running fore and aft to mount the solar panels to, it will be plenty strong. I've been trying to lay out the framing and blocking so that it serves mainly just as nailers to catch the edges of panels rather than providing a lot of structural strength and even so it's closed up the open spaces pretty well. When I look at that 20"X52" 'hole', it looks like it
should have a frame member in there because it's a big space compared to the rest of the framing.
This is where I stepped back and said STOP ADDING MORE WOOD

If I really need it, I can glue it in later...
Anyway...
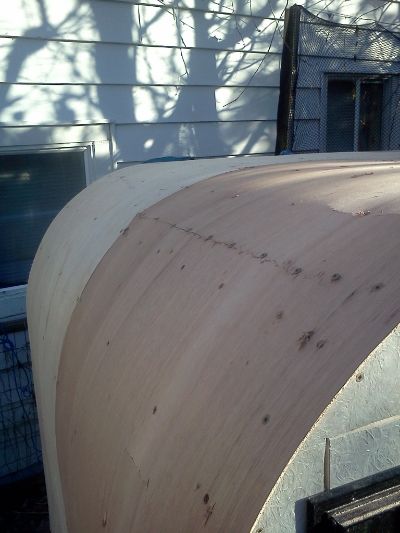
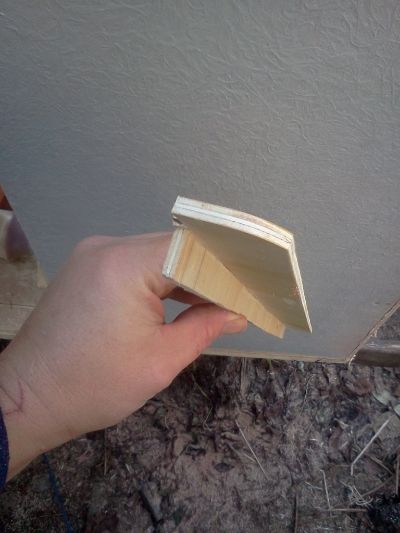
I also grabbed one of my pre-cut skins and tried it on the 18" radius of the front corner. It bends pretty readily just by hand though I have ratchet straps at the ready for when I do it for real because, as we all know, there's nothing worse than realizing you don't have everything you need AFTER you've applied the glue.
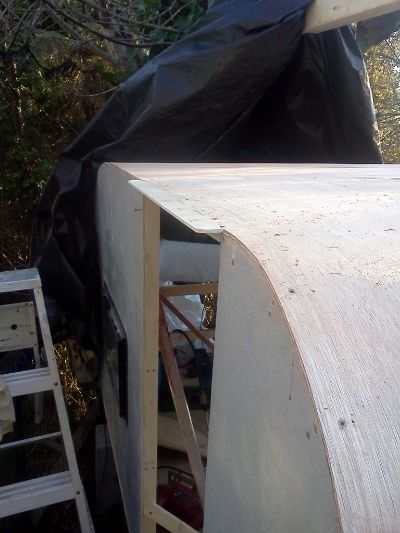
The first roof skin will be a 9-1/2" wide strip, then a full 48" wide skin. I did this so the center of the bend would be closer to the middle of the sheet. I went with 9-1/2" because that will be the width of the offcut will be when I rip down the 3X7 sheets I got to run fore and aft as the 2nd layer.
I added a couple of temporary cleats to the doubled spar to hold the 4' skin while I start pinning it into place. I don't relish the thought of trying to hold it in place, line it up, and nail it all while the glue is wet. Talk about inviting ol' Murphy to the party !
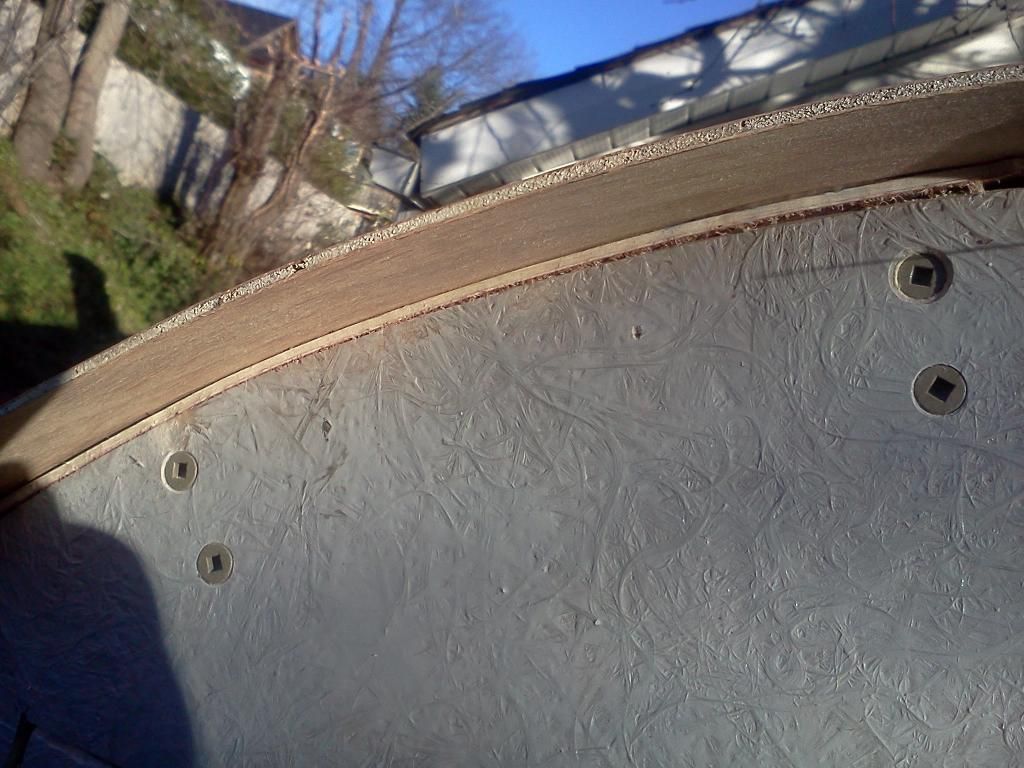
When I started this, I took a chunk of 1/4" nylon cord and marked 48" from the end. That way, I can follow the curve on the outside of the wall skin to find where the edges of the sheets land, just like using a piece of thread to measure distance on a map...
I used that and screwed/glued the blocking for the seam between the first and second sheets:
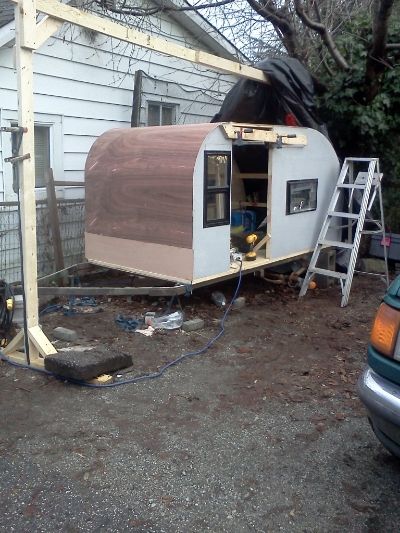
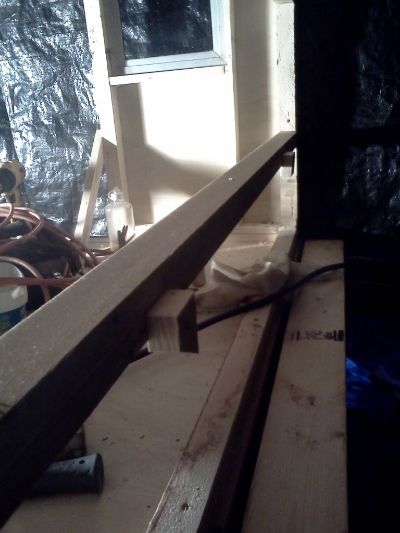
I also got the front window (on the left side) dropped down to the level of the jalousie windows further back - it HAD to be fixed...
I measured the height of the back window from the bottom of the opening to the floor and laid that out as the new sill height, where I glued and screwed a new sill in. I then cut out the glassed 1/4" plywood skin down to the new sill. I used the piece I cut out as a patch to fill the newly created hole at the top and Bob's yer uncle. There's a bit of a gap still from the kerf of the jigsaw, but that's a glass repair that I'll do while I'm glassing the roof.
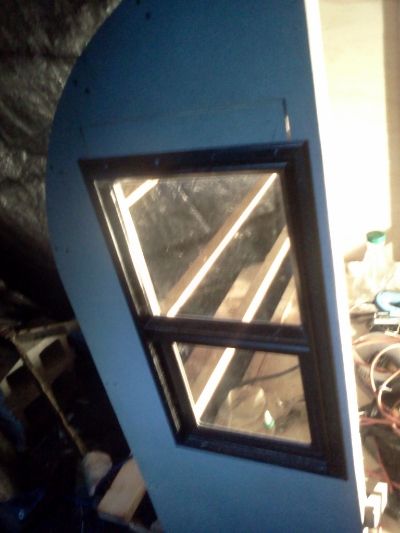
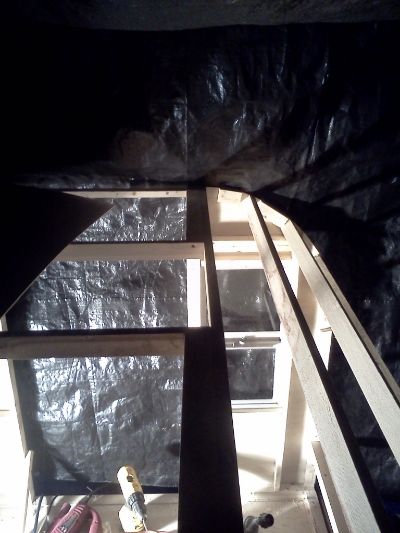
Wow, what a bad pic...
I also made up a temporary shore to support the roof framing until the roof is on and glassed. I won't be crawling around up there, but I'm not crazy about even leaning on individual 1X2's while gluing or later glassing until everything is locked in as a single unit so this ought to help carry that post-Xmas 'structural loading'
...namely
me 
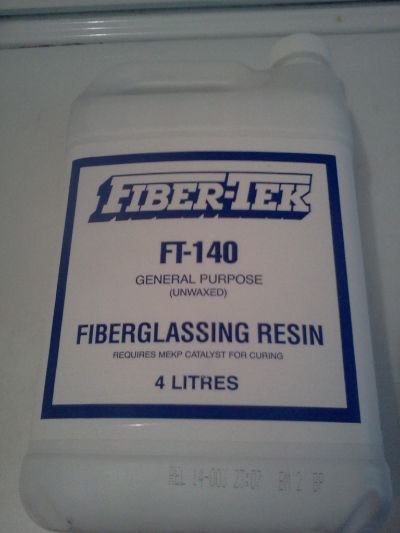
We're supposed to get a couple days of rain and then clear next week and around freezing. I've got an IR heater I'll get going to warm up the wood, I'll keep the PL in the house, and I should be good to start putting on the roof skins on Monday.

It's a milestone because that's when I'll renew the insurance and be able to tow it up to the shop (about a 45 min drive) to glass it like I did the walls. Once that and the doors are done, I can sleep in it....to meet my Jan 12th goal.
...with an exception...
Because of where the first layer of roof skin lands at the back of the roof (right behind the hinge spar), I'm not going to skin the hatch and trailer roof as a single unit and then cut them apart later as I had thought. Instead, I'll get the main section of roof skinned and glassed, then park the trailer so it's nose-in to leave the galley accessible and do that separately. Now that the Xmas commitments are done, I should have enough time left before I go back to work to close in the cabin/galley area since most of the framing is already in since I used it to hold the walls plumb when I glued them in. I had to change my plan a bit when, after making up the pattern for the hatch ribs, I realized I have to clean up the shop - ok, more like 'drain the swamp' - before I can do anything in there and that pretty well blows my target date out of the water.
I'll be 'wasting' sunny build days doing dump runs and driving a shop vac around but it'll be great when it's done and I have my workspace back to lay up the ribs. And technically it
does help the build move forward...