I felt much more productive today, like this tool mount and blocking effort is starting to “get there”.
Yesterday I laid out the location of the upper shovel mount blocking and cut the foam there. This chunk was more secure than the lower piece, but still not a very high percentage of contact. There was a band and a few high points of dappled glue. Even though I had made the block 4x4 (3-1/2 x 3-1/2 inch), where I wanted to put it was a little lower than the rock guard blocking (partial spars) so I decided to cut the foam up to them and extend the block with a piece of scrap cedar 2x2. That way it will be easier fitting the second layer of foam and it gives me a tad more structural tie in.
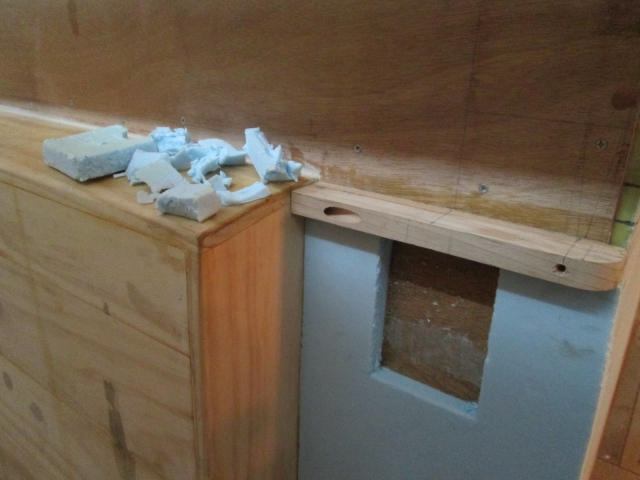
You can see how the lower section was fairly well attached, coming out in pieces, while the upper piece only had pinpoint contacts and came out in a single piece.

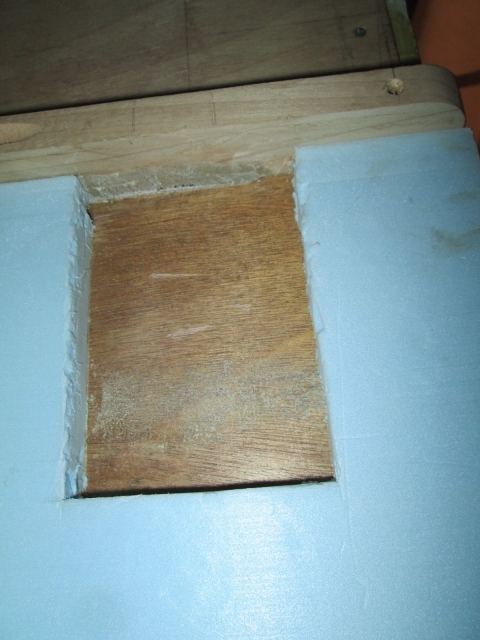
Using the small scrapper and a small 1x2 block wrapped with an 8th sheet of sandpaper, I cleaned the “Klingons” out of the pocket and sanded back to smooth.
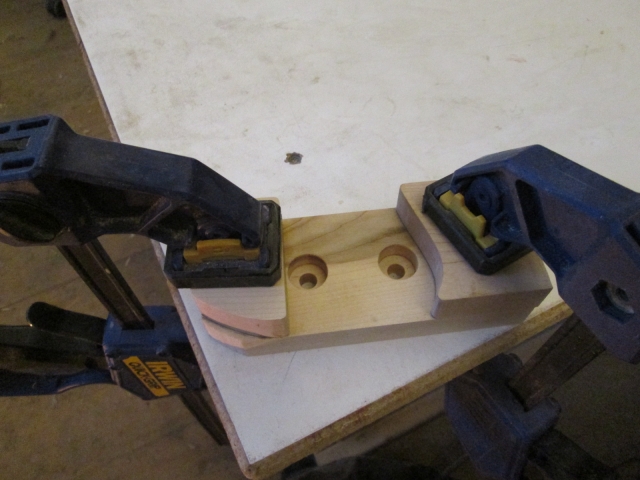
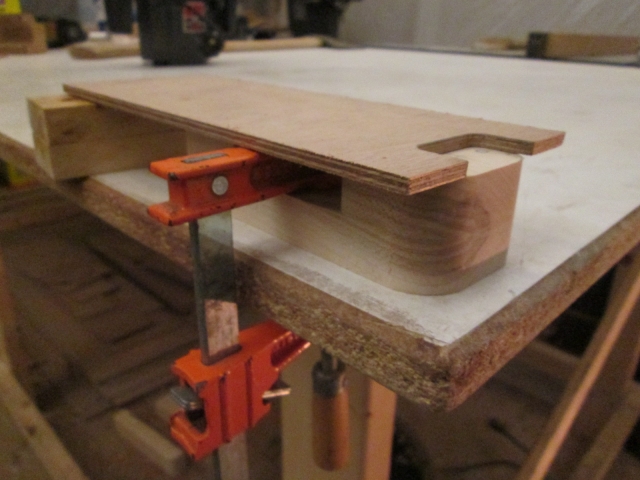
Two size 20 biscuits to extend the block.
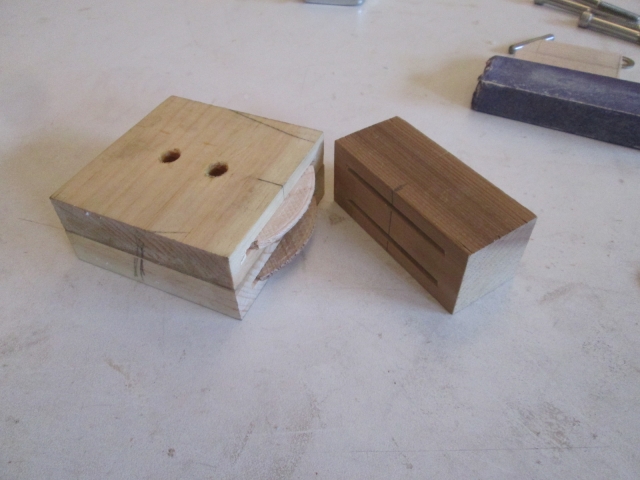
And the pair of shovel blocks dry fit.
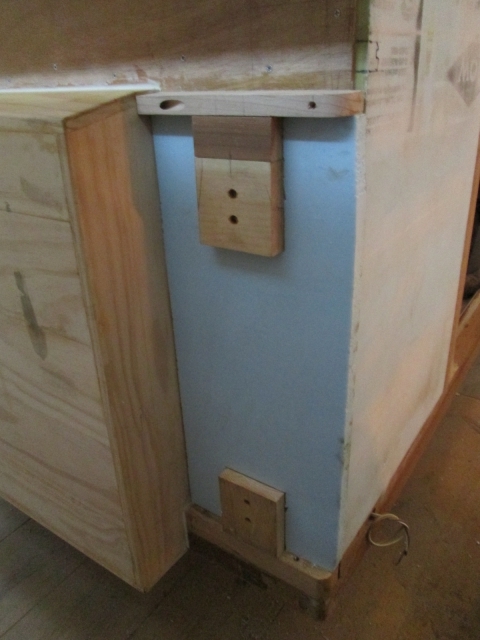
Before leaving I glued the cedar extension.
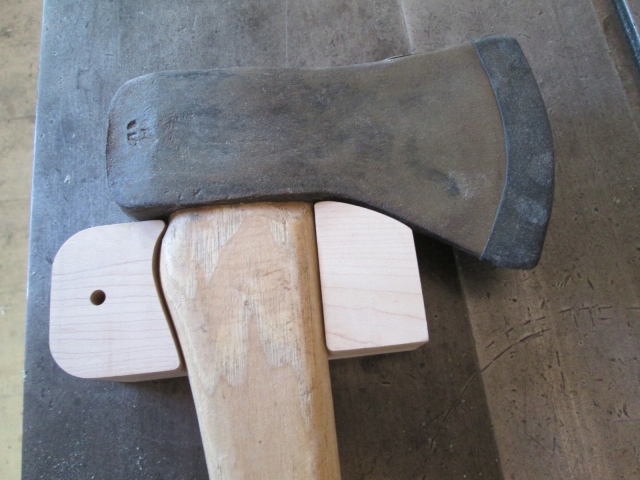
When I fit the axe to the mount with the first locating block now glued, the second piece didn’t fit as well as intended. I ended up making that piece over, which worked out better because I was also able to make the direction of the grain match the base. I used the axe with a piece of the wax paper box shim to provide a little clearance and clamped the second side piece up (shown here after removing the axe and shim). The excess material on the base will be faired to match once the glue has set.
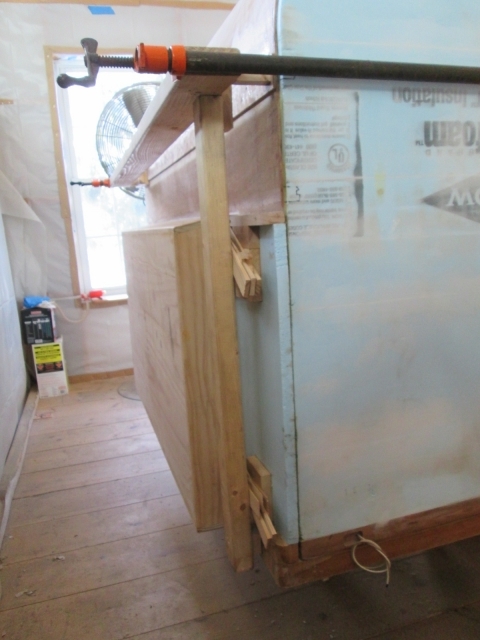
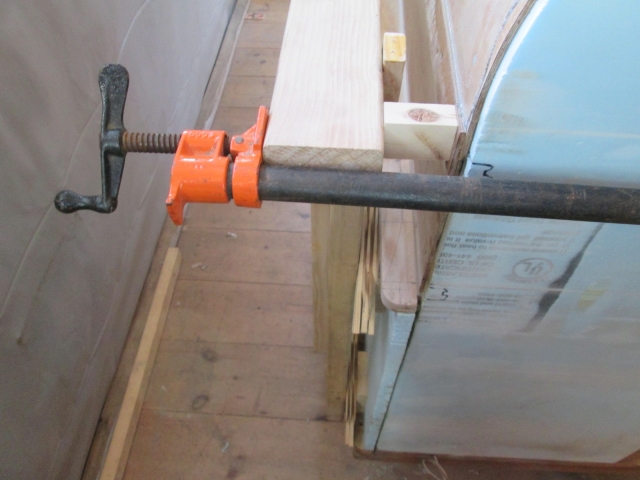
Today I used a heavy application of PL Premium to glue the shovel blocks in. I used the same 2x4 backer clamped above as before, and a second 2x3 cleat hooked under it at the top and screwed into the front edge of the floor with a small spacer block. From there I was able to use wedge shims against this 2x3 to put clamp pressure on the blocks against the front wall.
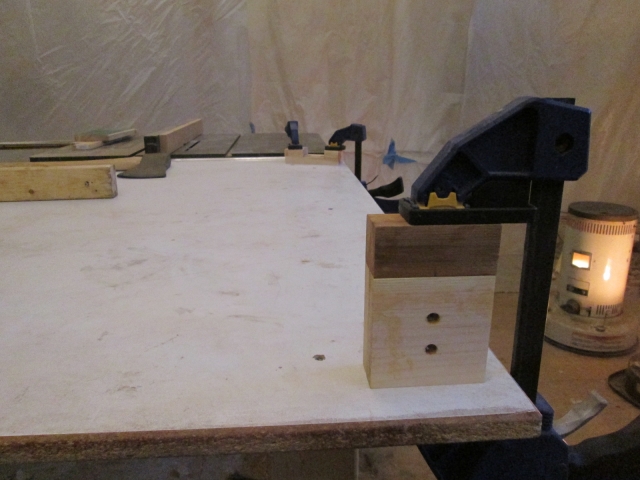
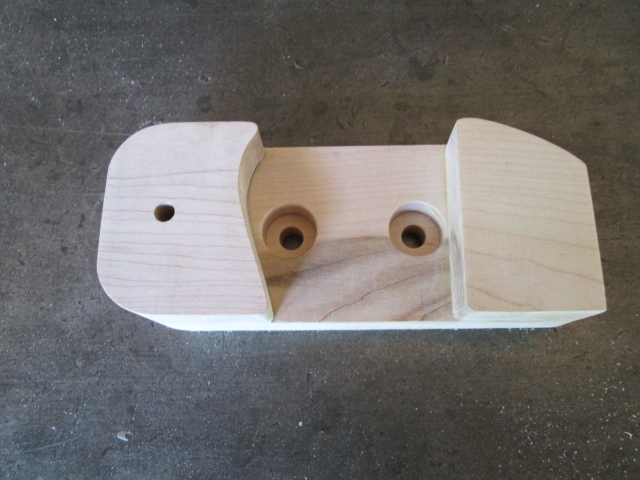
The backer bar for the glue up was in the way of test fitting the axe to determine the lower blocking location for that, so it was back to the axe head mount for a few more details. The piece of stock I was working with had a dark streak running thru part of it. I didn’t bother avoiding it because I figured, since these parts will be exposed to the weather at times, and the shovel mounts being made from cedar don't match, I would be painting these parts (having second thoughts on that now… might stain instead). I didn’t even realize that when I remade the second side piece (cutting it from the first base piece that I scrapped) that it ended up being a “book match” to the new base. Anyway, here it is after rounding the corners on the lock knob side. Used a combination of the bandsaw, some hand work and the 3/4 inch round over bit in the router (using the waster block technique shown previously).
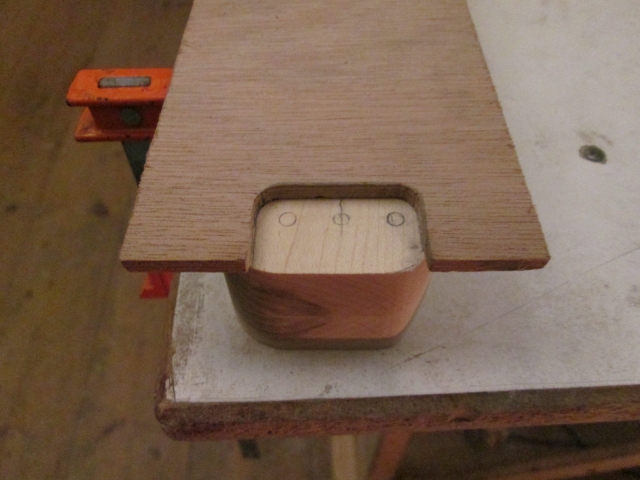
By cutting the hasp hinge down a little on each end I was able to round over the lower right corner on that side so that it wouldn’t look quite as lopsided as it did with the one square corner. You can also see that I rounded the corners of the hinge, and milled the countersunk screw holes.

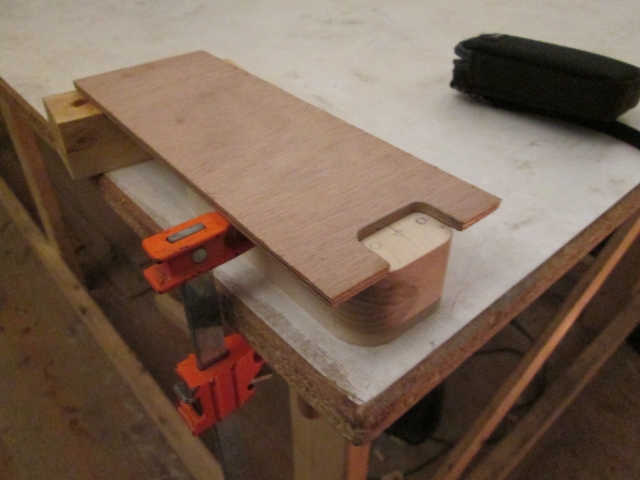
Rather than just surface mounting the hinge, I made a router template to mortise it in using a guide bushing. The template is attached with double backed tape. The clamp holding it to the bench just fit once I took the rubber shoe off of the clamp jaw.
That’s where I left off. I’ll fire up the router again next time.
I didn’t quite make my goal of getting all of the blocks glued in, but I am reasonably happy with the progress. At least it feels like I kept busy, and did less staring and contemplating.


 Hot totties for you and the wife. Sounds like the snow blower is going to get a good workout. More planning time is always good.