It was a good day to get back into the groove. Not warm out, but the sun was shining and I got enough solar gain midday-afternoon that I actually shut down the heaters once it got up to 52 deg F in the loft (my comfort zone while I’m working).
Once the sun started past the trees the temps started dropping back pretty fast, but I made a big step today.
Had a couple of pics in the camera from before. Here’s the first upper shovel mount in progress. It ended up a little shorter than originally planned, so the bolt hole counterbores were closer to the edges and I got some chip out. A ding here and there, and I put the hinge mortise too close to the valley. That made it so the moving part of the hinge dragged some (which I could have clearanced for), and would have made it very difficult to round the edges over w/o breaking the lip on the mortise. I also didn’t like how I had cut the slope at the top too deeply toward the back. I would rather have this plateau out leaving the back edge squared off.
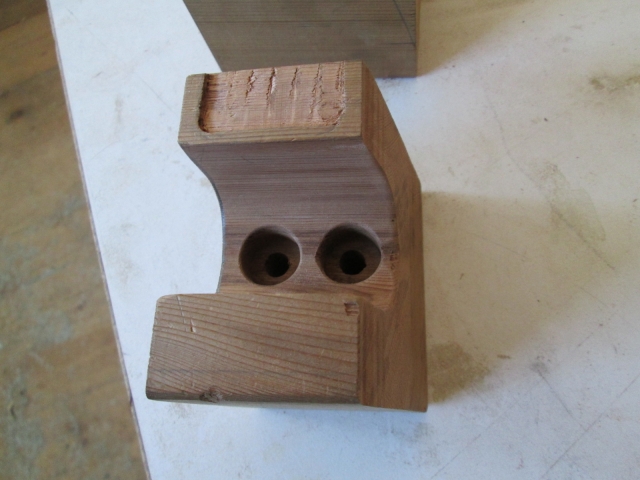
So I cut another longer blank and started a do over. Got the valley rough cut and hand sanded to fit the shovel better than the first attempt.
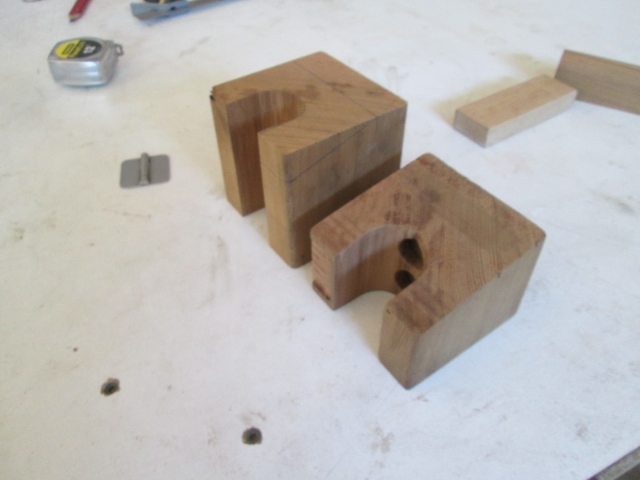
So back to today. Finally stopped waffling and figured that I needed to be doing “mechanical” work that doesn’t need bonding or finishing. No sense trying to hang the cabin doors until after the canvas goes on; I might need to shave the doors down a tad to allow for the canvas. And the hatch hinge is sort of in the same boat, since the canvas will go under it. But I thought I was going to have to tune up the tops of the hinge spars with the plane; the forward hinge spar had rolled forward a hair on the rabbet for the ceiling skin making the rear edge a little higher than the hatch (or so I thought). Anyway, I test fit the hatch again and found that the spars weren’t really that far off.
Here you can see how I have used 1/4 inch thk shims to clamp the spars together and the gap along the curb side at the hatch skin to wall edge. Later I swapped these out with narrower ones that didn’t stick up above the spar, so they wouldn’t interfere with fitting the hinge.
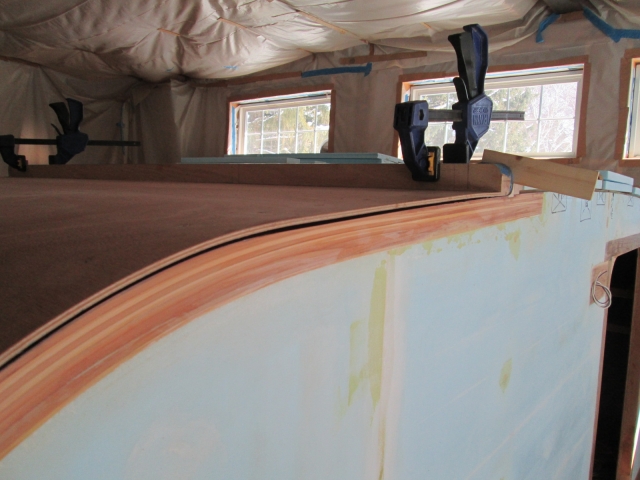
The gap appears to be from the hatch skin curling up slightly outside of the right hand hatch rib; it wings up slightly. Not sure if I noticed this before, or if it has warped up in the meantime. I’ll try to compensate for this when I get to fine tuning the wall edges and fit the seal.
I started out shimming the spar 1/4 inch on each side reminding myself that it needed to be a little more on the curbside for best fit. Here you can see that the bottom of the hatch is sticking out on the curb side by about 1/8 inch, and is under flush on the street side by the same.
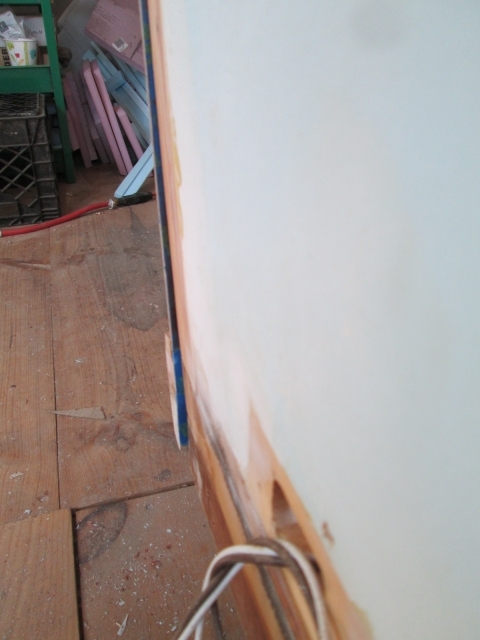
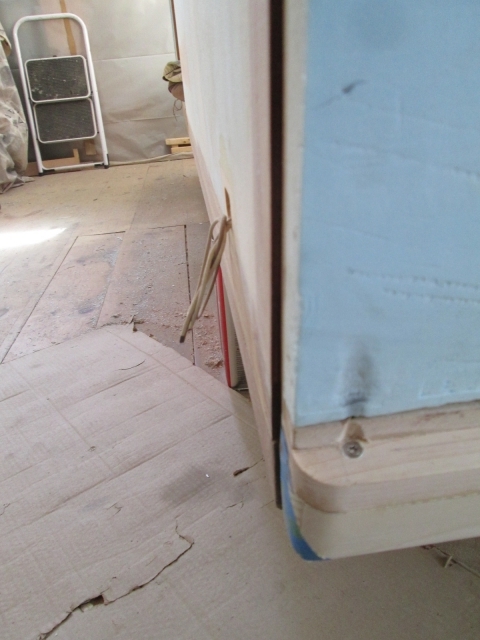
Like I had noted earlier, somewhere in the hatch construction I found that the best fit came with the street side of the hinge spars set at 1/4 inch gap and the curb side set closer to 3/8 inch (maybe a fat 5/16 inch). Once I swapped the 1/4 inch thk shim on the top of the curb side for a couple of cut down wedge shims, I was able to shift the bottom right back in to flush without putting any sideways force into the bottom or twisting the hatch frame.
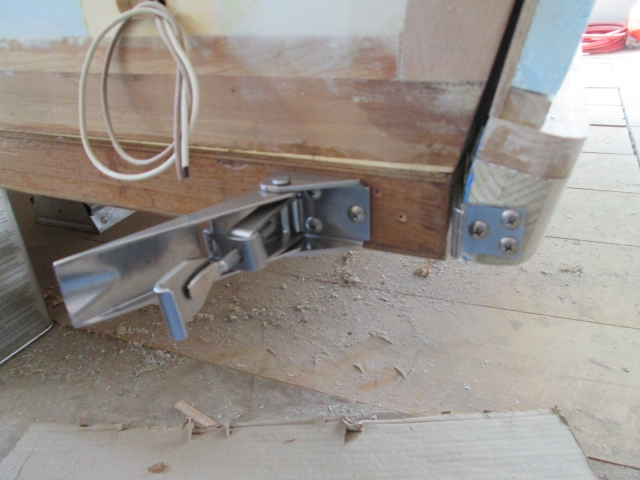
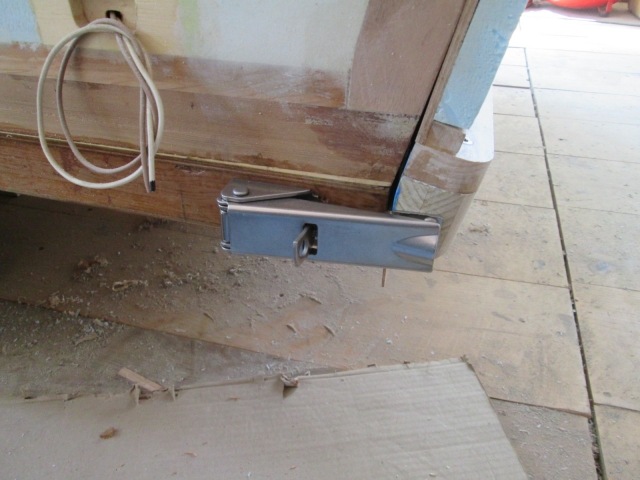
Once I was happy with that I figured the best way to hold the bottom in position would be to go ahead and install the draw latches. That way I will be able to pull the hatch in reliably and securely as I go thru the process of tuning up the wall edges. Out of the box I had to screw the adjustable hooks on the latches in quite a way to be sure that the handle covered the screws on the tab when it was latched; so that the screws weren’t exposed making it easier for someone to bypass the padlock feature by unscrewing them. I used #8 truss head screws. The end of the bumper wasn’t a very big target to secure the tab to, but I had enough leeway to position it slightly overhanging the forward edge; my thinking being that the rolled edge of the tab might help keep the hatch aligned sided to side, if that is ever an issue.
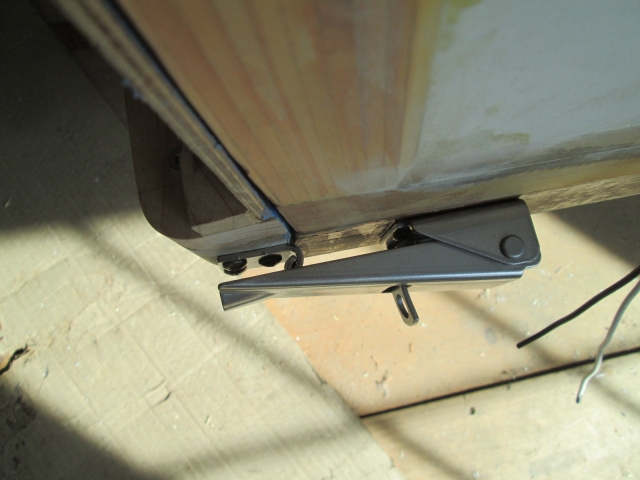
Next I cut the hinge to length, tuned up the cut edge with my small fine file to remove the burr, and screwed it down. I don’t have one of those tools that center the drill in the holes, but I found that if I used one of the screws as a center prick and ran it with the drill in reverse, I could make a fairly accurate registration mark that kept the pilot drill from wandering off.
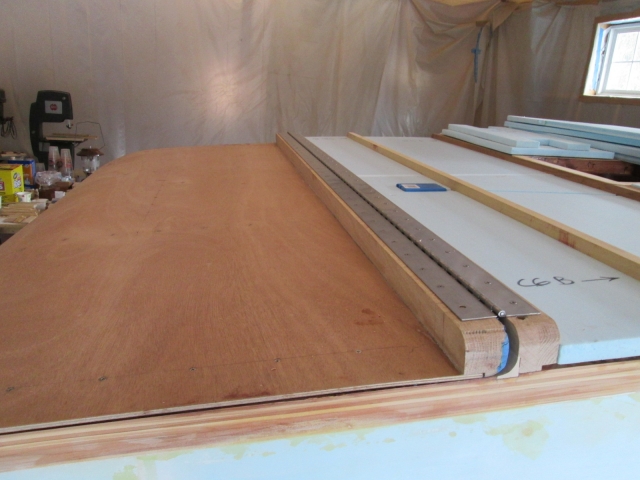
Of course this is just a preliminary dry fit. I still need to punch the second set of holes for the trim and screws that will hold the rubber strip over the hinge.
And now a significant milestone, opening the hatch for the first time!
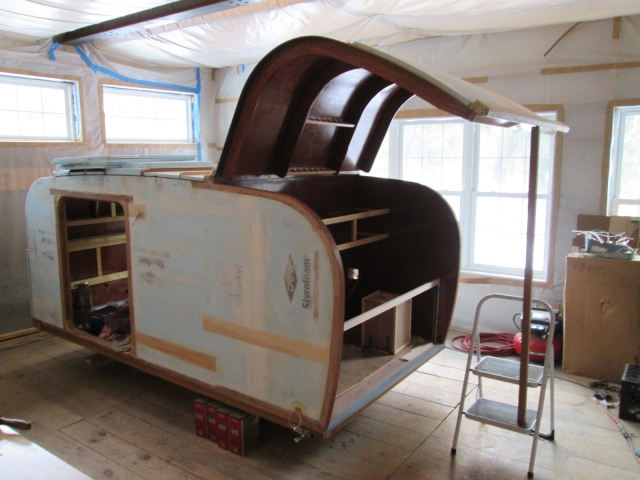
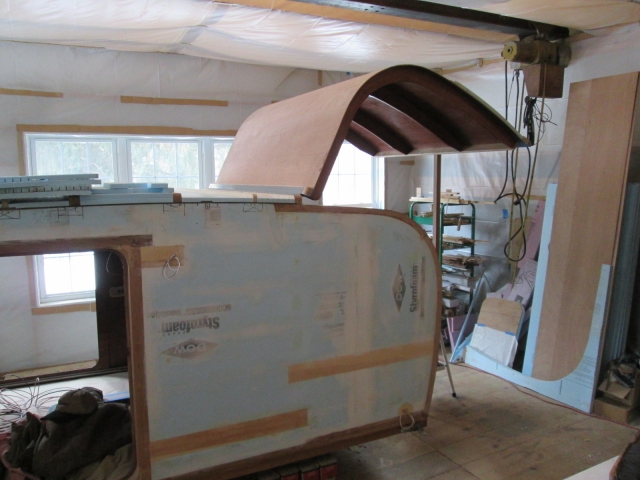
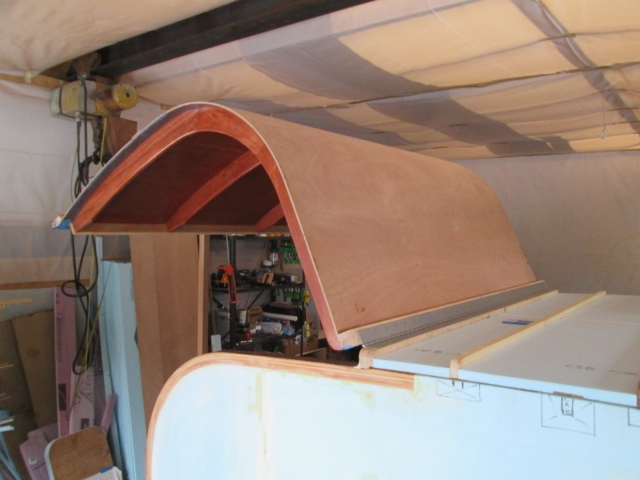
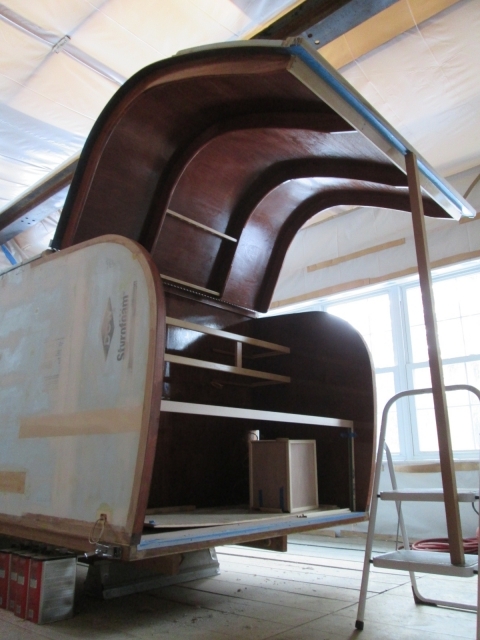
Without the foam and canvas the hatch is still flexible enough that I can shift the bottom enough to make the outer ribs hit the wall on either side, but if I just pick it up in the middle, like the actuators will, it clears just fine and goes right back flush each time. I expect this will be a non-issue, or at least significantly improved once the foam and canvas go on.
All in all it was a good day... and it didn't snow!!!





 Yes, absolutely!
 ).
).


