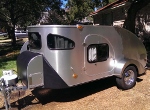
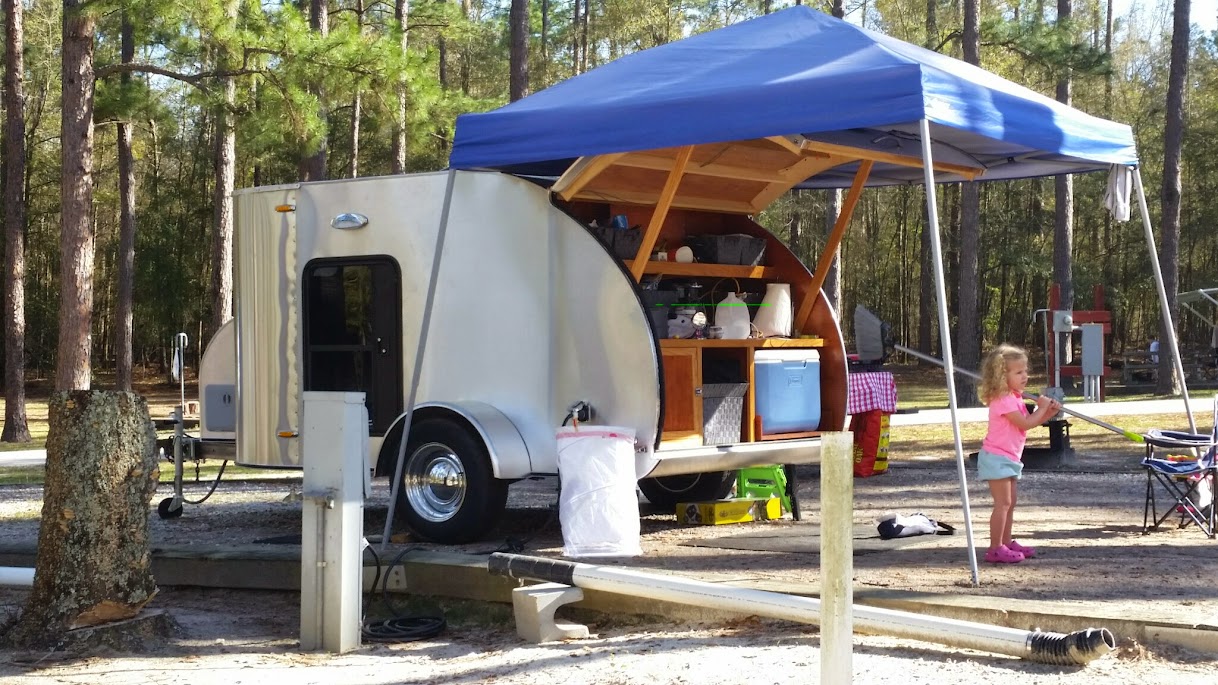
Just an update to show our allllmost finished trailer..
First we had to finish the back cabinets so that we could mount the PD4045 unit. We had planned on mounting it in the door of the lower left cabinet, but that changed.
Once I got the back (only ) cabinet door finished, I couldn't bring myself to cut a hole in it.

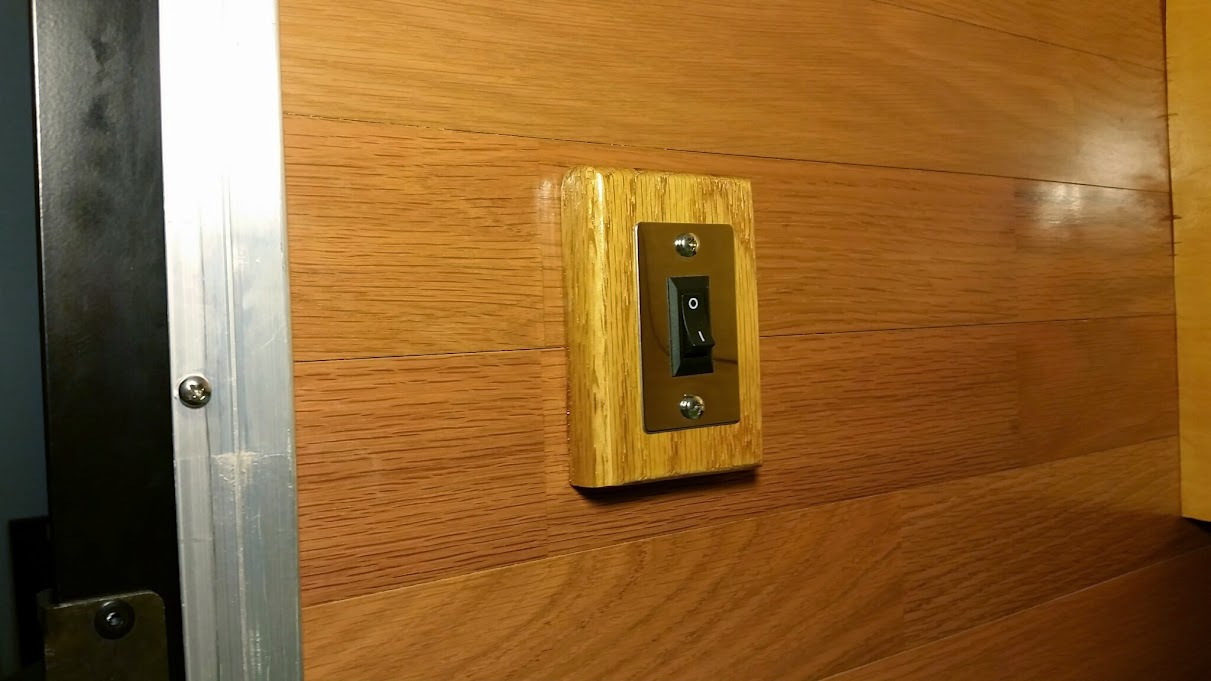
So we decided to make another false wall behind it and mount the converter and cutoff switch in it.
Some of the back wiring. This all of the wires for the nav lights tied down.
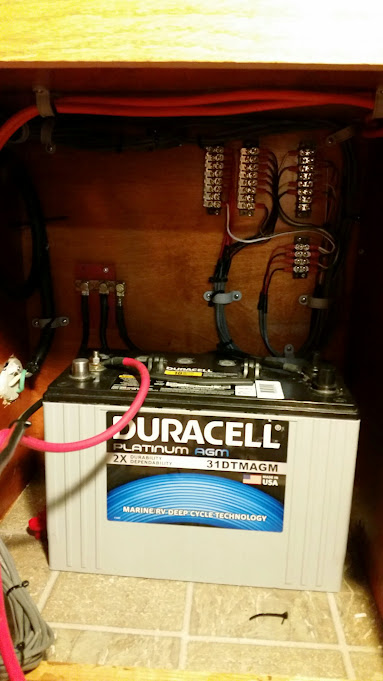
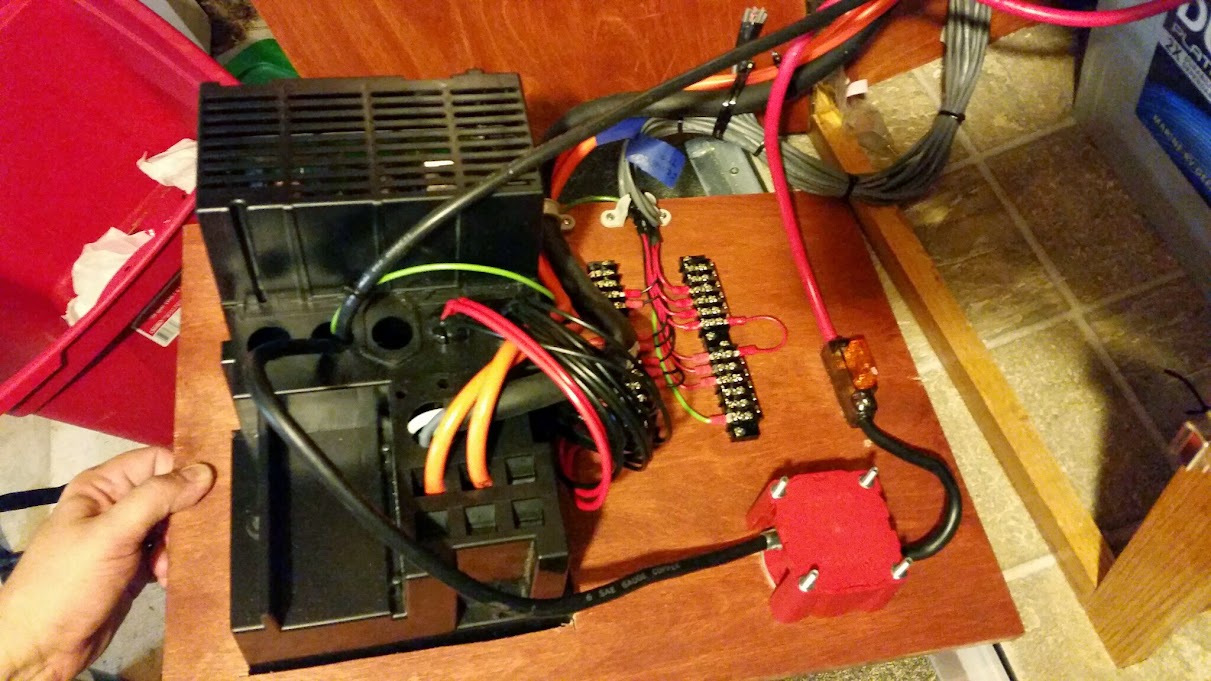
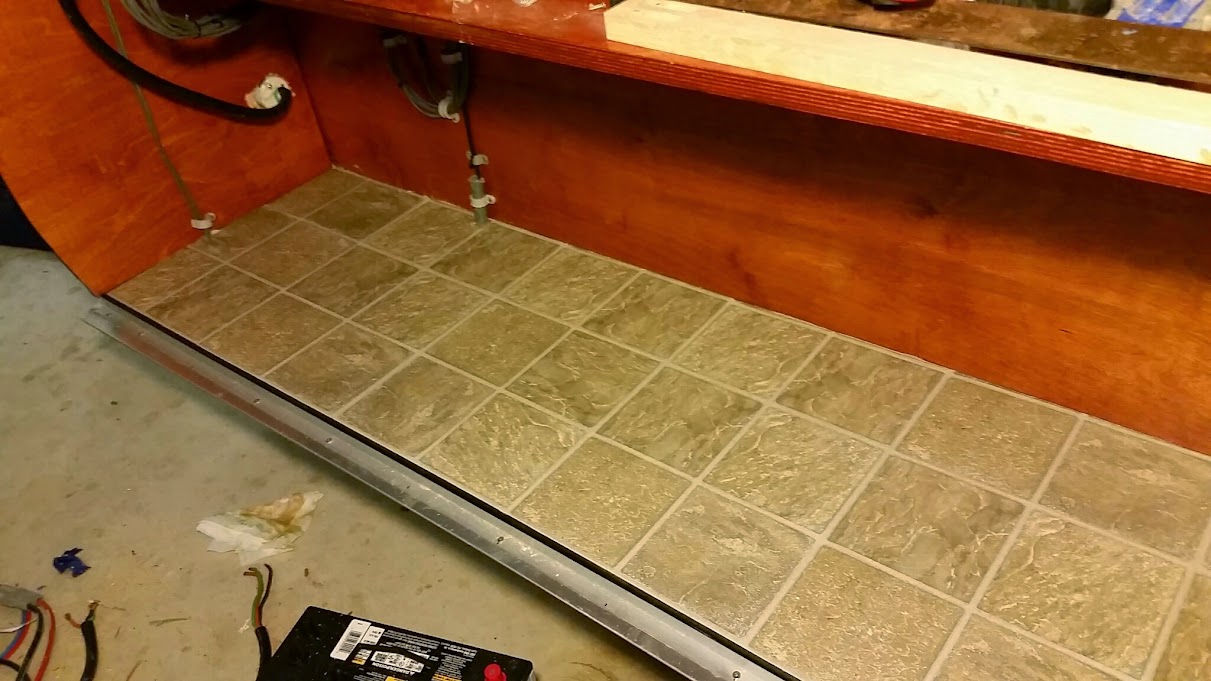
Here is the board with the PD unit mounted to it. We wired all of the 12V wires down to strips, then the wires from the PD on the other side with a common ground buss for all the grounds. This is then wired in with the other grounds, then goes to the frame.
This is a photo showing it setting in place. We attached a bracket to it in the back so that it could be removed for access to the battery. If needed we can cut a vent hole in the bottom foot wall to allow air circulation to this cabinet from the cabin.

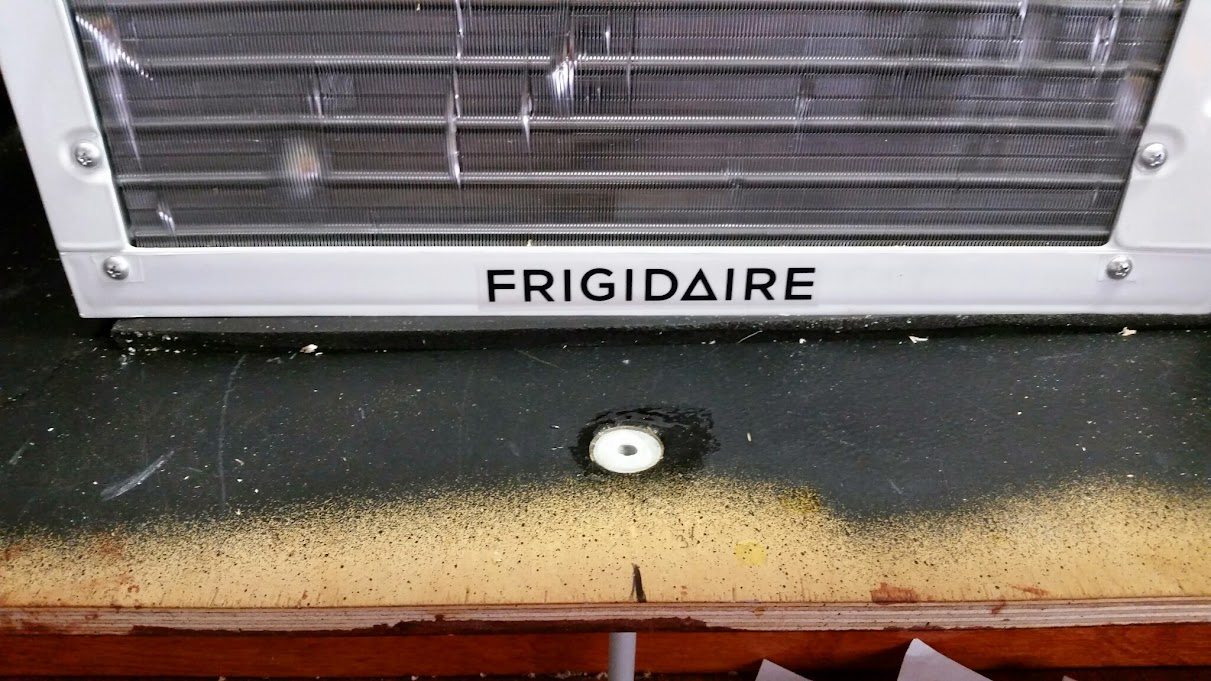
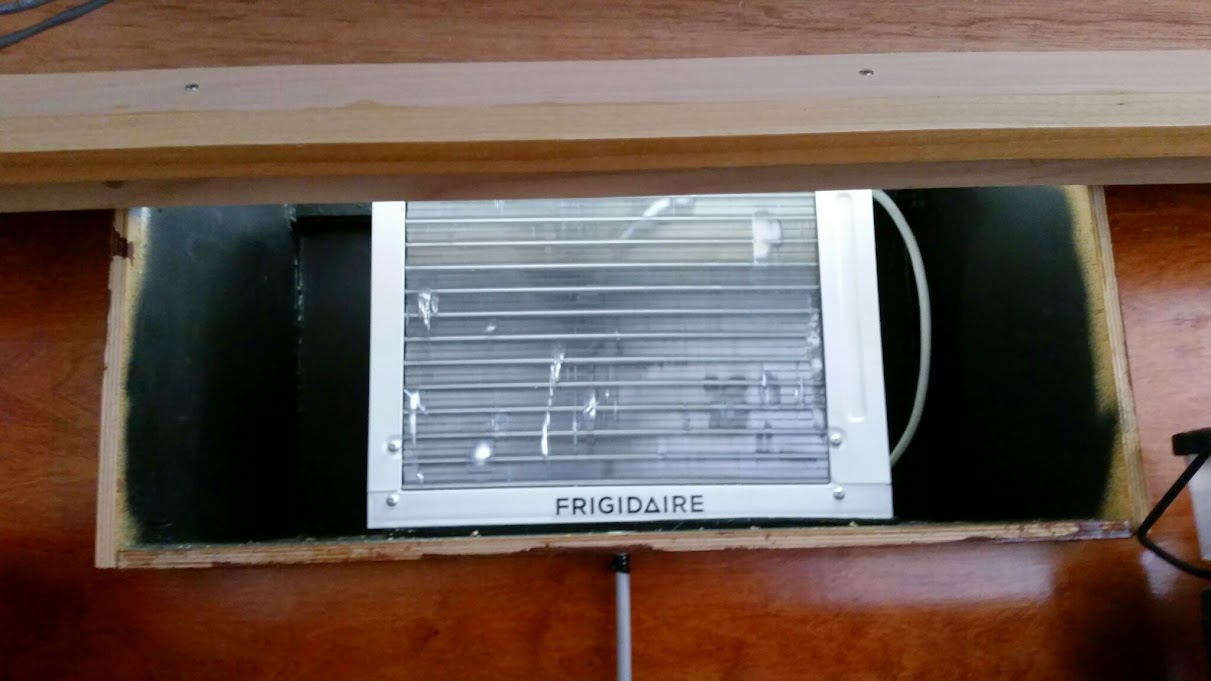
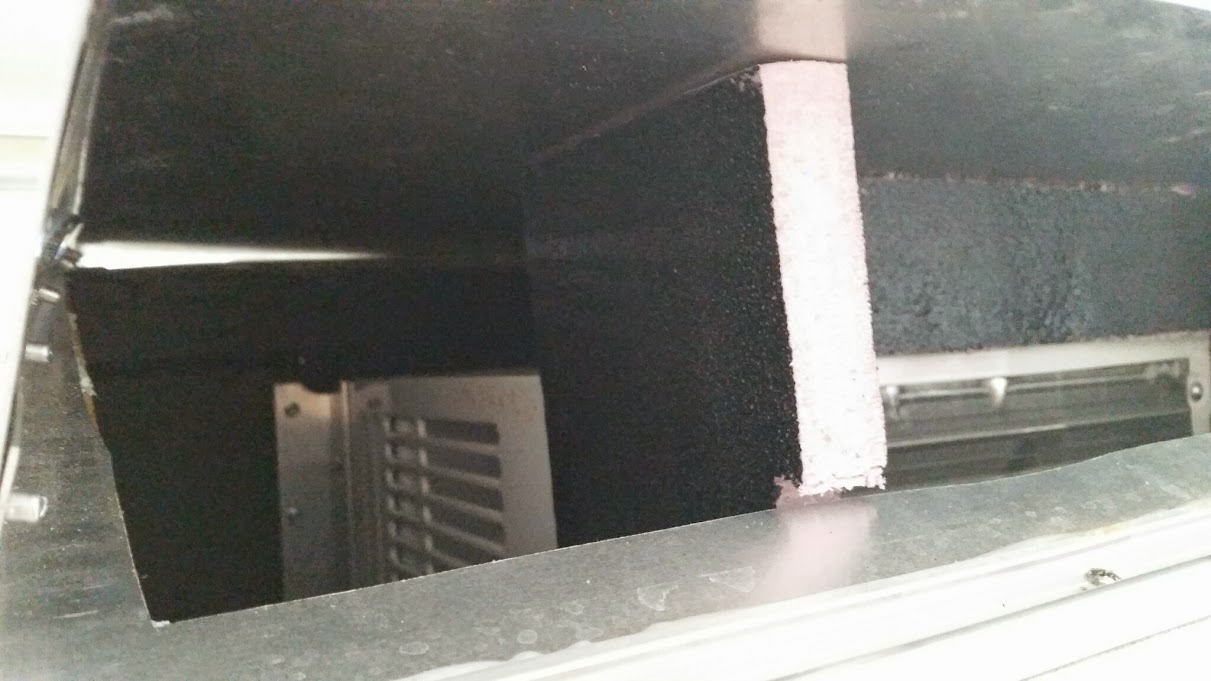
Once the electircal was tied up and ready for the road the next thing was to tackle the AC unit. We had previously planned a box for it, and have sealed with CPES and bed liner paint on top to protect the CPES. Here you see a drain that we installed with epoxy and a trimmed toilet supply line. We cut the "dome" (not sure what it's called) off of the top of the supply line. The part you stick up to the bottom of the toilet tank. This left us with a flange. We then used a forsner bit to cut a hole in the bottom of the AC drain box, and a 3/8 hole in the middle for the pipe to go through. This fits tight, and is epoxied into the bottom. The cover is then replaced and the rest sprayed with bed liner paint to protect it. All is sealed with OSI sealant. I didn't want to us PL premium in case some day I need to remove the cover.
I made a couple brackets out of AL, riveted them to the side of the AC, and then scred to the back of the interior cabinet. Here is the left (from the rear) side attached.
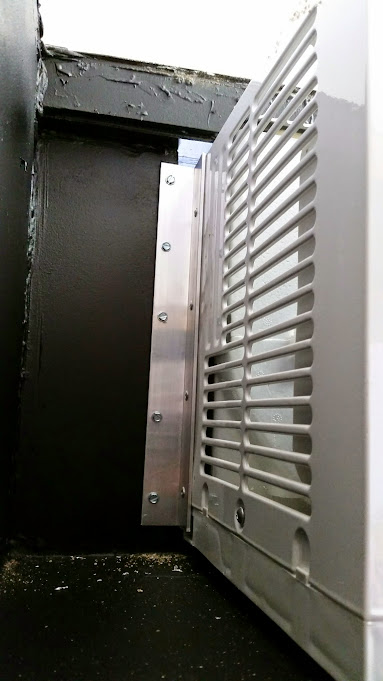
Once all this was complete the back cover was attached.
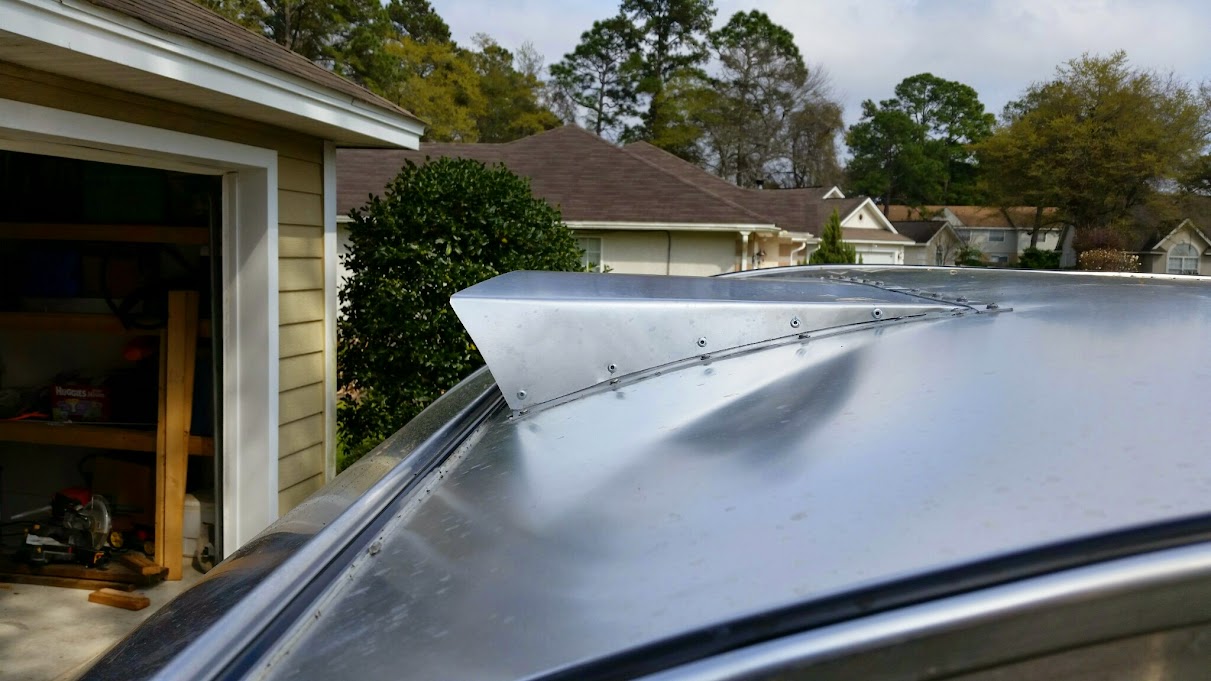
Next to the vent.
We went over and over this in our head and did a lot of looking for a way to make this happen. Dad worked on a form which he started to cover with fiberglass. The plan was to build it up, then sand and paint. I had an ah ha! moment on the way to work one day. The issue was bending on a compound curve. Dumb me..just make it into 2 pieces.
First I measured, marked , and cut a piece that would from the top and sides.

Then I used a piece of thick angle aluminum and clamped and bent it to approx the right angle (about 75 degrees).
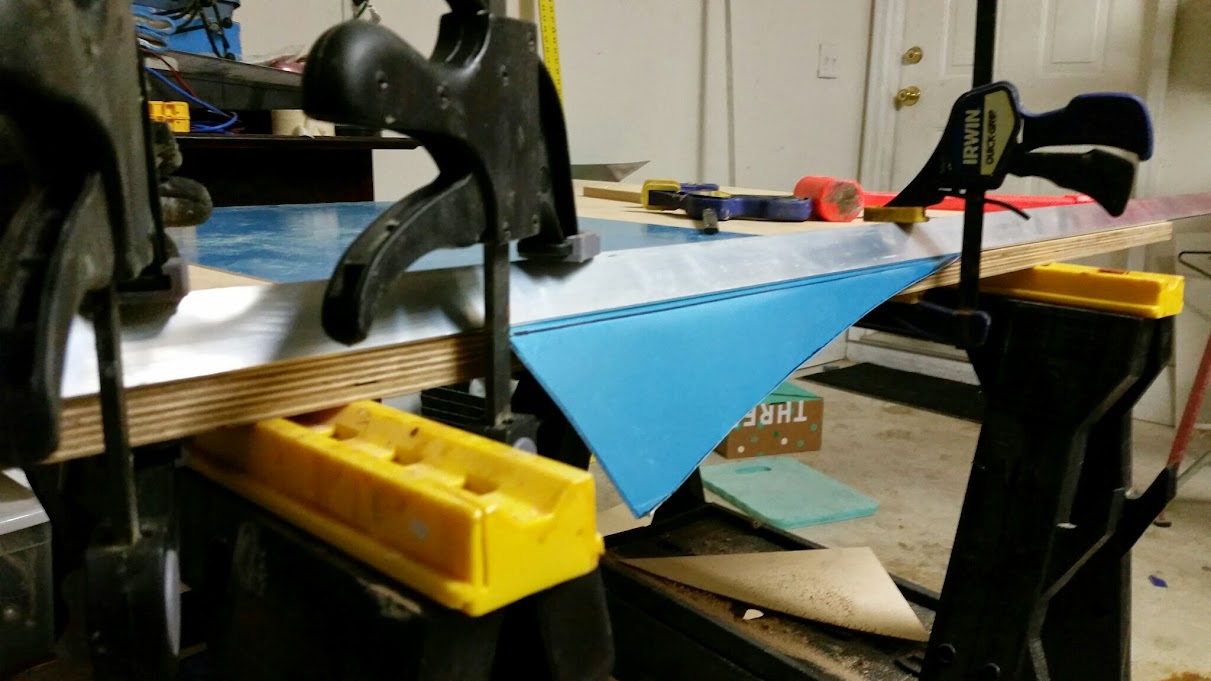
Test fit.
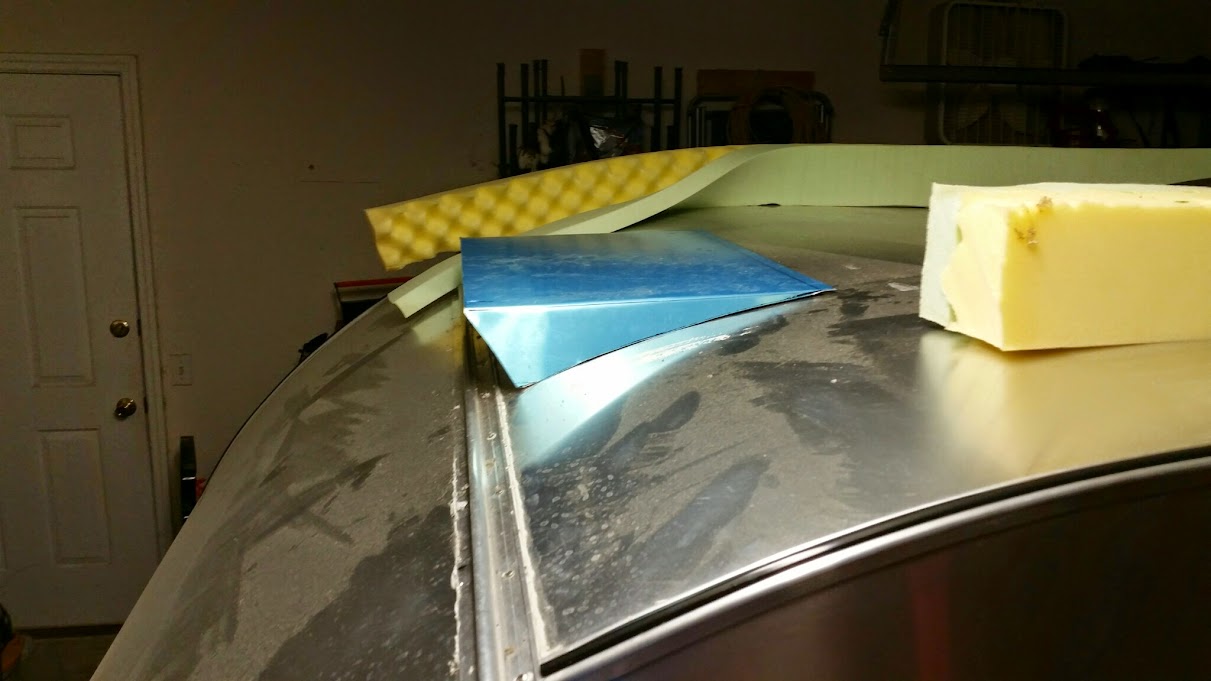
Then I bent a piece of 1" angle which I had annealed, to the back curve of the camper. I then drilled and attached the vent piece to the top leg of the angle.
Viola!
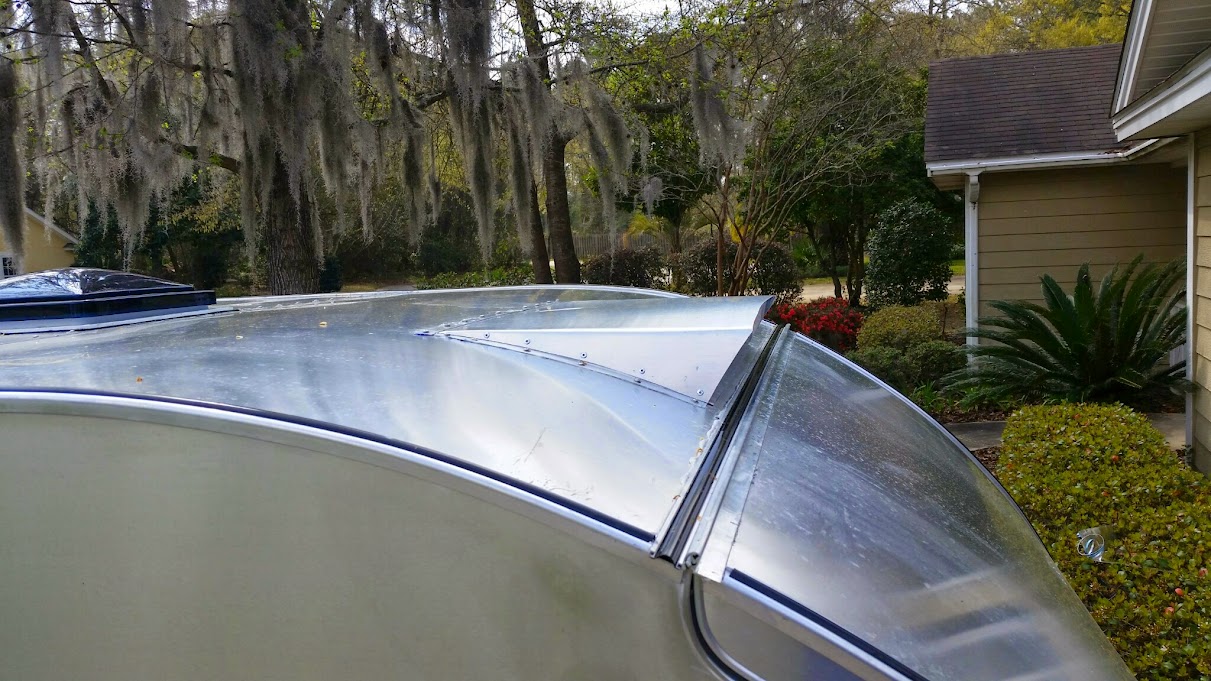
Turned out pretty good.. or at least better than I thought it would.
I don't have any good photos of it, but test runs told me i needed baffles in the back of the AC box to separate the air coming in/out. I used some 3/4 foam and sprayed with the same bedliner paint. Made a HUGE difference in the cooling capacity of the AC. These are just cut to fit tight and pressed into place.
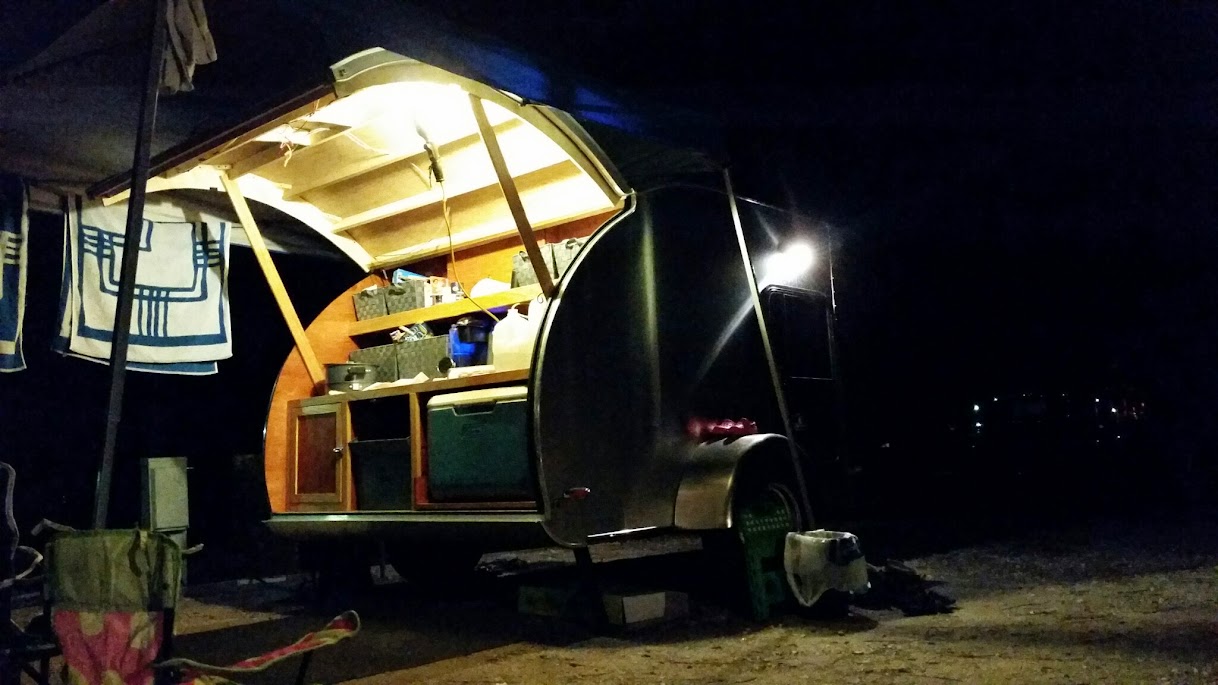
We got it packed and weighed... then went camping.. and a couple issued popped up.. more on that later. Bedtime for now!


 Frank
Frank


 .
.