Like I said, Wednesday was decent weather, but I was late and beat.
Yesterday was even warmer, although damp, I was rested and had a relatively easy day at work, so I got right out to Mecca and jumped onto gluing the 1st layer of roof foam. I thought about trying to do both layers in one glue up, so that I could just screw temporary battens down into the spars to clamp the foam in place; but then I realized that the first layer on the curb side had to go down first so that I could train the wires for the roof vent fan and ceiling outlet before putting the top layer on.
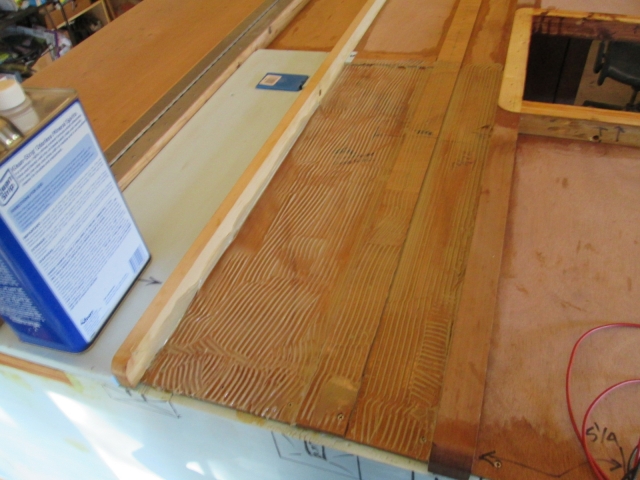
Anyway, I had planned to use TB2 for the foam to wood, but for some reason I grabbed the PL instead. With the curve of the roof and the unkerfed foam I think this worked out better. The PL has a lot of initial grab compared to the TB2. The technique that I used was to run a bead from the middle into the corners of the spars out to about 8 inches from the edge of the roof (to keep me from leaning into it with my shirt until I got further out), then a zig-zag bead down the middle. I used my credit card notched spreader to drag the corner bead up the sides of the spars about 3/4 inch, or so, and then on edge to squeegee the adhesive out making sure every bit of wood had coverage. Then I used the notched end to drag the excess toward the edge and used that to complete the rest. I had my foam blotter/cutting board set up with some plastic coated freezer paper and I used that as a cleaning station with damped rag to quickly clean the mess off of the spreader and my gloves (otherwise the spreader would be hardened up when I went to use it again), then I could slip the panel in and press it into place without making a big mess. Used a stick and more rags to clean up any excess before moving on to the next panel. Thing is, I only had 3/4 of a tube of adhesive (thought I had a second tube) so I only got the first three panels in.
Here you can see the rear most curb side panel in with a can of mineral spirits as a gravity clamp, and the next bay with the glue spread out.
… and with the second panel in.

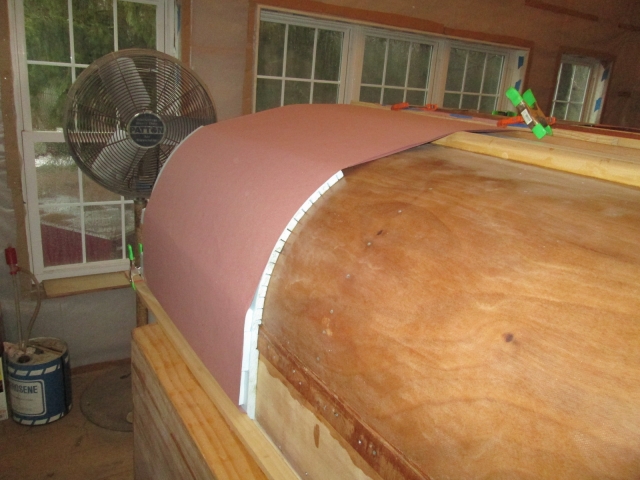
… and the one with the fan wires threaded thru it.
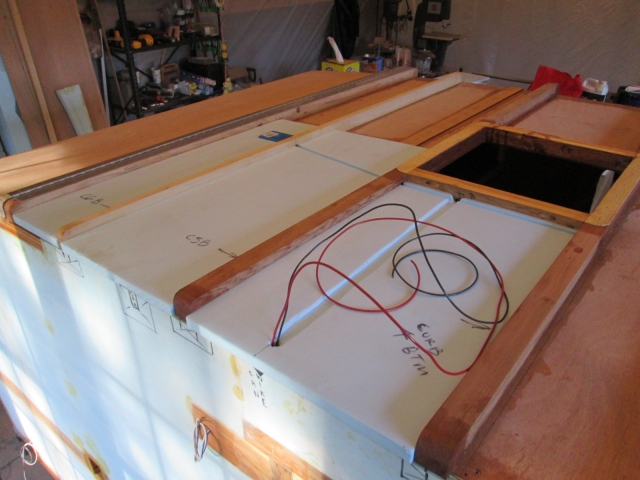
Now the PL Premium (PLP) says it is not for use with polystyrene tub surrounds. My test didn’t show any short term problems and fair adhesion, but I decided to try the PL300 (specifically for use with polystyrene) and picked up several tubes on the way today (also got a couple of PLP’s just in case). I ended up using the PL300 for the rest of the top section of the roof and will probably continue using it. It doesn’t spread as easily as the PLP, it has a different odor, and a shorter working time (…unspecified, but I didn’t have any troubles, other than spending my first notch trowel), but it is water cleanup. It does say not to use on wet surfaces, so it cannot be accelerated with dampness, like the PLP, but it is less expensive and it gives me better peace of mind using the properly engineered product. The instructions on the tube are for wall hanging foam slabs. Says to run 1/4 inch beads vertically every 10 inches and then to press the board into the beads immediately and hold for 24 hrs. To me that just wouldn’t give the full benefit of the water resistance or shear strength, so I smeared and spread it completely; can’t report any problems.
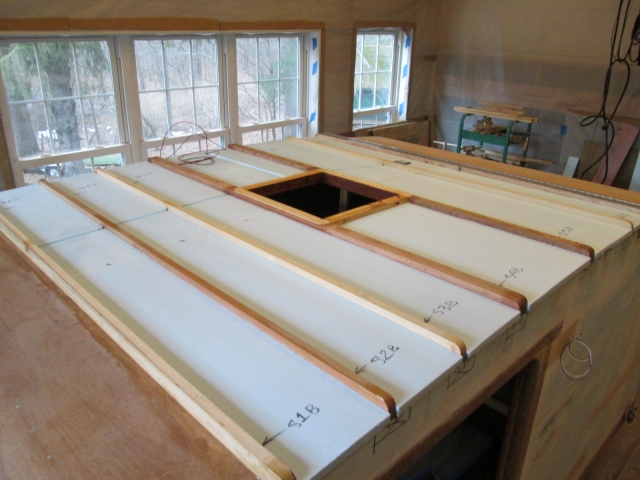
Once I had the curb side all laid in I went to the street side. The technique was the same but I had to remember to add the little center filler pieces to make up for the short panels on the first layer. I am thoroughly pleased with the result.
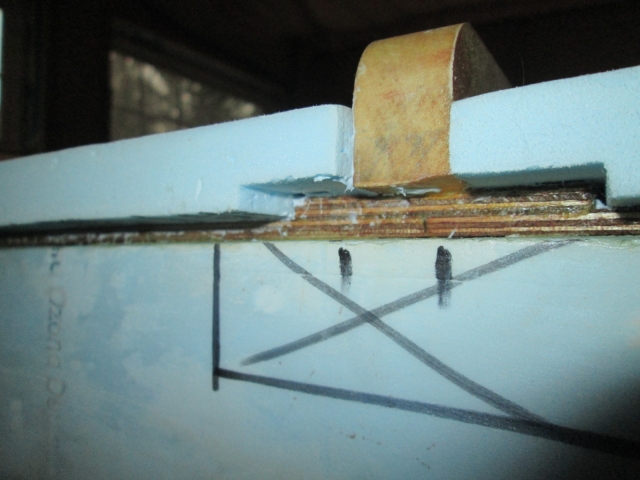
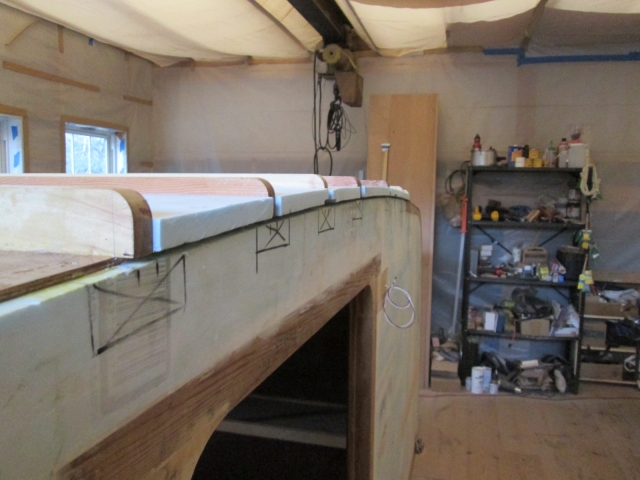
Here’s a look at where the ceiling panel splice backer is overlapped by the foam. I used a stick to scrape out the squeeze out, not (just) because I am anal, but because I didn’t want any cling-on’s to interfere with a good spray foam fill later on. Actually, I am considering filling the gap between roof and wall with sealer (… or more PL300 after experimenting) instead of GS.
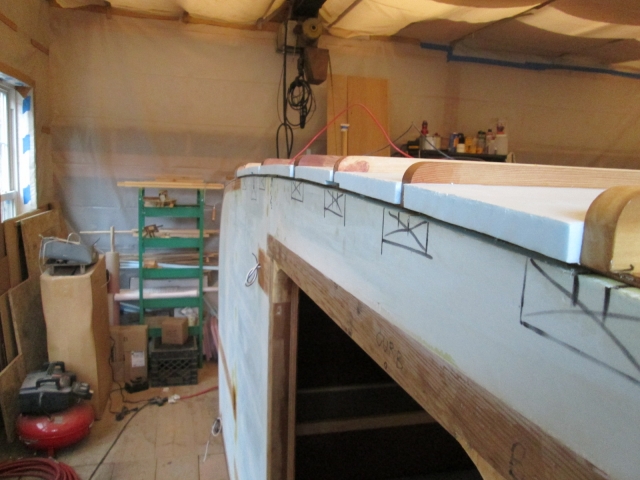
Here are a couple of longer shots looking down the side wall, first street side then curb. You can kind of see how the foam hangs over the wall enough to trim/sand back flush, and how the panels set in and follow the curve of the roof.
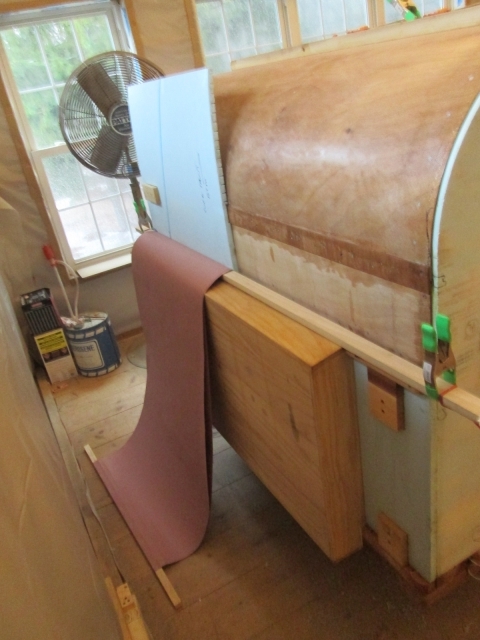
Before I can run the ceiling outlet wires I need to get the first layer of foam onto the front radius. One of the issues I was having with the dry fit on the kerfed piece was spring back. I could hold the base at the top of the locker and rock guard blocking, but when I tried to bend the piece over it would bow out at the top of the vertical wall, and straps would create buckles and waves because of the point loading. You may recall that I tried blocks and temporary backers, but these were awkward and I ended up dropping pipe clamps on the door sills making dents that will need to be filled with epoxy. This doesn’t really show what I’m talking about, but it gives you an idea of the spring in the kerfed piece; the blue tape wouldn’t hold it.

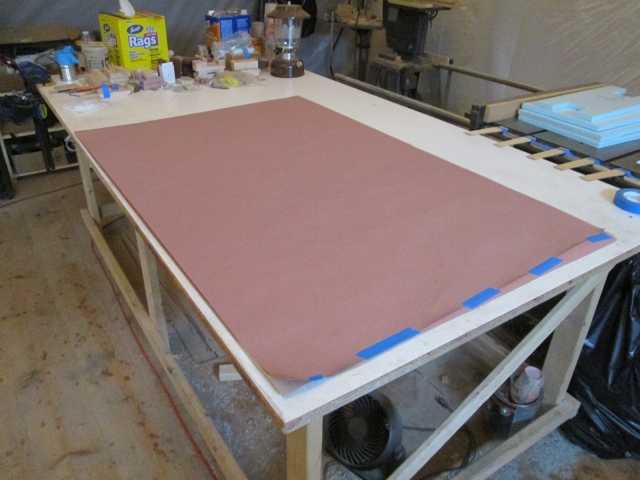
There was a post linking to a guy that used stretchers to free form bend foam without kerfs, and that gave men the idea of using the same technique to form this foam tightly to my front “form”. I first thought that I would use the bed sheets that I have been using as dust covers, but then I was concerned that if the linen got stuck in any squeeze out it might be hell to get it unstuck. What to use, what to use? Well, I have this big roll of rosin paper that was cheap enough; and I know that if it gets wet it more or less dissolves (so that would make it easy to remove, just get it wet), but would it be strong enough? Well if I double it up it should be. So I laid a piece out, doubled it back on itself, and (after this pic was taken) cut it to a width that was slightly narrower than the foam half panel. (In hindsight, the poly sheet material I used for the drape walls and vacuum bag would have also been a good choice.)
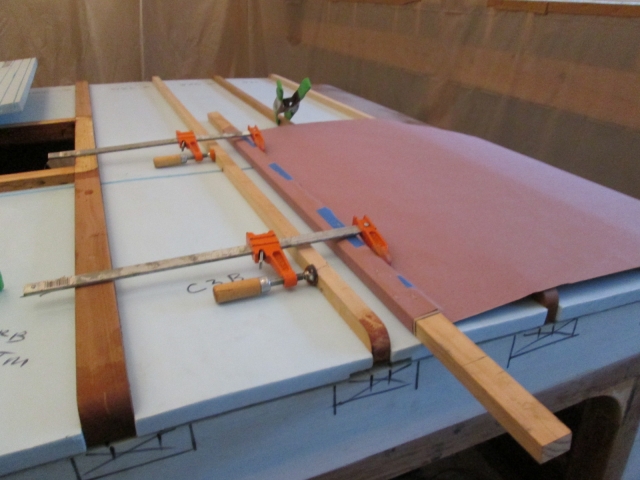
Then I stapled the edges to the backs of some 1x’s and rolled the edge to crease and wrap it (so that it doesn’t just pull out of the staples). The longer one at the bottom is the poplar stick I have been using as a temporary hatch prop and is long enough to span across the front sticking out on either side, while the upper one, in my hand is shorter; I’ll do one side at a time.
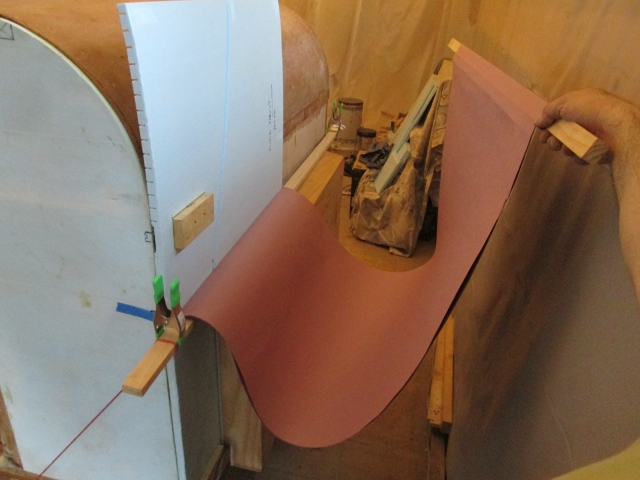
Here it is again from the street side.
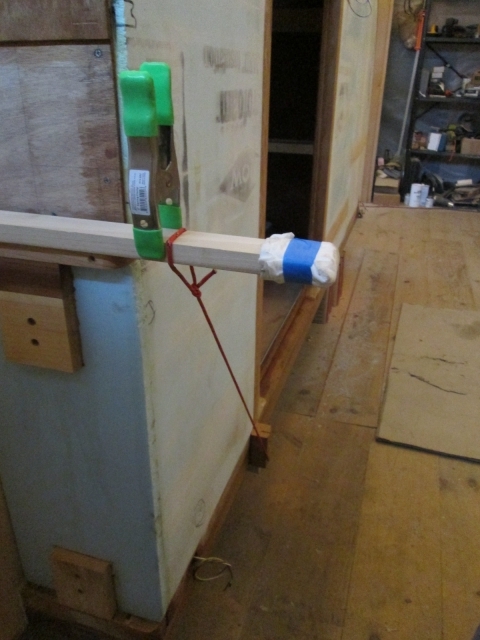
To pull the bottom stretcher in and down w/o dropping clamps or putting extra screw holes in, I rigged up this paracord clamp. The spring clamp kept the cord away from the side wall during setup, and the block hooked under the floor at the bottom keeps the cord from digging in where it turns under to anchor on the build cradle.
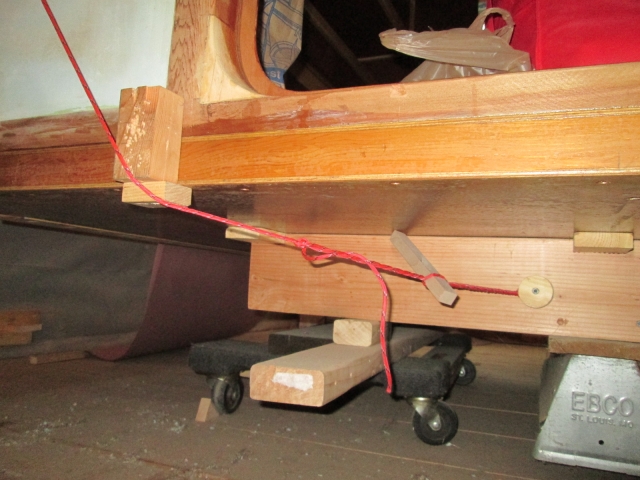
Underneath the floor you can see the block again and the tourniquet tensioner setup. I bound the cord to a hole saw plug screwed to the cradle with a deck screw, doubled the cord back in a loop, tied a bowline knot (that won’t slip), and used a scrap of maple as a winder.
At the top I just used a couple of adjustable screw clamps hooked on to a spar. It hardly takes any tension to draw it tight because it is covering such a wide even area, so I don’t need to worry about twisting the spar.
Because of the axe head blocking I had to stuff some scrap foam above and below it to even the tension out, but it works pretty good, applies broad even pressure, and is much easier to handle and get into place than the other methods I tried.
So this curvy stuff at the front was all just a dry run for now, but I am looking forward to using it for the glue up tomorrow.
 We keep saying "if we won LOTTO". One of the things high on the list would be to load up the TD and come visit all you guys, touring from TD gathering to TD gathering all across your countries. Towing it with a classic car of course.


 , I’m booking a trip to NZ to do a little landscape Painting ... BEAUTIFUL!!!


 "
"


