ibbowhunting wrote:I'm going to try that out
They work great and are dirt cheap. Be careful with PVC and power equipment - too fast a feed and the plastic can shatter. When it does, the shards are pretty sharp. PPE and a slow feed - let the saw do the work.
It looks like I'm taking the trailer to the shop tomorrow (Monday) morning, where it will live until we move. That will mean staying late in the evenings and heading up there on the weekends to work on it, so I wanted to get the rest of the 'big' jobs done while it's still here at the house.
To that end, the hatch went on yesterday:
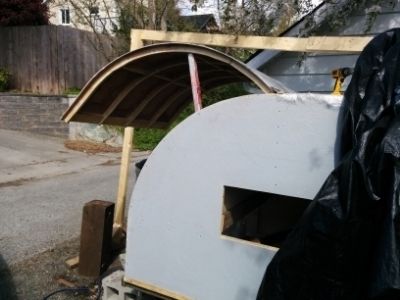
I still need to chamfer the corners of the outer ribs and wall stiffeners to guide the hatch as it comes down, but otherwise it comes down nicely with no twist and the curve follows the wall pretty well. The walls still 'curl' outward a little where the hatch lands, making it seem like the hatch is about 1/2" too narrow, but that will be corrected when the cabinet framing goes in because it will pull the walls in a bit so they are parallel again. The hatch is pretty light - even with the 1/8" interior panel and some lights, it still won't need much lift from the hatch struts. I screwed the hinge down through every second hole with the rest of the holes reserved for the screws that will through the aluminum strips that will clamp the gasket down over the hinge. The hinge runs to the sides and the the gasket will run an inch or so past the side walls on each side. Before I put the hinge on, I had the foresight to make up a drilling template for the aluminum strips
I also got the tongue box secured to the frame:
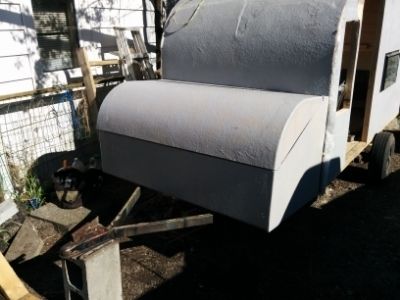
When I mounted the lid, I had forgotten that I allowed for the hinge to sit flat on top instead of being folded over in the gap so the lid isn't sitting right. I'll fix that today. Later, it will be covered with aluminum strip holding down a gasket, just like its bigger brother, the hatch hinge. There is a carriage bolt running through the floor and each frame member at the front of the box and the side and top corners will be glassed to the front and side walls to blend them in. Now that it's fitted, I'll undo the bolts and lift the box so that I can coat the bottom in black goo before setting it down for good.
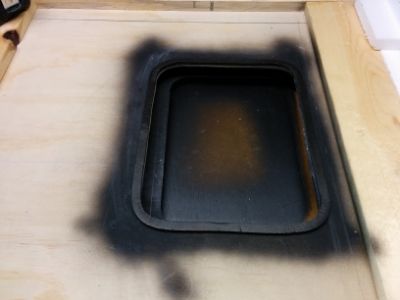
I assembled the doors today. This is the inside face of the outer skin. Note the foam tape that will seal against the glass. I also ran a bead of sealant around the tape. The paint around the opening is just to seal the wood :
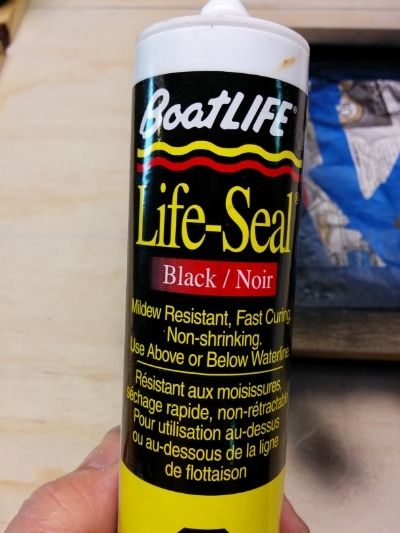
This is the sealant I used:
Both doors with glass installed:
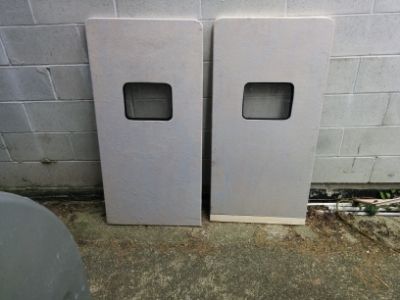
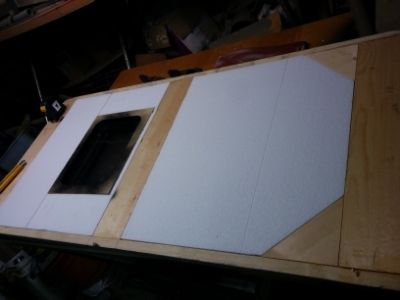
Here is one door with the foam core fitted. The extra blocking in the bottom corners will allow me to put a radius on the corners if I need extra clearance for the fenders.
Starboard door hung:
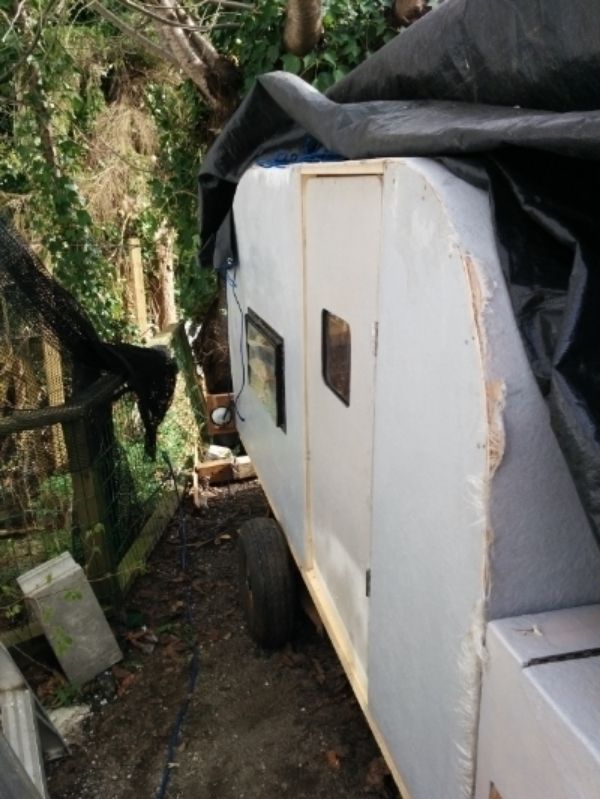
Port door hung:
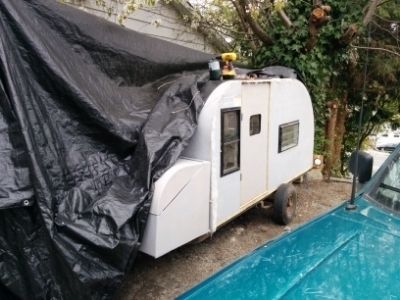
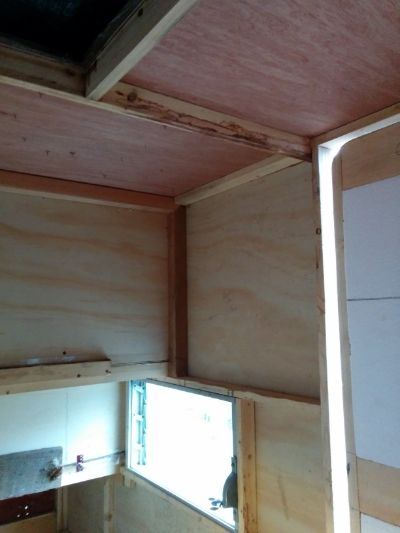
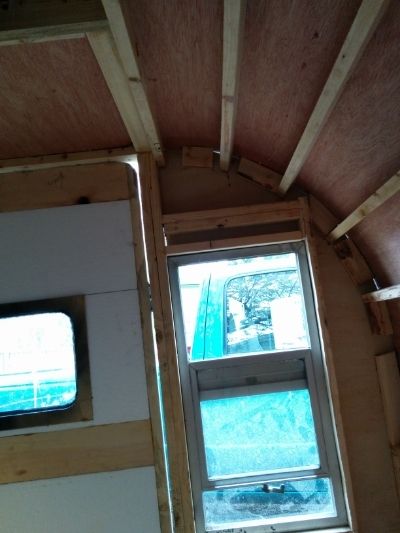
Tonight was the first time I've actually sat inside it to figure the locations of stuff. I am amazed by how much space there actually is. Obviously it'll close up pretty quick when the cabinets are going in, but I think there's enough natural light coming in that it won't feel like sleeping in a coffin


 I'm going to try that out


