Thanks for the kind words of support, OP827 and Michael. Much appreciated.
I blew yesterday off. Oh well, that doesn’t happen too often so I guess I shouldn’t feel too guilty, but I do.
I was back at it with new vigor tonight.
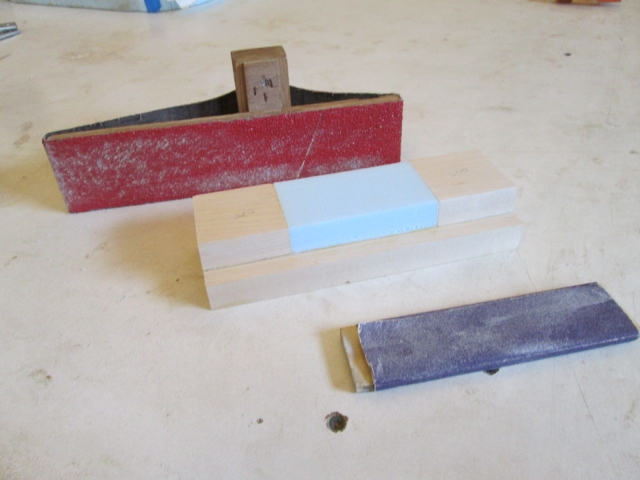
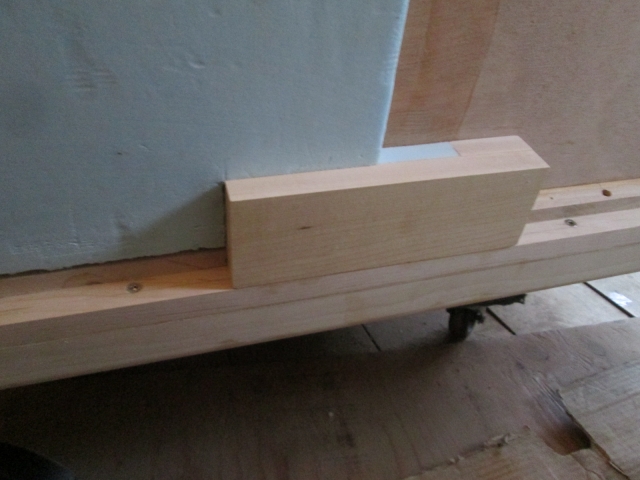
Gluing up the hatch handle blocking (upside down): here, as I do a dry run thru, you can see the larger “knuckle knocker” piece standing on edge at the back; the two beveled spacer pieces on either side; and the foam filler piece in the middle. The foam is proud on purpose. The tape on the bench underneath is a to keep glue off the bench.
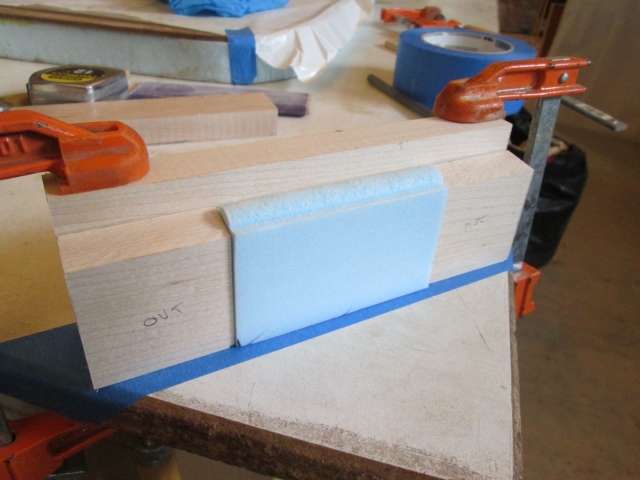
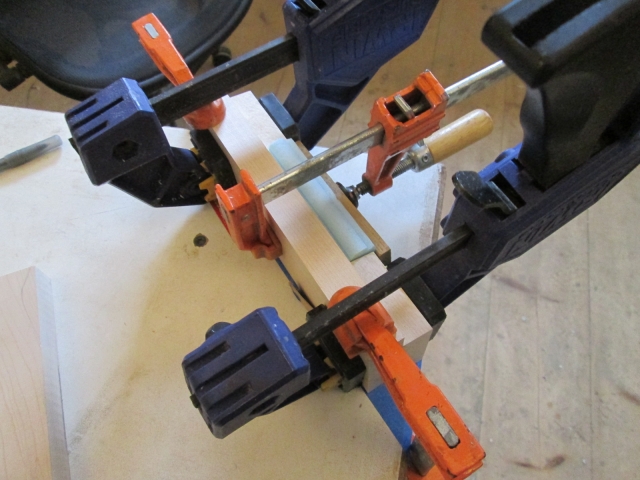
First I clamped the larger piece to the bench, then brushed a thin coat of TB2 everywhere, then clamped the three smaller pieces in place on the larger one using the bench as a jig reference and a wood backer to spread the clamp load onto the foam.
While that was curing I spread some more PL300 and got the last of the first layer of foam on to the cabin, street front upper.
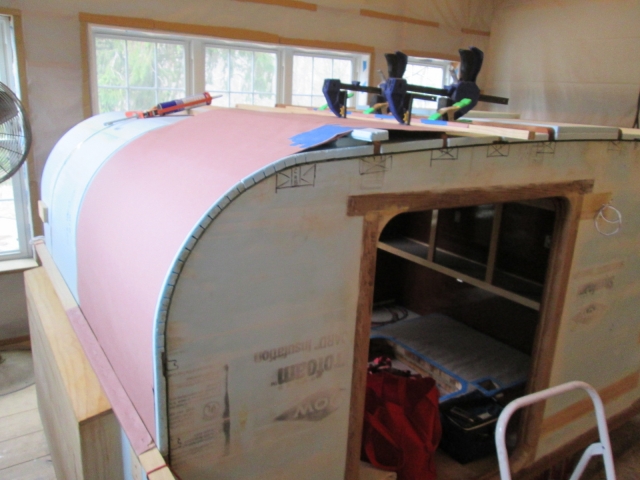
I know for a fact that a good amount of the adhesive squeezed up between the joint to the next piece down. I wiped it pretty well with a damp rag, but it will be interesting to see how it goes unsticking the rosin paper.
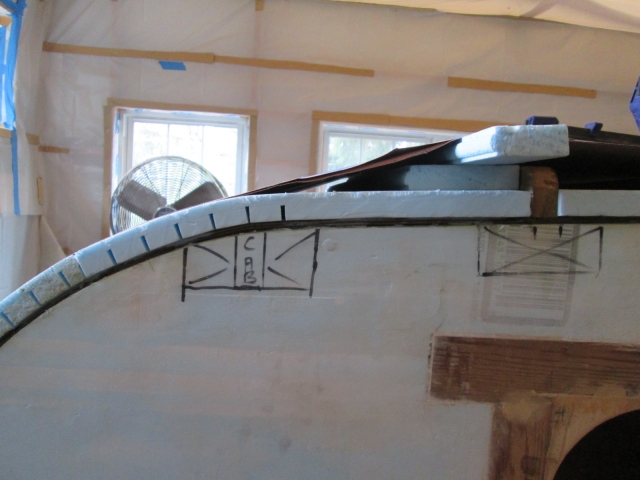
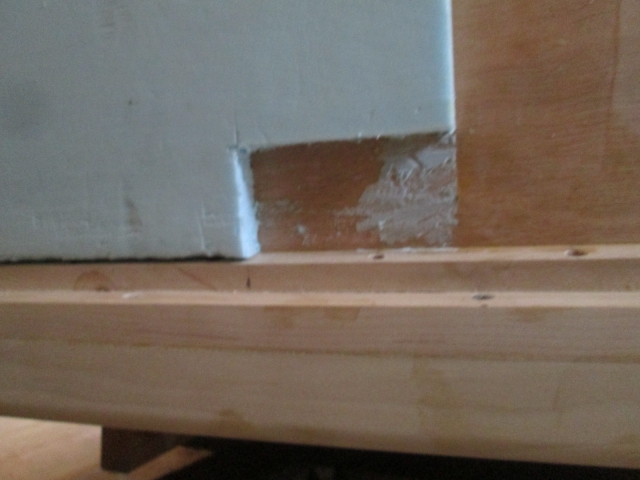
Here is a little closer look at the edge showing how snug the stretcher gets the joint. The extra foam strips are temporary spacers to make up for the top layer of foam.
Back on the hatch, way back when I got ahead of myself, got gung ho and glued the left lower first layer of foam on. Now I had to cut some of that away to make room for the handle blocking. Laid it out by measuring carefully and marking with the small square. Cut the lines with the steak knife and straight edge, and slid the blade in underneath the piece to be removed several times to get it to pop free. You may recall that I had used TB2 to glue this piece on and only pressed it in place by hand. So despite only having about 50/ct good contact on this removed piece, I was quite impressed with how much effort it took to get it to pop.
Did a little sanding cleanup in that area and by that time the handle blocking had enough time to cure that I could handle it… carefully. Used the big/80 grit coarse sanding block to knock the foam down and the smaller/100 grit finer one to fair it off.
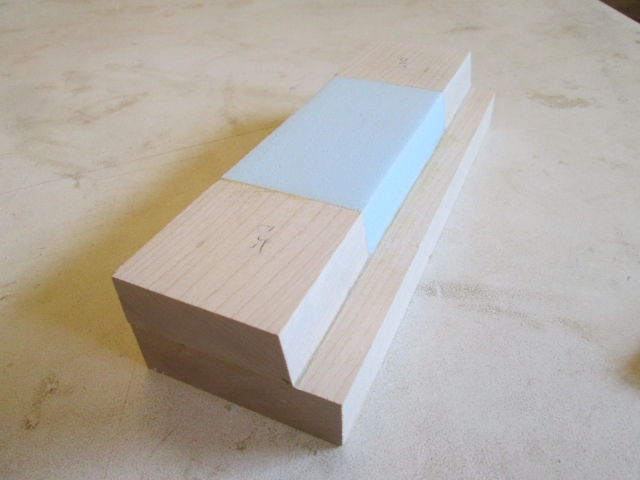
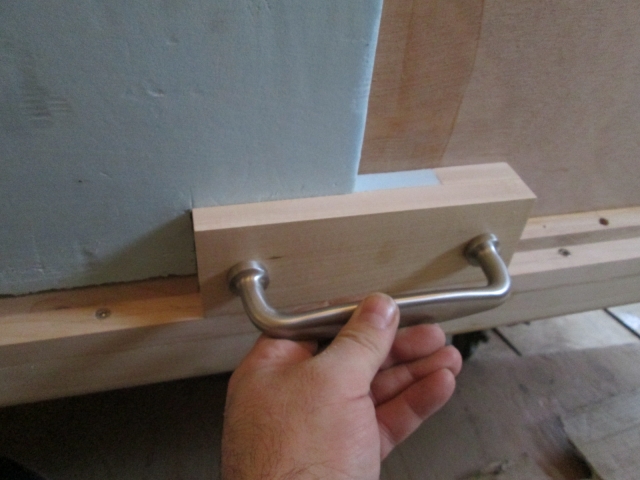
Hopefully, if it wasn’t already, this picture clears up where I am heading with this.
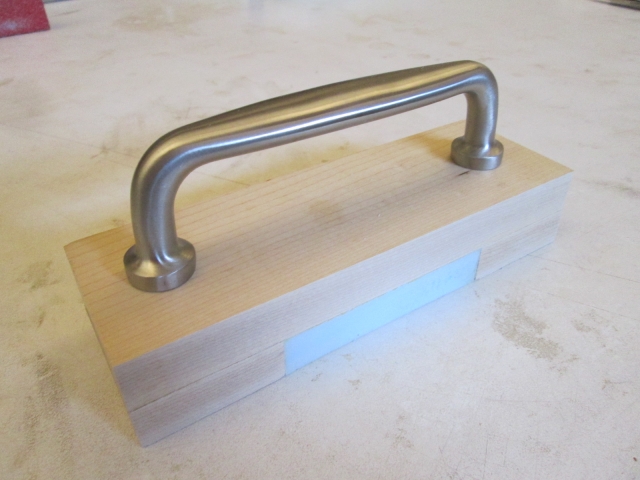
I won’t drill the bolt holes or mount the handle, but the blocking will be there if it is ever needed.
A little more sanding to go from a very snug fit to a merely snug fit and it fits.
Someday maybe this.
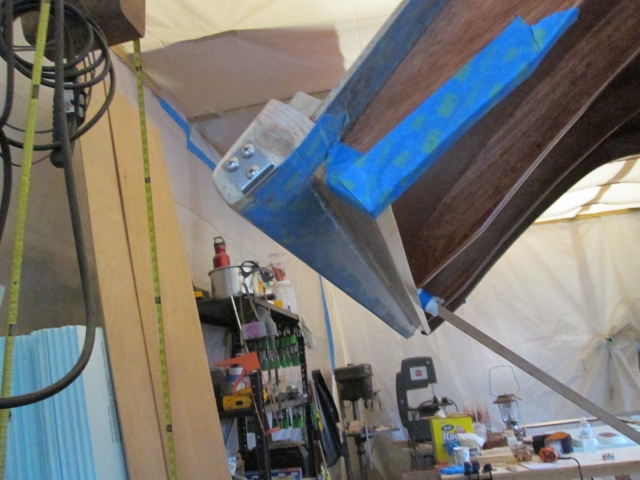
Now to clamp this in place I will need some large clamps with 5 inches of reach in order to get around the bumper, panel cleat, and lower rib sill. And I will need some temporary spacers to fill the step between the inner hatch skin and the lower rib sill.
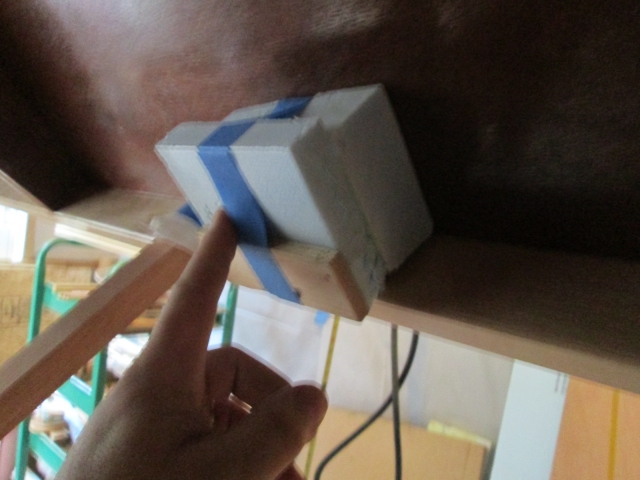
Need something soft that will not harm the finish on the skin, so I knocked these spacers together out of foam and a hard backer.

This is looking up under the sill showing where the temp spacers will back up the inner skin under the clamps. (Sorry for the blurry pic.)
Kind of wish the tractor swap meet was here so I could look for some large wooden clamps, but I guess I am off to look for options. I know Karl has some big adjustable metal clamps that I can use, but I kind of like something like these from
Matthais Wandell’s Woodengears.ca site.


 Frank
Frank
 ), so it means a lot to me when someone confirms that the details are useful, or are at least entertaining.


