1st teardrop build

...ask your questions in the appropriate forums BUT document your build here...preferably in a single thread...dates for updates, are appreciated....

1st teardrop build

Postby andy2 » Tue May 05, 2015 9:09 am

I have been working on this for a couple of months and thought id share my progess. I wanted to do this as cheaply and quickly as possible and im no skilled tradesman, basic DIY skills are my limit.

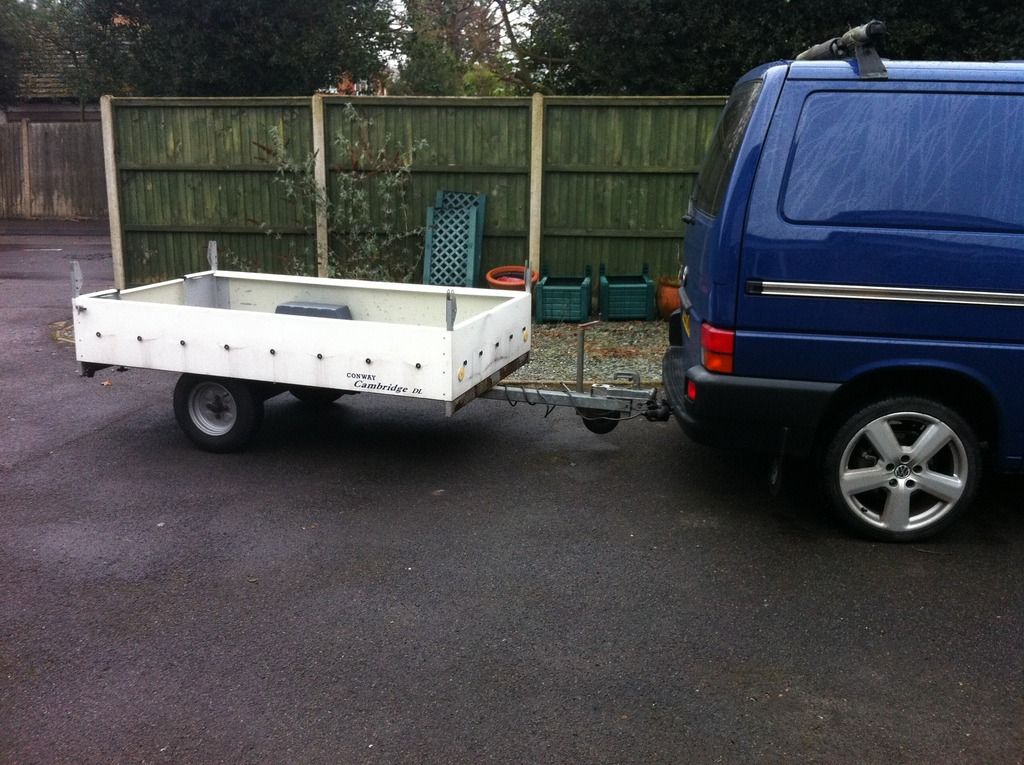
I did alot of research and decided to buy and old trailer tent trailer and build onto that rather than have a trailer built. I have built everything to fit 8x4 sheets and went for birch ply sides and Aluminium roof. A hatch at the rear and basic 240 hook up with internal lights.
Trailer is 4ft wide and roughly 7ft long.

(I am in the UK so my measurments may throw some of you Yanks as we dont understand inches!!

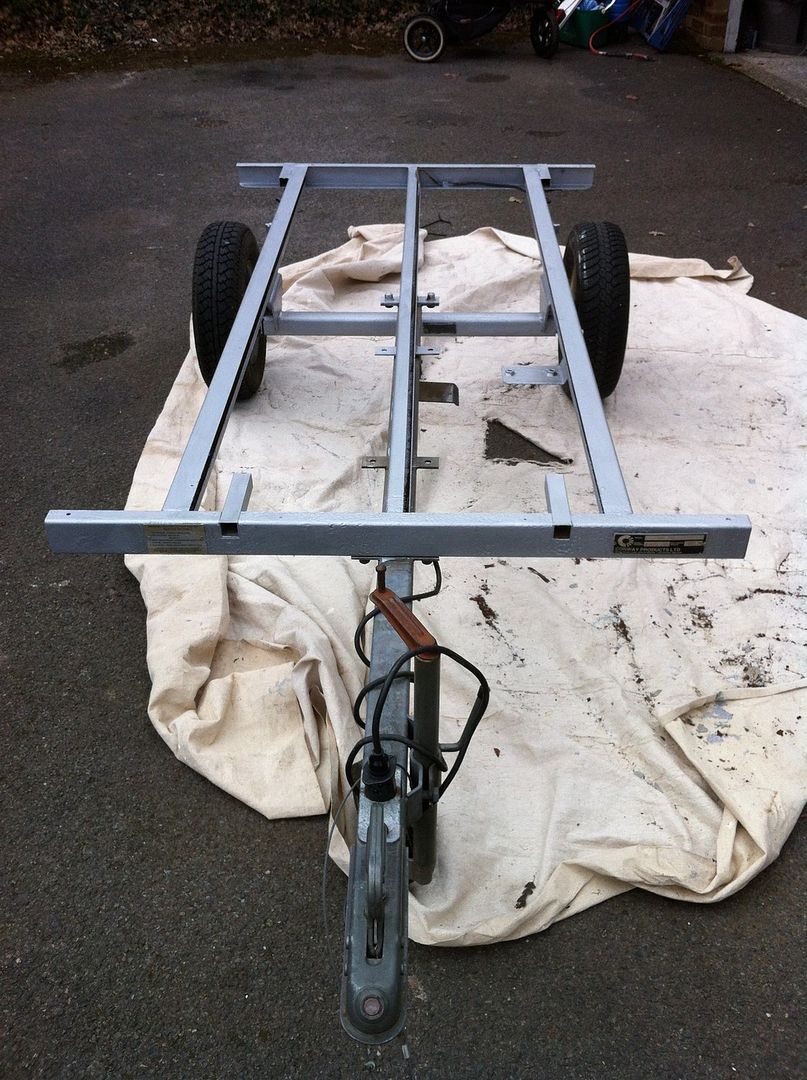
So first I stripped and painted trailer with Hammerite
Image
Image
Image

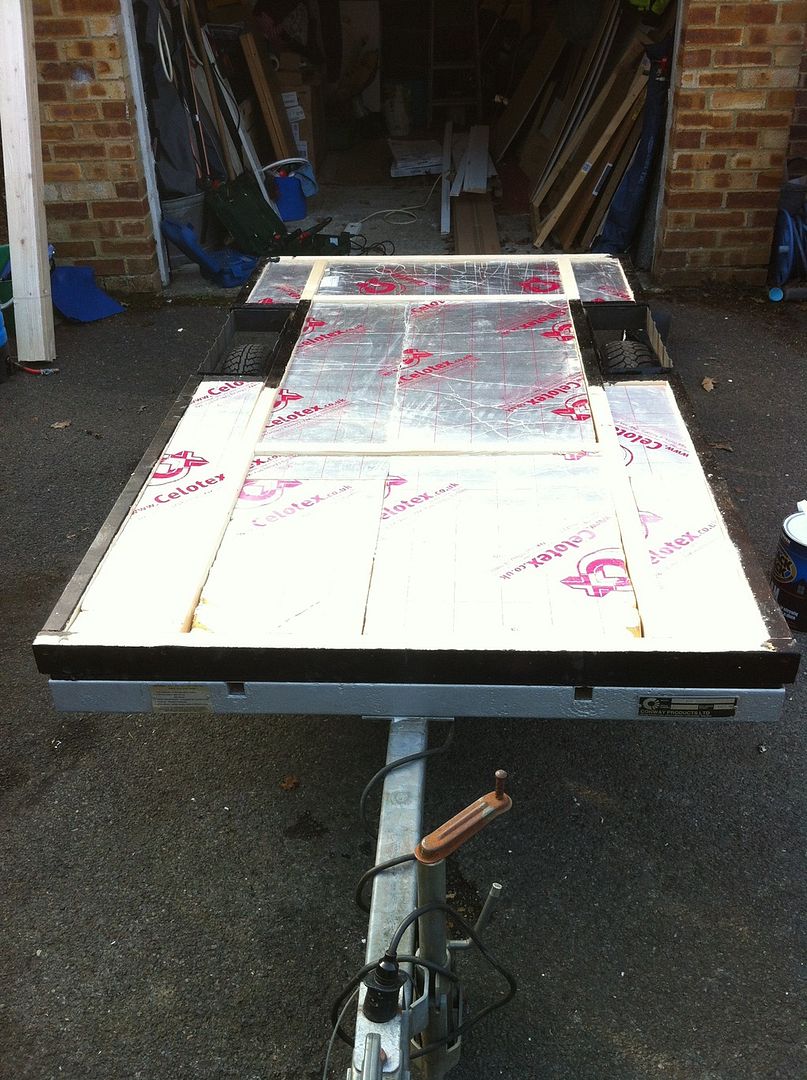
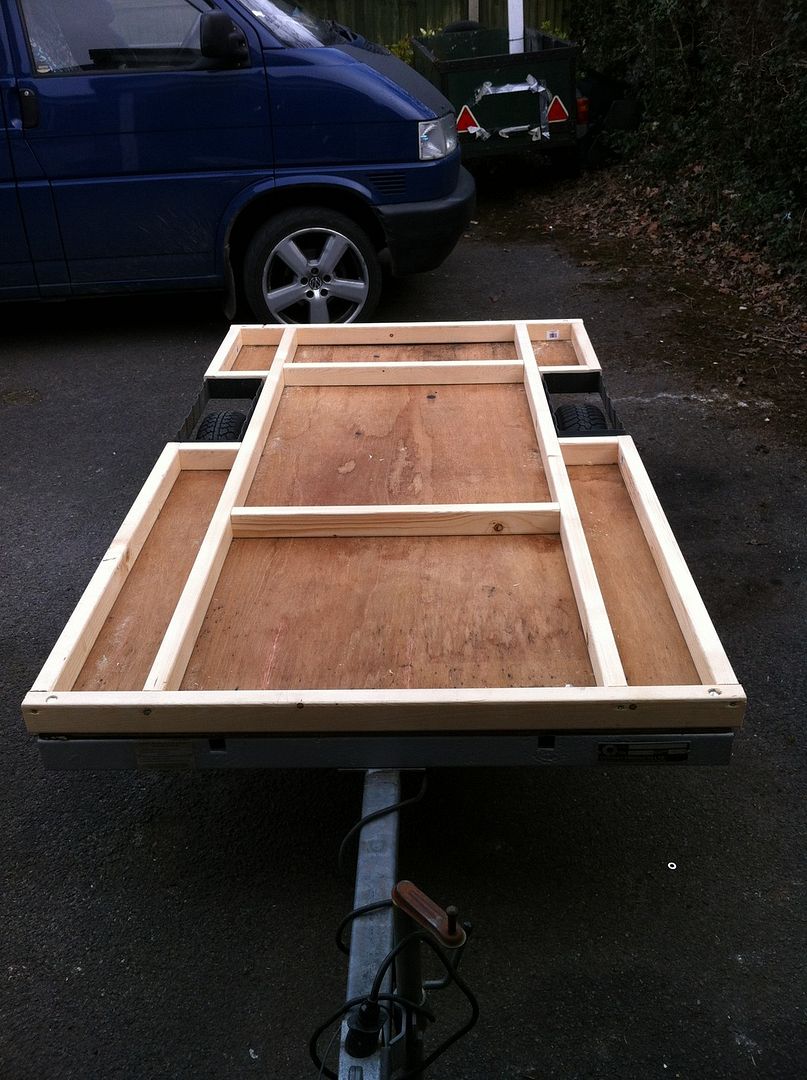
Then added the wooden base and frame work. Underneath has a couple coats of bitumin paint to protect it.
Image
Image

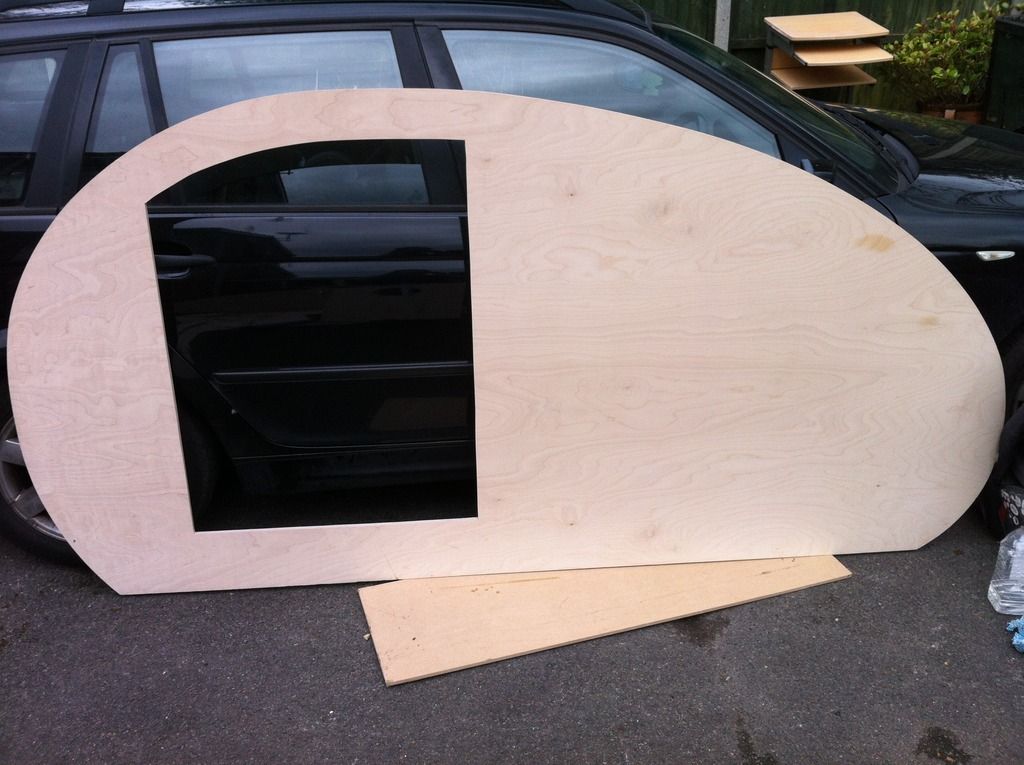
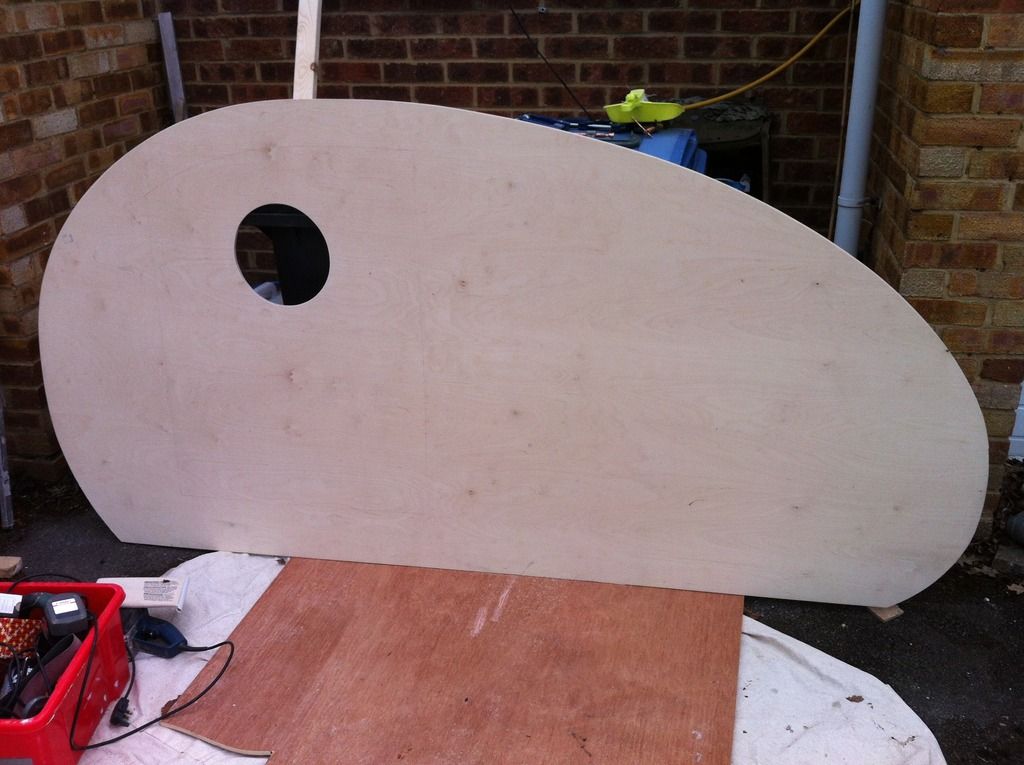
Insulated the floor and cut the sides out of 12mm Birch Ply
Image
Image

3 xcoats of yachts varnish
Image

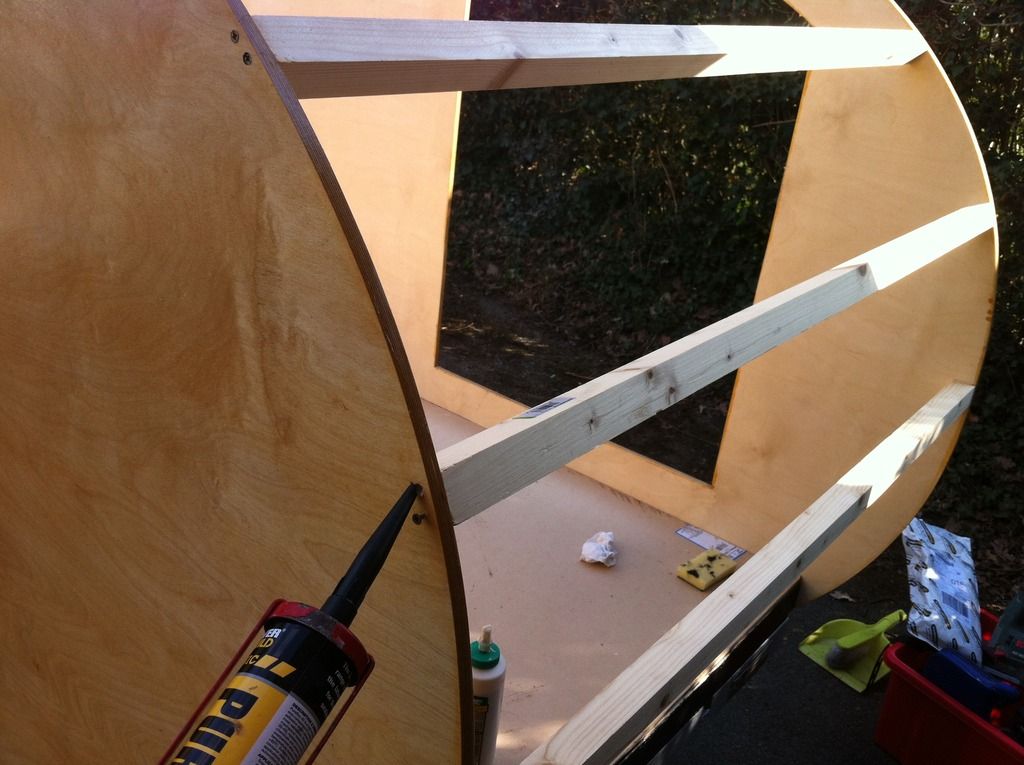
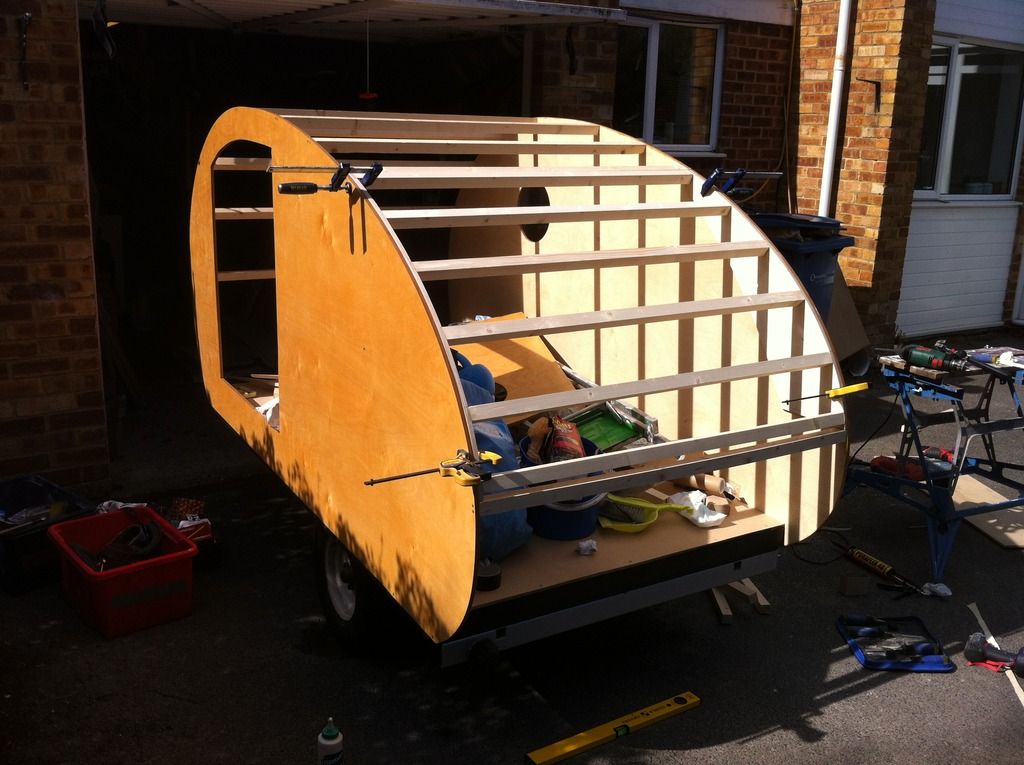
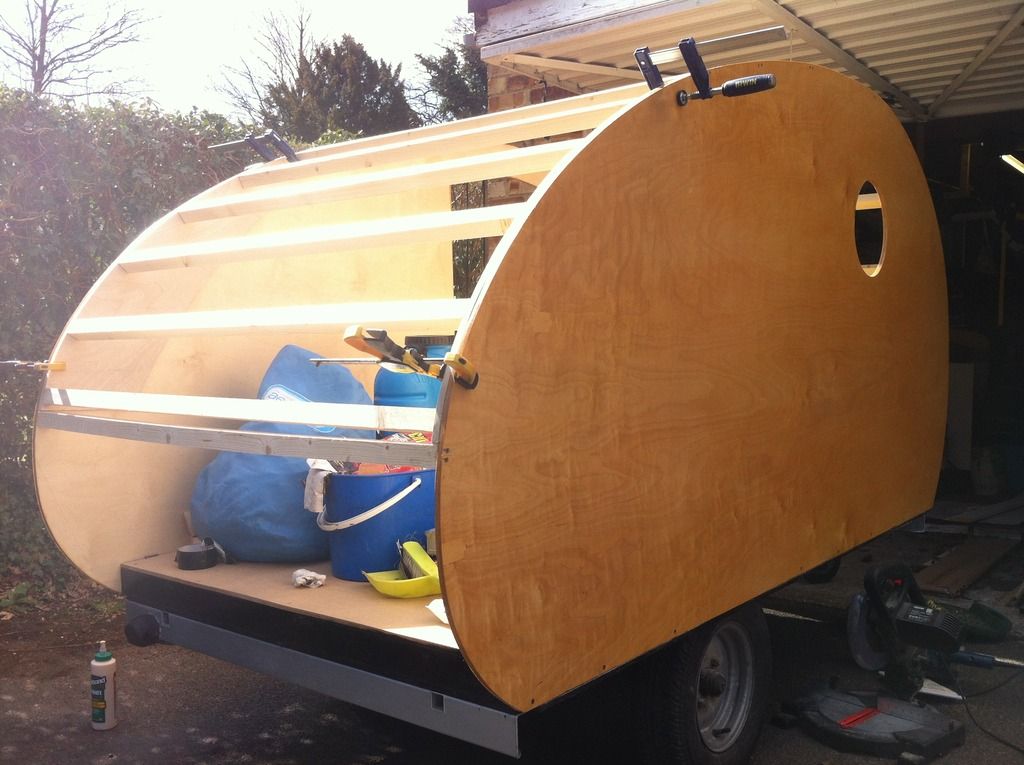
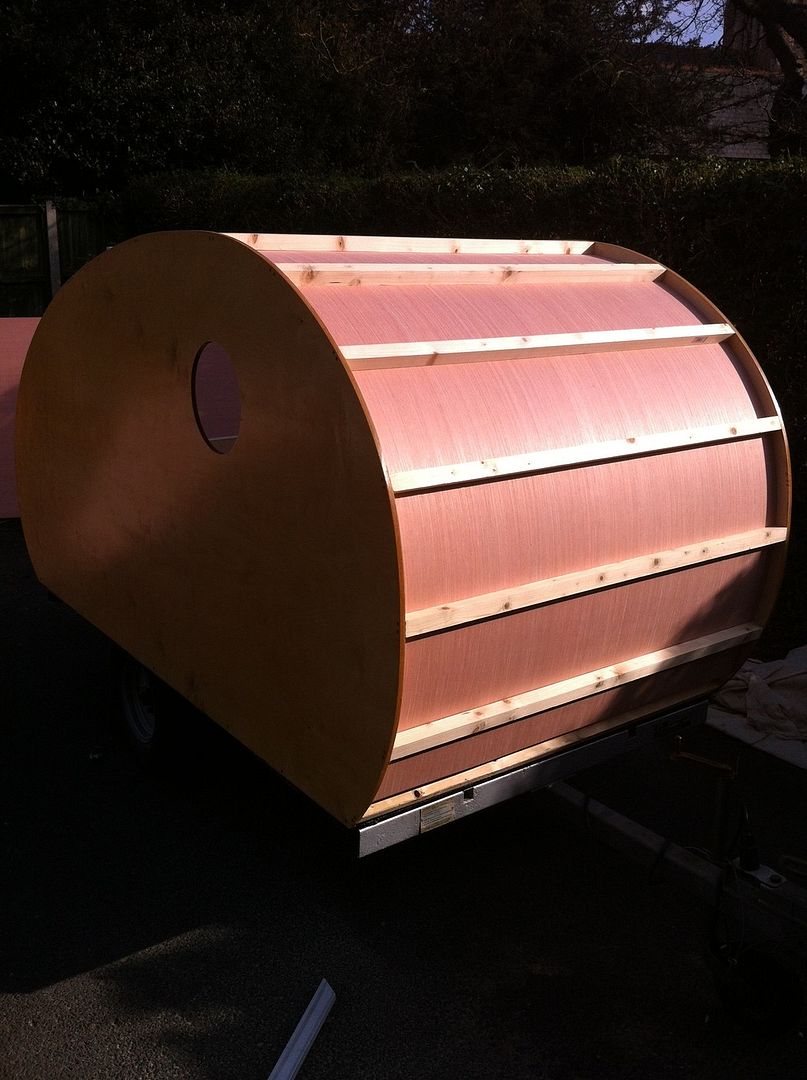
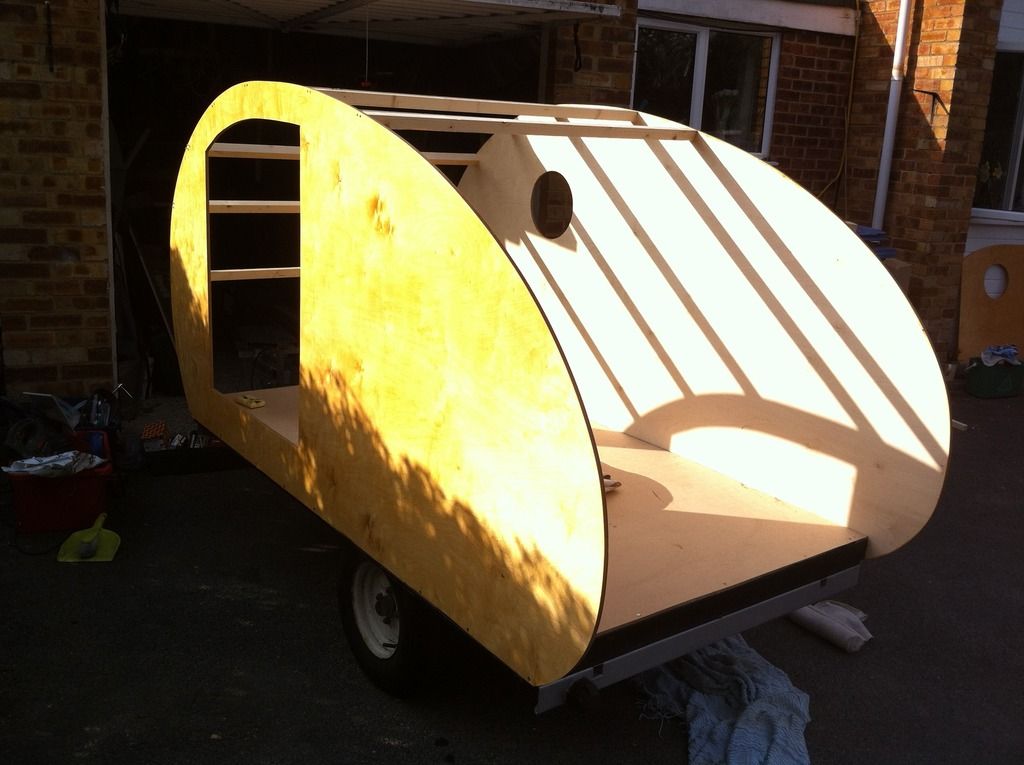
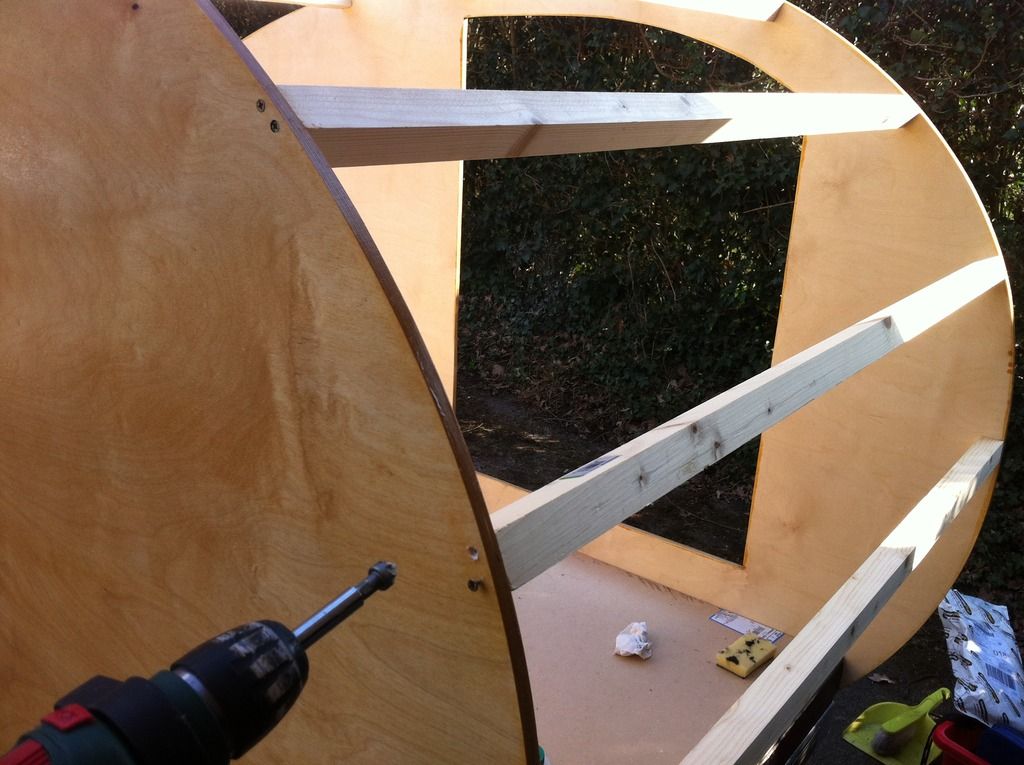
and attached the sides to the base and started fitting the cross spars
Image
Image
all glued and sealant in each screw hole before screwed in to make water proof
Image
Image
Image

On to making the rear hatch
Image
Image

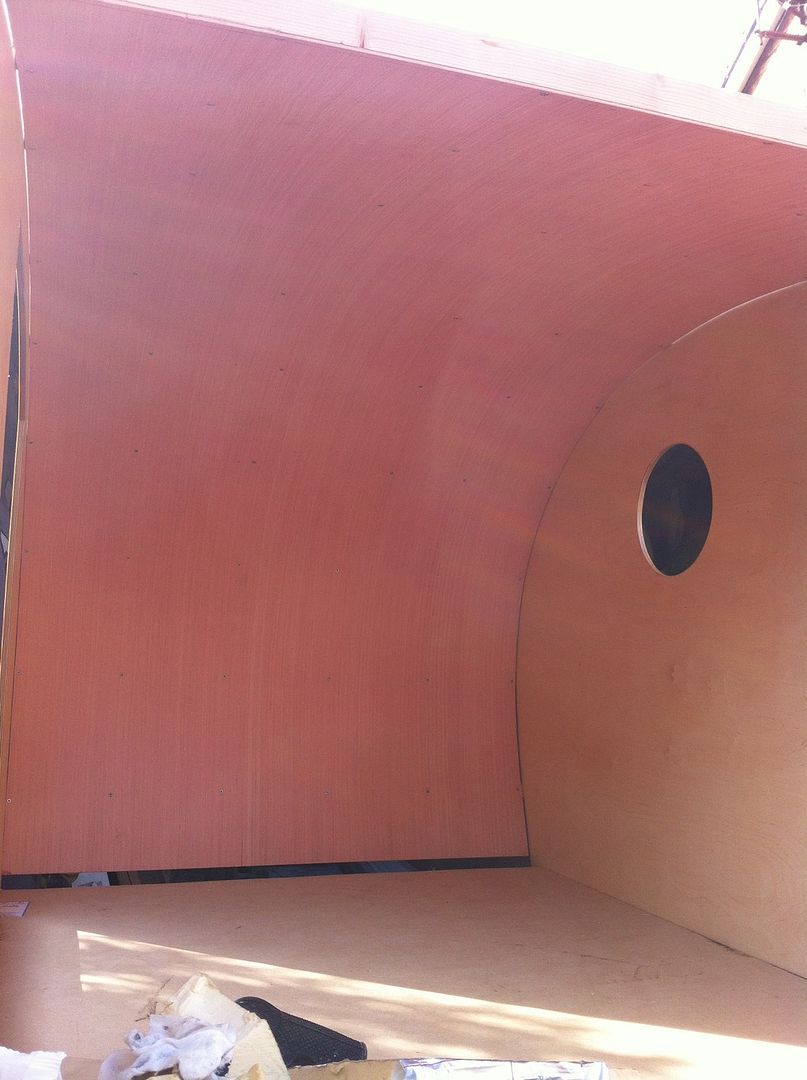
Then the internal skin was added which is 4mm ply
Image
Image
Image

I then insulated between the spars. I went for earthwool as my spars are 34mm wide so Cellotex was either to thin or to thick plus its expensive!
I also put in the internal lights and ran the wiring before the top skin went on.
Image

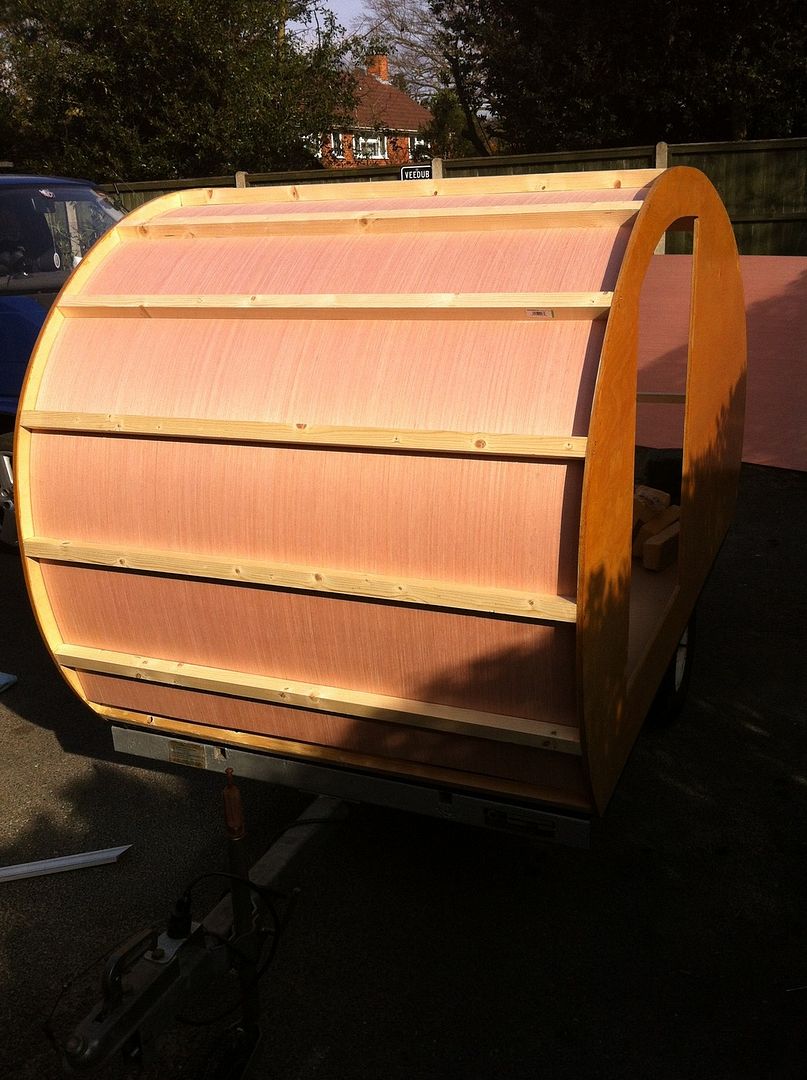
Then put on 4mm ply and coated in more varnish
Image
Image
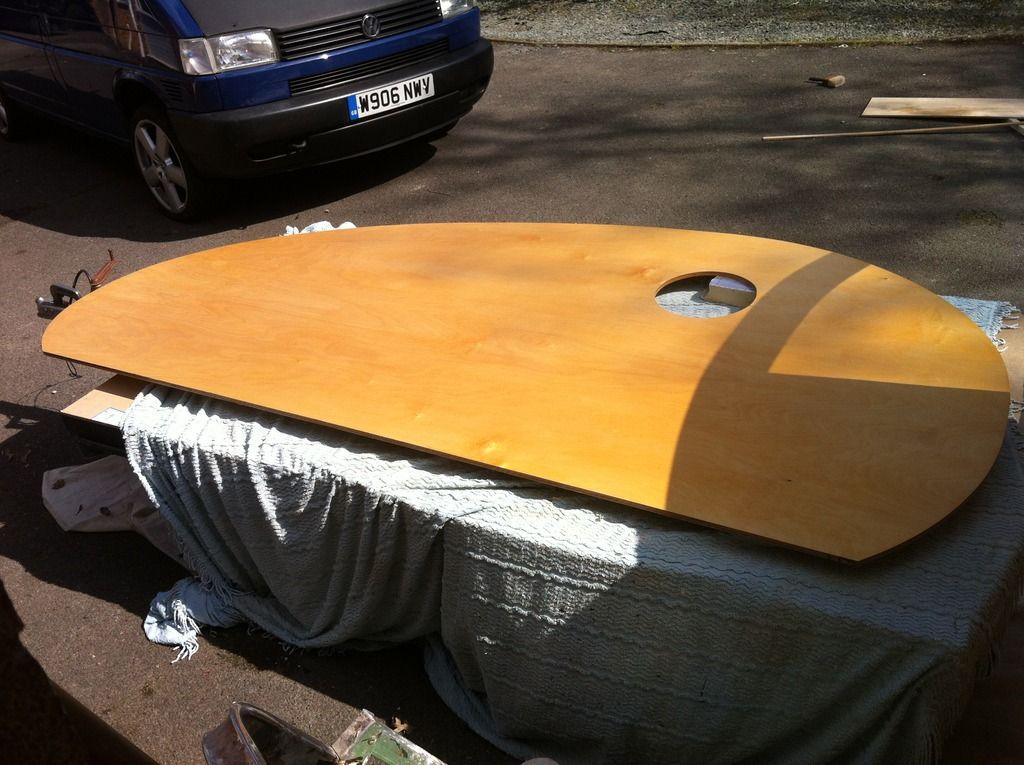
I also sealed the edges with PU40 sealant and cut the hole for the Fiamma 40 roof vent

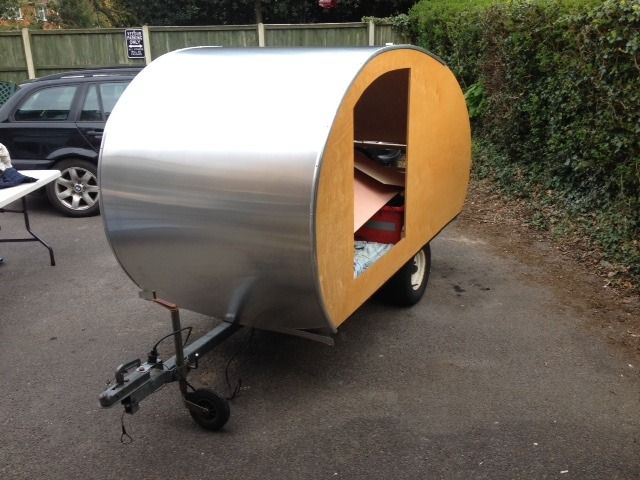
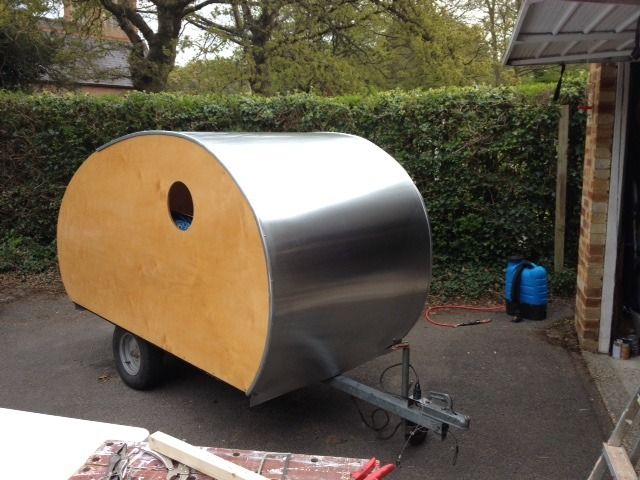
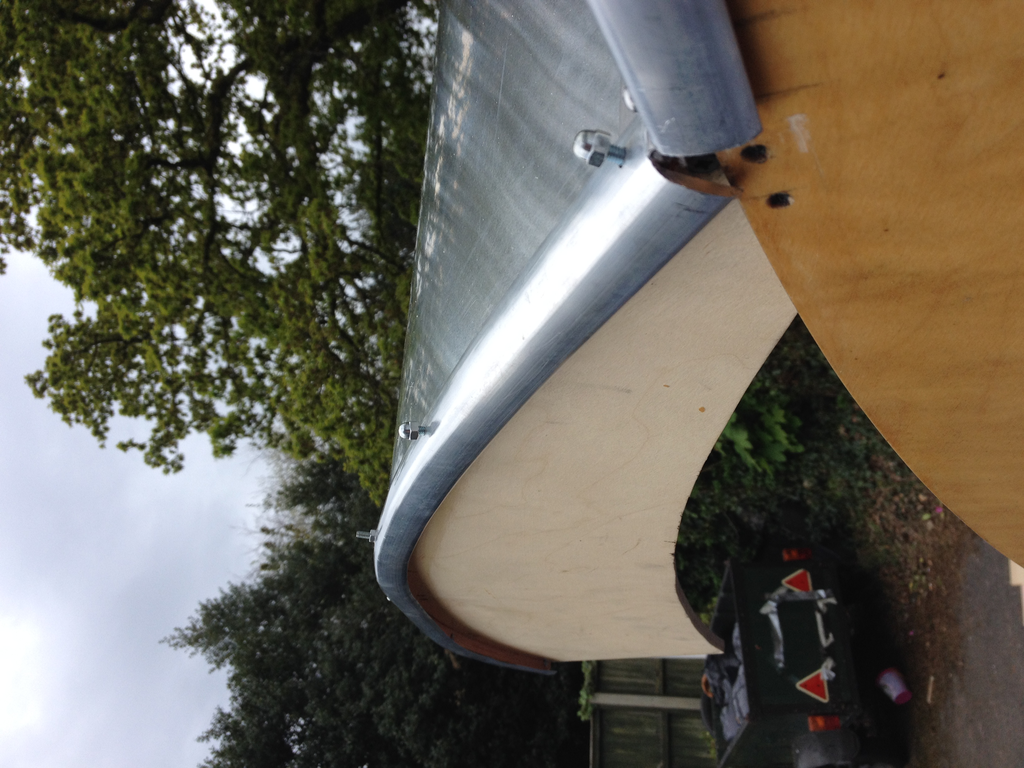
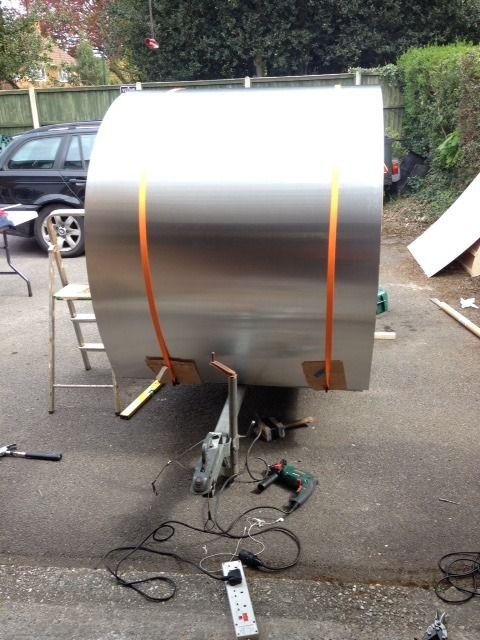
Got the aluminium skin on, its 1.2mm ali and its floated on, attached at the front and back and also held on with the edge trim.PU sealent along all the edges and under the edge trim to make it all water tight.
Image
Image
Image

next is the skinning of the hatch and getting it all screwed on and door hung
andy2
Teardrop Inspector
 
Posts: 11
Joined: Mon Mar 16, 2015 4:43 pm

Re: 1st teardrop build

Postby dales133 » Tue May 05, 2015 9:16 am

Realy nice work considering you only regard yourself as a handyman.you did well to get 4 mm bent round that profile and looking that neat
User avatar
dales133
4000 Club
4000 Club
 
Posts: 4605
Images: 1
Joined: Mon Oct 13, 2014 5:26 pm

Re: 1st teardrop build

Postby KCStudly » Tue May 05, 2015 2:44 pm

Looks great! :thumbsup:
KC
My Build: The Poet Creek Express Hybrid Foamie

Poet Creek Or Bust
Engineering the TLAR way - "That Looks About Right"
TnTTT ORIGINAL 200A LANTERN CLUB = "The 200A Gang"
Green Lantern Corpsmen
User avatar
KCStudly
Donating Member
 
Posts: 9640
Images: 8169
Joined: Mon Feb 06, 2012 10:18 pm
Location: Southeastern CT, USA
Top

Re: 1st teardrop build

Postby daveesl77 » Tue May 05, 2015 7:05 pm

What a beautiful design and build! Wow, a true classic. If you consider yourself just a DIYer, I can't imagine how good the "pros" are where you come from.

:D

Really nice work

dave
*******
Dave and Regina - Enjoying old age, a LOT!

Build Journal - http://www.tnttt.com/viewtopic.php?f=50&t=62386
User avatar
daveesl77
Donating Member
 
Posts: 871
Images: 273
Joined: Tue Jan 27, 2015 4:33 pm
Location: Pocahontas County, West Virginia
Top

Re: 1st teardrop build

Postby andy2 » Thu May 07, 2015 2:07 pm

Thanks for the nice comments, I have learnt everything from this web site and all the great information the members share.
andy2
Teardrop Inspector
 
Posts: 11
Joined: Mon Mar 16, 2015 4:43 pm
Top

Re: 1st teardrop build

Postby Woodbutcher » Thu May 07, 2015 3:16 pm

Beautiful job, well done! :applause:
User avatar
Woodbutcher
Platinum Donating Member
 
Posts: 4191
Images: 45
Joined: Fri Mar 10, 2006 10:01 pm
Location: Chicago Suburbs
Top

Re: 1st teardrop build

Postby andy2 » Fri Jun 19, 2015 8:36 am

Its been a while with any up dates due to having a smash in my van and the trailer having to be put on the side lines for a few weeks. I have managed to get back on track now and got some work done and im pretty much there now with the external.
Skinned the hatch and finish all the edging and metal work.
Image
Image

I have got the sky light light in

Image
Image
Image
Image
Image

made the windows out of external ply and a perspx cake stand! I cut 2 pieces of ply to make a recess and stained the wood a dark oak to make it look nicer against the birch ply walls. Sealed and screwed on with dome head bolts to match the edging bolts.

Image
Image
Image
Image
Image
andy2
Teardrop Inspector
 
Posts: 11
Joined: Mon Mar 16, 2015 4:43 pm
Top


Return to Build Journals

Who is online

Users browsing this forum: No registered users and 2 guests