I had thought that I would do this project later, but that minor setback on the hatch foam had me scratching my head a little, and this seemed to be a good distraction that might help keep the foam dust down w/o loading up my shop vac filter.
You'll recall that Karl had his old 16 gal shop vac burn out and he bought a super-duper Makita replacement; but I felt a little weird using it more than him, especially given the cost.
I have a newer version of the same Craftsman 16 gal that I bought over, but I know from replacing the filter several times in Karl’s old one that they clog up pretty fast from the fine wood and foam dust. I was reluctant to mod mine in a non-reversible fashion, but Karl’s old vac carcass was looking pretty good as a donor for a pre-stage dust separator.
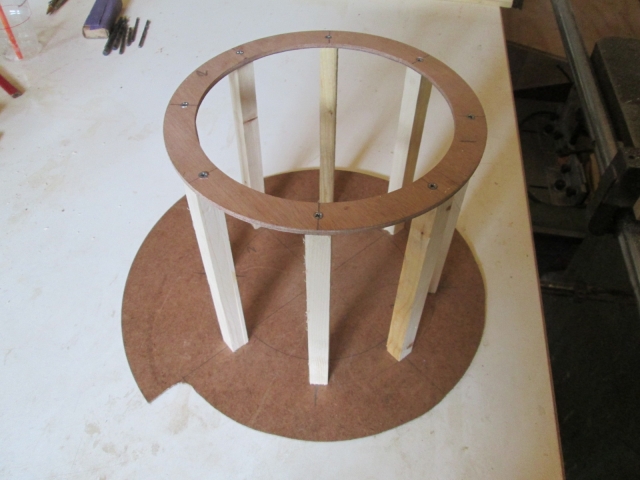
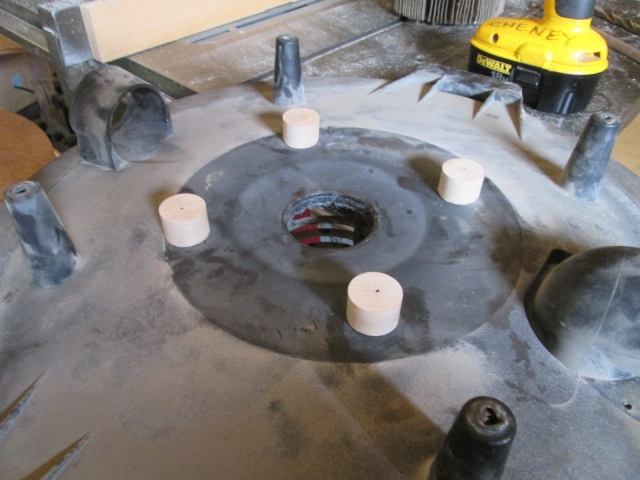
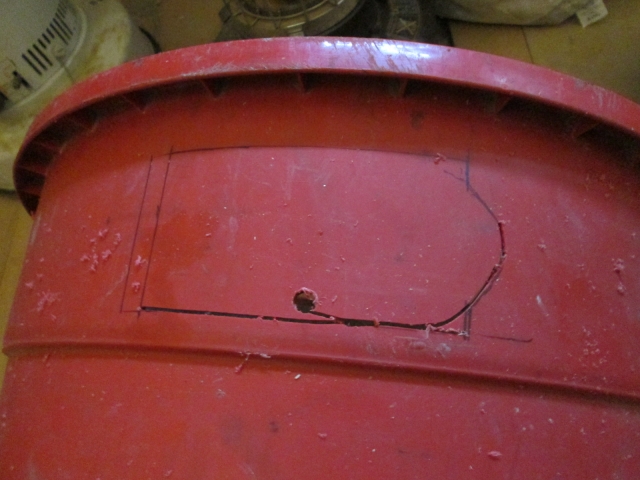
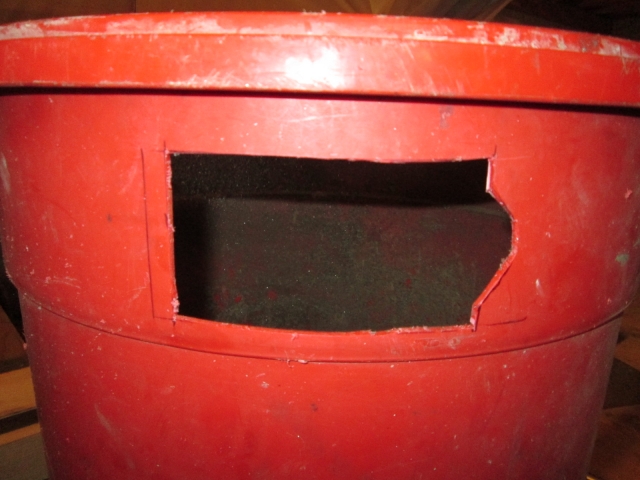
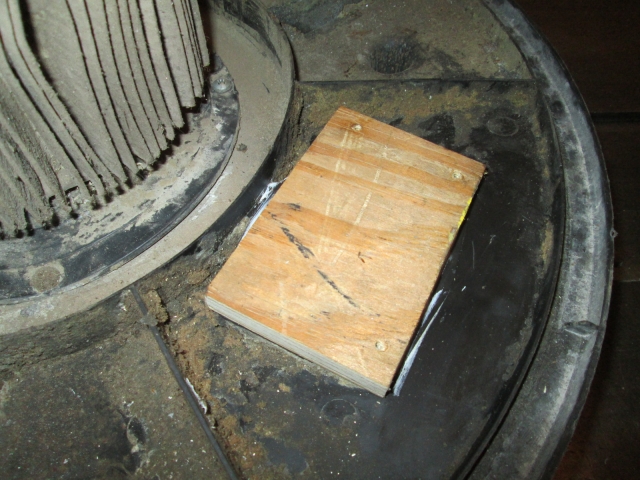
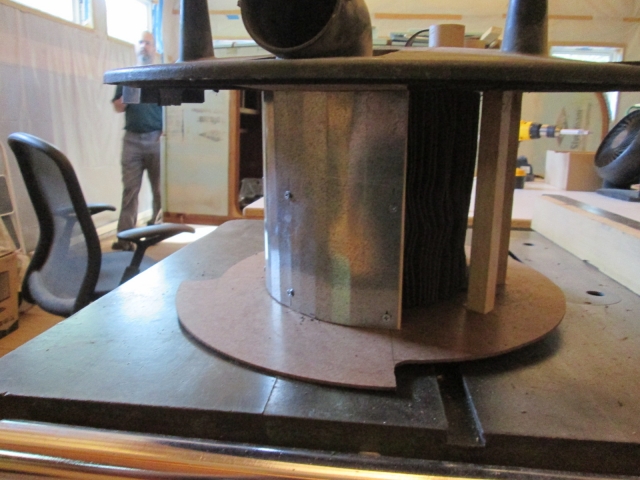
Before getting into the separator I decided I had better close the table saw cabinet up some. I bought it well used and it was missing the large side panel where the motor sticks out, so I fit this scrap backer board and screwed it to the cabinet with tech screws.
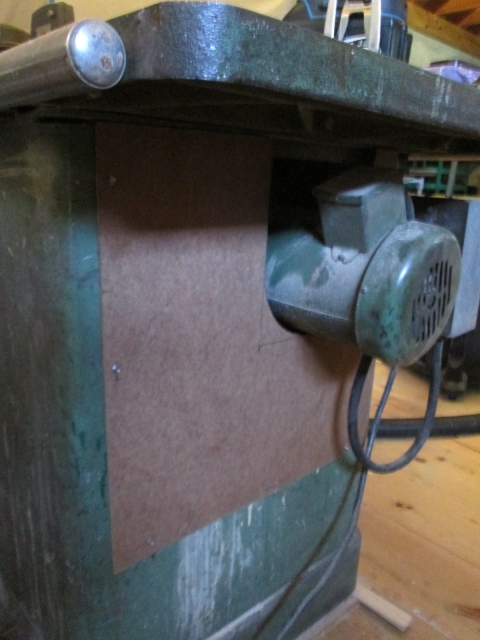
It needs a little more work so the blade can still tilt to 45 deg, and a flex boot/bellow to fill the gap would be nice, but for now I just carved and shoved a piece of foam board over the motor to help close off the gap in the cutout a little better.

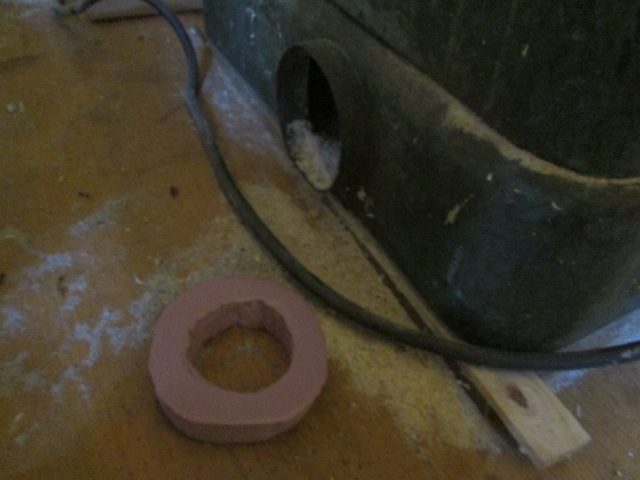
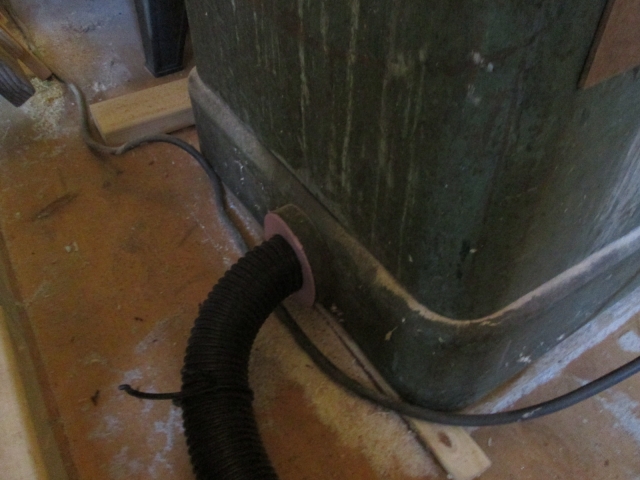
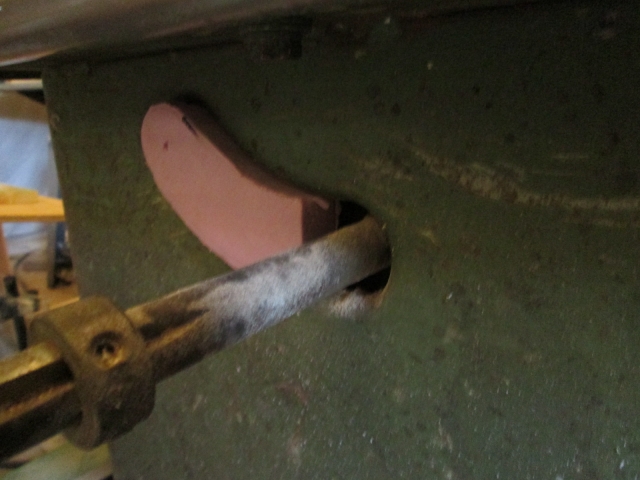
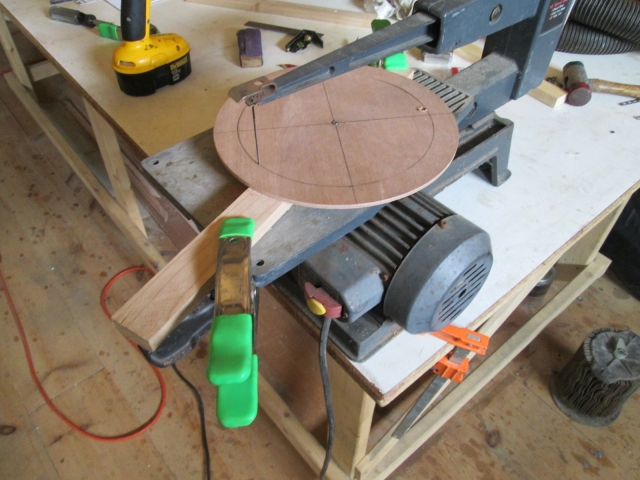
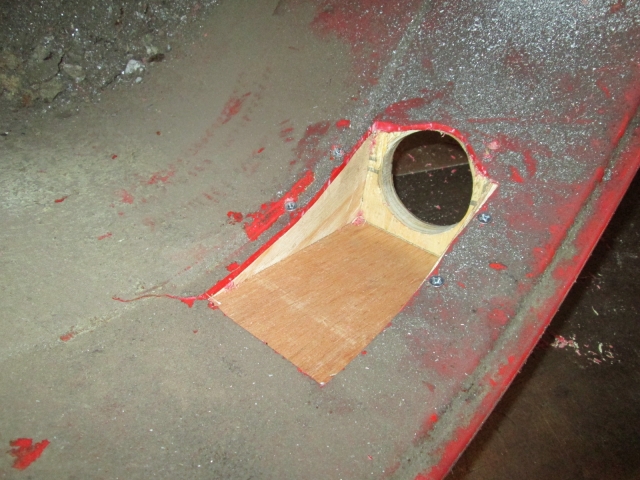
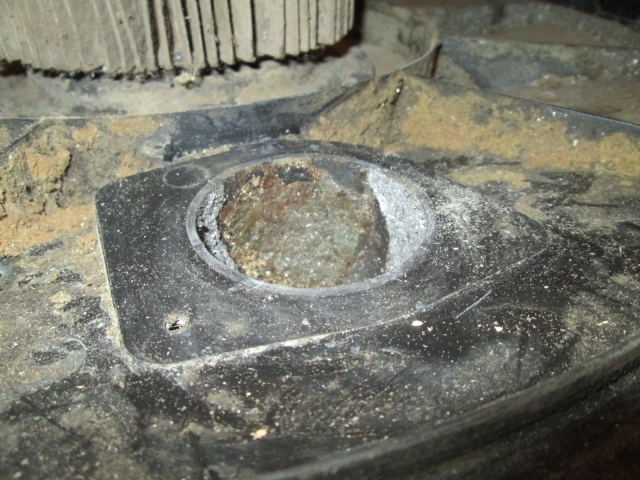
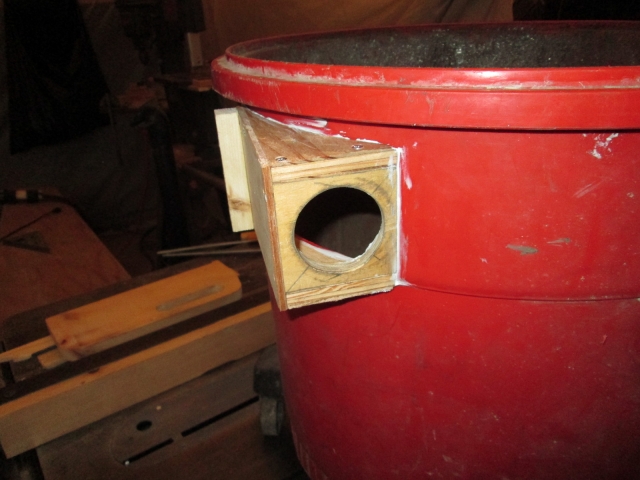
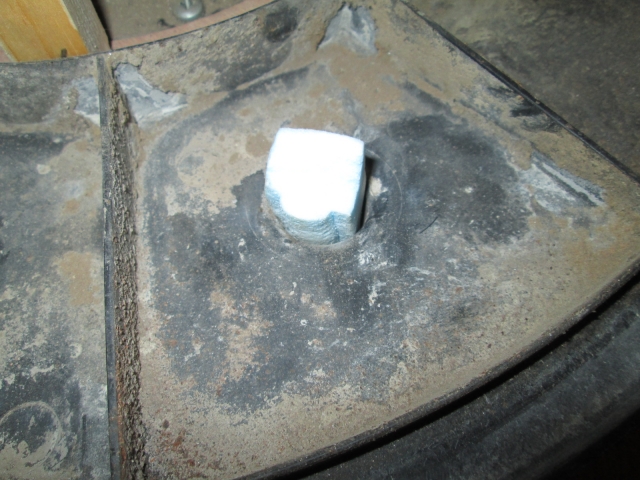
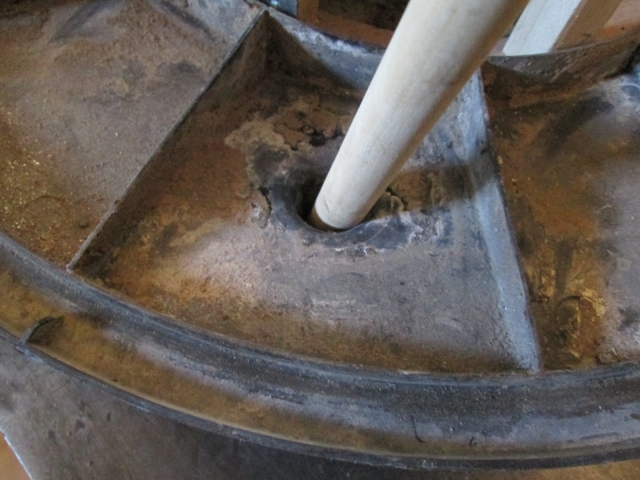
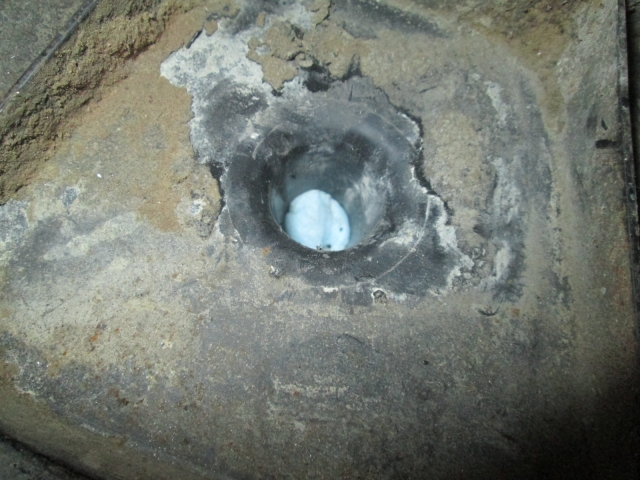
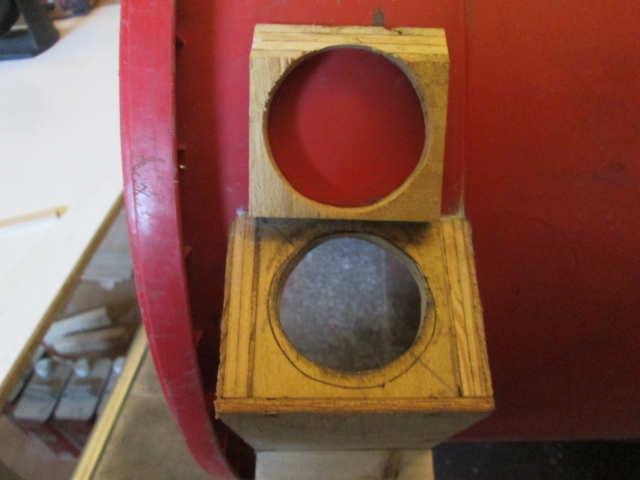
The port at the bottom of the cabinet is 4 inch and the vac hose is only 2-1/4, so a foam bushing was made to make up the difference. I just held the foam up to the port and pressed an imprint into the foam which I used as a guide for cutting with a steak knife.
The cabinet has large slots that allow the depth adjust shaft and blade guard mounting shaft to move with the motor/blade carriage while it tilts. I carved foam plugs to stuff in there, front and back, for the 99/ct of the time that the saw is set square to the table.
These mods by themselves sucking straight into the shop vac seemed to help keep airborne dust down while kerfing foam (blind cuts), but I was still worried about filter life on the vac.
There are plenty of examples of DIY dust separator buildups online. For the most part they seem to be designed using the TLAR method with no real hard and fast rules, and they all seem to perform better than nothing; so I looked at a bunch of images and jumped right in disassembling the old hulk.
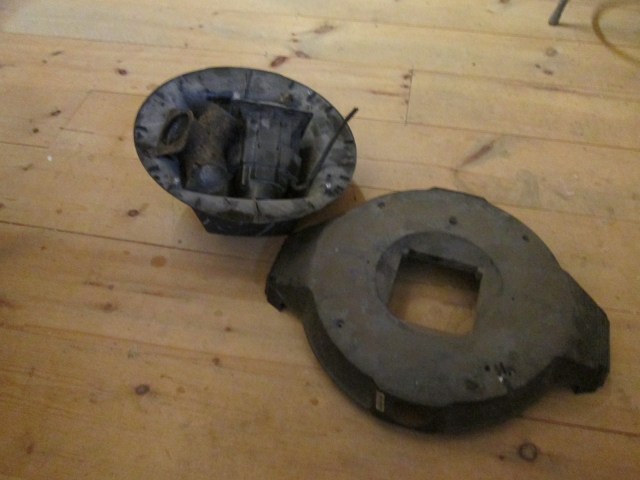
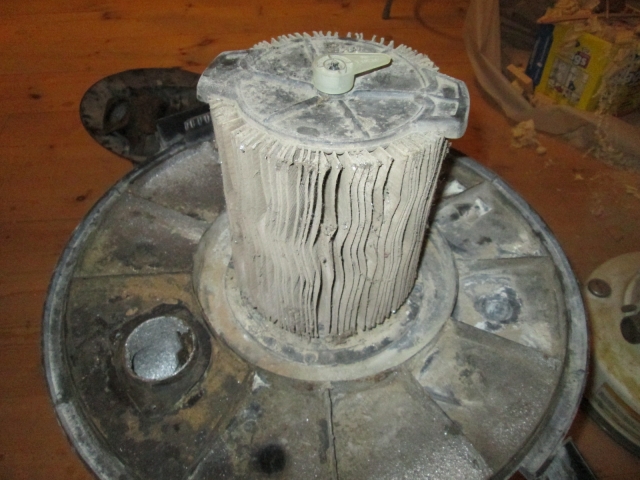
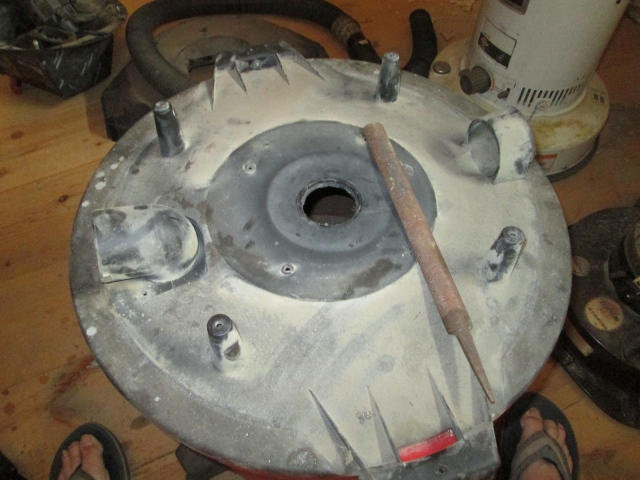
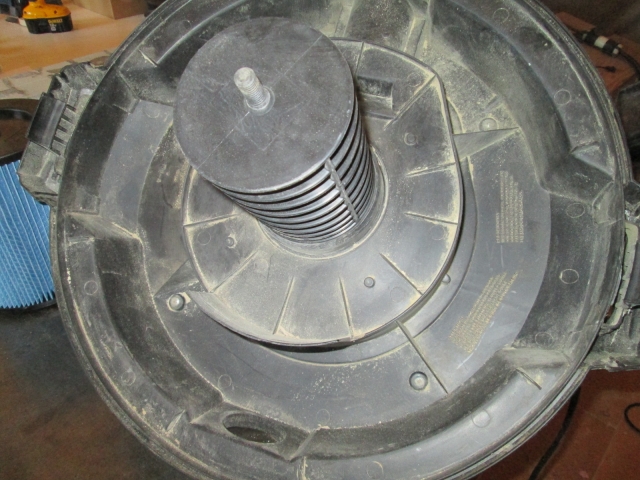
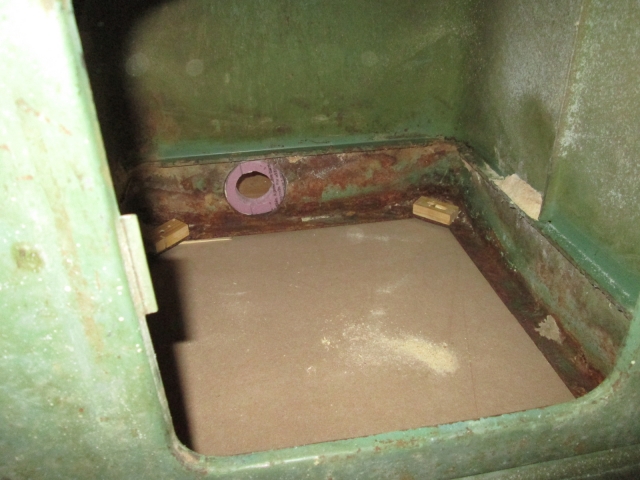
Here is the top shroud, fan grille, motor, wye suction elbow and the float cup from inside of the filter support cage (the float cup prevents the vacuum from sucking up water when the tub gets full, but seems to be unneeded for dry applications).
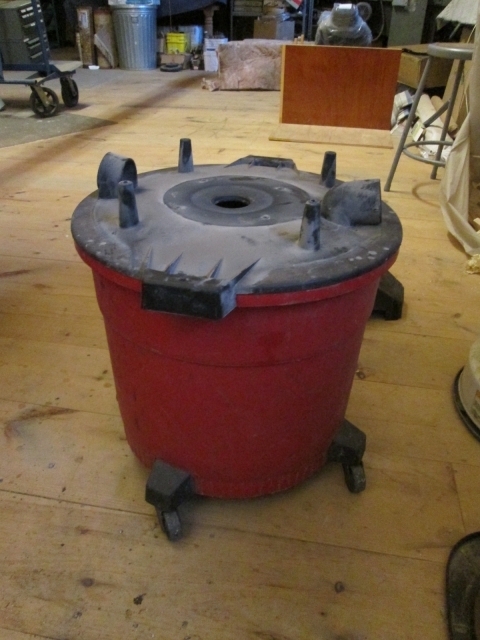
That gets us to this point.
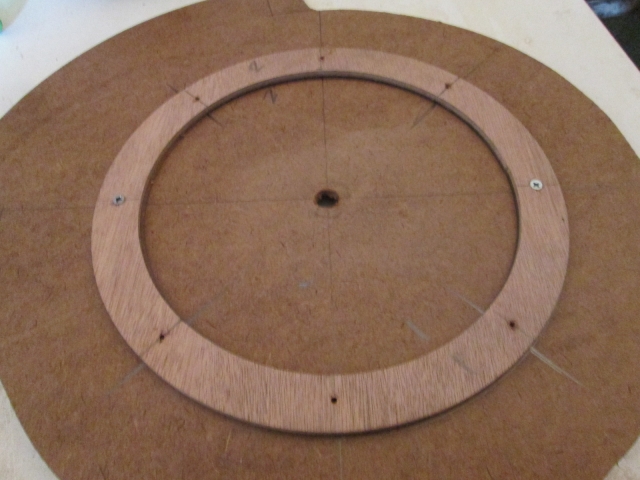
On this particular model there is a cofferdam around the area where the filter support cage attaches to the top cover. It seemed like a good place to anchor a flange ring and outer cage that can be used to attach a courser pre-filter, such as nylon stocking material or t-shirt fabric.
To cut the flange ring quickly and accurately I made a simple circle cutter jig for my band saw. Just a stick with a screw thru the center of the work piece (scrap of 5mm ply from my build). Note that the jig stick is angled so that it supports the work very close to the front of the blade while the pivot point is still perpendicular to the leading edge of the blade.
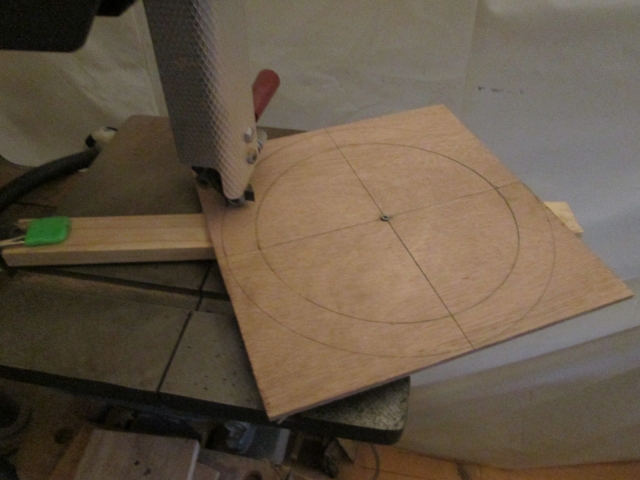
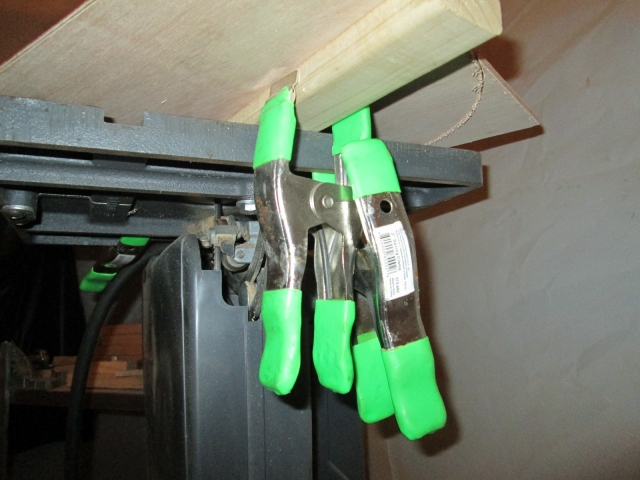
Because of the size of the work piece the pivot point landed over the table but the part overlapped the edge of the table, so there was no easy way to clamp that end of the stick. I ended up putting a clamp on the stick and then clamped the clamp to the table from underneath.
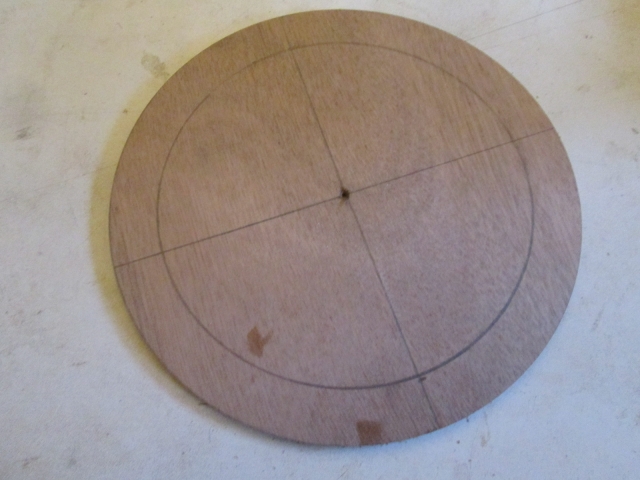
That got me to here.
Using the same circle jig stick and a pilot hole, I cut the inside of the ring out on the scroll saw.
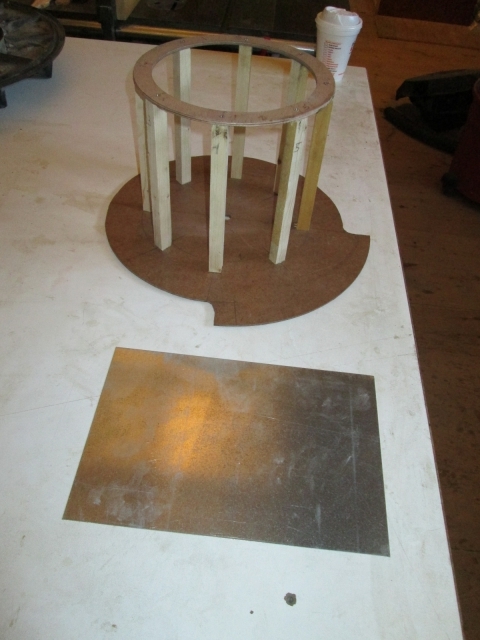
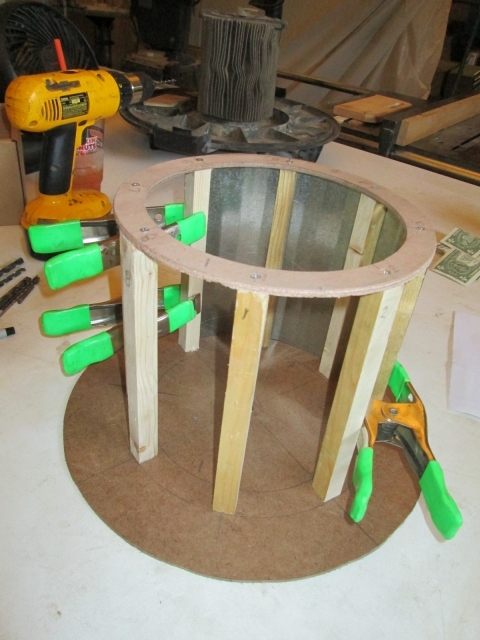
We’ll get back to this part in a minute. For the baffle board (the Thein part) I needed to be able to cut a larger circle where the center point was off of the bandsaw table. I decided to make something a little more versatile that clamped into the miter slot in the table, keeping everything under the table surface. The dog leg piece on the end of this stick allows the pivot point to be perpendicular with the blade edge and the clamps can be moved along the main stick to reposition for larger circles.
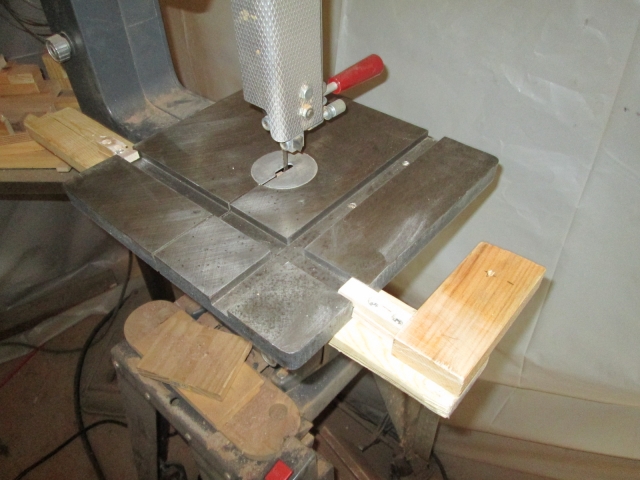
That allowed me to cut the disc for the baffle, but the notch (or slot) was cut free hand, so I guess the jig was just a detour.

I laid out and screwed the flange to the baffle with a couple of screws first, so that I could match drill all of the pilot holes together.
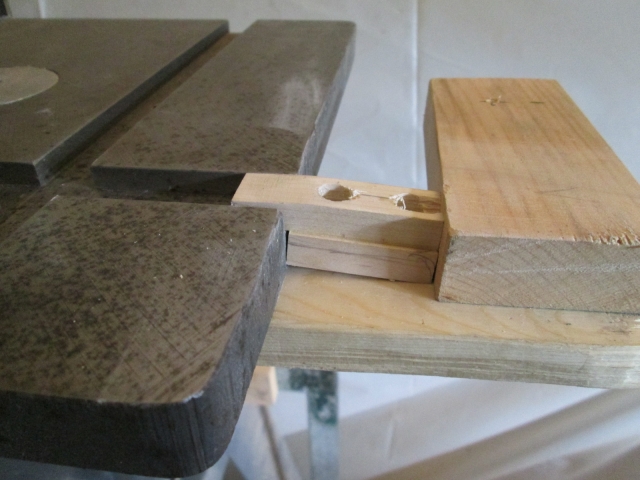
Next I ripped a scrap of 2x into 5/8 square stock and cut these standoffs.
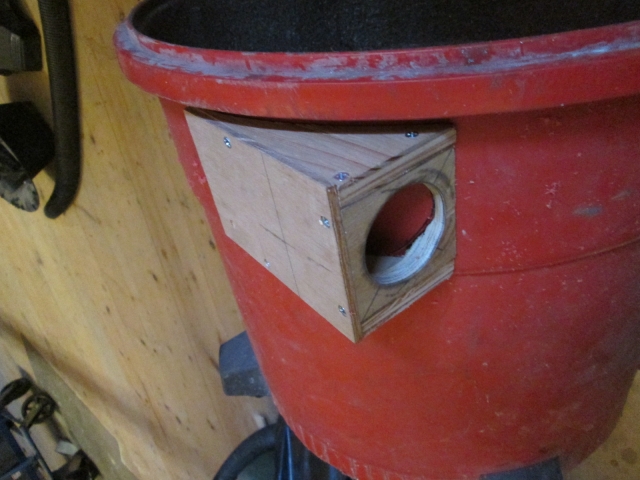
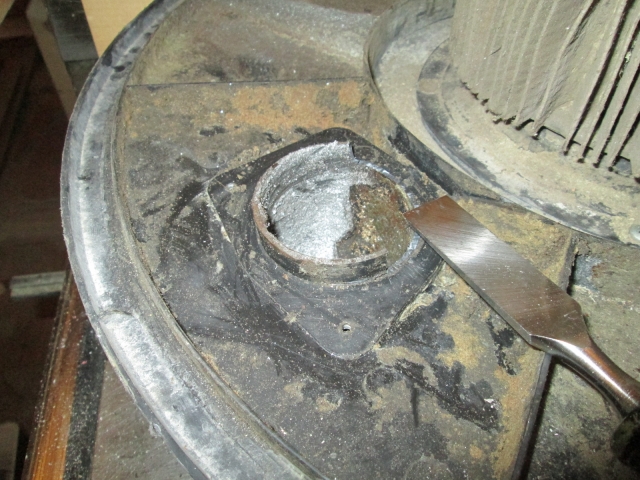
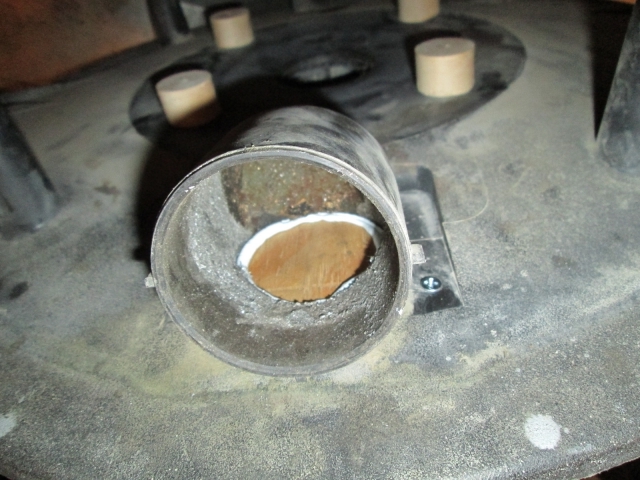
Jumping around a little, the vacuum port that had been the inlet to the impeller had a little step inside it, but was otherwise just right for the 2-1/4 inch hose diameter. I used a course half round rasp to knock the step off, shown here in progress. A utility knife cleaned off the flash left by the file.
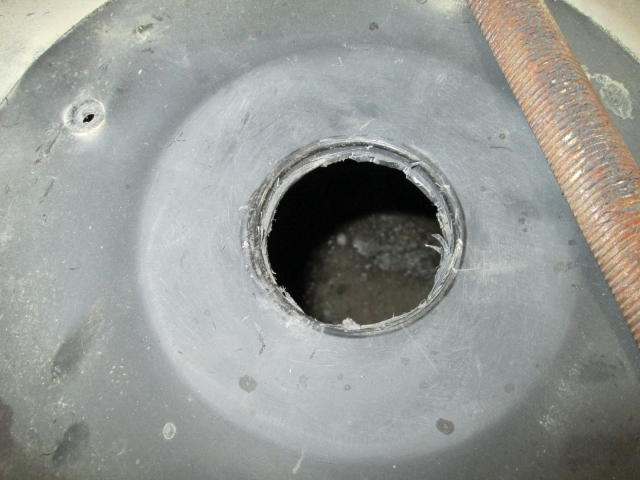
This will be where the suction hose from the live shop vac ‘goes-in-ta’.

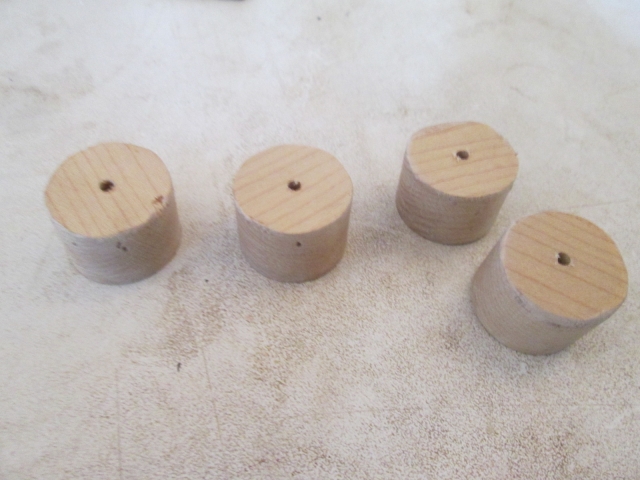
The existing filter cage screws had gone thru the cage flange, thru the tub lid and into the motor shroud, so there was no longer anything to screw into. I had these round plugs leftover from core boring my electrical ports on TPCE. It was a simple matter to pilot drill them and use them as “nuts” (screw blocks) for the cage screws.

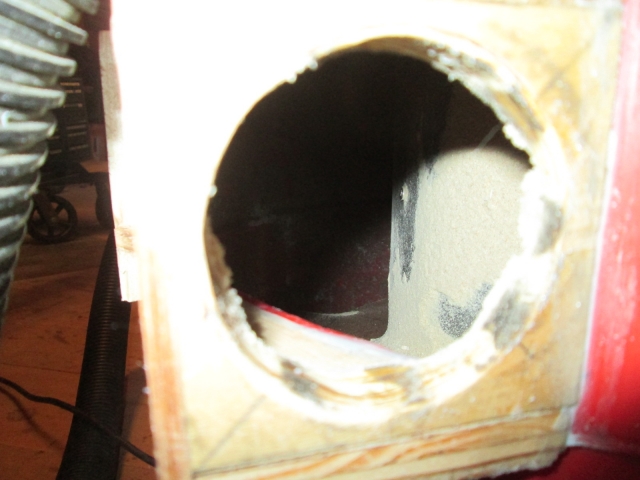
Many of the examples found online use an elbow down from the top as the suction port, and I considered modifying the original wye by just plugging one leg; but this seemed not to be the best way to set up a circular motion without blocking at least some flow, losing a little efficiency to the tight ell, and it wasn’t aimed tangentially anyway. So I decided to go to the extra effort to add a side inlet, much more closely emulating the scroll shape of a centrifugal pump housing. Scraps of 1/2 inch ply for the hose port plate, and top and bottom “sides”, and 5 mm ply for the outer skin. The edge of the port plate is beveled to a 45 deg angle, which seemed to be right for the diameter of my tub at the point of attachment. The top and bottom were template matched to the tub by creeping up on the curve with a transfer scribe making successive cuts on the jigsaw. Just dry fitting here.
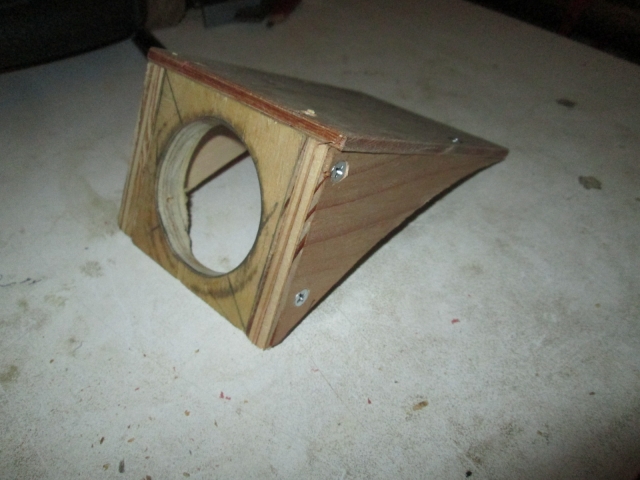
I actually had to make the port hole plate 3 times. The first one split when tried to cut the hole out on the scroll saw. The hole came out too small on the second one and it just seemed easier to make another rather than trying to resize the hole. Like Goldilocks, the third one was just right.
By reaching inside the port with a fine tip sharpie I was able to trace the inside line of most of it, enough to connect the dots. I traced the end of the 5mm and stepped that off about 3/8 inch to allow some meat for screws from the inside. Here I have drilled a starter hole and used the hand held jigsaw to get what I could.
Due to the shoe plate on the saw and the proximity of the flange on the tub, I had to finish the cut with my small shark saw and a utility knife.
At dry fit, after screwing the new inlet port to the tub, I trimmed a little more with the utility knife and rasp to fair things a bit.
The old suction port had a collar where it led into the wye on the underside of the cover. It was easier to block this off by removing the collar, so I chiseled it off flush.
Another little chunk of 1/2 inch ply, some PL300 (just what I had on hand) and the original screws blocked it off.
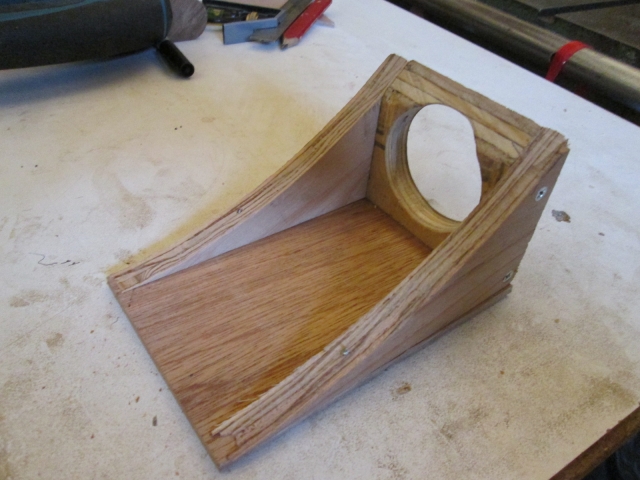
While I had the PL out I gooped up the new inlet port, filleted the inside corners, screwed it back to the tub and added a little more to help fair the ramp where it transitions to the tub.
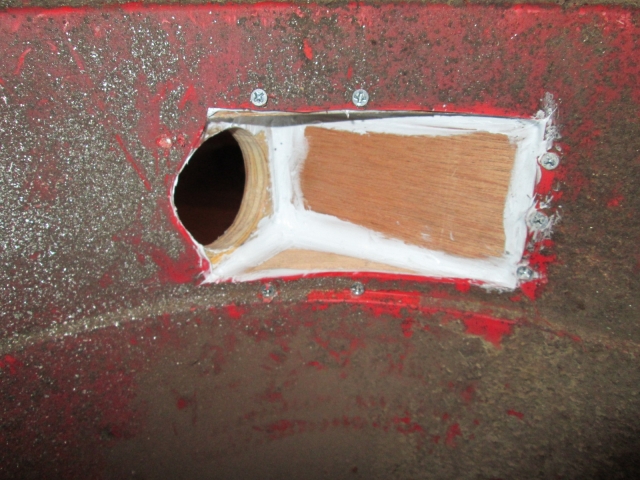
The extra little chunk of 5/8 stock on the outside gave the screws coming thru from the inside at the end of the ramp something to bite into other than the thin 5mm ply.
The plan was to use a piece of flashing as a vertical baffle around the pre-filter cage immediately across from the inlet port. I think that this will help promote the swirling action while preventing debris from short circuiting directly to the pre-filter. Couldn’t find my stash of flashing, but I found this piece of thin galvy sheet that was just about the exact size I needed.
It was thin enough that I could form it over the edge of the bench and test fit it to the cage.
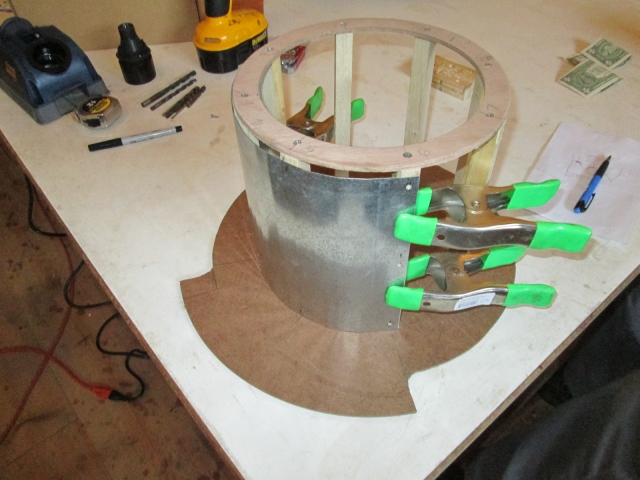
I clamped a 2x3 block hanging off the edge of the bench as a backer while drilling the screw holes in the formed sheet. To protect my hand from the edge of the sheet, should the drill want to bite and spin the piece, I clipped the belt hook from my tape measure over the edge of the sheet and used that as a hand hold. This worked surprising well in place of work gloves, which I did not have handy.

This is sort of a mock-up shot to give the idea of how the cage with baffles will sit in the tub.

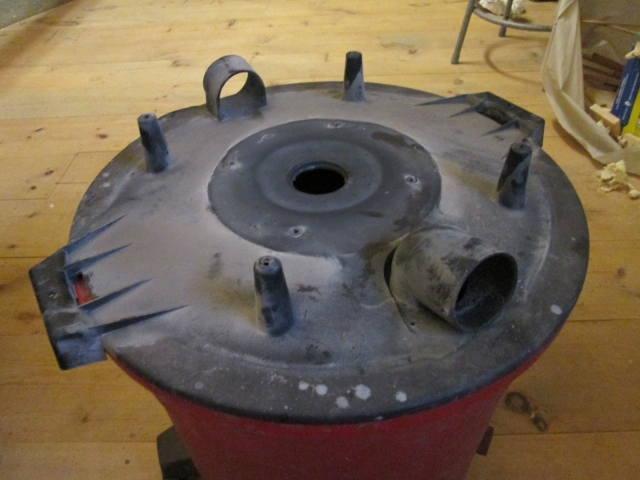
The top cover has molded in bosses where the upper exhaust shroud used to attach, and these screw holes needed to be plugged up. Some little scraps of foam, square peg in a round hole got me started…
… a wood dowel shoved down in the hole…
… crushed the foam bits to conform and act like a plug.
Here’s the filter, cage/baffles and cover reassembled.
Finally it’s time to make a test run. Hmm, that’s strange. The hose won’t fit into the suction port. DOH! I picked up the wrong suction plate off of the bench when I built the inlet port. It was well and truly stuck together now, so I laid the good one on the bad one and traced the correct size hole; both shown here for comparison.
Karl brought out his electric die grinder with a course cut rotary file (or burring tool) and I gouged the port out to the line (no pic).
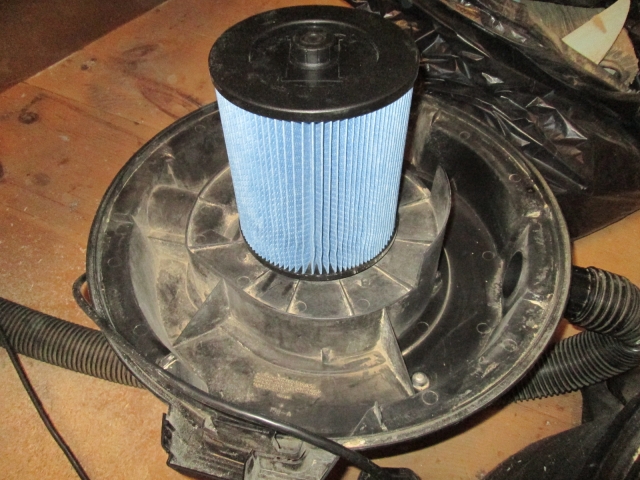
I did a little test run, just cleaning up some dusty areas on the floor around the table saw, a combination of wood and foam dust, but I hadn’t cleaned either tubs nor their filters out prior, so I couldn’t really judge the results. After a round of perfunctory cleaning (respirator mandatory) the main vac looked pretty good.
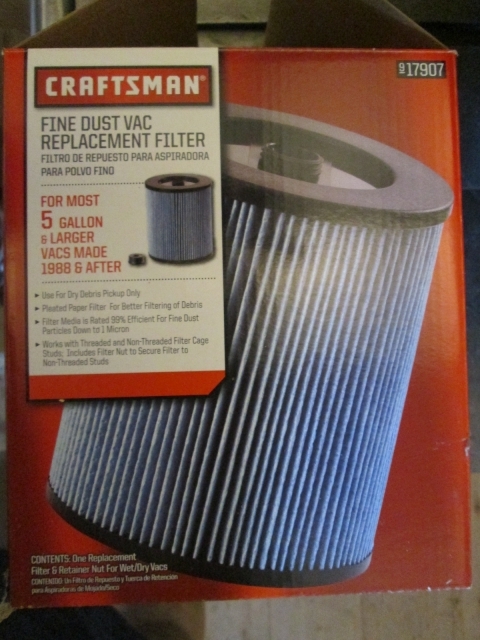
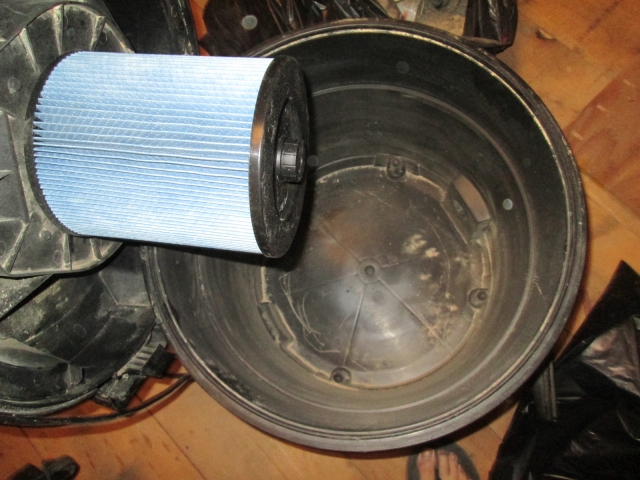
The main vac had some tattered pleats in the old filter from prior use, so it got the new “fine dust” filter that I had on hand.
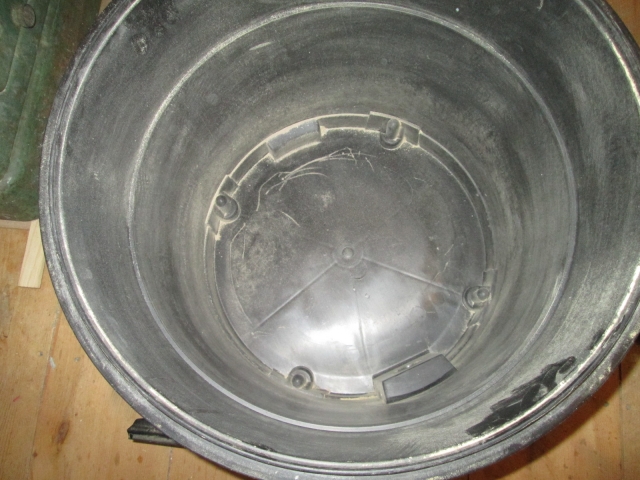
The separator tub got the old used filter knocked out on the side of the tub a few times, and I decided to forego the pre-filter idea for now.
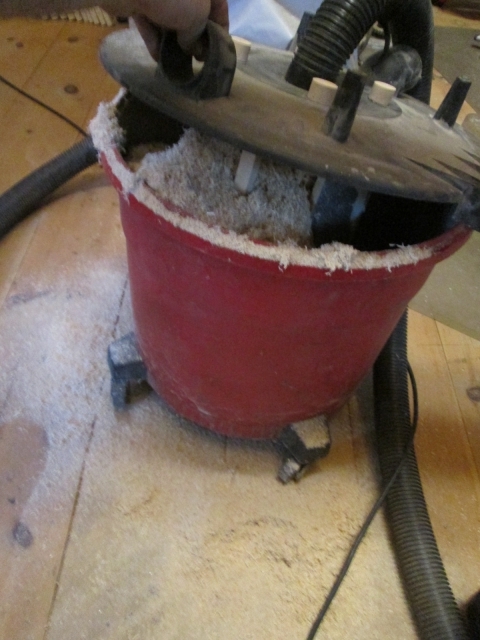
Okay, we’re ready for the acid torture test. Before hooking the vac up to the table saw cabinet the other day, the cabinet had been collecting plenty of wood and foam dust for some time. I estimated that there was about 5 gallons of stuff under there.
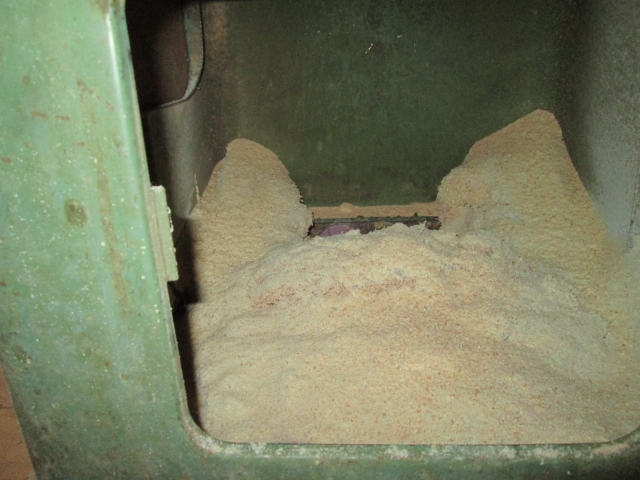
The plan was to go to about halfway and check the tubs, but I may have gone a little further.
Didn’t really notice any change in performance during the test. The main vac was still good, if not the same (no surprise with the other filter up stream).
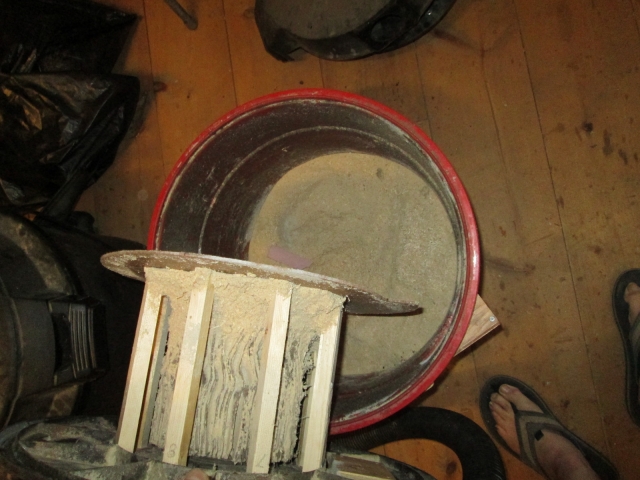
But the separator tub was an entirely different story. As soon as I lifted the lid I could tell that it was spilling over with a big wad that fell out onto the floor.
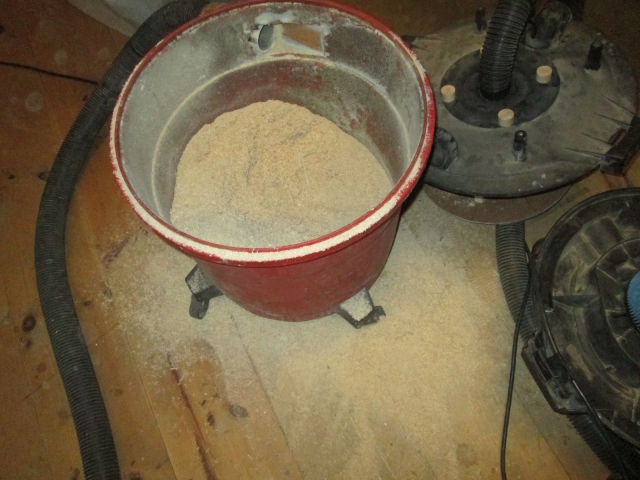
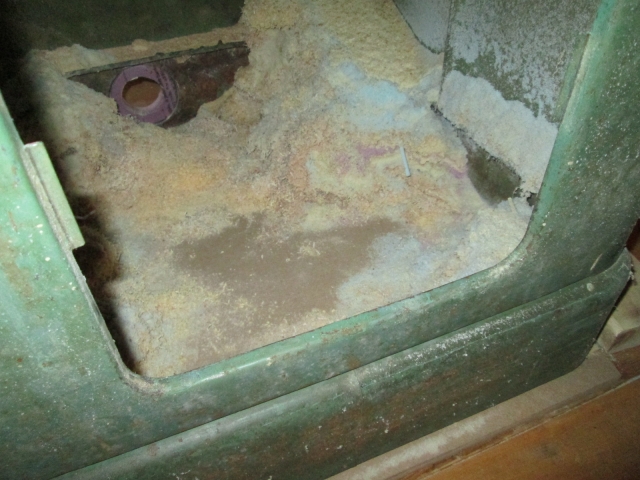
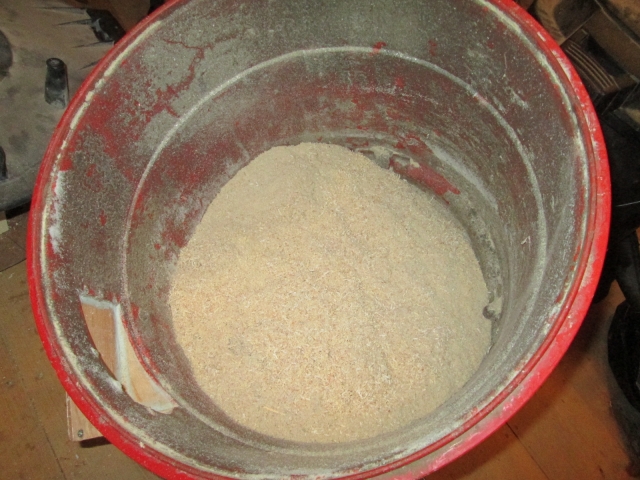
So that was clearly an abusive test that would probably not be encountered in normal practice. I once again tipped out the tub and knocked the filter out again, then went after the rest of the cabinet dust, since it seemed like less volume than the first test. Here is the result, mostly all cleaned up.
Before checking the separator tub this time I peeked inside the suction port to see what was up. No big wads at least.
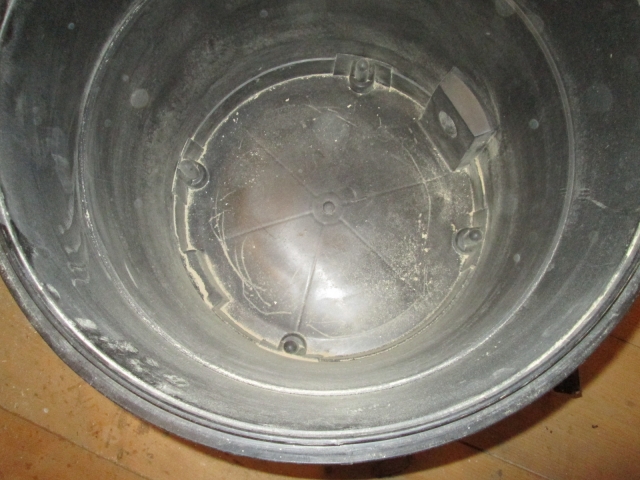
Pulling the lid found dust built up around the base of the filter.
The main vac, on the other hand was still good.
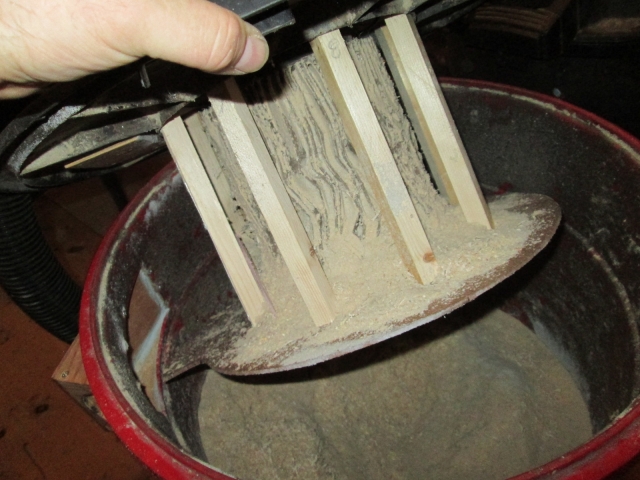
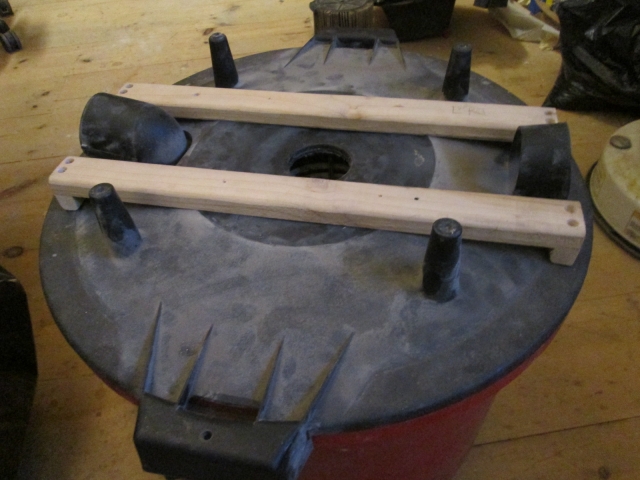
One thing I did learn from the testing was that the lid without the extra reinforcing from the motor cradle and exhaust shield was pretty flexible, and when the nose on the wand was stuck hard to something the lid would suck down into the tub. So I replaced the little round screw backers for the filter cage screws with some “spars” that have standoffs near the rim of the tub.
So what does it all mean? Well, I just don’t know. My approach was not sophisticated at all. I didn’t read much on the subject, just looked at a few pics online and winged the rest of it. I suspect that the benefit will show itself in “normal” use if the tub is dumped out regularly after a typical work session or two. I wouldn’t normally suck all of that pile up in the vac at once, but would probably scoop most of it out first with the dust pan directly to a trash bag.
I could probably experiment some more with different slot sizes and configurations in the main baffle, and try it without the vertical sheet metal baffle. Another thought I had was to try it with an alternate suction port cut in below the main baffle, but I am pretty much “over it” for now and need to get back to my build.
I stuck the replacement starter foam piece on the hatch tonight, but it is late now so I will catch you all up on that next time.


 Just coupla hours down the road from here...


 Frank
Frank


