Instant gratification! That’s what I felt today after all of the different methods I’ve tried to stick foam to my roof.
Sure, nothing I have tried has been a complete failure, but some methods or products used have had compromises or little “adjustments” that were needed post application.
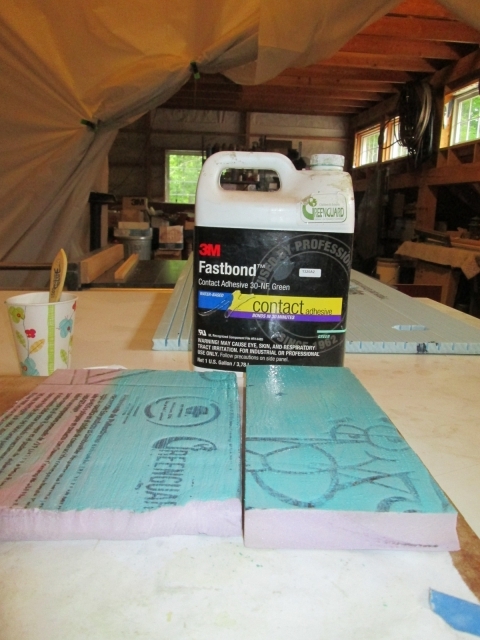
I looked back but didn’t find who it was that suggested I reconsider using the 3M green contact adhesive. Whoever it was, thank you.
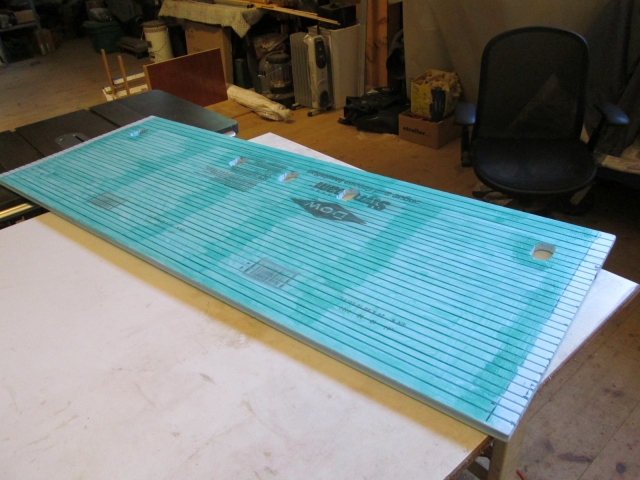
On Monday I did a test using some of that battered 1 inch pink foam. Two quick coats brushed on.
Made pretty good contact over most of it…

… but there was one edge that I just couldn’t get to come together no matter how hard I pressed (to the point of making dents in the foam). It seems that the irregularities from having been used as a shipping buffer and maybe the depressions from the print work kept the edge apart on one side.
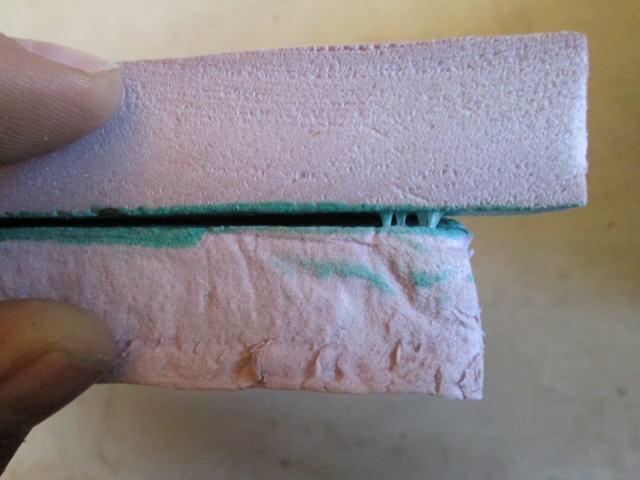
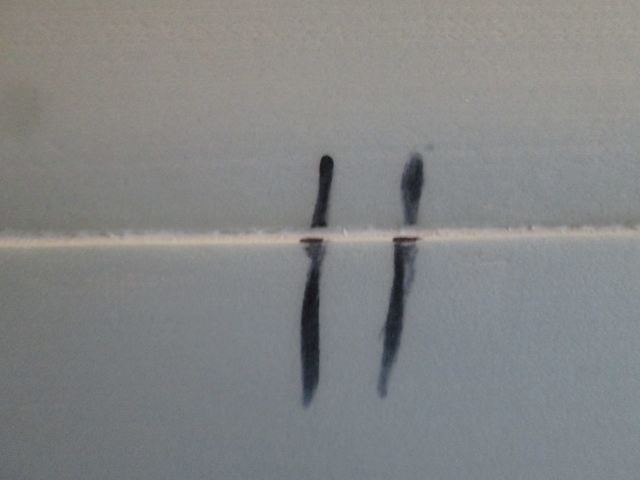
Today I grabbed that same edge and was able to pull it up, but instead of tearing apart the foam started crushing when the stuck part came into play.
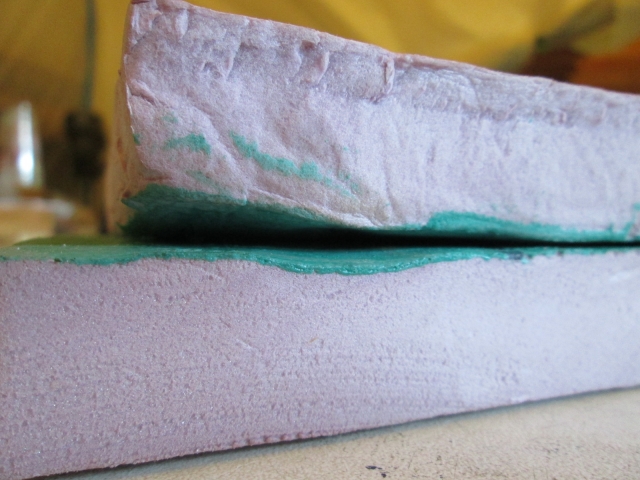
I sliced that little edge off and with the reduced surface area I had enough strength to get the portion that had actually stuck to fail; and it tore at the foam .
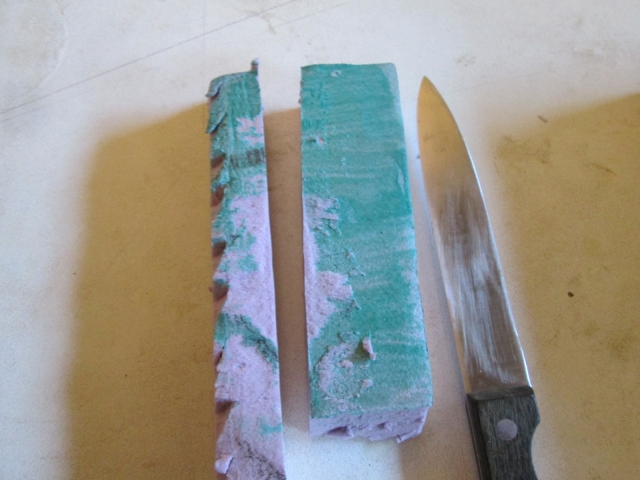
Stuck like the dickens where it was flat face to face, but the adhesive didn’t have any gap filling capability.

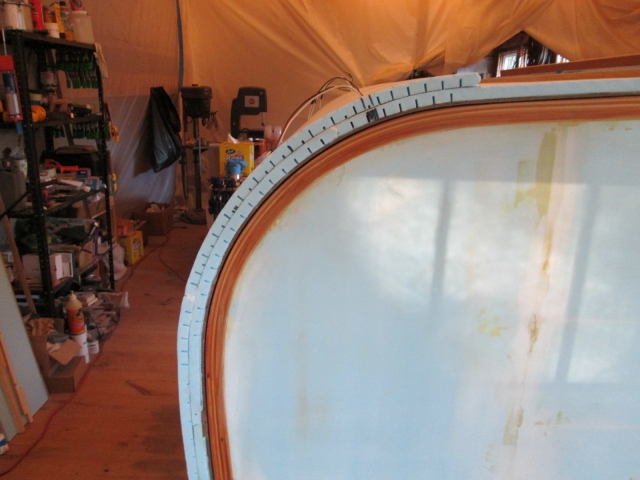
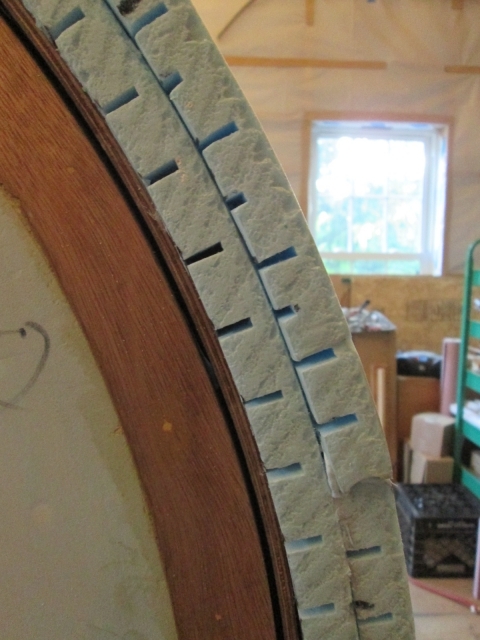
So that suggested that it would work good on the hatch where I was pretty sure I could get good contact, but I was a little leery about the edges of the hatch where the overhanging skin sort of whooped a bit and I might want at least a little gap filling capability so that there wouldn’t be any open edges (aside from the kerfs, that is). So I figured why not paint the field with the contact but hold back on the edges for some of the PL3. That way the contact should give me the instant grab that I wanted to lock the panel into position fast (eliminating the issue of clamp slipping, stretcher pulling, and the need to pin with bamboo that never seemed to hold enough), and would likely hold the foam stable enough to keep it from lifting off of the PL3 at the edge. Here we go.

I had poured about half a paper cup and just painted it on with a small chip brush. The print side of the panel didn’t seem to take it as well as the scuffed up surface on the hatch, so I went back and painted the perimeter and a few extra stripes with another coat, just to use up what I had in the cup.
Once that was close to being done kicking off I spread a bead of PL3 along the bead edge of the lower panel (on the piece already stuck to the hatch) and up both sides of the glue area where I had left it bare. Next I spread the PL3 with the little notched trowel, which went quickly because there was not nuch area to cover. Then with the panel tilted back a fair way to prevent premature adhesion, I used the match marks I had made during the dry fit to align the lower edge.
That allowed me to tip the panel up with a nice tight join at the bead and cove and get the first couple of kerfs to grab on the green contact. From there I worked up the middle a bit sticking it down, then pushing out along the kerfs to set it. Part way up it held itself close enough to pull the wires thru, and I just kept working it like that.
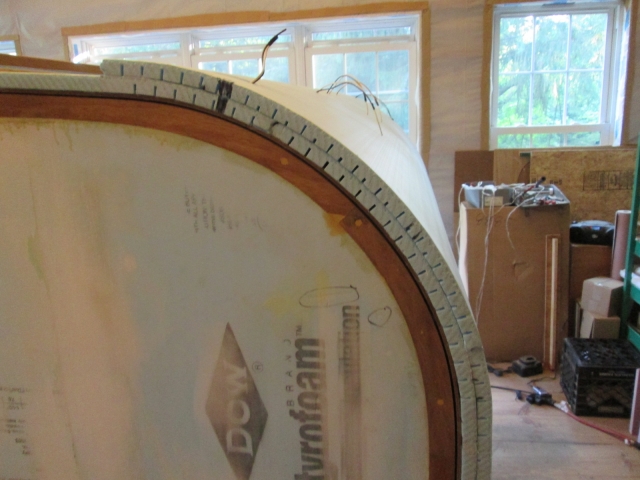
Before I knew it, it was stuck down really well. The alignment was exactly how I had dry fit it, and both the top and bottom edges were nice and straight, and tight. It was about this time that I was so pleased that I let out a huge chuckling whoop. I was so happy. No clamps, no backers, no sketchy stretcher, and it worked beautifully to plan. Only a slight uncertainty as to what it will look like tomorrow, but that is just experience talking.
Right at the very edge there did seem to be a little separation, so I was glad that I used the PL3 there.
In the field I could tell it was down well by the thump sound it made when I bumped the outside with my hand (very monolithic) and by inspecting around the clearance light wire recesses.

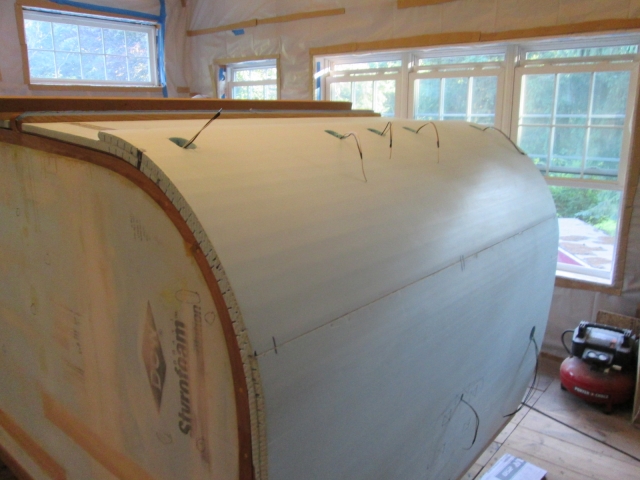
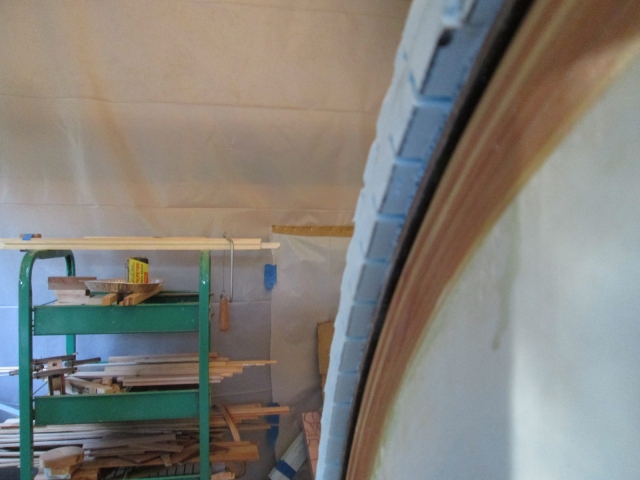
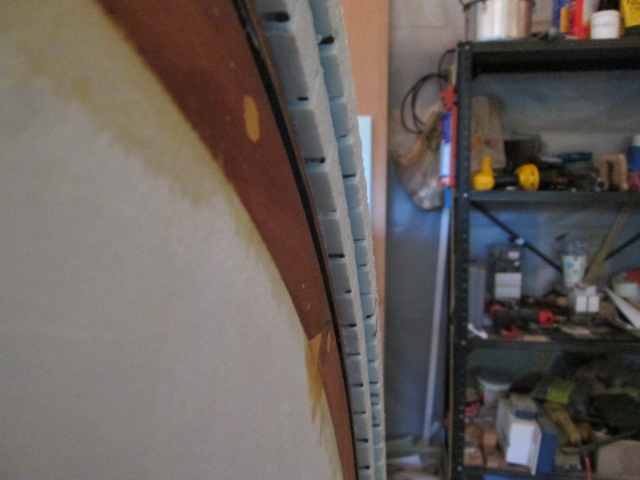
Something else that I have been keeping an eye on is the hatch inner skin to side wall edge overlap. You may recall that I trimmed the galley upper shelf face frame and counter edge rail down just a touch to pull the walls in enough to make this fair. Now it seems that the walls are moving around a bit with temperature and/or humidity. The street side hatch rib has a varying degree of rub on the inside of the wall and at times I have seen the street side hatch skin hanging over the wall by almost 1/4 inch. Most of the time lately it has only been overhanging by about 1/16 inch each side. This is at the “point” of the radius where it is farthest away from the interior tie points. Away from there, above the shelf frame and below the counter it stays fair. It’s hard to see in these pics, but if you ignore the wild edge of the foam on top you can kind of see what I mean. That and the gap I spent all of that time so carefully setting has opened up in these areas (maybe the skin overhanging outside of the rib is winging up?).
The latter is not such a concern as I half expect to have to work on that some more when the canvas is on. For the fairness of the outside edge and rib rub, I will probably have to shim the ends of the shelf frame and counter rail back out.
Still, it was a good day in the loft.


 It will never happen, of course, but if you are less inclined to worry about the little stuff, and don't mind when things find there "own form" organically, then maybe either method would go more quickly and easily for you.


 Frank
Frank


