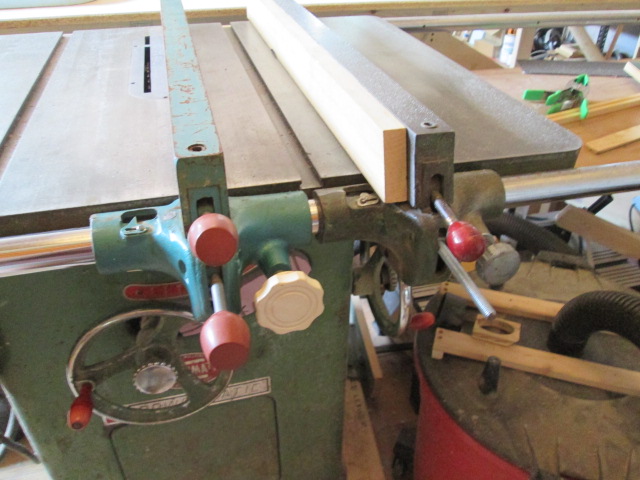
Yesterday Yvette and I took a ride along Route 1 stopping at a couple of thrift stores that she was interested in. The first place had a bunch of reclaimed architectural stuff out front, windows, doors, furniture, golf clubs… pretty much everything. Leaning there out in the weather I spotted a rip fence for a table saw that looked familiar. Sure enough, it was for an early 27 inch Powermatic 66, just slightly newer than my saw. You may recall that the casting on my fence was busted out at the micrometer shaft boss, so I figured if I played my cards right I could get this one for cheap. The owners asked me if there was anything I was interested in and I said there was a green metal thing with a faded price tag. Guy said half-jokingly that the tag must have said $150. I scoffed, said no way and offered $10 (my high end, but I value it from $50-70). He jumped at it. After the deal was done he kind of asked what my interest was and when I told him what it was and why I wanted it, he looked real disappointed because he knew he probably could have got more from someone who knew what they were looking at. Anyway, I figured I got a deal and he made what he needed to on it; which was probably way more than he had into it. Here it is on the saw next to the original. The knobs on the levers are a little different style, and the fine adjust knob is plastic, instead of die cast aluminum.
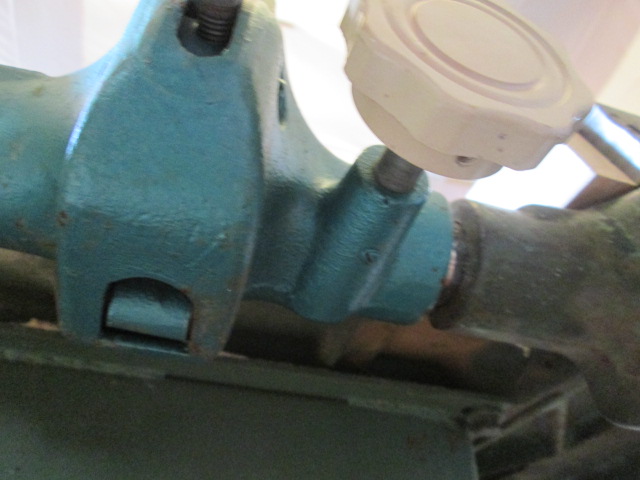
This is the underside of the existing fence casting. Note the busted out casting (under the washer behind the spring I added to keep the fine adjust shaft gear teeth from engaging when not in use).

Whereas on the newer one the casting is intact.
My guess is that this was taken off of its original saw when somebody upgraded their fence, sat in the corner of someone’s shop for years, perhaps even being left behind in a move, and was then scooped up in a clean out by the junk vendor. Score!
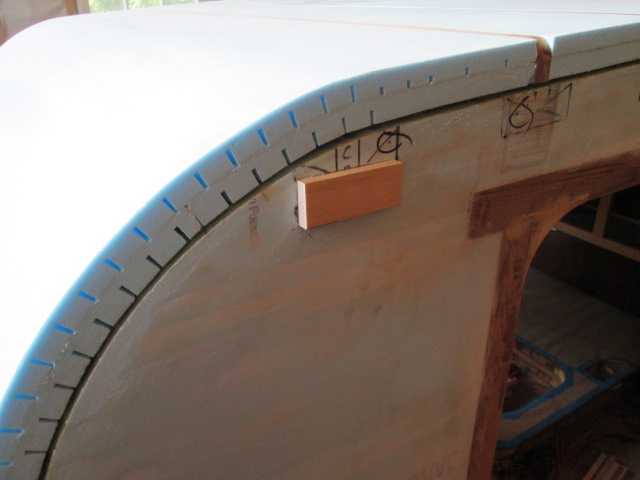
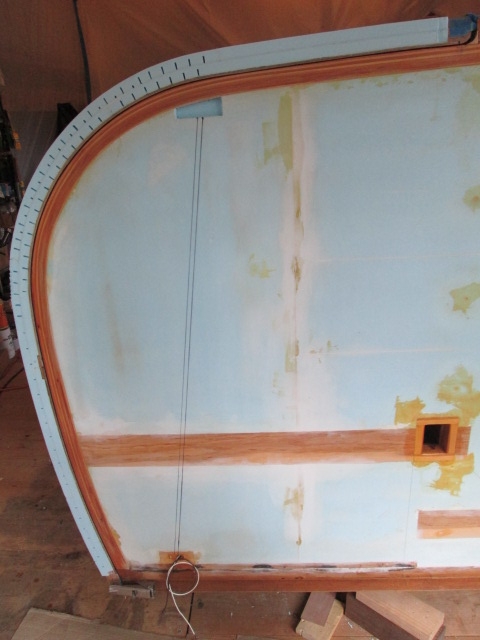
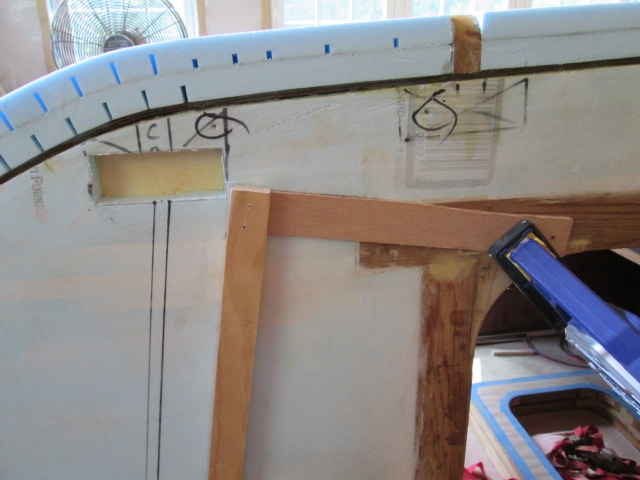
Continuing with the clearance lights I opened up the router template for the front blocks. Here you can see it mounted to the street side wall. I figured I could attach it temporarily using drywall screws thru the foam and into the blocking under the inner skin for the roof spar and front cabinet face frame.
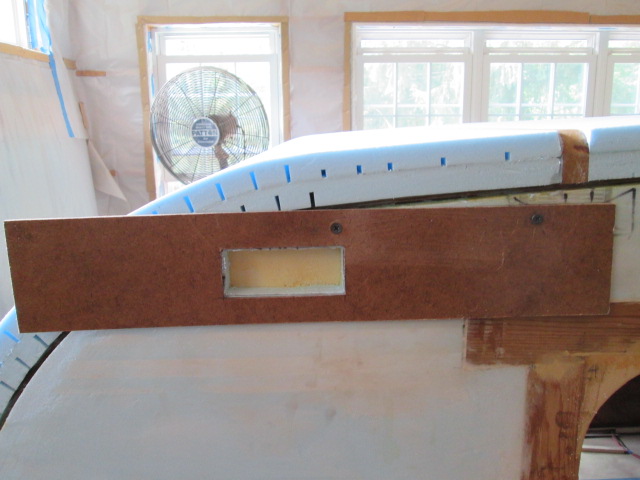
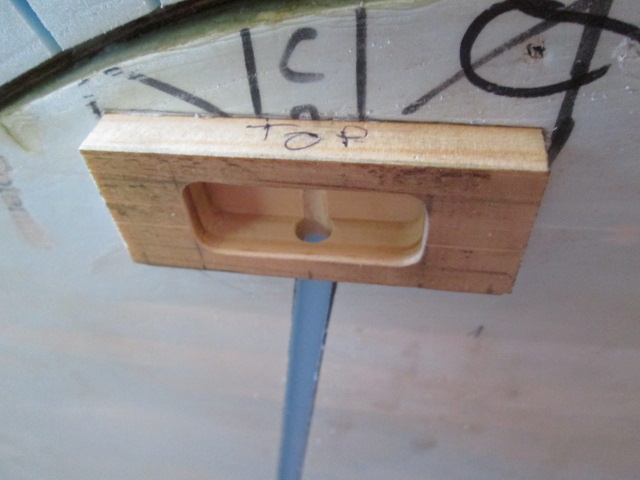
Test fit the block.
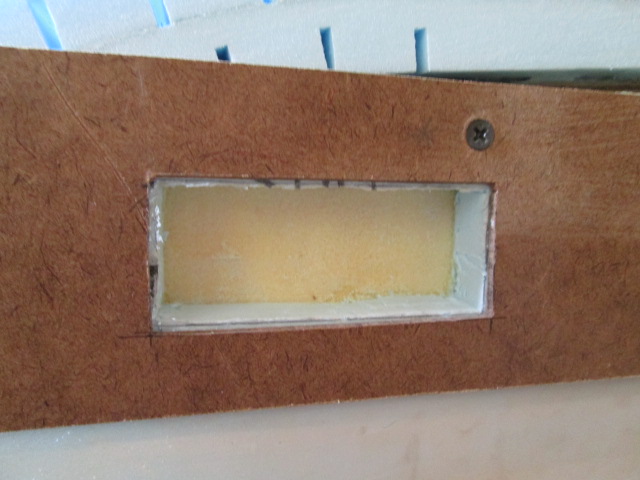
For holding the template I made sure to set the pilot drill depth appropriately and had some longer drywall screws that I took downstairs to shorten on the Bader, but I got distracted and forgot to check that I had shortened them sufficiently. I was livid and cussed a bunch when I found that I had poked thru the finish on the inner wall… on both sides!!!

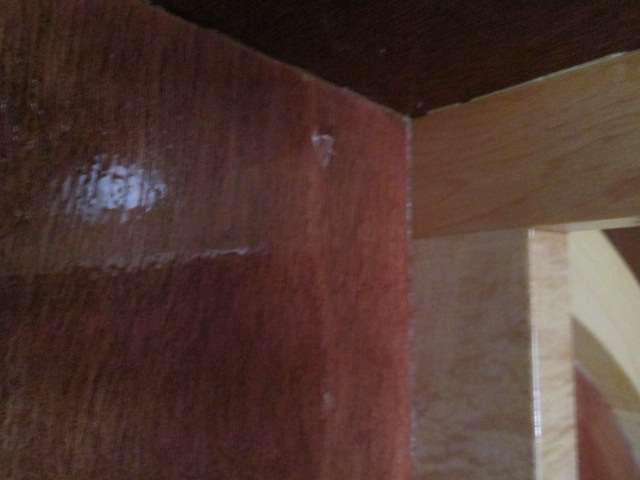
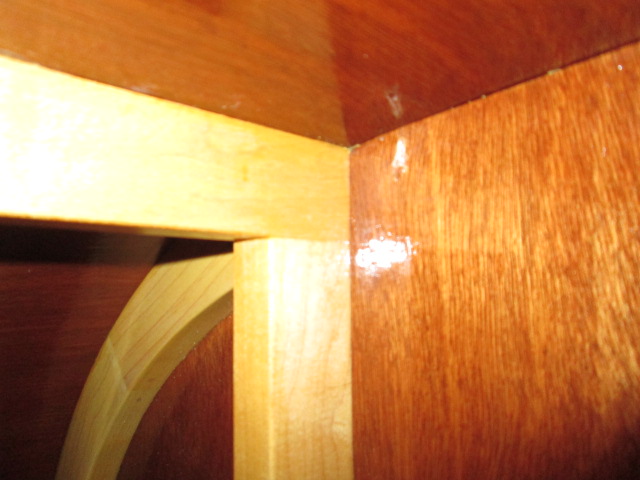
Add it to the list of things to fix.
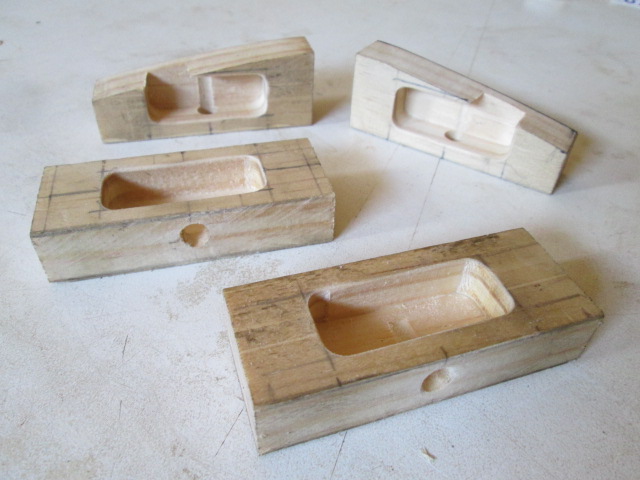
Next I drilled the wire holes thru the bottoms of the mounting blocks, laid out for and milled the wire pockets.
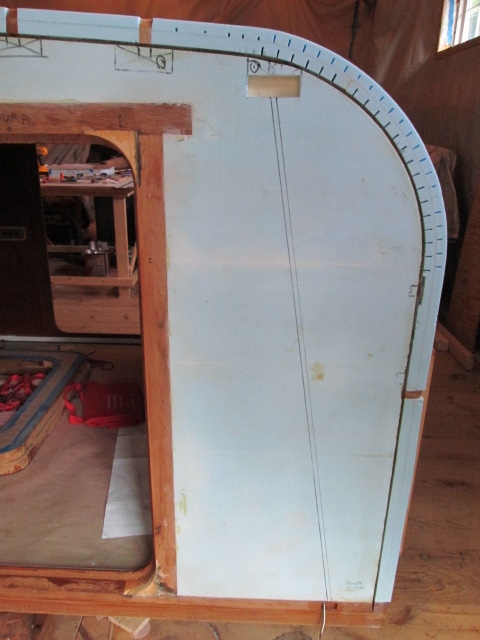
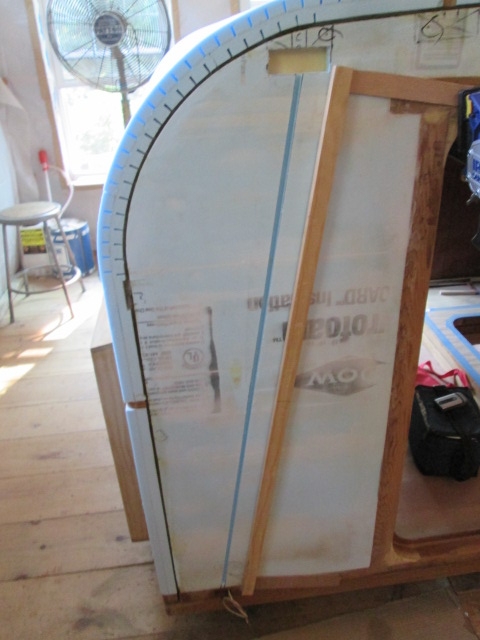
Next I marked the wire routes using a sharpie and straight edge. They are 3/8 wide and run from the center of the side marker lights to the center of the side clearance lights. Here are the curb side rear and front.
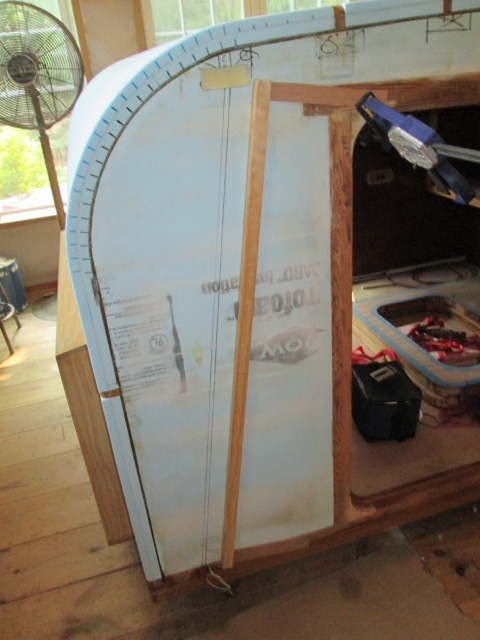
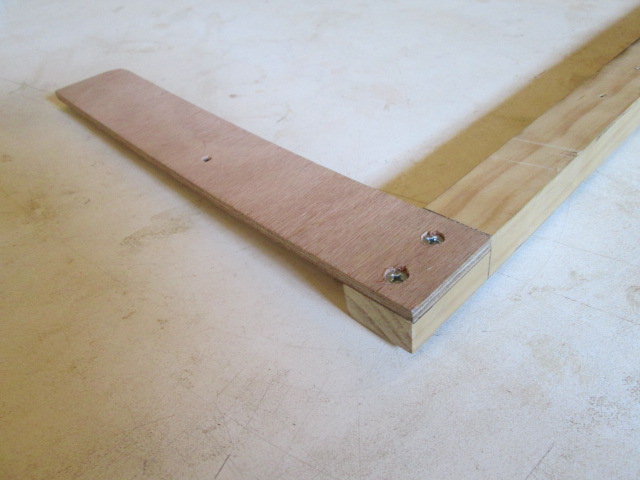
I scrounged up a piece of scrap pine to use as a straight guide fence for the router but I didn’t really have a good way to clamp it to the wall, so I added some strips of 5 mm ply let into the ends with flat head screws so that I could clamp it to the top of the door frame and fasten it to the wall sill with a single temporary screw.
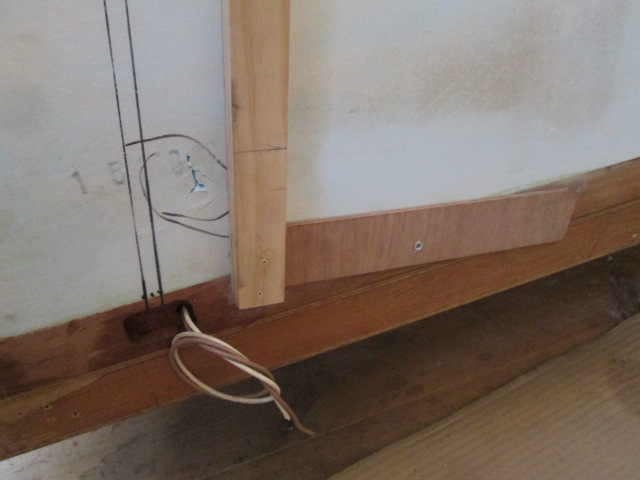
Here is a detail shot of the lap joint. I just nibbled the rabbets away using the miter fence on the table saw.
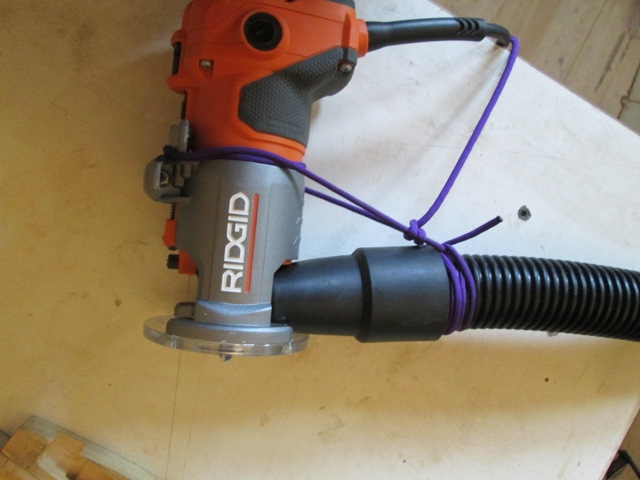
Sort of hokey, but tying the vacuum hose to the router helped me manage it enough to get into a position where I could hold it better with my off hand, enough to get the job done without eating foam dust.
And here is the routed out channel for the wires. The plan is to T-splice extensions onto the marker light wires, run them up, then glue in filler strips of foam to cover the slots back up.
The marker light wires kept the router shoe from coming down all the way, so I had to dig the last little bit of foam out with the steak knife. Then I drilled the hole thru the top of the sill into the wire pocket for the side marker light.
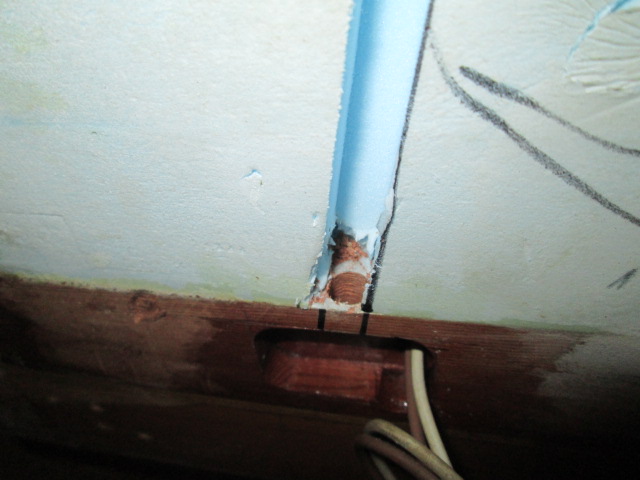
At the top you can see how the wire trough lines up with the hole drilled thru the bottom of the block.
Now it is just a matter of wash, rinse, repeat a few times, but that will be another day.


