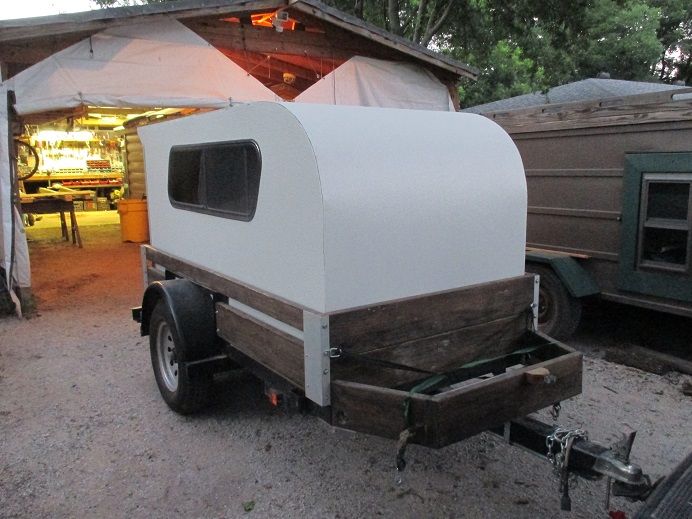
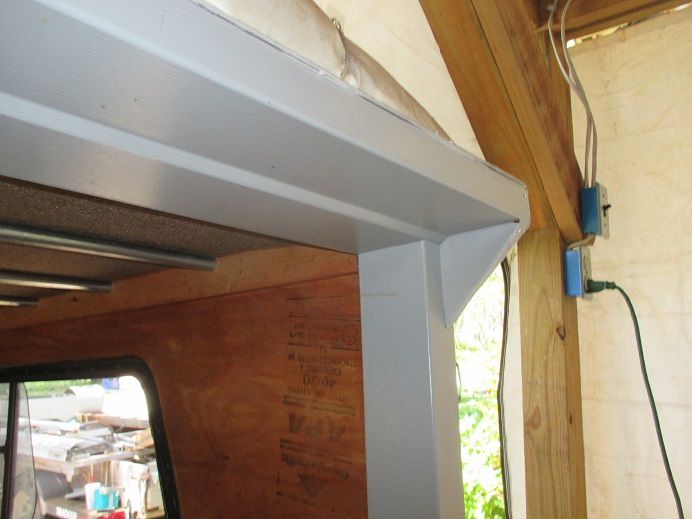
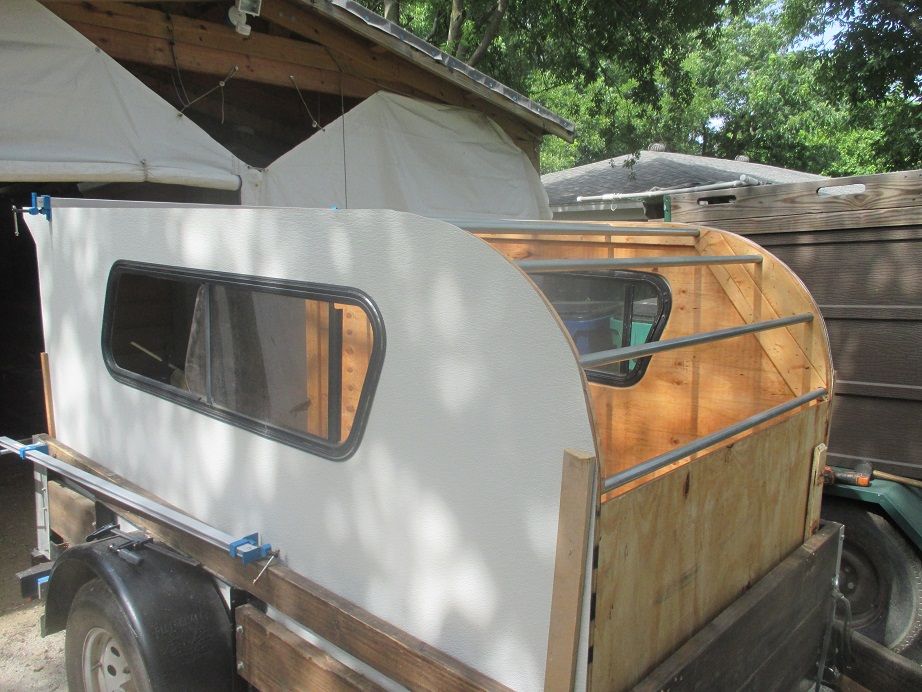
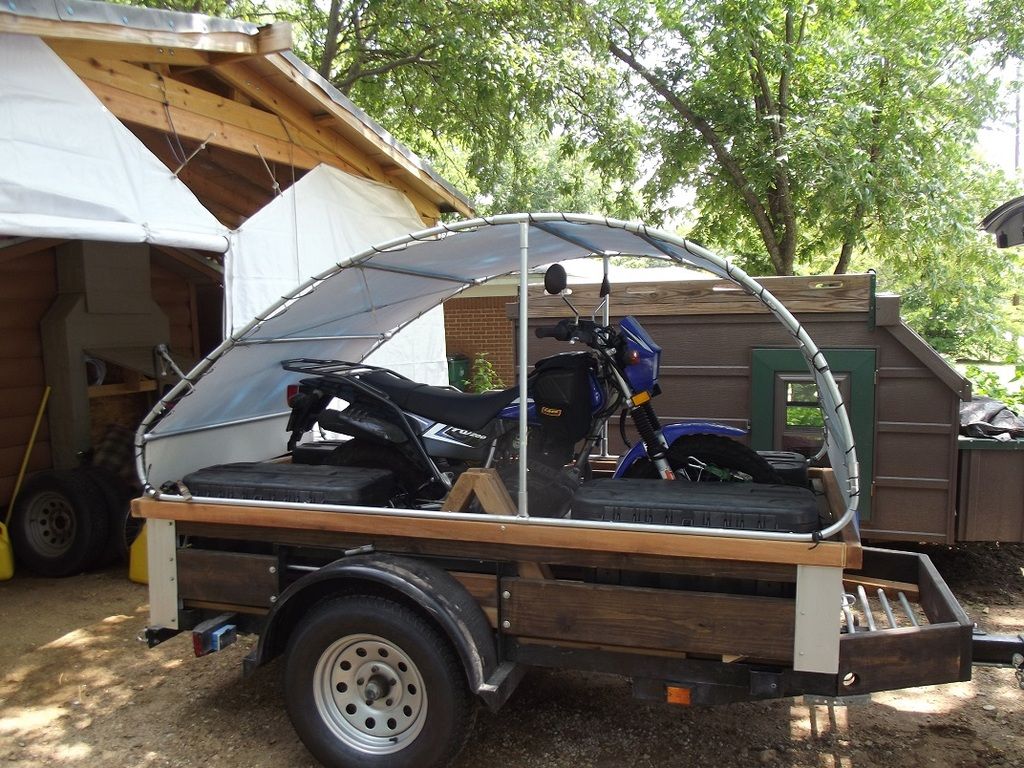
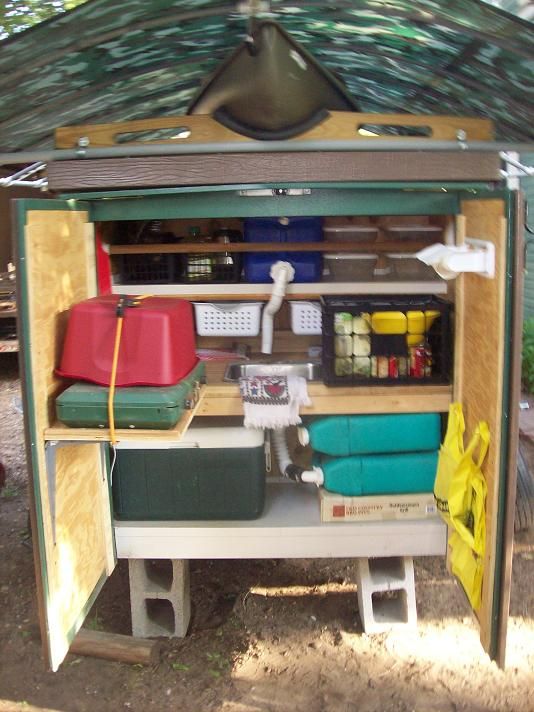
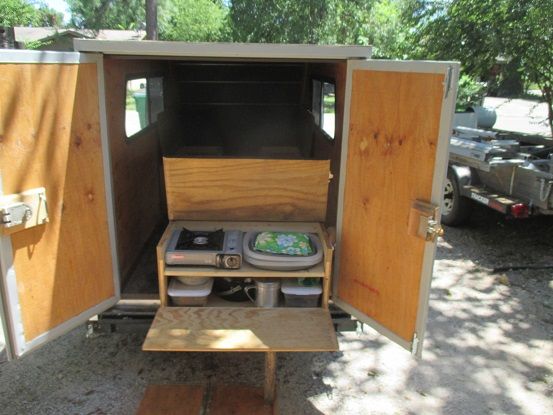
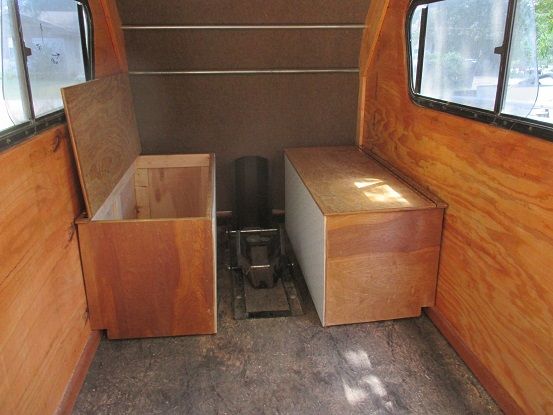
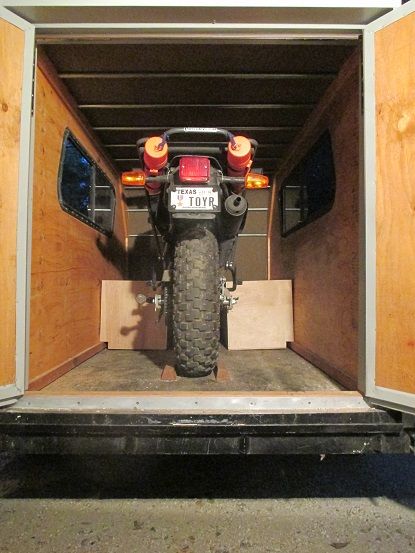
It is primarily to haul my motorbike out of the weather and my kayak on the roof but has storage for camping gear and a galley inside and is sleepable with the motorbike unloaded.
Teardrops n Tiny Travel Trailersor t n ttt for short (tnttt.com) |
![]() by M C Toyer » Tue Jul 14, 2015 12:25 am
by M C Toyer » Tue Jul 14, 2015 12:25 am
![]() by Fred Trout » Tue Jul 14, 2015 2:45 pm
by Fred Trout » Tue Jul 14, 2015 2:45 pm

![]() by dogscats » Tue Jul 14, 2015 3:57 pm
by dogscats » Tue Jul 14, 2015 3:57 pm

![]() by M C Toyer » Tue Jul 14, 2015 4:35 pm
by M C Toyer » Tue Jul 14, 2015 4:35 pm


![]() by M C Toyer » Tue Jul 14, 2015 6:51 pm
by M C Toyer » Tue Jul 14, 2015 6:51 pm
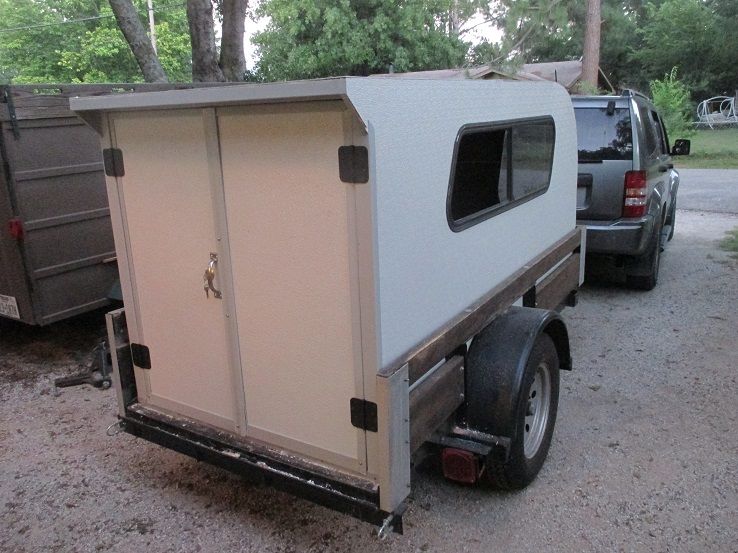
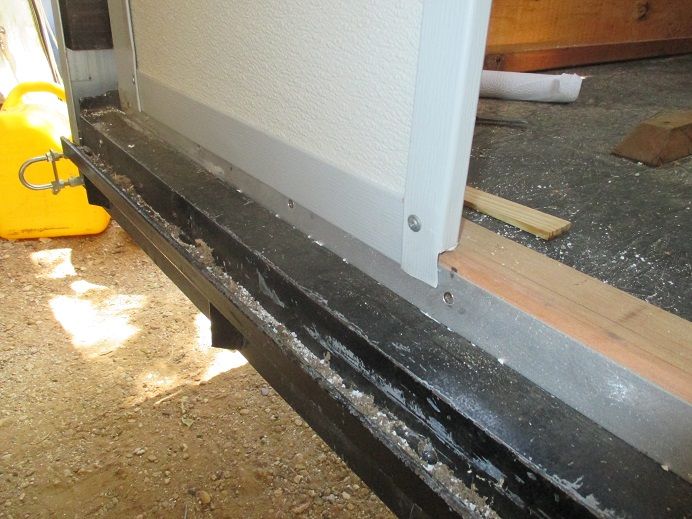
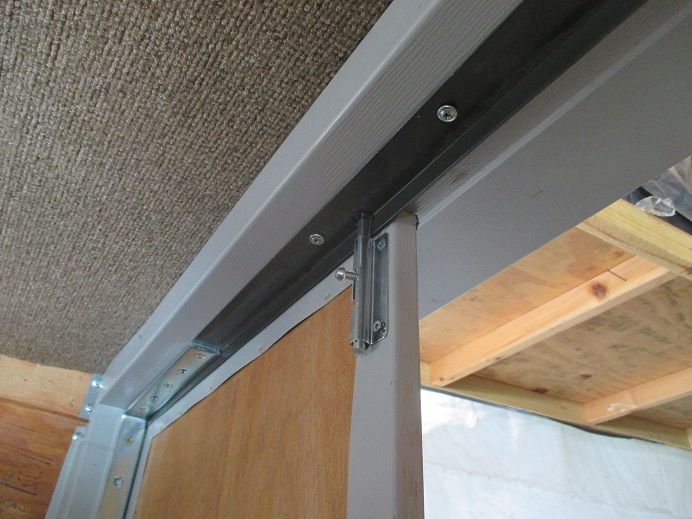
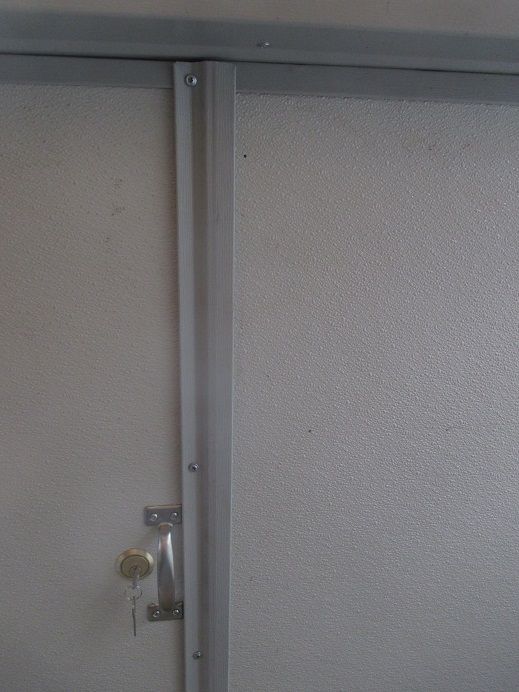
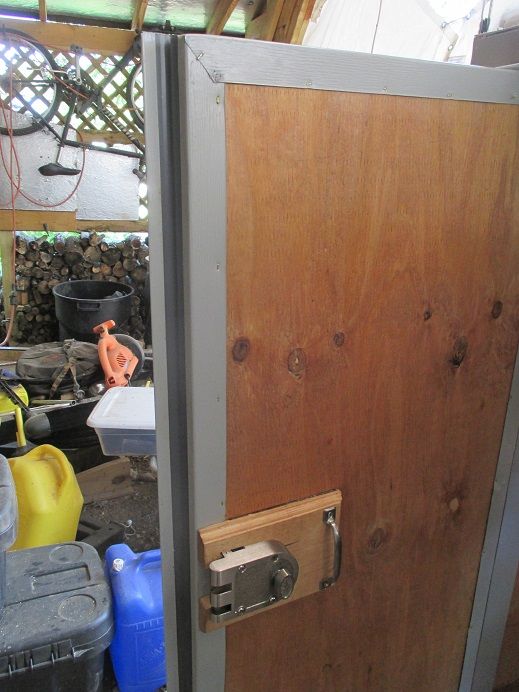
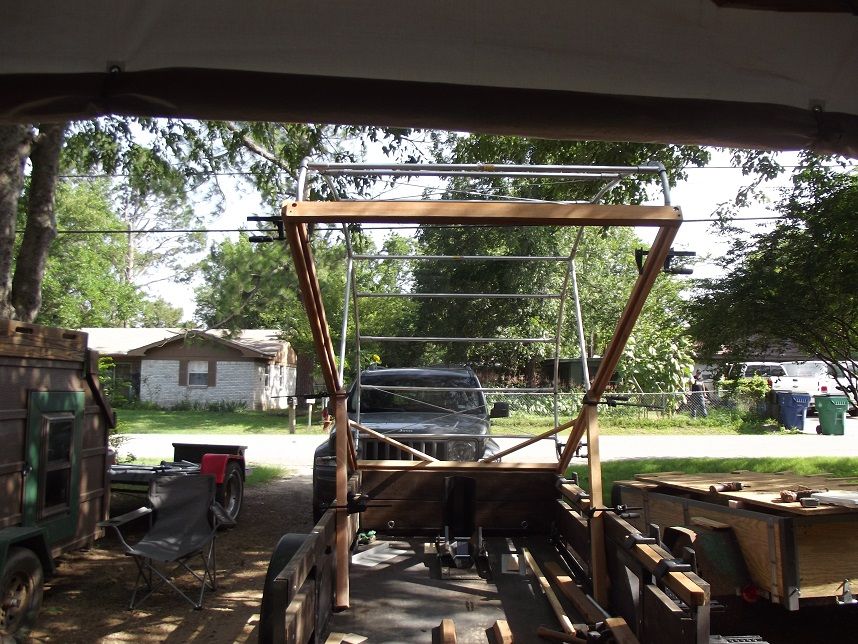
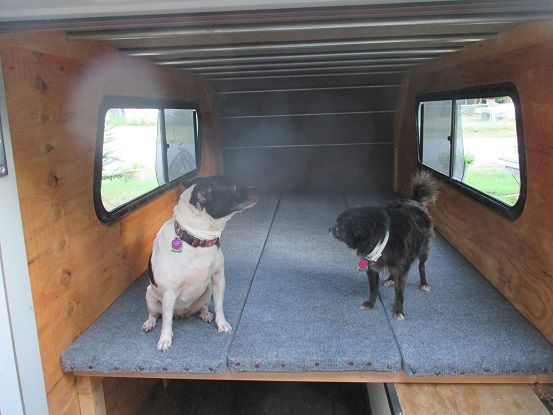
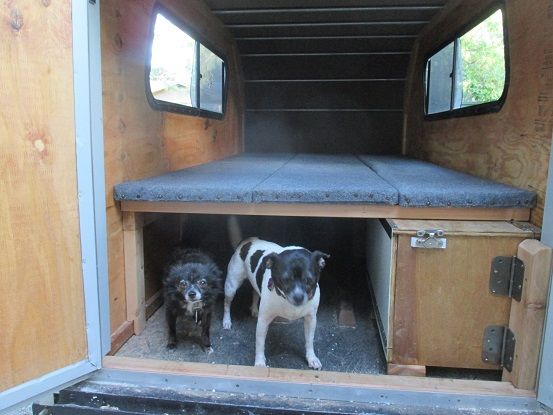
dogscats wrote:I am planning to use EMT for roof spars on my fiberglass component kit . Do you have any more pictures. Any pro are cons you would like sharing . The back doors look great


![]() by Fred Trout » Tue Jul 14, 2015 6:53 pm
by Fred Trout » Tue Jul 14, 2015 6:53 pm

![]() by M C Toyer » Tue Jul 14, 2015 8:25 pm
by M C Toyer » Tue Jul 14, 2015 8:25 pm
![]() by dogscats » Tue Jul 14, 2015 8:27 pm
by dogscats » Tue Jul 14, 2015 8:27 pm
![]() by M C Toyer » Tue Jul 14, 2015 9:12 pm
by M C Toyer » Tue Jul 14, 2015 9:12 pm
dogscats wrote:That helps a lot . Thank you.If I find that the fiberglass frame dose not hold up glad I can go with your set up.
![]() by Fred Trout » Tue Jul 14, 2015 11:11 pm
by Fred Trout » Tue Jul 14, 2015 11:11 pm
Are you anywhere neat Fort Missoula?

![]() by M C Toyer » Wed Jul 15, 2015 1:50 am
by M C Toyer » Wed Jul 15, 2015 1:50 am
![]() by Fred Trout » Wed Jul 15, 2015 11:31 pm
by Fred Trout » Wed Jul 15, 2015 11:31 pm
![]() by M C Toyer » Thu Jul 23, 2015 1:06 pm
by M C Toyer » Thu Jul 23, 2015 1:06 pm
![]() by KCStudly » Thu Jul 23, 2015 1:15 pm
by KCStudly » Thu Jul 23, 2015 1:15 pm

![]() by dogscats » Thu Jul 23, 2015 2:03 pm
by dogscats » Thu Jul 23, 2015 2:03 pm
Users browsing this forum: jdeleon and 2 guests