The Poet Creek Express - Foamie Hybrid
Moderator: eaglesdare
Re: The Poet Creek Express - Foamie Hybrid
He started out in Vermont, got a degree in geology, started in oil exploration on the north shore of Alaska, moved to Denver (somewhere in there he met her, also in oil). Then kids, then Europe, now Rio, where she is from.
My mother's sister now lives here and they have just spent a week together in a rental out on Cape Cod, so we will get to have a visit before they head home.
Pretty cool really when you think about it.
I got the chinking done between the walls and front/roof, but we're running off on a date, so that will have to wait 'til later.
KC
My Build: The Poet Creek Express Hybrid Foamie
Poet Creek Or Bust
Engineering the TLAR way - "That Looks About Right"
TnTTT ORIGINAL 200A LANTERN CLUB = "The 200A Gang"
Green Lantern Corpsmen
My Build: The Poet Creek Express Hybrid Foamie
Poet Creek Or Bust
Engineering the TLAR way - "That Looks About Right"
TnTTT ORIGINAL 200A LANTERN CLUB = "The 200A Gang"
Green Lantern Corpsmen
-

KCStudly - Donating Member
- Posts: 9640
- Images: 8169
- Joined: Mon Feb 06, 2012 10:18 pm
- Location: Southeastern CT, USA
Re: The Poet Creek Express - Foamie Hybrid
So I spent about 4 hrs today cutting and gluing the chinking into the gap I left between the edge of the roof foam and the top of the wall foam. This is the area where I held the ceiling ply back from the face of the wall intentionally so that the edge of the ply would be buried and less likely to ever be subjected to leaks.
I wanted to have a little extra foam sticking out to be able to sand back flush and a little extra thickness so that the insert would have to compress a little going in for a snug fit. That meant I needed strips of foam that were about 1/2 inch wide x a scant 1/4 inch thick. I ripped the 1/2 inch cut from 3/4 inch foam about 6 ft long. I ended up ripping quite a few more blanks than I needed, but it was a scrap piece anyway, so no big deal.
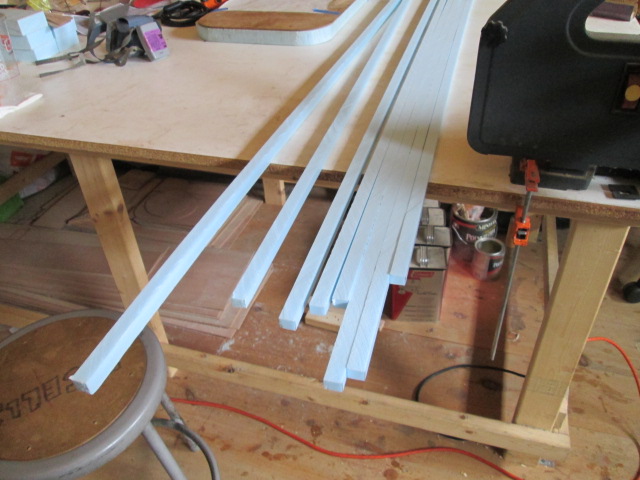
As the foam gets thinner it becomes much less stable in the saw. It’s not like wood with long grain, so it gets floppy pretty quick. Not good for pushing and questionable for feather boards. Also, I never did make a zero clearance insert for the table saw. So it looked like the best tool for the job would be the smaller table top bandsaw with the fine little blade.
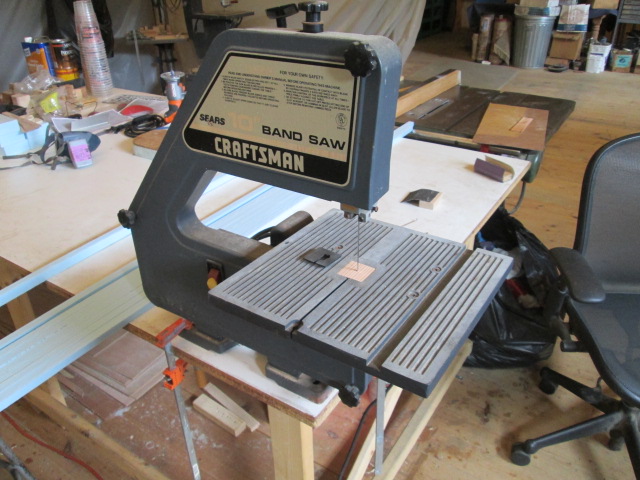
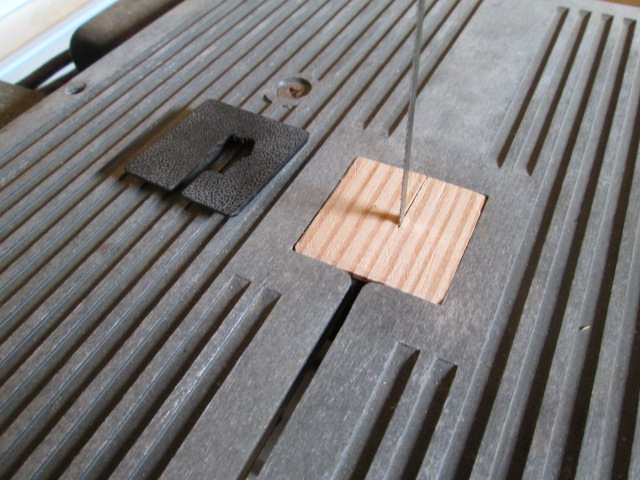
First I had to make a zero clearance insert for it.
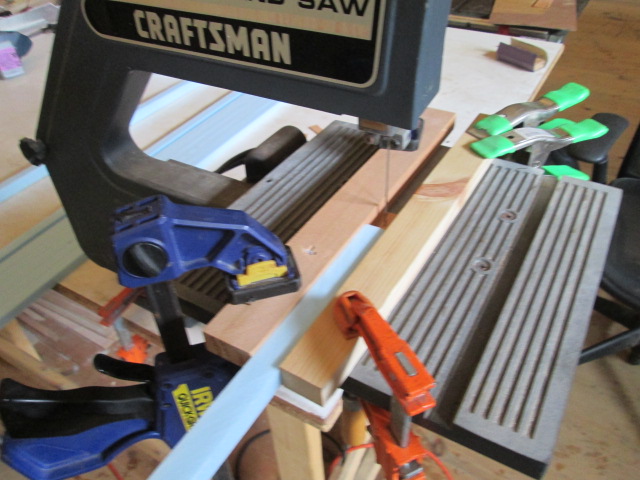
Then I clamped on some scraps to act like a rip fence tunnel. This worked surprisingly well, allowing me to push the foam thru as fast as I could and pull it thru from the far side.
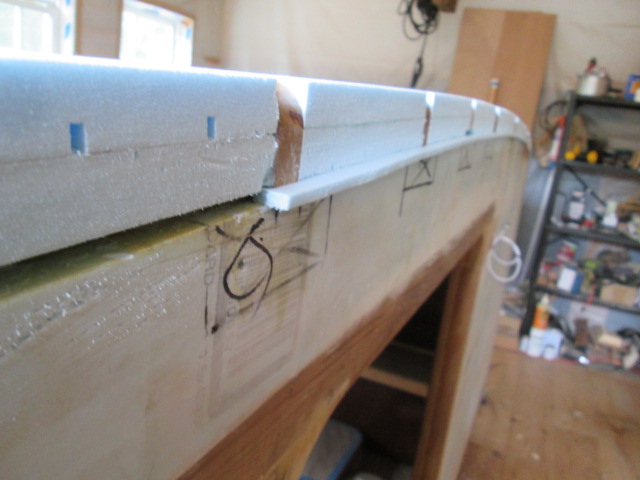
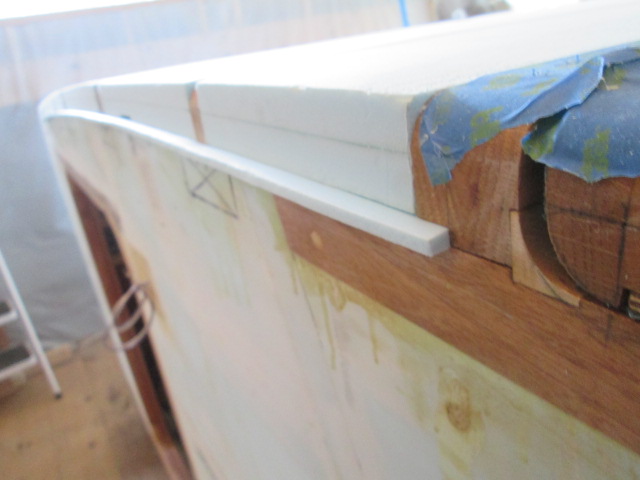
Test fitting the spline I made a small adjustment to the thickness and ripped a few more strips. Here I have only put the spline in part way to judge dry fit.
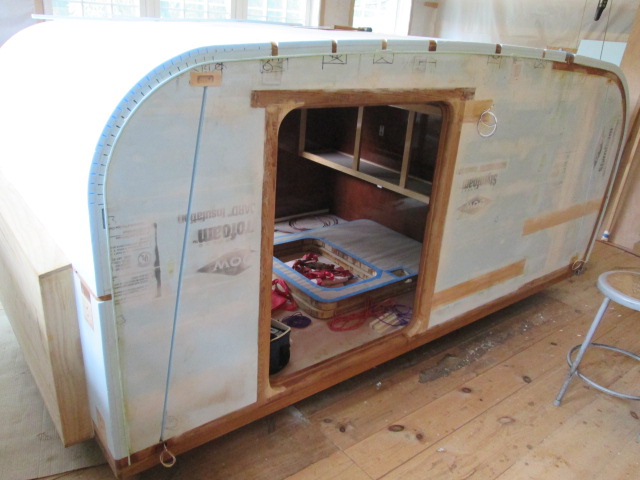
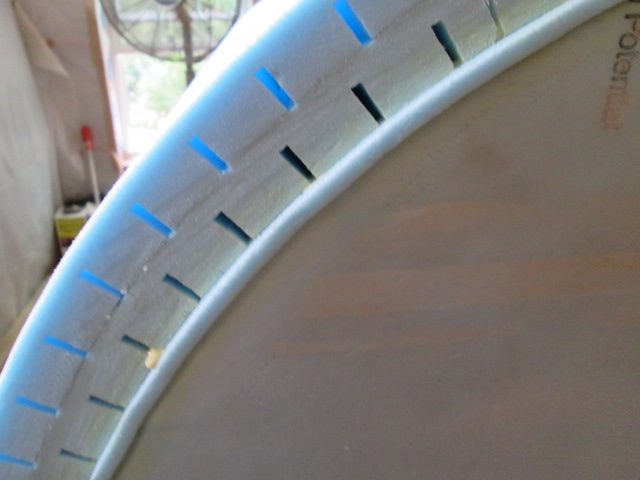
Despite having sealed the edge of the ply with the mix, I wanted to give it as much protection as I could so I painted a good thick coat of TB2 in the slot using a chip brush. Once I was sure that it was well coated I unloaded the brush and ran it back thru the slot again to make sure that it wasn’t too wet (wanted to make sure it dries in this foam to foam app). Then I stuffed the spline in, mostly just pushing it with my fingers, but in some of the tighter spots I used a piece of wood covered with packing tape and tapped it in with a small mallet.
I did have a couple of areas where it wasn’t as tight as I would have liked, but I wasn’t too worried about it with the steps to come.
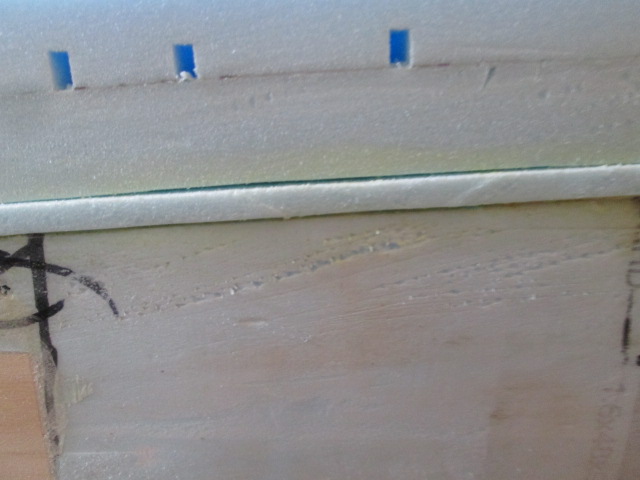
For the curb side I made sure to cull the slightly thicker pieces from my initial cuts, after finding that the glue added a lubricating property and made it easier to get the tighter fitting stock to press in. By the time I was done with that, and filling the extra areas where the ceiling butt joint backers were, the street side was just gummy enough to start sanding. I figured that the sanding dust would combine with the still wet glue and act like a filler.
Here is the curb side after sanding.
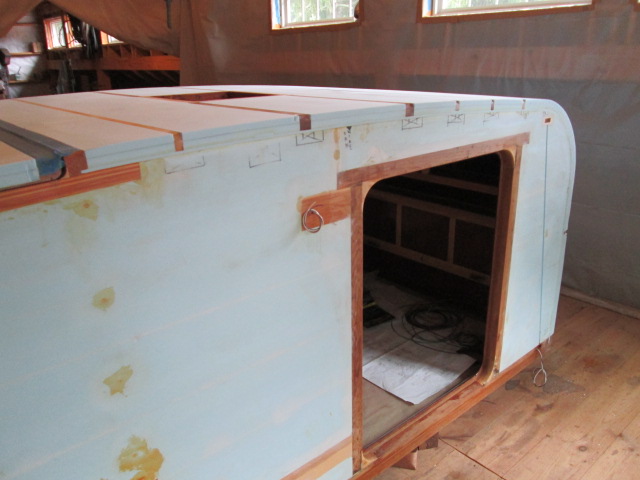
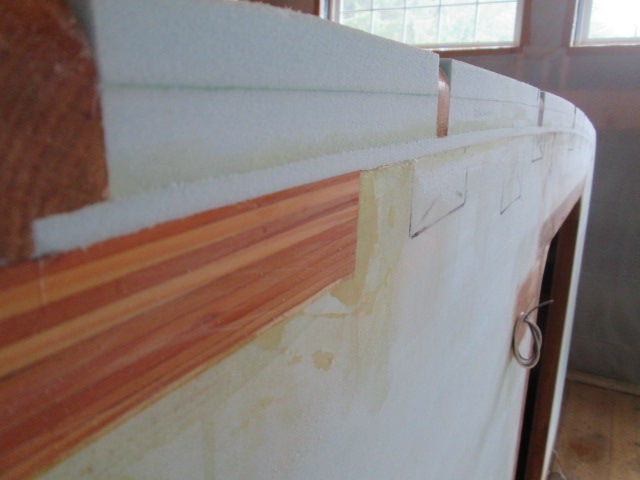
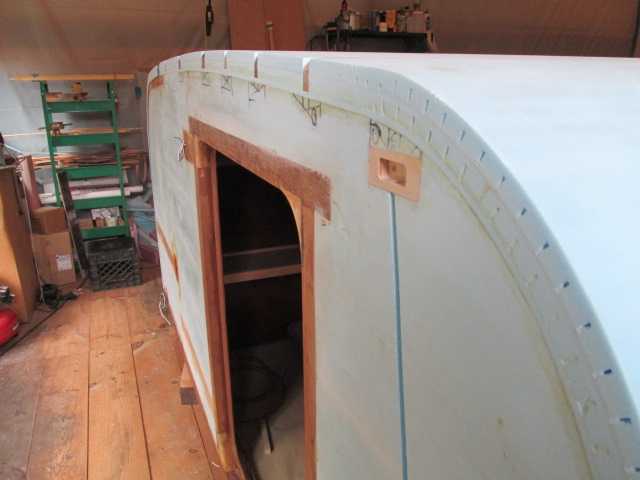
And on the street side the foam dust did a good job of filling.
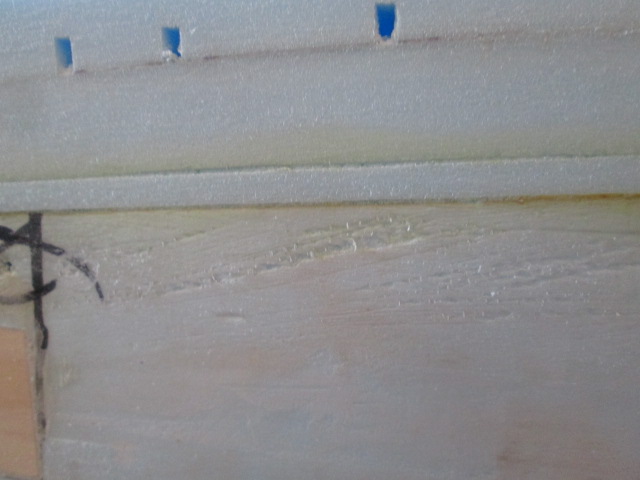
It was just one day of work… a half day, really… but it seems like a big visual milestone to get the gaps filled. I’m happy with how this came out.
I wanted to have a little extra foam sticking out to be able to sand back flush and a little extra thickness so that the insert would have to compress a little going in for a snug fit. That meant I needed strips of foam that were about 1/2 inch wide x a scant 1/4 inch thick. I ripped the 1/2 inch cut from 3/4 inch foam about 6 ft long. I ended up ripping quite a few more blanks than I needed, but it was a scrap piece anyway, so no big deal.
As the foam gets thinner it becomes much less stable in the saw. It’s not like wood with long grain, so it gets floppy pretty quick. Not good for pushing and questionable for feather boards. Also, I never did make a zero clearance insert for the table saw. So it looked like the best tool for the job would be the smaller table top bandsaw with the fine little blade.
First I had to make a zero clearance insert for it.
Then I clamped on some scraps to act like a rip fence tunnel. This worked surprisingly well, allowing me to push the foam thru as fast as I could and pull it thru from the far side.
Test fitting the spline I made a small adjustment to the thickness and ripped a few more strips. Here I have only put the spline in part way to judge dry fit.
Despite having sealed the edge of the ply with the mix, I wanted to give it as much protection as I could so I painted a good thick coat of TB2 in the slot using a chip brush. Once I was sure that it was well coated I unloaded the brush and ran it back thru the slot again to make sure that it wasn’t too wet (wanted to make sure it dries in this foam to foam app). Then I stuffed the spline in, mostly just pushing it with my fingers, but in some of the tighter spots I used a piece of wood covered with packing tape and tapped it in with a small mallet.
I did have a couple of areas where it wasn’t as tight as I would have liked, but I wasn’t too worried about it with the steps to come.
For the curb side I made sure to cull the slightly thicker pieces from my initial cuts, after finding that the glue added a lubricating property and made it easier to get the tighter fitting stock to press in. By the time I was done with that, and filling the extra areas where the ceiling butt joint backers were, the street side was just gummy enough to start sanding. I figured that the sanding dust would combine with the still wet glue and act like a filler.
Here is the curb side after sanding.
And on the street side the foam dust did a good job of filling.
It was just one day of work… a half day, really… but it seems like a big visual milestone to get the gaps filled. I’m happy with how this came out.
KC
My Build: The Poet Creek Express Hybrid Foamie
Poet Creek Or Bust
Engineering the TLAR way - "That Looks About Right"
TnTTT ORIGINAL 200A LANTERN CLUB = "The 200A Gang"
Green Lantern Corpsmen
My Build: The Poet Creek Express Hybrid Foamie
Poet Creek Or Bust
Engineering the TLAR way - "That Looks About Right"
TnTTT ORIGINAL 200A LANTERN CLUB = "The 200A Gang"
Green Lantern Corpsmen
-

KCStudly - Donating Member
- Posts: 9640
- Images: 8169
- Joined: Mon Feb 06, 2012 10:18 pm
- Location: Southeastern CT, USA


