Kind of like Big Mike’s quote, I’m hoping that the cost and “pain” of doing TPCE in FG will soon be forgotten and the quality will be remembered for a very long time.
I made the first steps today toward lining the battery box compartment of the tongue box with a single layer of cloth. I figured the TB would be a good place to start, being a larger more complex project for me to take the next stepping stone on. Plus I want it to be fairly rugged to handle the abuse of having stuff dumped in it, and to be a little more resistant to any battery corrosives that might get out. In fact it had been my plan to glass the battery box (BB) all along (well, at least since I decided to make my own as part of the TB).
I want the outside skin of the box to roll over the edges of the BB last, so it made sense to start by doing the inside of the BB first. As it turns out, the BB is probably going to be the most difficult thing on the whole camper to cover, with odd angles, small space, multiple sides up and down, and a lip around the inside edge of the access opening.
But first let’s get caught up on a couple of photo’s. Here is a close-up of the sample glass layup after spreading on a layer of epoxy.
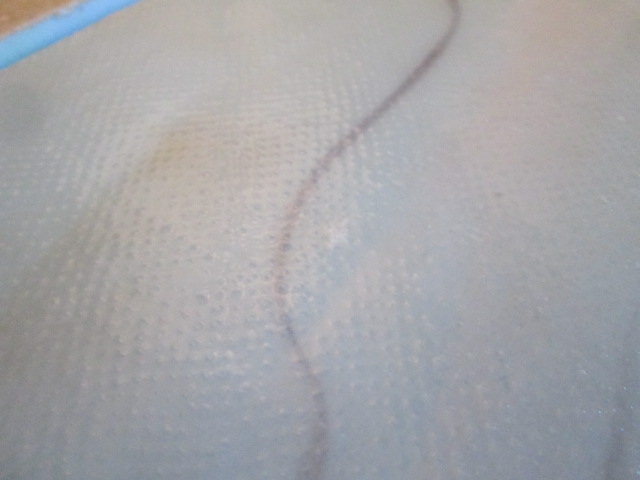
Here is the canvas sample with one coat of primer. The Zinsser 123 I had was about 1/2 gal left over from a project last year and seemed to be really thick to stir, but brushed on fine. I didn’t remember it being that thick the last time I used it, but then again it was probably 10 to 20 deg F or more warmer at the time.
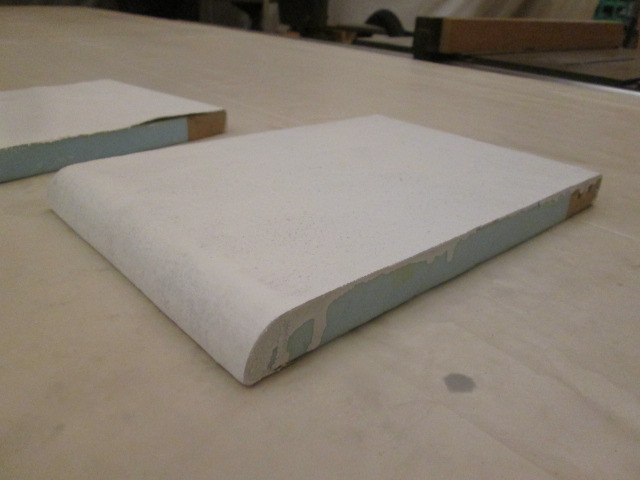
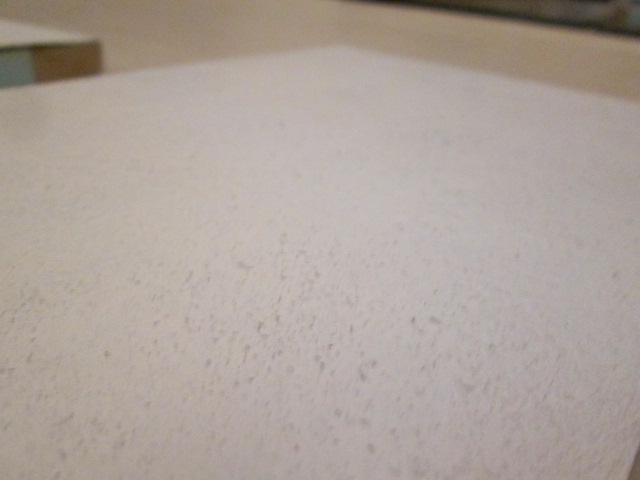
This close-up is trying to show the canvas nibs that are poking up thru the primer. They sanded off pretty easily leaving a rash of breakthroughs in the primer, yet pretty smooth. A second coat of primer would be all that would be needed before paint.
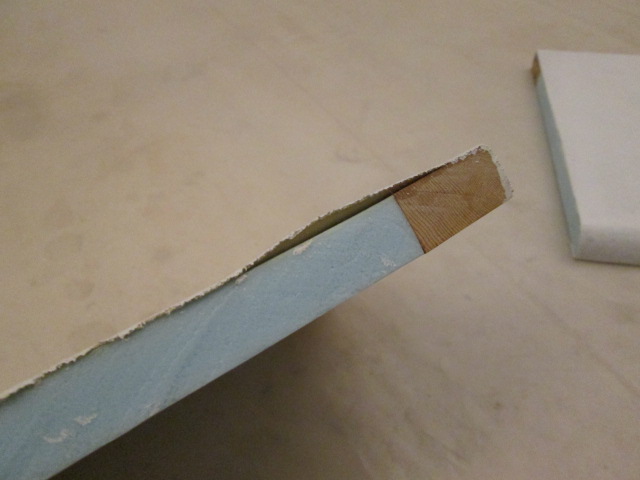
Here you can see the edge of the canvas sample that delaminated.
Haven’t seen more than 2/3 of the bench top cleared off in a good long time. I figured I should cover it up with some of that 6 mil plastic sheet I had left over from the drape walls. In fact I recycled the piece I had used for my vacuum bag set-up (saved the bubble wrap and cut up the rest of the odd bits to use for the poor man’s prepreg process that I will describe here shortly).
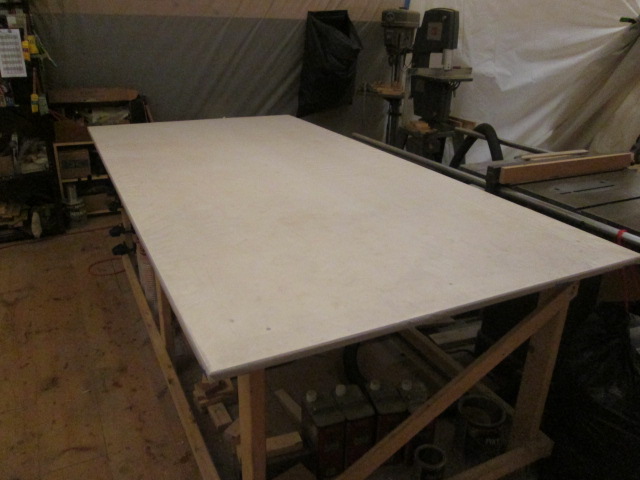
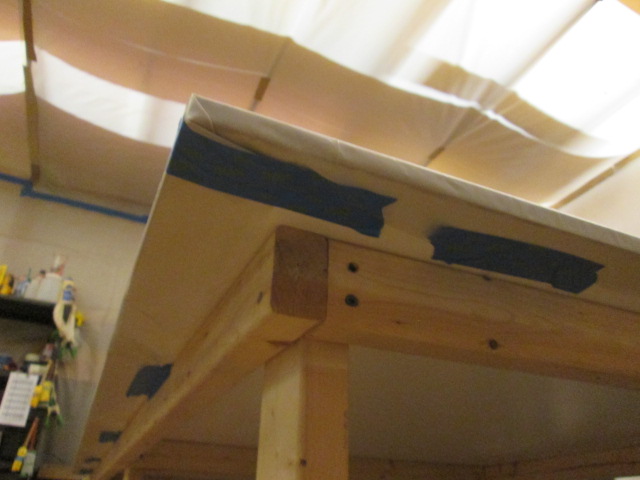
Starting in the middle and working my way back and forth pulling the slack out of the sheet, and folding the edges under neatly, I taped it to the underside of the table’s edge.
Now we are getting serious. I started thinking to myself that I was getting crazy with the details again, but then I couldn’t think of a better way to do the BB w/o making an utter mess of it. I read
a blog entry by a guy demonstrating “poor man’s prepreg” on his Cozy EZ homebuilt plane project (as in pre-impregnated glass cloth) and it seemed like it might be the best way to do the BB. Basically you do your wet out between two sheets of plastic, then trim it, then peel back one layer of plastic and the other piece helps keep everything neat and aligned while you get it in place. Seems to help keep edge fibers and warping of the shape under control, and appears to be a very practical method for out of position applications.
Here’s a similar technique using a zip lock bag:
EAA Poor Man’s Prepreg Video.
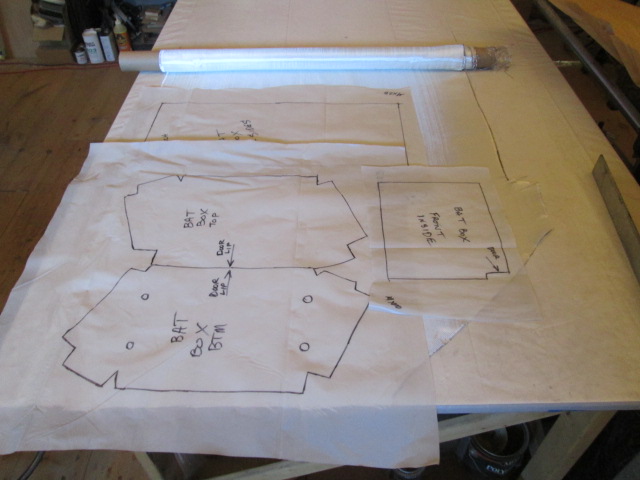
So how do I figure out what shapes to cut? Make rosin paper templates. Here’s the one for the floor of the BB being test fit.
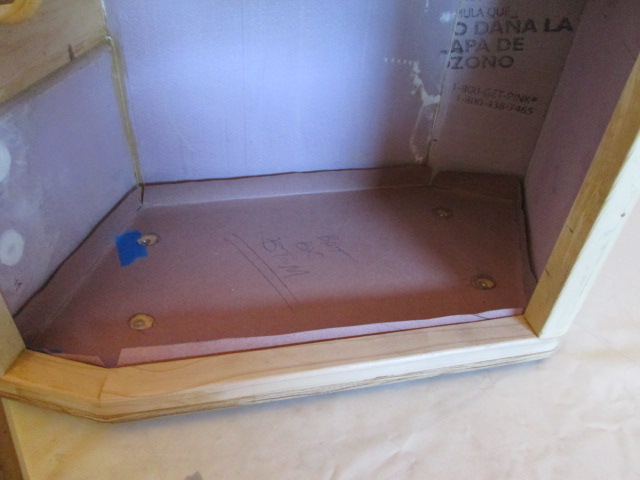
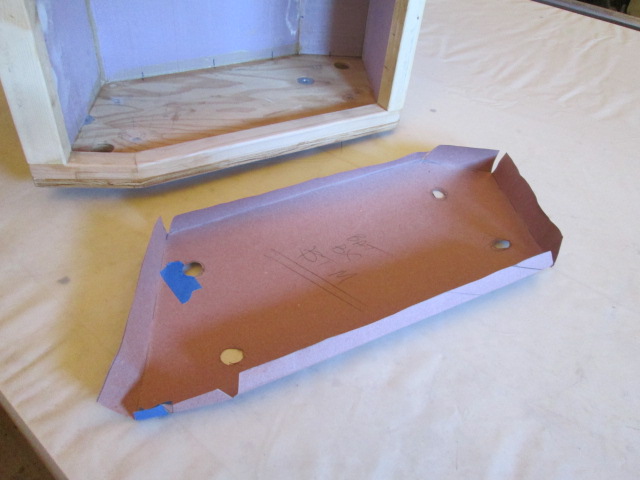
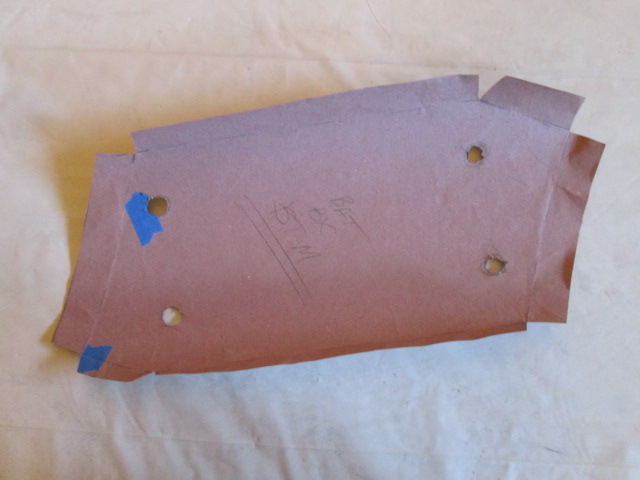
I had already masked the battery tie down nutserts with packing tape (and will probably wax and thread the bolts in from the opposite side just to be sure. The holes cut out in the template are just there so I can mark the approximate location on the glass with sharpie to help locate the holes later. I wouldn’t try to cut those now before final positioning.
About this time I realized this was going to be a complex process that I could roll around in the details forever, but the templates didn’t need to be perfectly fit, especially because I haven’t filleted the corners yet, and I think it will really make the glass go in so much easier having pre fit these.
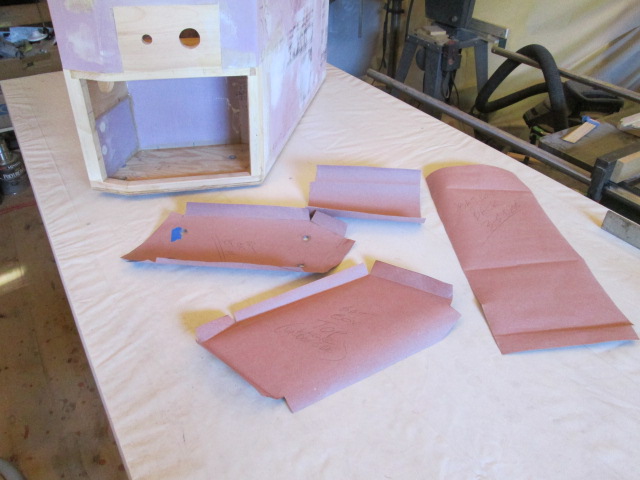
Here are the four templates for the inside of the BB. From lower left clockwise, the ceiling piece, the floor, the front inside, and the remaining 3 sides.
Next I traced around the templates onto suitably sized pieces of the 6 mil plastic.
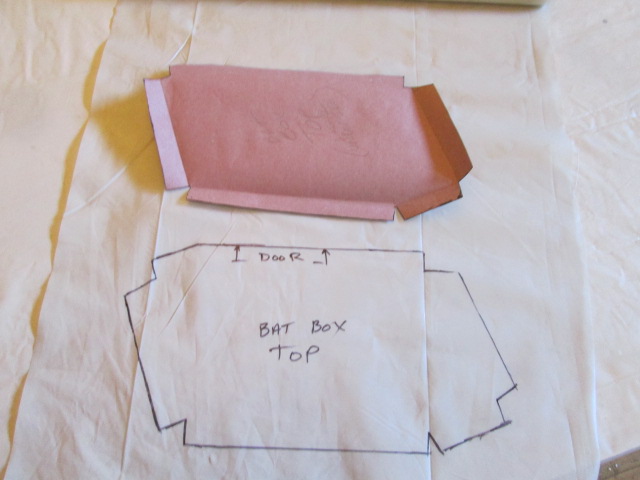
I figured it would be a more efficient use of product to do the top and bottom back to back.
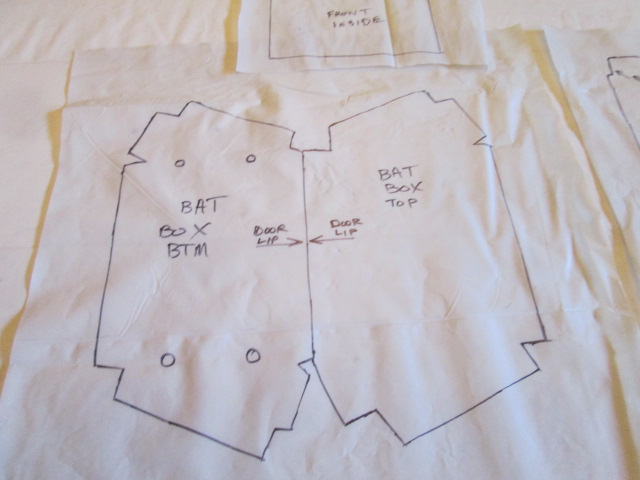
Then I was able to use these to optimize my fabric usage while still leaving a little extra around all of the edges.
Next was to tape the plastic sheets with the template tracings down to the covered bench and lay the over sized glass on the tracings.
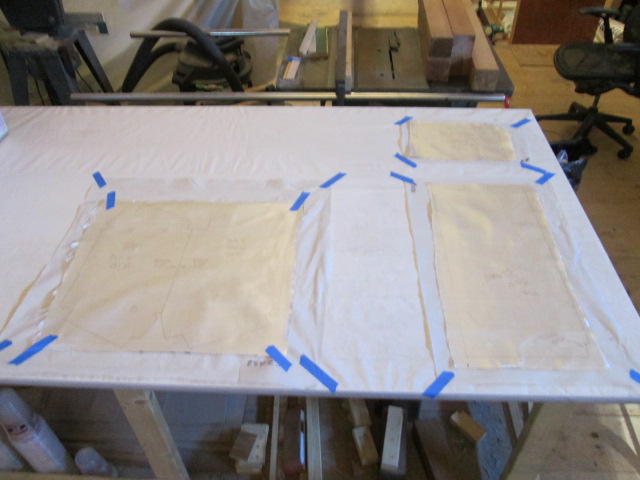
So they say when you are preparing for a “major” layup, it is a good idea to have everything ready, but to be well rested and ready for the time that it will take to do the whole job before you start mixing epoxy. By this time it was about 5:30pm and there were ribs at Grotto Jeff’s annual Oktoberfest party that were calling my name. So I decided that some succulent pork heaven was just the thing I needed to slow my thoughts down and get ready for tomorrow’s continuing efforts.
(Hey Tony, is that what you call a cliff hanger in literature speak?)
I covered the glass with the top sheets of plastic to keep them clean for tomorrow. I’ll start by doing the fillets with thickened mix, then wet, cover, squeegee, cut to the lines, peel one side, fold to get the pieces inside the box, and lay the glass in place before peeling the second layer of plastic.
Compared to this I expect the dry on dry method on the outside will go much easier.


 ) I'll be using one of them. Otherwise I'll have to check my battery charger again; I forget if it is compatible with the gel cells.


