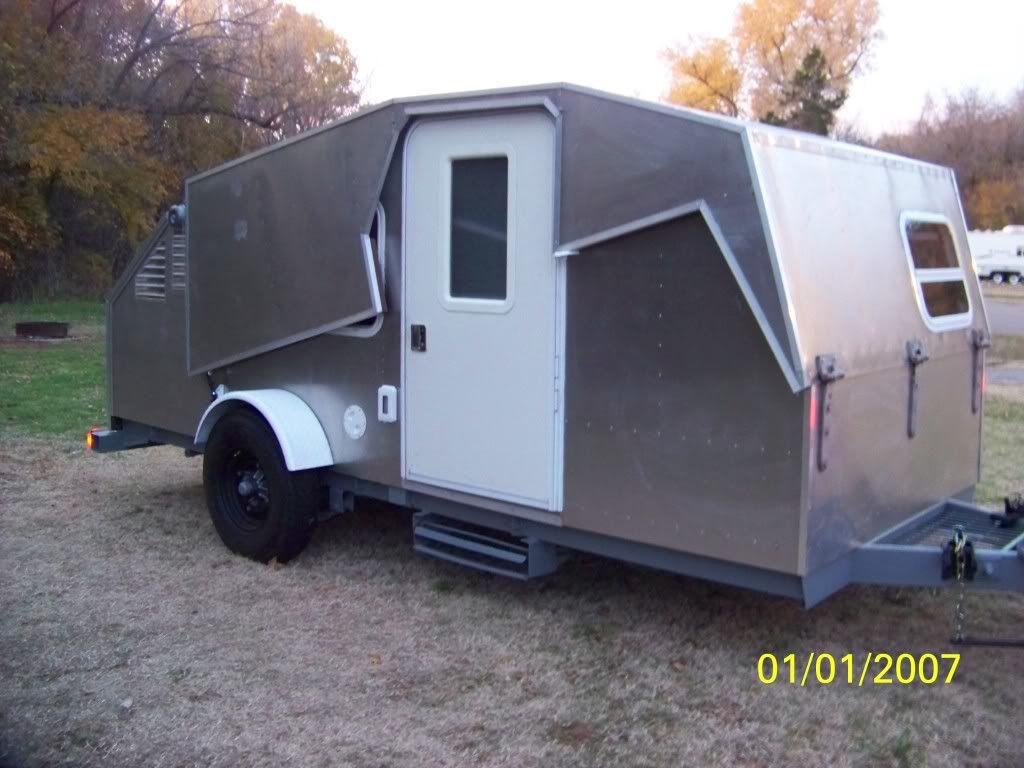
Yesterday was a day away from the build. Today, Sunday, I had Karl help me flip the hatch around so that it is now standing on the street side edge with the curb side up in the air.
While doing the street side it didn’t take much to overwhelm the rotary cutter in the Dremel. Working in about 6 inch long segments I could skim the surface on the first cut, and make a couple more passes; but once the cutter got a little deeper friction would heat things up and it would start to smoke. Other than worrying about starting a fire and burning Karl’s barn down… and losing TPCE in the process… it made things go slower, having to cool the burr down every few seconds. I resorted to dunking it in a pot of water.
So today, before starting in on the curb side, I drilled a size for size hole in the side of a scrap piece of maple just below the face. I used this for a jig to hold the cutter steady while I scraped the wood resin off of each cutting and kerf surface. Then I used that ultra-fine file (that I bought at the tractor swap) to dress the teeth a little and bring the cutter back. It seemed to work well enough to get thru the second side without having to buy another cutter.
I’ll describe the process of cutting out the flox gouge again; this time with better pictures. The epoxy (with glass cloth) under the hatch sealing lip soaked into the first wood ply of the inner hatch skin, so I started by gouging straight down into the second wood ply. As usual, I learned as I went and found that it was better to keep the cutter travel speed up, making more shallower cuts, than it was to plow deeply or to plunge in individual bites. Again, this worked best working in short 6 to 8 inch lengths. Each time I stepped off the step stool to cool down the cutter I would move the stool by about the same 6 to 8 inches, maintaining my hand angles and lighting.
Next came the angle cut taking all but a sliver of the fifth ply at the top (outside edge) angling back down to the bottom of the first cut. This took several passes over each 6 to 8 inch section shaving a little at a time.
This next picture is a little blurry, but it shows the two stacked abrasive discs used to sand the first wood ply off of the lip of glass. Again, the learning curve found that it worked best to use this angle and clean off the bottom of the groove first, working along the groove from side to side. Then move up a scooch and make another pass along, repeating until getting to the top, but not trying to get every last bit of wood. This worked a lot better than trying to plunge up and down, I had very few blowouts, and the top of the glass lip didn't get too thin except in a very few small spots.
With the light behind the hatch it was easy to see thru the glass and tell when all (most) of the wood had been removed.
Once the whole side was at this stage I used a little scrap of 100 grit working both the charred wood side and the glass lip to clean things up.
Then if there were any small spots of wood left on the glass it was simple to scrape them off with the edge of the utility blade, which coincidentally fit down into the wedge shaped cut perfectly.
No more wood.
Although I had been using the foxtail brush to sweep sawdust as I went, next I blew out any remaining sanding dust before moving on to the filler.
At the spar end I only used the rotary cutter and the utility knife, and got a better result there, too.
From doing the other side I knew that 2 pumps of resin (1.5oz) would be too much, but that I had used more than half of it; so I took a stab at it and weighed out 1oz plus 0.20oz of hardener. Added one full spoonful of the 403 filler and that was exactly how much flox was needed to do the job, not one speck more and not one speck less; once I did the initial fill and went back to make sure the bulk of it was all topped up, I was scraping the cup and any spillover from the surrounding areas to have enough to fill those last little bits on the vertical edge of the spar.
The packing tape used last time worked okay, and released easily, but wasn’t very precise. This time I wrapped a scrap of wood with packing tape and clamped it on as a dam to keep the vertical edge from slumping.
I tried to do a better job filling the whole groove and making sure that I didn’t sweep away low spots while squeegeeing, but I am betting that things will settle and absorb like they did last time, so I expect to have to cap things off with some 5min again this time.
Once that is done and sanded fair, we’ll set the hatch up on the bench again and I will glass the hinge area and the license plate recess, the latter using bias cut cloth. It will be interesting to see how the license plate area goes with the marker light wires sticking thru.
Thanks for watching.


 and moving forward!

