That's one way to shut me up. Just link me to some really cool stuff and I can get lost for days! (cycle carts, Clickspring and mrpete222)
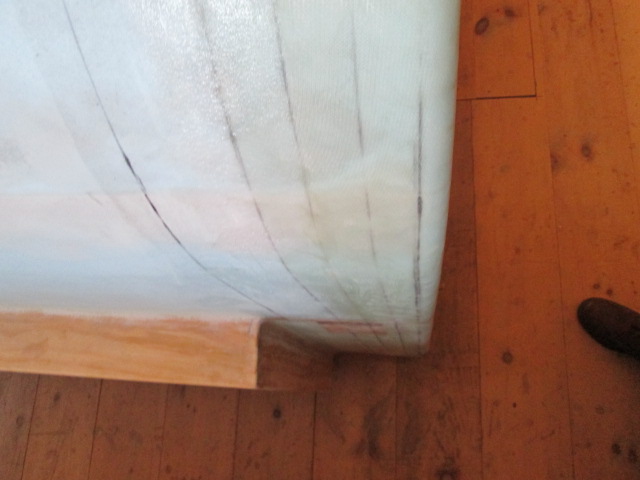
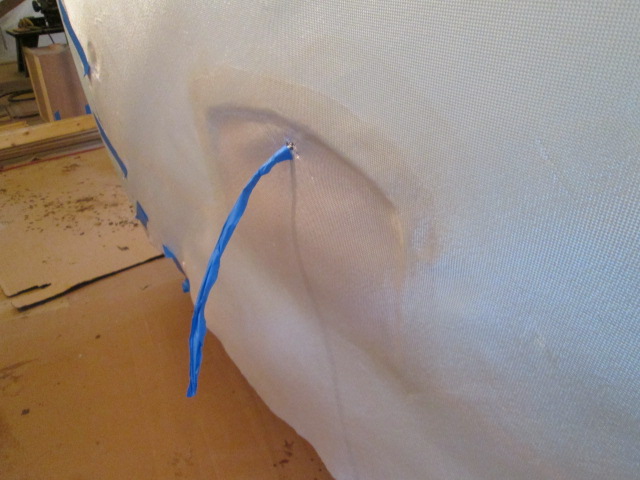
Last evening (Friday) I started by doing some spot filling on the hatch. As I’m going over everything (over and over) and find these little spots, I circle them with the sharpie so that I can find them again later when I have the epoxy flowing. Here’s an example.
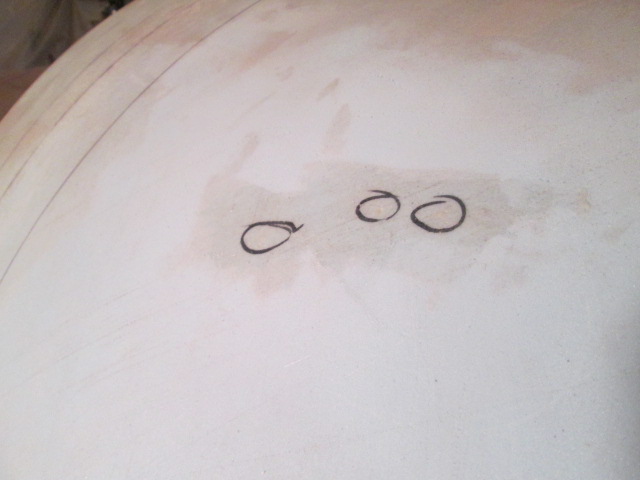
Most of what I’m dealing with here is spots where epoxy has dripped or flung off of the bristles of the brush in small drops or blobs, or stray strands that cured along the edges of the wall layups where I have plucked them off and it took a little foam with it. If I had tried to sand these, because they are so small it would push down and start sanding foam before becoming fair; then spring back latter and still be proud. If I just try to glass over them it could tent the cloth up and leave air pockets.
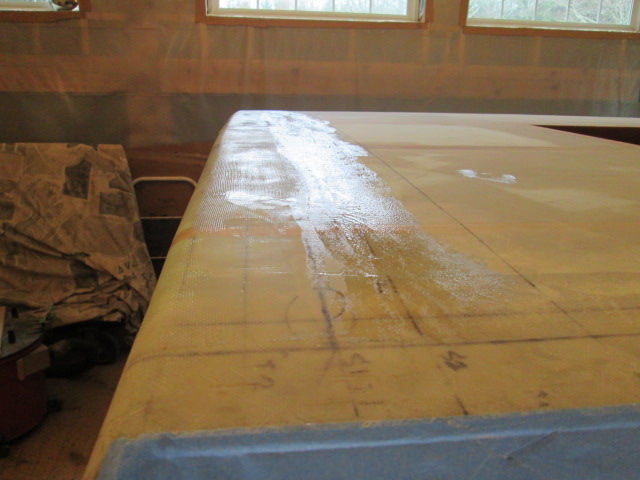
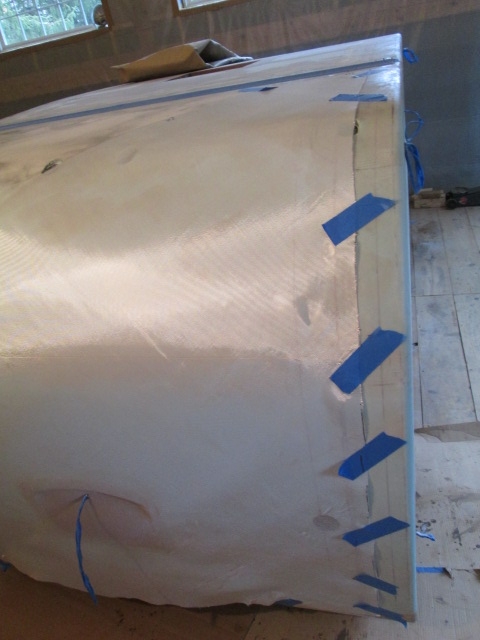
Then I mixed up some 403 thickened epoxy and squeegeed it along the edges of the wall over wraps on both sides all along the roof and both front walls. This wasn’t necessary on the wall seams where I butted the first ply and only overlapped the second ply; but here on the roof where the first plies are going to overlap the side wall wraps it helps avoid an air bubble where the first ply climbs over the cured edge of the previous cure. Here’s the street side from the hatch hinge looking forward.
Same thing on the curb side.
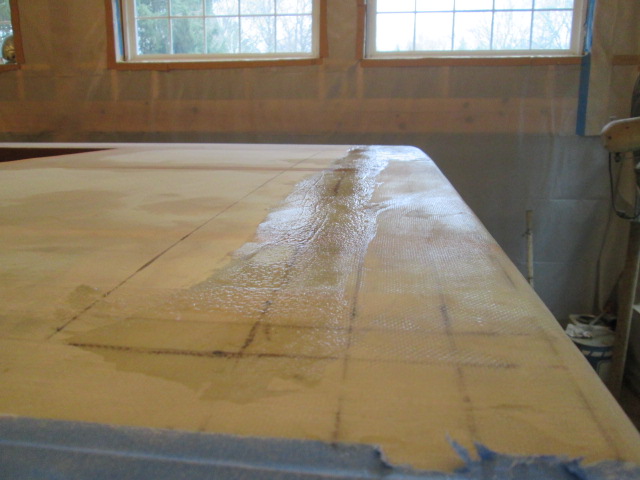
Looking down the curb side front wall, the filler turns and runs across the top of the lower front layup at the rock guard sparette.
Same thing on the street side.
I think I'm finally getting a feel for how much filler not to add to keep the mix workable. For the top I left the mix a little wetter and it flowed out nicely. On the front walls I had to go a little thicker, but the smaller spoon made it easier to control my filler additions and I was able to creep up on a good consistency.
I had some thick left over so I smeared it around some areas that needed a little attention, like the seam laps around the doors, a spot on the license plate recess and at the patches on the hatch. This is just a little detail fairing work.
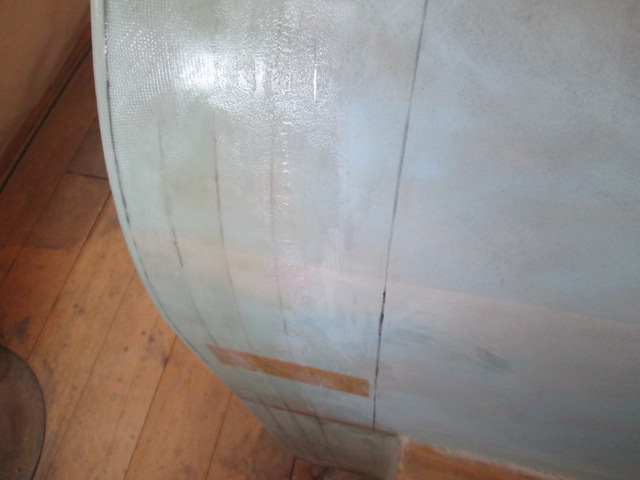
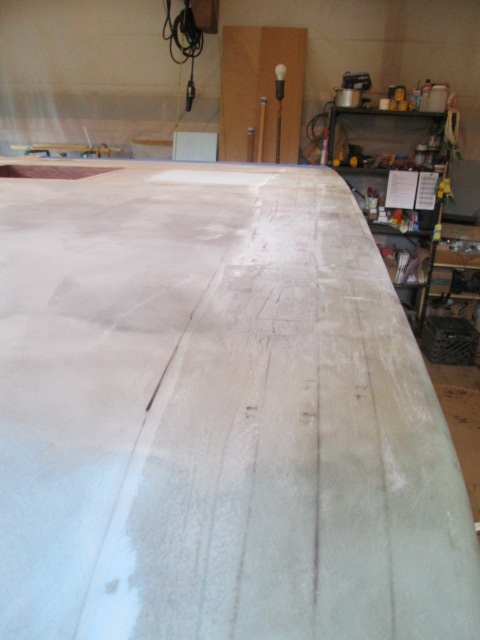
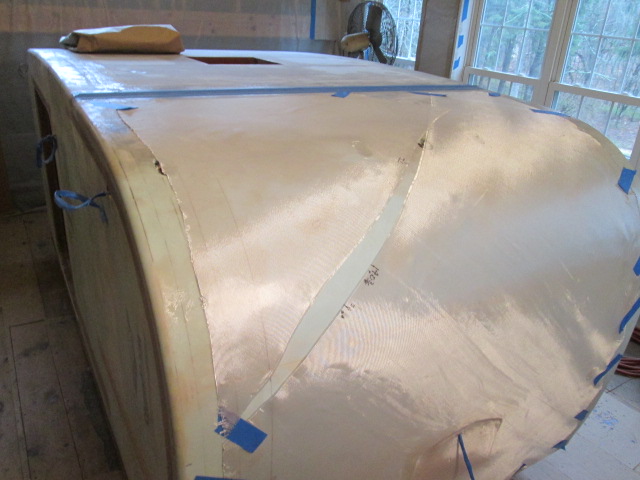
Today I amine washed those areas and sanded it all out, which took a while. Sanding, sanding, sanding. Here is the street side looking back after sanding.
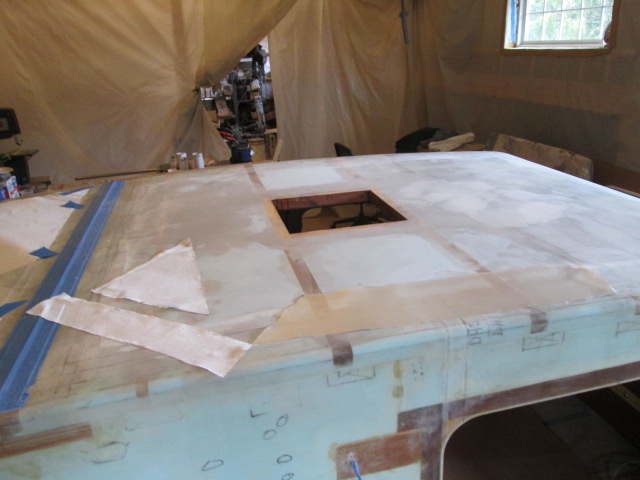
It’s time to clean off everything using the shop vac and fox tail brush, then start dry fitting the bias cloth on the hatch. I decided I had better fit the cloth first, dry on dry, rather than fussing with it wet. In hindsight I should have used my cutting dimensions and used a spline to trace a reference line along the diagonal seam, but at the time the cloth seemed to lie down thru that area fine. The thing is with bias cloth it skews even easier than non-bias. Once I had it at this position the sides ran a little wide at the bottom. The weave seemed pretty straight and it all laid okay so I trimmed the excess back to the lines and taped it down.
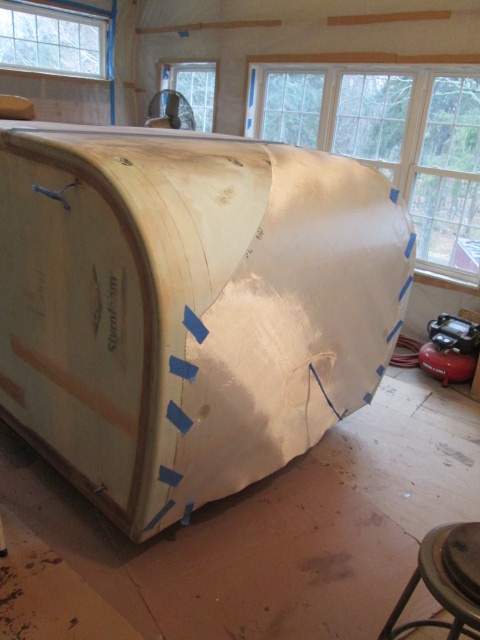
With the cloth on the bias it looks like it will lay into the license plate recess just fine. That’s the plate light wire wrapped in blue tape sticking out.
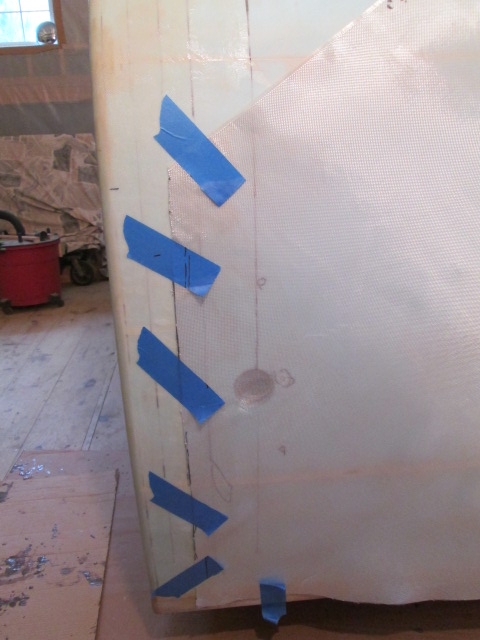
Placing the upper triangular piece I could see I had a problem.
Hmm, maybe I should have drawn a reference line and not been so quick to trim anything before getting the remaining pieces lined up. DOH!

So I have a couple of options. I could cut another larger piece of cloth for the upper piece, wasting two more somewhat large triangles to get just one piece, making the first ply in two sections (instead of the original 3); or cut some smaller strip pieces to overlap the gap and deal with more fairing later.
I cut two strips from scraps; a narrower one for the upper portion of the gap and a wider strip for the lower section, shown here lying on the roof with the smaller No. 3 triangle piece from the sketch that fills the top.
I still haven’t decided. It is looking more and more like I will do the main portion of the roof in two separate layups so coming up short on glass is less of a concern. If I do come up short I will only have to buy a smaller amount of cloth to complete. Whereas if I wanted to do the whole roof in one go and come up short I would need several more yards of cloth.
I suppose I could reel off what’s left of the roll and see how many yards I have left. As I write this I figure I will just go for it with the patch pieces and suffer the sanding consequences later. At that moment I briefly wished that I had not bothered with the bias layer, but I think it will work out fine in the end.

I just hate it when the commercial breaks are longer than the movie breaks. Or seem that way.


