Thanks TOS, I'm looking forward to that, too, however, at the moment paint seems like it is a long way off. It has made it on to the new “short list”, though.
This evening I finished sanding the edge “zippers” on the hatch using the medium board with 36 grit followed up by the other medium board with 100 grit, all working with diagonal strokes keeping the board perpendicular to (aligned straight across) the profile.
Intermixed with this I hit all of those ripples, the bias diagonal seam and the small triangle at the top of the hatch pretty aggressively using the same ‘X’ pattern sanding.
Until I saw this pic I thought the ripples only corresponded to the pattern I had worked to applying the various cups of epoxy, but to see this it almost appears that they correlate to the kerf pattern on the underside of the foam. Not sure how that could have come into play.
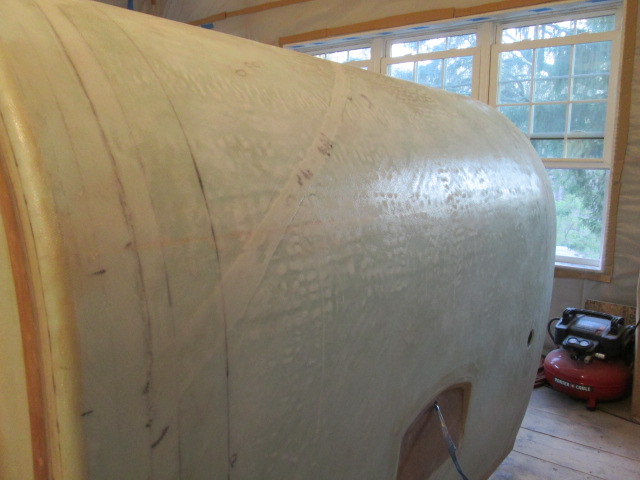
A slightly different view, followed by a close up.
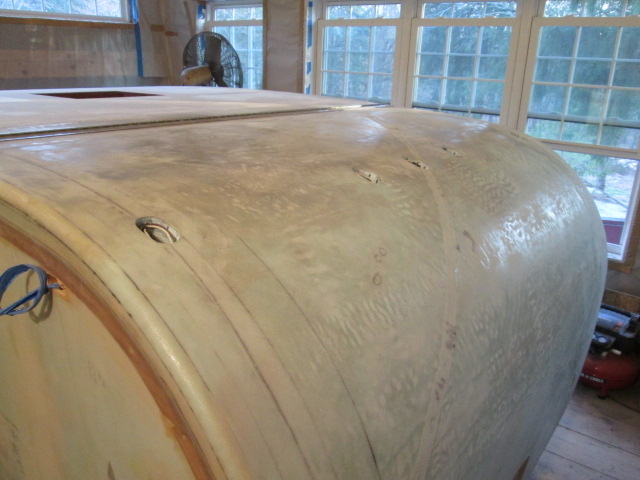
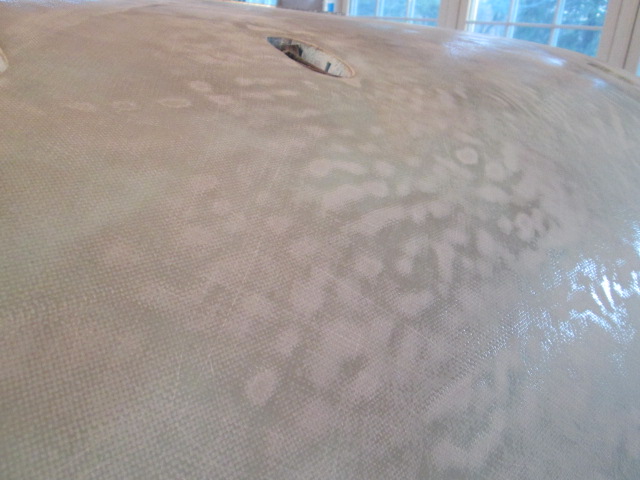
Looking back.
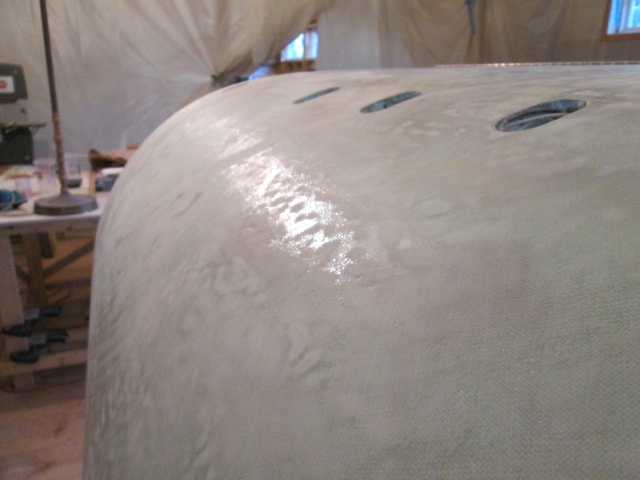
The small triangle bulge in the bias ply at the top of the hatch.
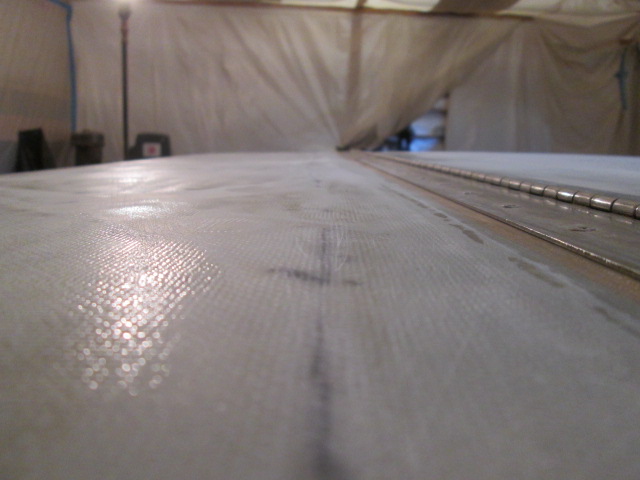
Here’s a shot of the street side, same perspective as last night, after removing the “zipper” edge.
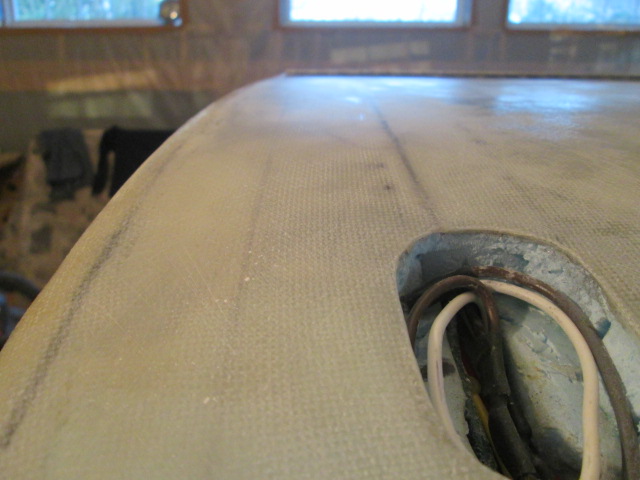
And another one looking down the back of the street side toward the bumper.
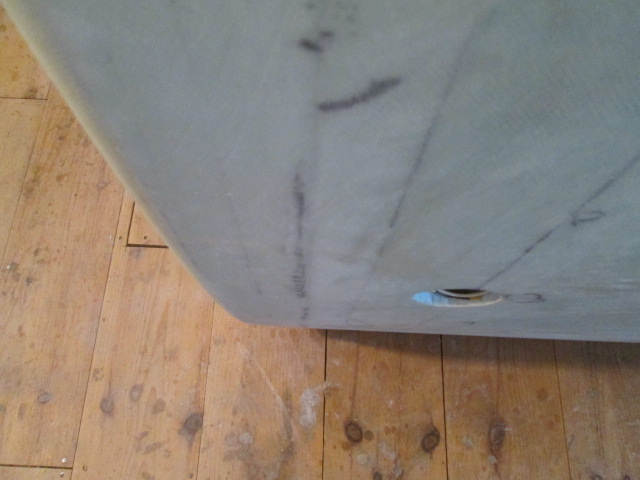
The shop vac is getting a workout staying ahead of the sanding dust, but the cyclone separator seems to be keeping the fine dust filter in the main can clean as performance has remained high.
At some point I will have to smear it all with fairing compound, probably the 410 filler in epoxy, or may go straight to high build primer, but there is a lot more to do all over before moving on to that step.
Lots to do first: flip the hinge; cut the hatch free; glass the roof and front wall upper; fit and glass the doors; rabbet the galley walls for the hatch seal, build flox corners and FG tape same; and the list goes on.


 Nice weather , can’t work ... Please get well soon !!!


 The self-healing we talk about is merely product “memory” ...
  “ memory foam” ...
