Been a while since the last update so I'll stick a pin into where I am now:
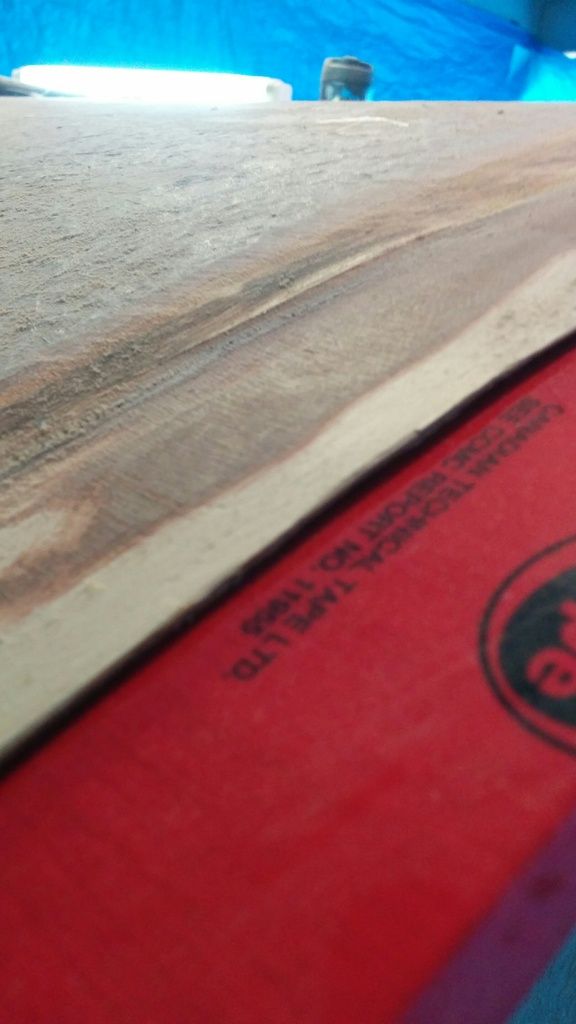
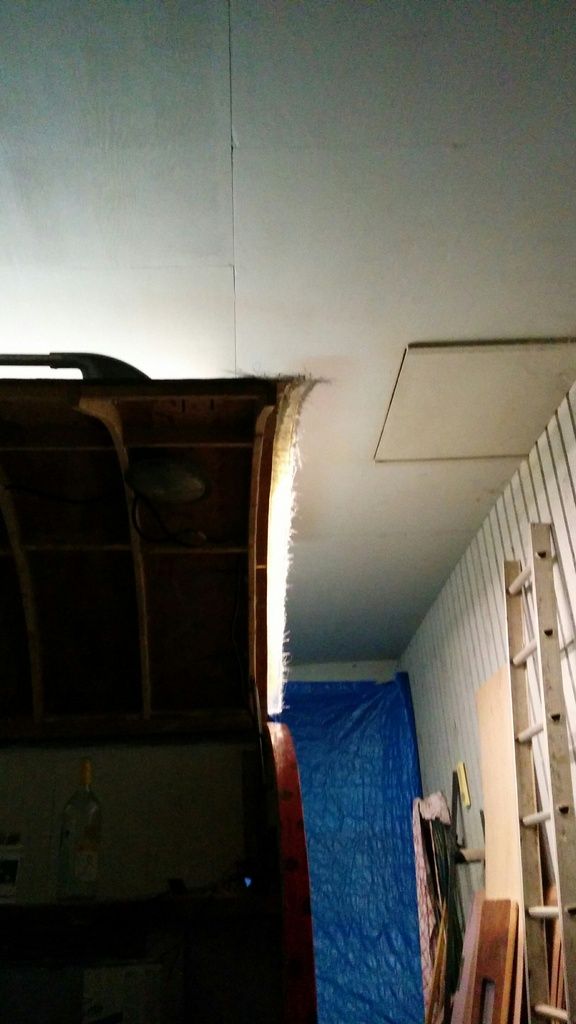
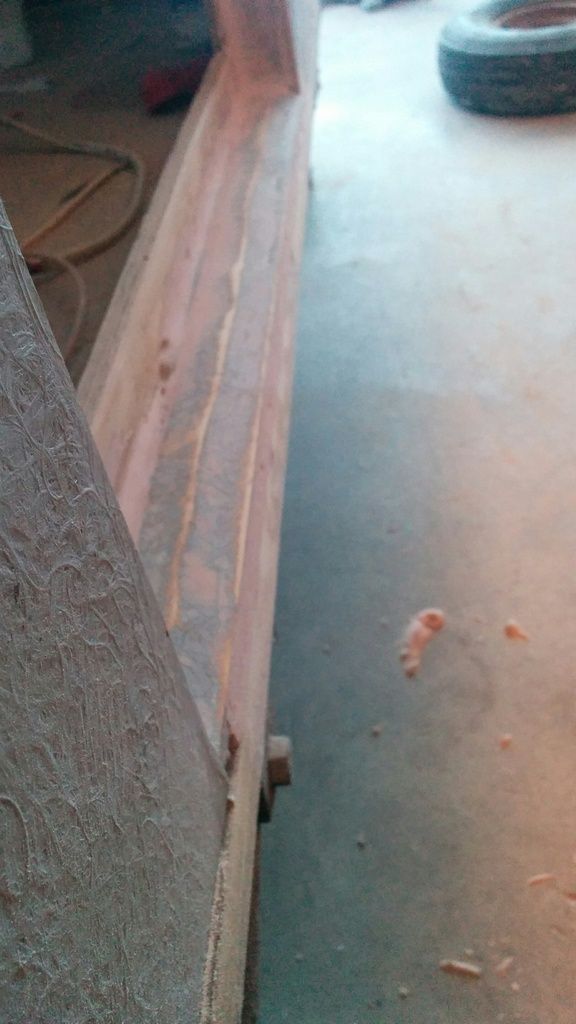
I wanted to sides of the galley hatch to be solid glass rather than the sealed edges of the luan I used as core under the glass sheathing. I started by laying some tape-covered strips of doorskin along the edge of the wall where the hatch edge would land. Then I ground away the glass and the outer of two levels of coring, leaving a single 1/8" thickness to maintain the new edge's shape.
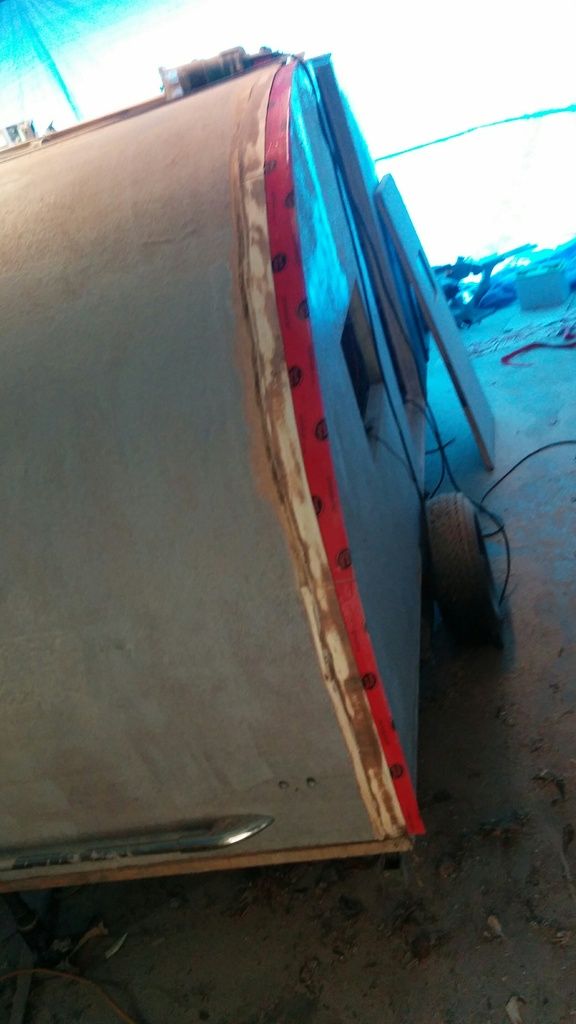
I feathered the cut edge back to make it easier to fair in and to provide plenty of surface for the glass to bond to.
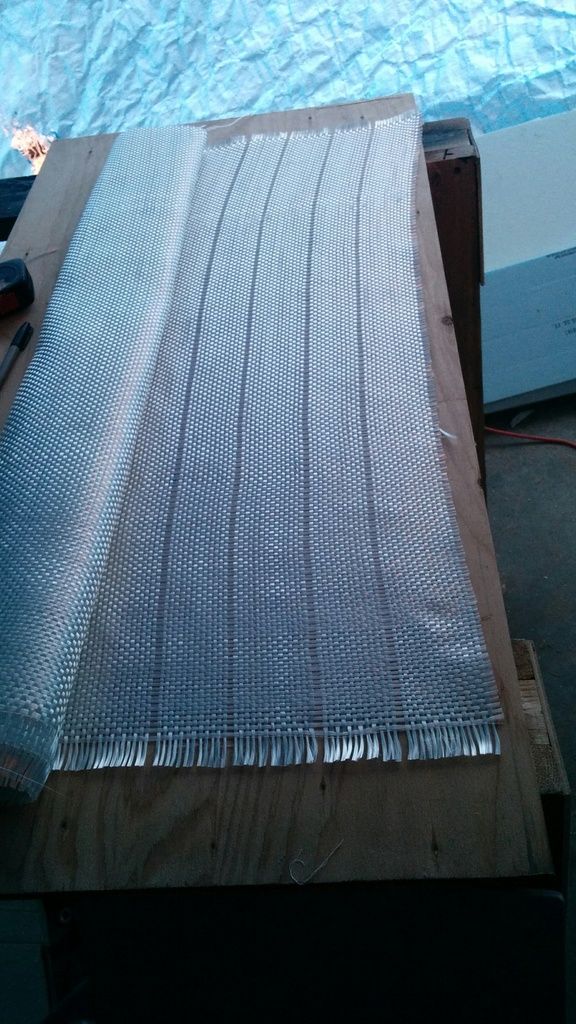
The layup I used was to start with a 6" wide strip of 3/4 oz mat to wrap up and over the feathered edge, then a 2" strip of 18oz roving and another mat, then a 4" strip of roving and the final mat. A handy trick when cutting roving is to pull out a single yarn to give you a straight edge to follow. That way, you don't have to make sure your warp and weft are square to each other before you cut...just follow the line.
It's pretty tough to take pics while glassing so here is what that glass looks like after it's cured.
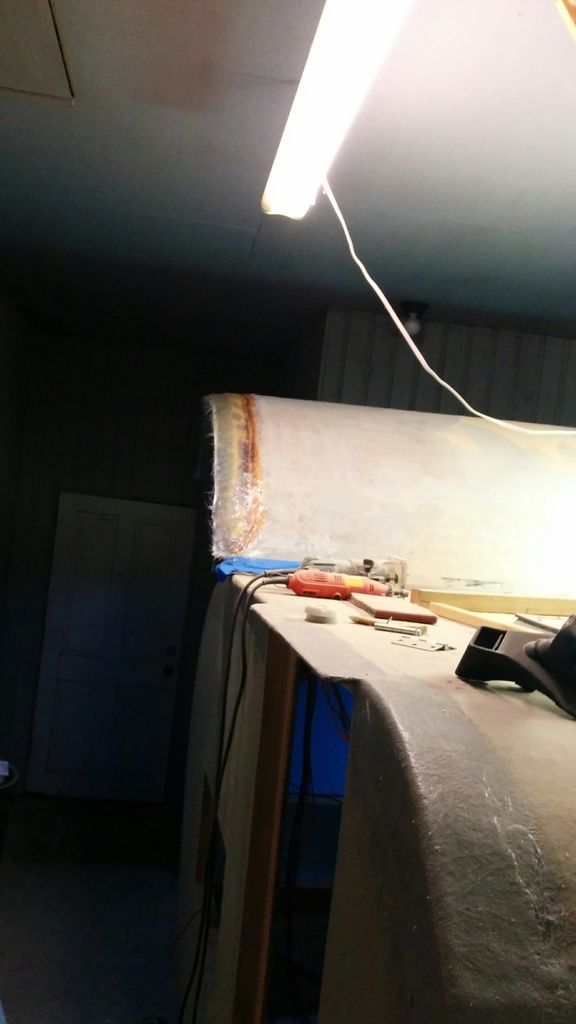
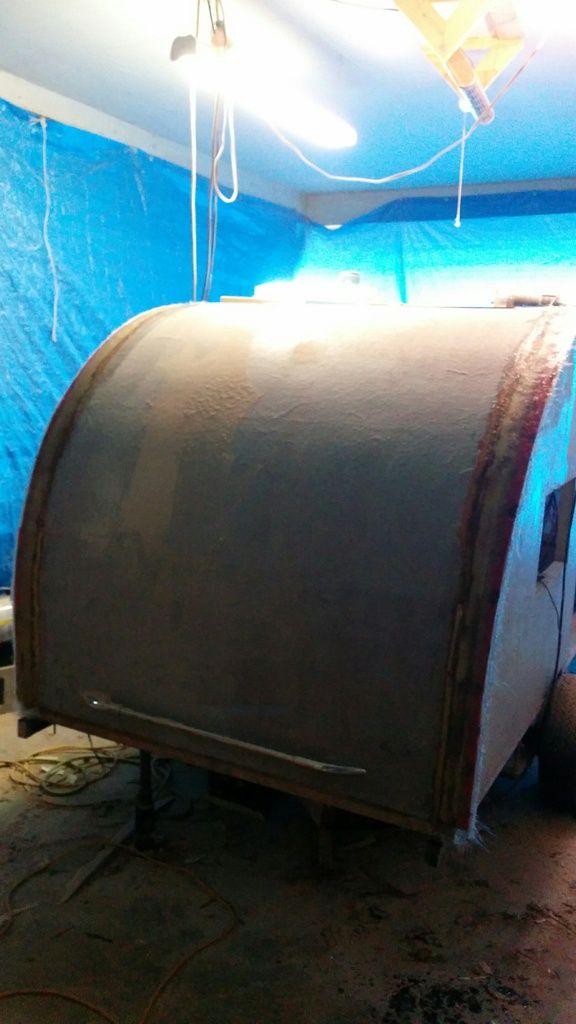
I have since rough-trimmed the edges and will make it totally flush to the sidewall when I am getting ready for paint. For painting, I'm leaning toward a deck paint I saw recently in Benjamin Moore. It's a high build latex deck paint intended specifically for fiberglass decks, which is essentially what I have. I will do the walls first to make sure it'll stick on the vertical without sagging (despite what the guy at the store said!)
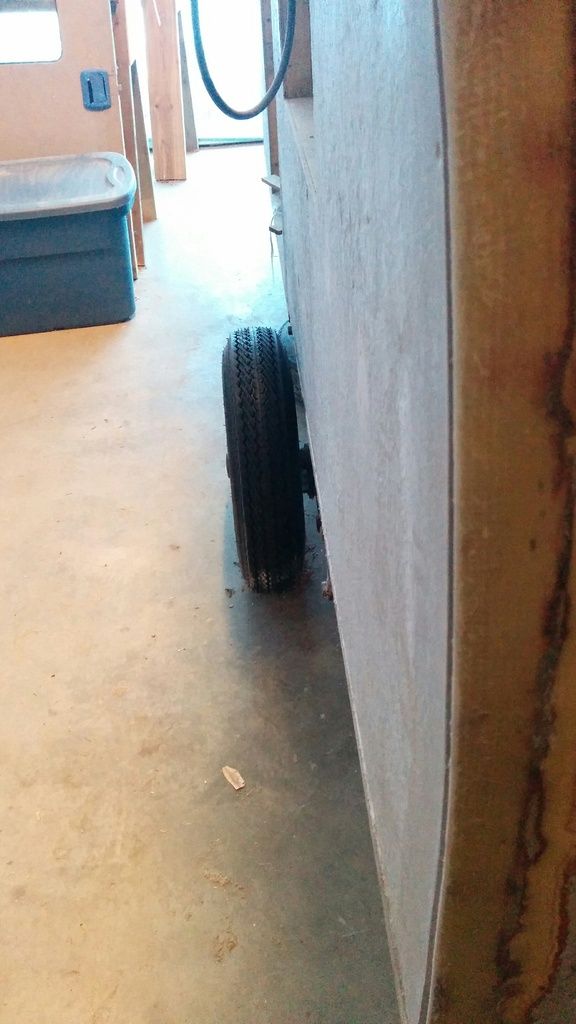
I finally picked up the 12" wheels so that I can do the fenders. I was concerned about the clearance between the front of the fender and the edge of the door but it was just me worrying needlessly: there's plenty of room with the bigger wheels. I also intend to flip the axle under the springs so that's me fretting a problem that doesn't exist. I also have the clearance I need between the inside of the tire and the sidewall.
I got the starboard door flange in and faired as well, though not glassed yet.
There is a 1" lip along the top and sides and 2" along the bottom to keep the mattress dry from any errant water that may try to get in without being high enough to pinch the back of your leg when you're sitting on the mattress (I picked up a 4" queen size memory foam to cut down)
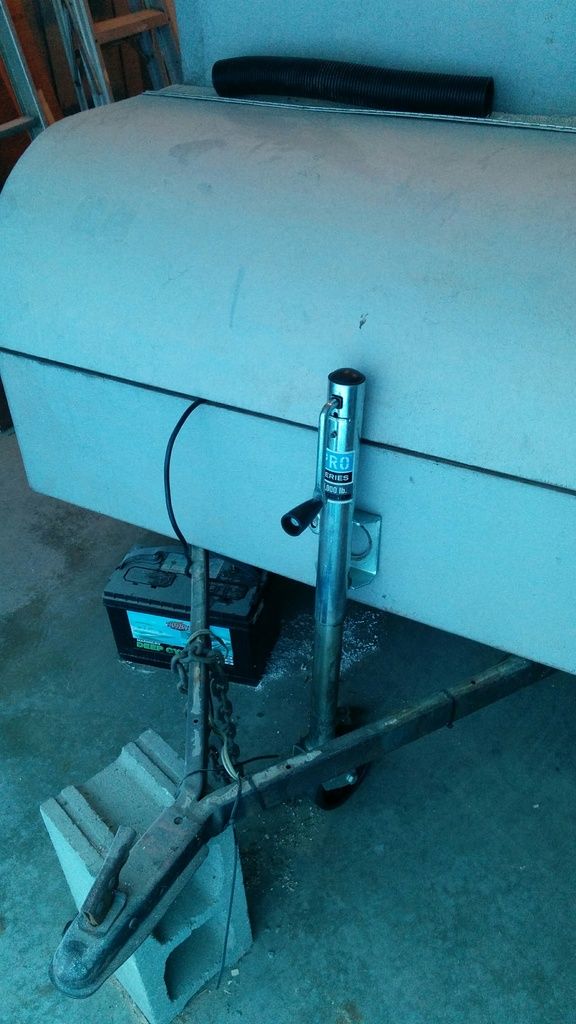
A gov't trailer came into work recently that needed a new tongue jack because the mounting plate was distorted from being overloaded. I had the thing kicking around my bench before tossing it into the scrap bin and had a eureka(!) moment while pondering what I was going to do for a tongue jack. I don't really have enough room to use an off-the-shelf jack, so I was going to use an automotive scissor jack for the time being. Then it occurred to me: take of the mounting plat and mount this to the tongue box as a jack ! I will have to add some reinforcement to carry the load and space it out from the box to be able to open the lid, but I sized it up and it ought to work.
I also picked up the tail lights and a roll of 4-wire. For now I have a couple of 4" stop/turn/tail lights, which is all that's required for this size trailer under local laws. I will however be pre-wiring for marker and clearance lights and for a third brake light. All of the wiring will run into a junction box so I can hook up the circuits as I add the lights.
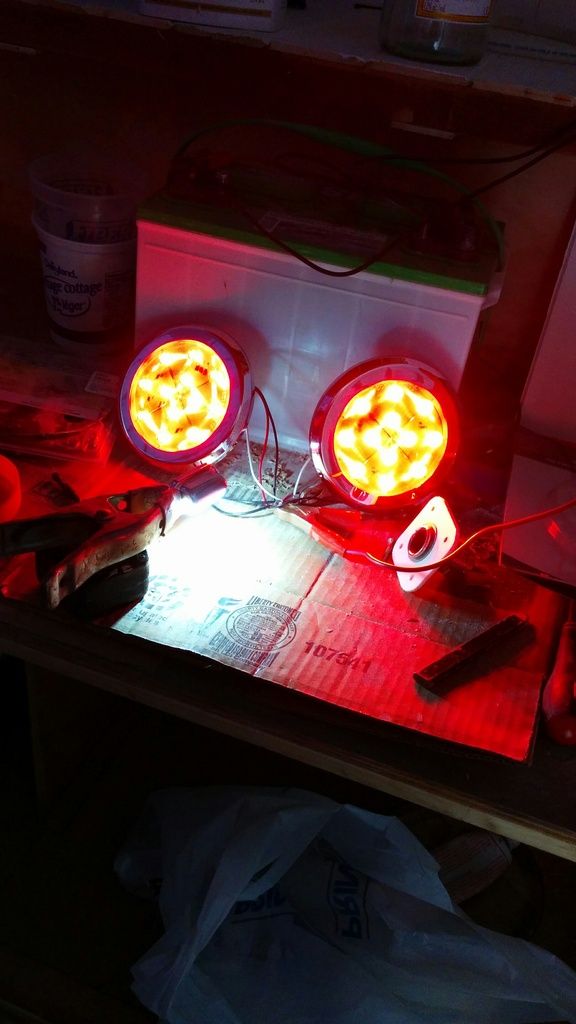
The license plate light is just in front of the left light. In hindsight, I wish I had used them for the under-cabinet lighting. I am still wiring for courtesy lights under the doors and I will definitely use these given how bright they are.
That's about it - the galley is painted and the gas springs are in, though I might tweak them a bit more before locking them down for good. The cabin is mostly insulated and I am about to start glassing up the fenders. I got the profile for them mapped out on cardboard today.


 Have not picked the greens yet!

