Thanks for the kind words, MJ. I am glad to hear that you have found some benefit in my efforts, and welcome to the forums. I would think you might get some interest in the AC concept in the General Discussion forum, or in the Teardrop Construction Tips & Techniques forum.
If it ever becomes more than just a money grab funding campaign, and has the performance of a larger unit, I would think it will do well and will package in a camper well. To imply that such a small unit can cool such a large space, with so much glass (i.e. solar gain) is a pretty bold statement (that I assume is marketing hype at this point, although I did not see or bother to look for any specs published from their prototyping efforts). Call me a skeptic.
Pic’s from earlier in the week, just to prove that it really happened:
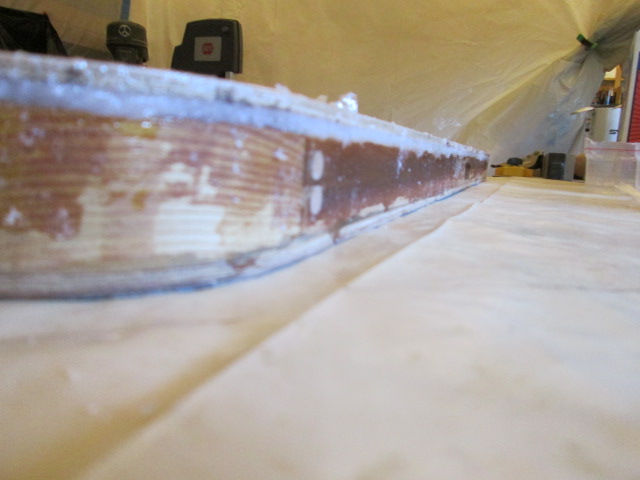
The curb side door outer corner floxed.
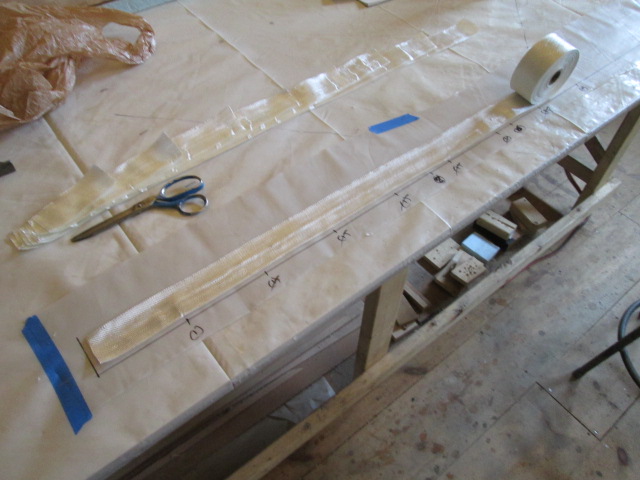
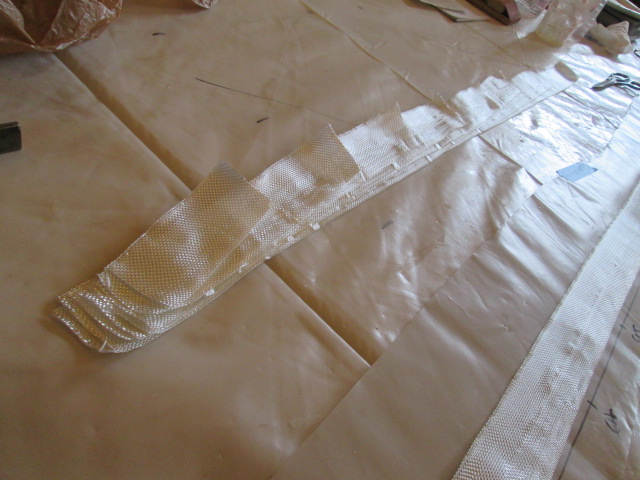
Cutting station for staggered strips to build up the curb side door hinge edge taper, and for the pieces that will wrap around the perimeter of both doors.
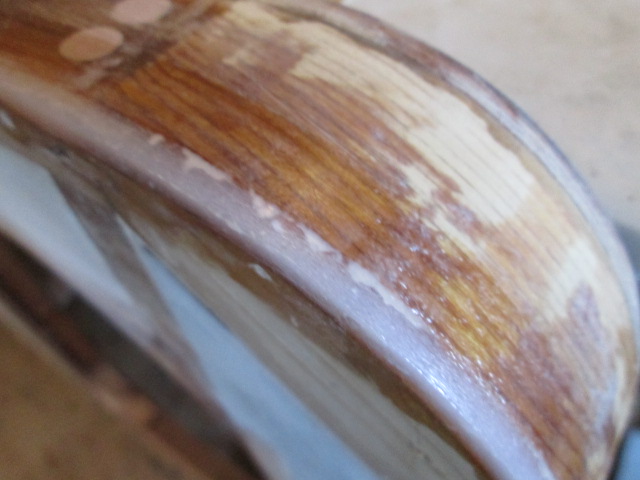
The 3min epoxy/filler applied to pock holes in the curb side door outer flox corner.
Today’s build report: The weather here is wet today. Too, humid to glass, so instead I made the 1/8 inch thk aluminum shims for the door hinges. Basically I traced around one of the hinges using a scribe directly onto the soft aluminum; then used the combination square to extend these lines; clamped the hinge on (using a small folded piece of rosin paper to prevent the clamp from scratching); and scribed around the insides of the screw holes. I had wanted to use a transfer punch to mark the centers of the holes, but due to the length of the punch tip and the counter sunk taper of the holes that wasn’t going to work (the punch prick touched before the shaft of the punch picked up on the inside diameter of the hole).
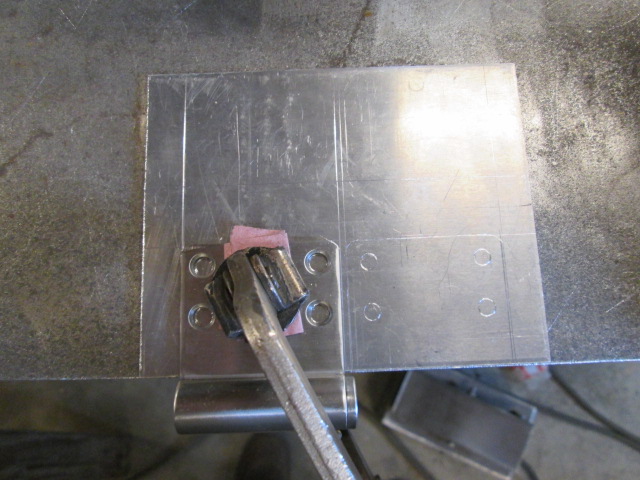
From there I used the square to eyeball the middle of the scribed circles, scribed cross hairs and used a center punch to mark the centers. You will note that I didn’t lay the parts out on the corners of the stock. That meant I had a little more work to do cutting the pieces out, but I would be punching the holes on the iron worker and didn’t want to deform them by trying to punch too close to the edge. Also, I left a little material between them for the band saw kerf, since the piece of stock was a little small to comfortably cut in the shear.
Karl was using the big band saw, so I swapped the wood blade out of my small band saw upstairs and cut them out. From there I stacked them together; used a pair of the transfer punches as alignment pins; clamped them in the mill vise; and just hand filled and sanded the saw marks off (would have been quicker to have set the mill up and just taken a skim cut, but it’s nice to make things by hand sometimes). Here are the finished shims after deburring and filing the corners round a bit.
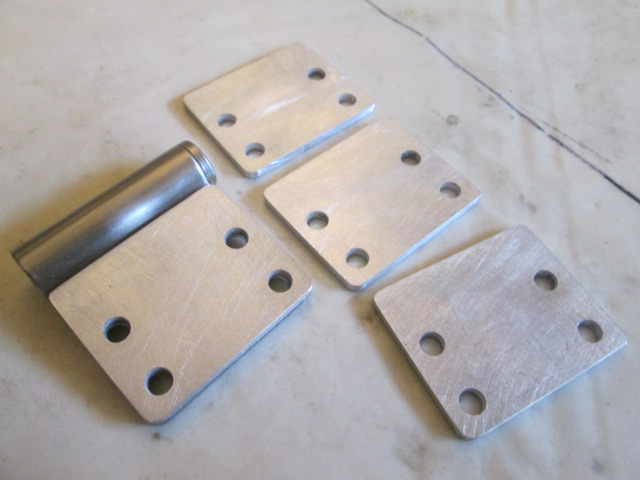
The holes lined up extremely well.
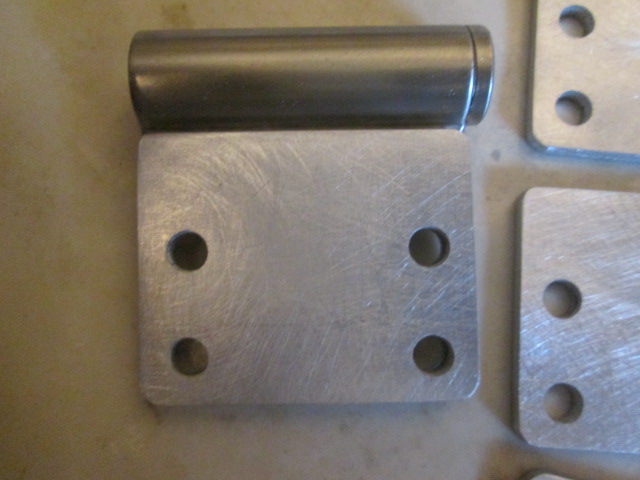
Here’s one of them installed on the street side behind the upper fixed hinge half.
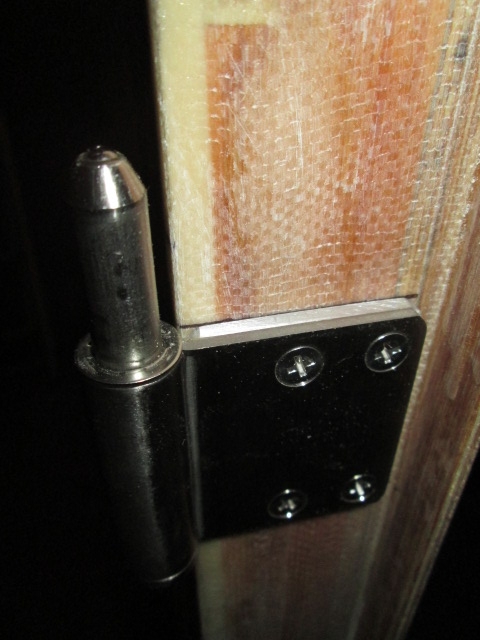
And here it is with the door reinstalled for test fitting.
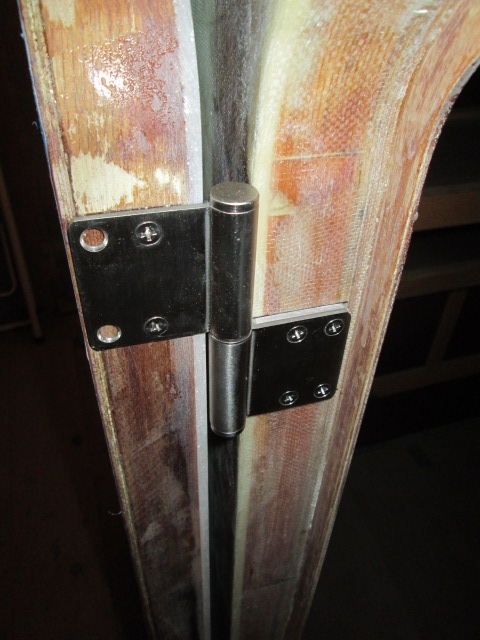
The door almost closes now, but still stops about 1/2 inch short of flush at the latch side. What the heck? So I got out a scrap of paper and slid it all along the gap, not finding any tight spots. Curious, and… WHAT THE HECK?
Got out the flashlight, climbed all around looking and looking, seeing decent gaps everywhere. Okay, double check that the screw heads are all flush and that the hinges aren’t hanging up on the shims; nope, nothing suspicious there.
What else could it be? Ah ha, I got it. Either the door or jamb edge isn’t perfectly square to the face of the wall, so when the edge of the door comes up against the fixed side hinge leaf and stops where everything is supposed to be parallel, the door still "wings" out on the opposite side; confirmed by slipping a scrap of paper between the door and fixed side hinge leaf, the only place the paper pinches is here top and bottom. I suspect that this was the result of uneven sanding of the jamb and subsequent glass work, tending to flair the jamb out. You don't notice it at all to just look at it, but the error gets multiplied way out at the swing side of the door.
There are a couple of possible solutions that don’t require much alteration, but since the door gaps still aren’t perfectly even and show that I can shift the door toward the rear a tad more, I think I’ll make another pair of shims for under the door side hinge and move it back another 1/32 to 1/16 inch. This will center the door in the opening and allow the hinge to close past zero degrees just enough to let the door swing thru the latch position w/o binding.
With the door sprung closed you can see how the latch side gap is just a hair bigger than along the top…
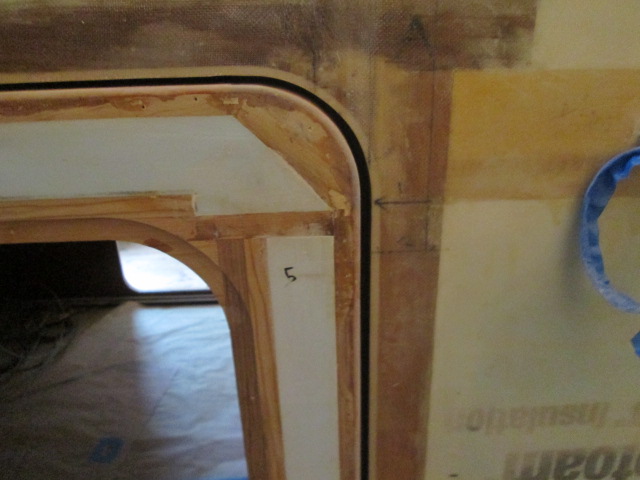
… while at the same time the hinge side gap is just a hair smaller than the top gap.
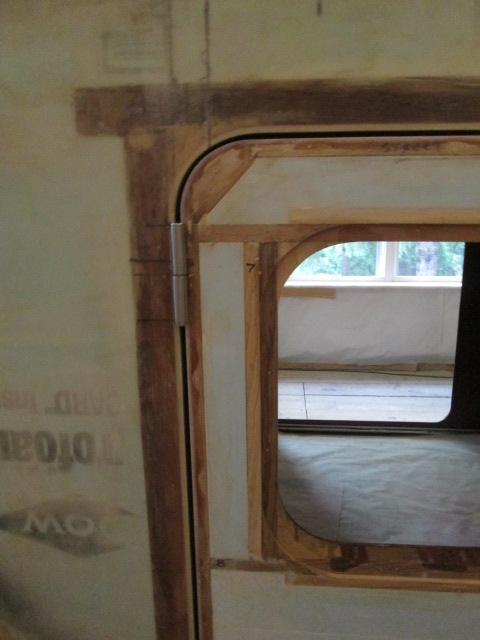
I suppose another option would be to build out the hinge locations on the door with a bit of extra glass tape, but I think interchangeable shims would be more versatile and easier to make with precision.
So there’s just a little bit more work to do on this side.


 I just woke up so I won't try any witty repartee , which is safer for all concerned, beyond saying " huzzah!"

