Pop-up foamie for Cross-Canada trip
Moderator: eaglesdare
Re: Pop-up foamie for Cross-Canada trip
![]() by loaderman » Thu Sep 01, 2016 3:49 pm
by loaderman » Thu Sep 01, 2016 3:49 pm
Very interested in this build, How is it going?
- loaderman
- The 300 Club
- Posts: 306
- Joined: Fri Jan 27, 2012 12:03 am
Re: Pop-up foamie for Cross-Canada trip
![]() by dancam » Thu Sep 08, 2016 7:57 pm
by dancam » Thu Sep 08, 2016 7:57 pm
loaderman wrote:Very interested in this build, How is it going?
Sorry it took so long for an update. Not going that great and i felt like giving up

Camp4Life wrote:Looks good so far!
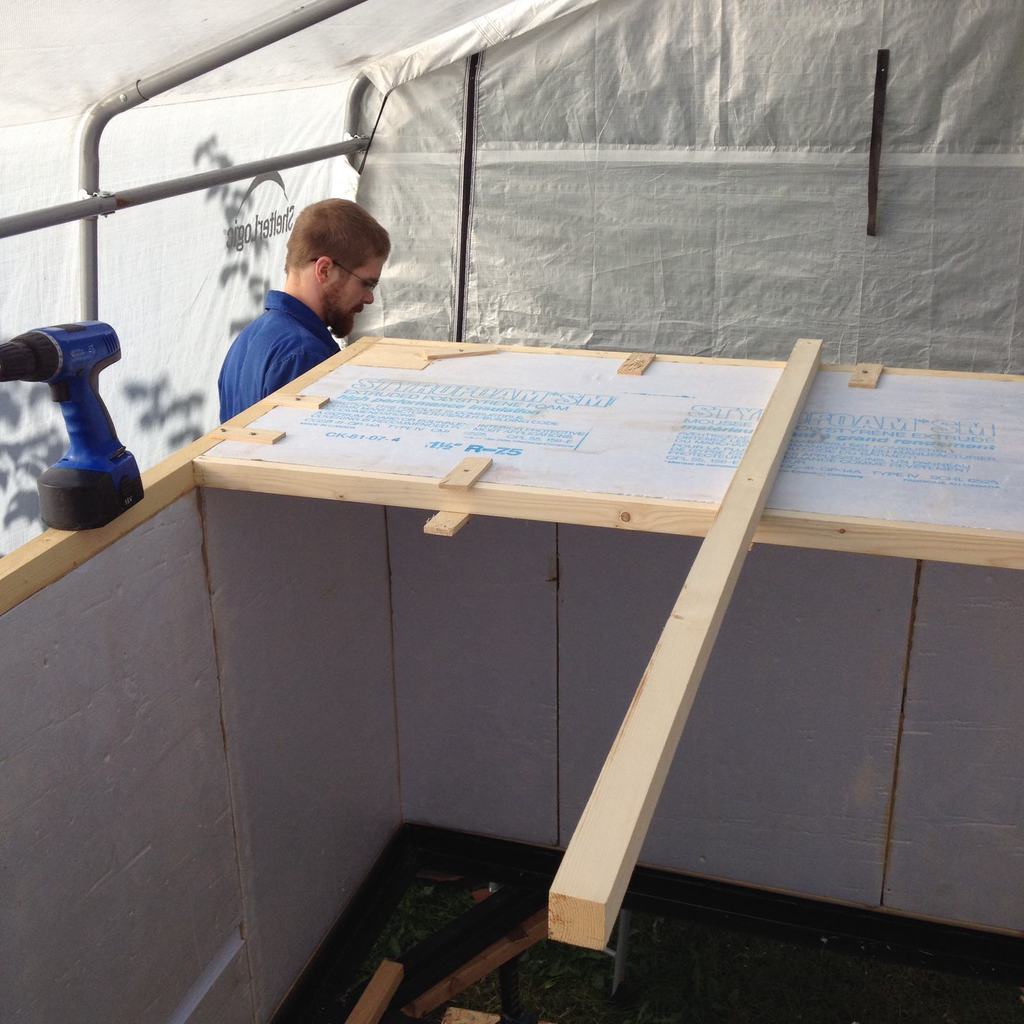
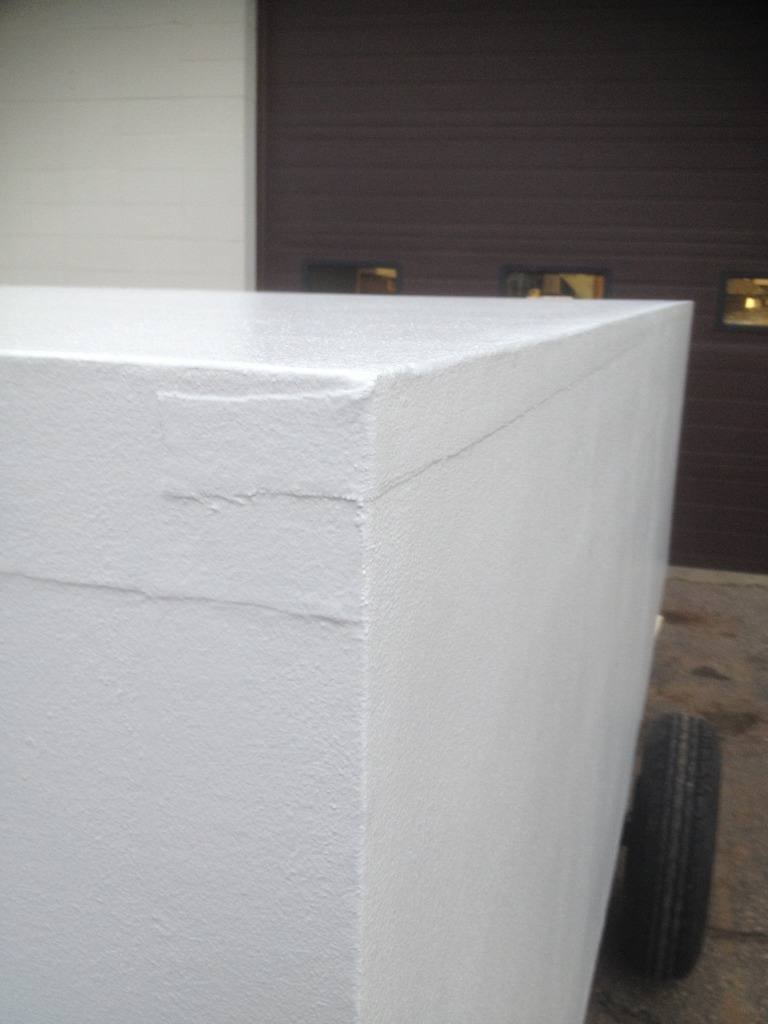
Do the walls flex when you lean on them a bit? This foam construction amazes me at how strong it can be... Don't sweat the seams being visible, you can always bondo that later, or finish the whole thing in bedliner and that should hide it. I'm following this build

Thanks.
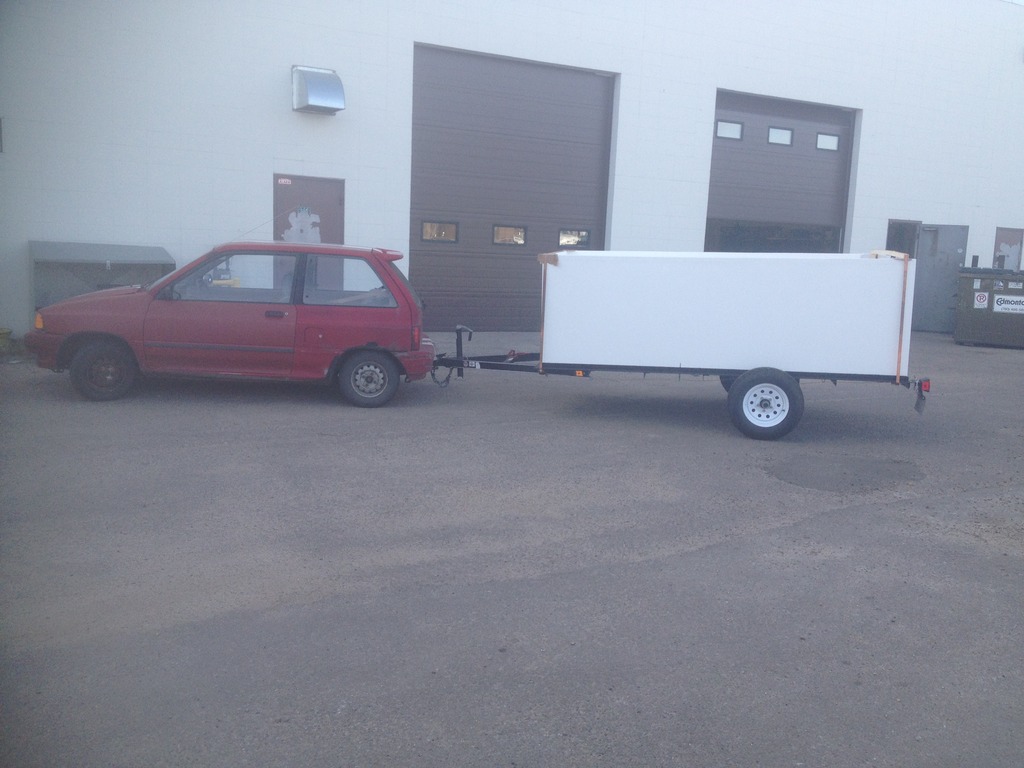
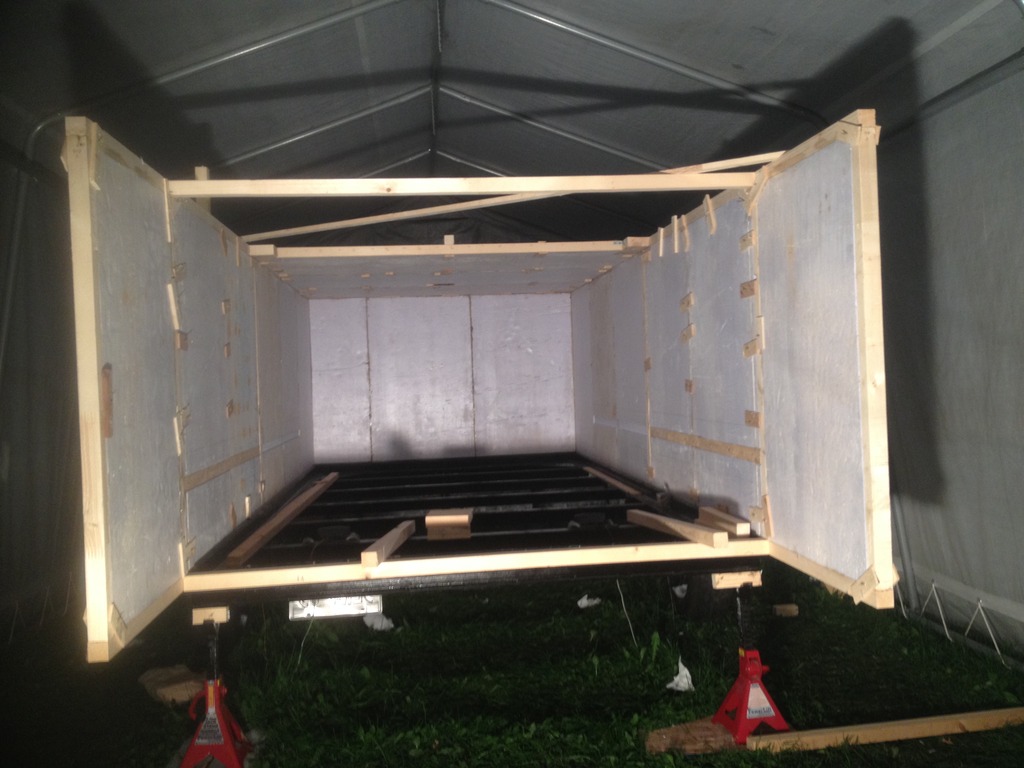
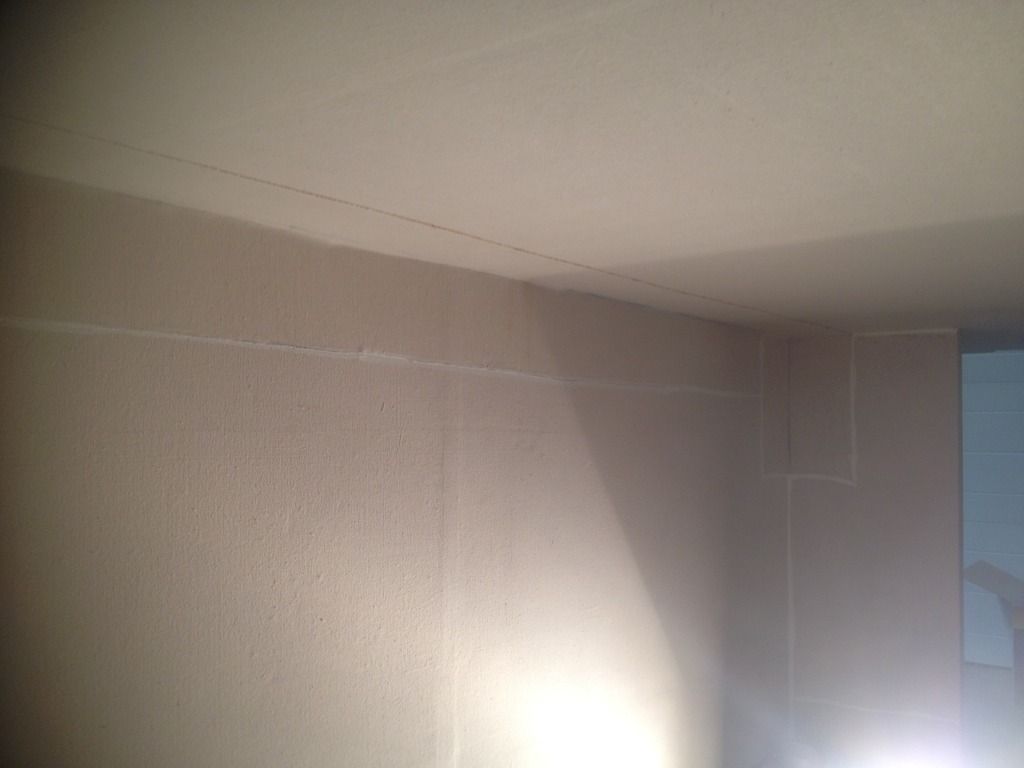
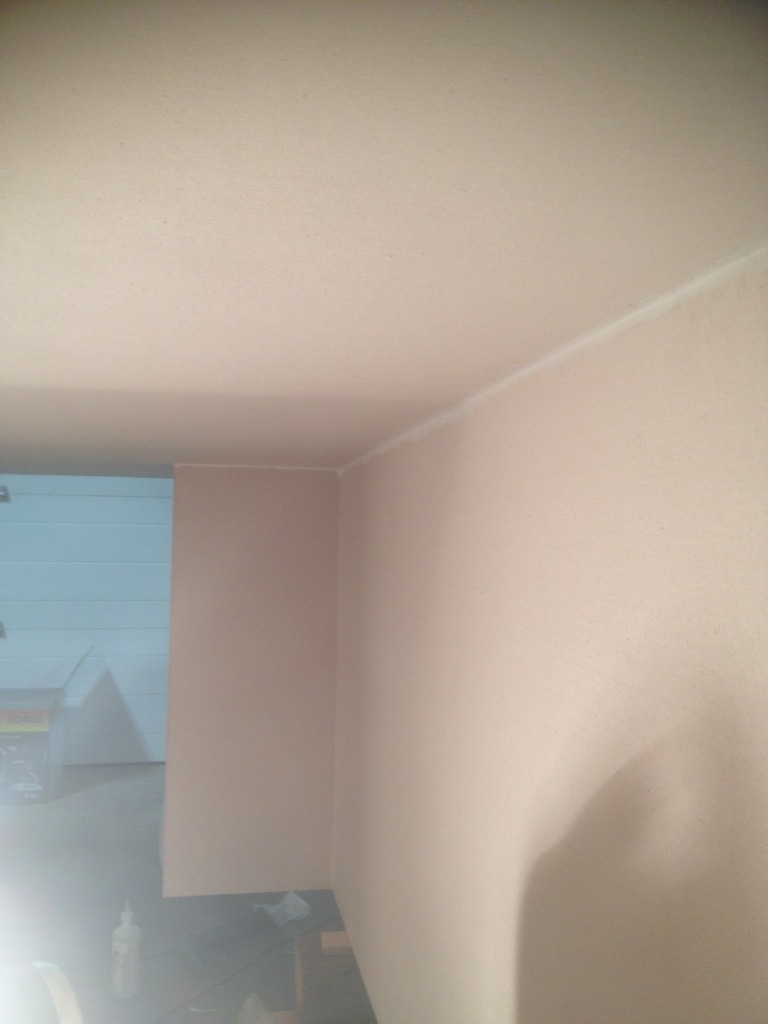
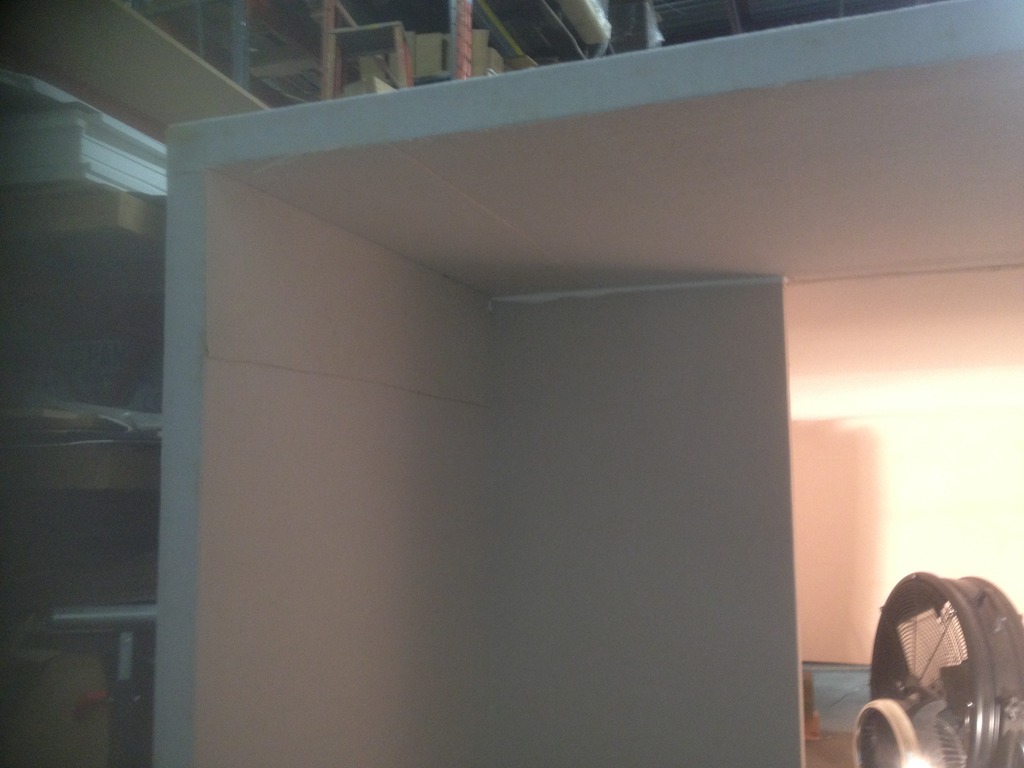
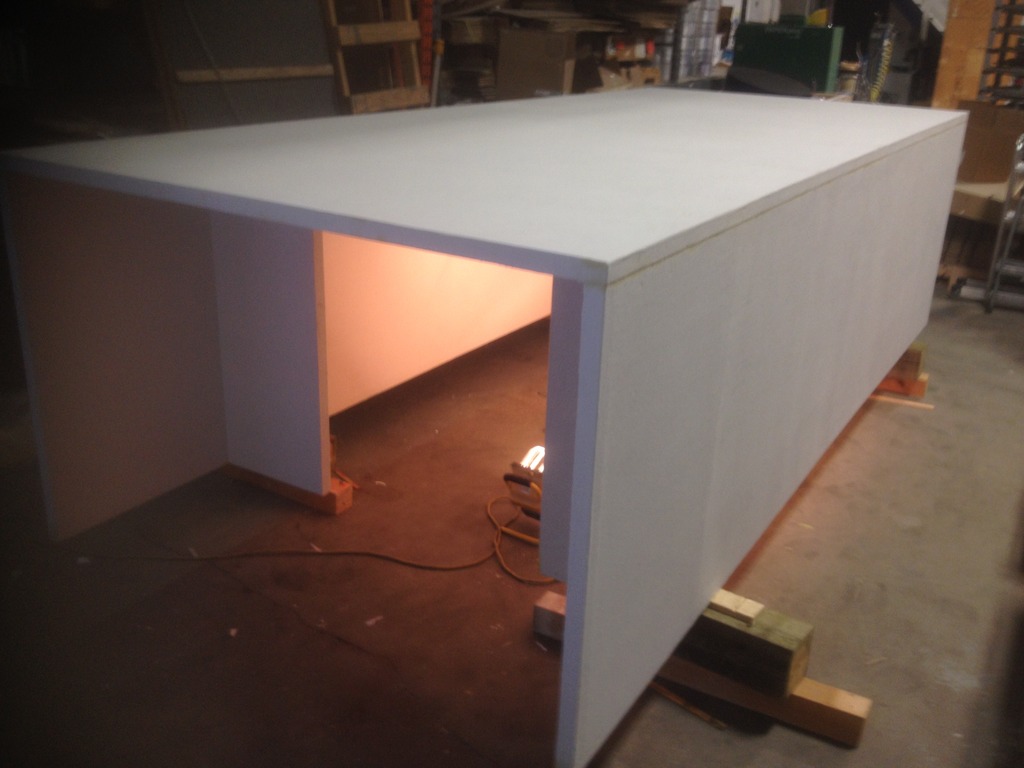
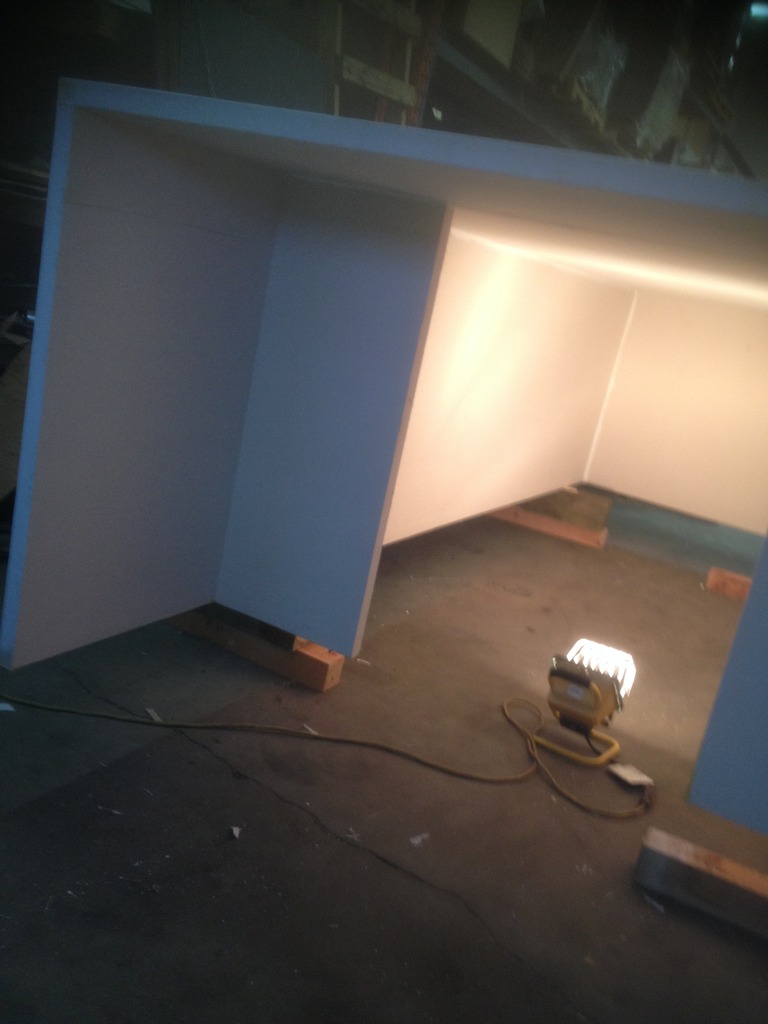
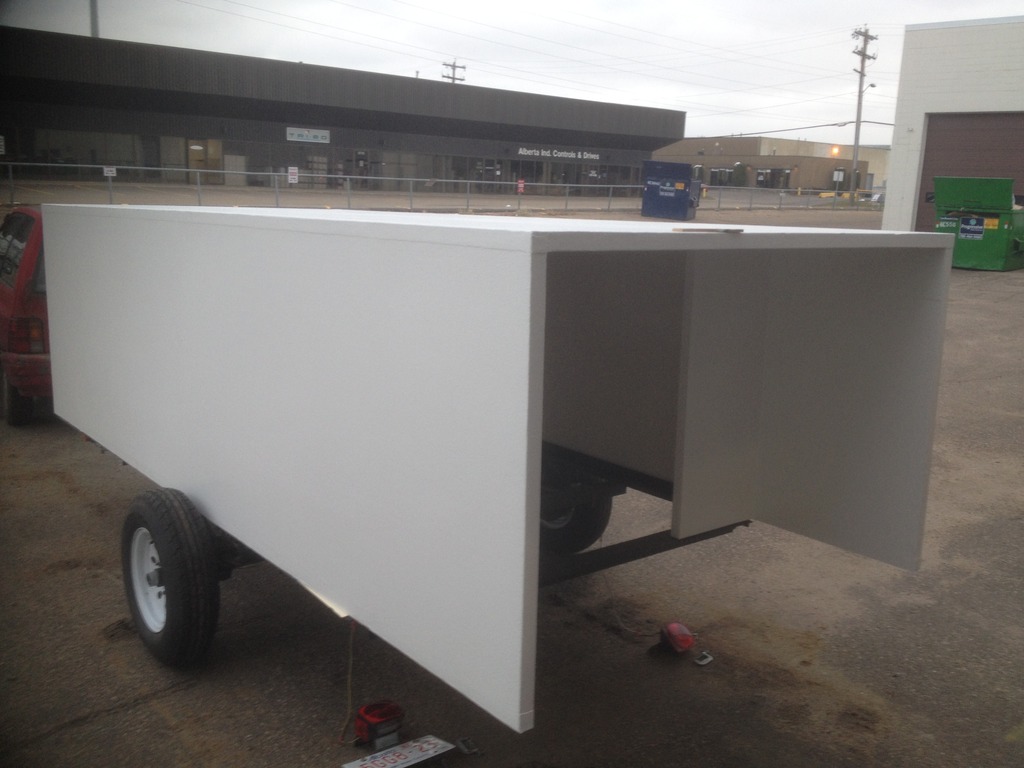
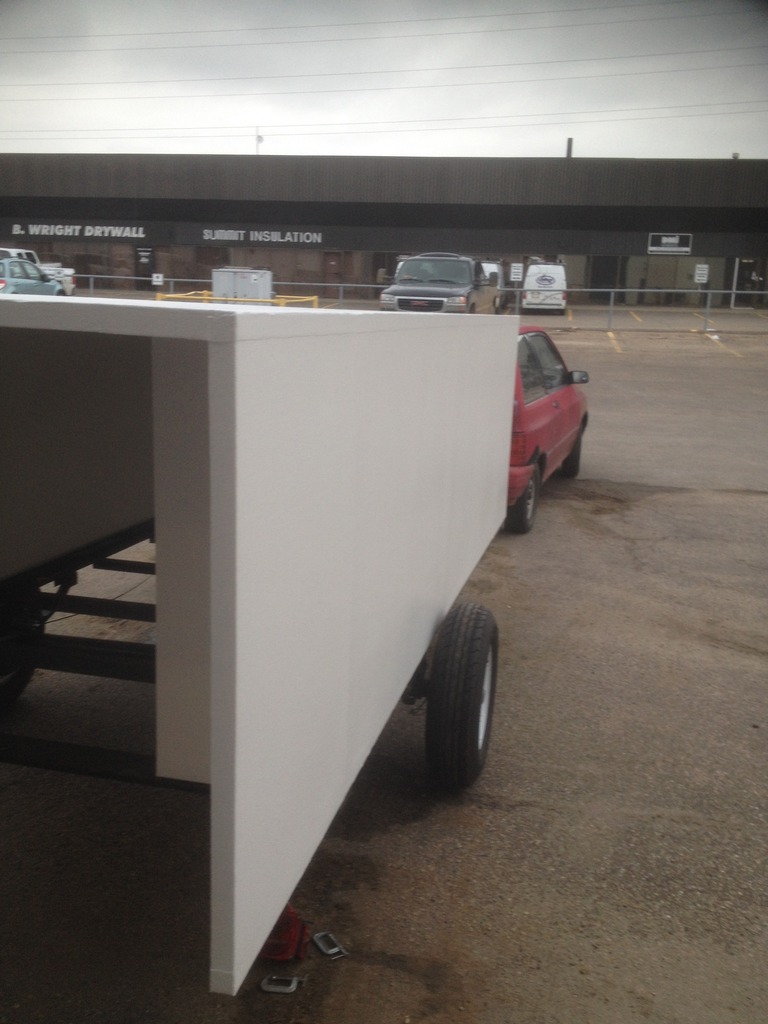
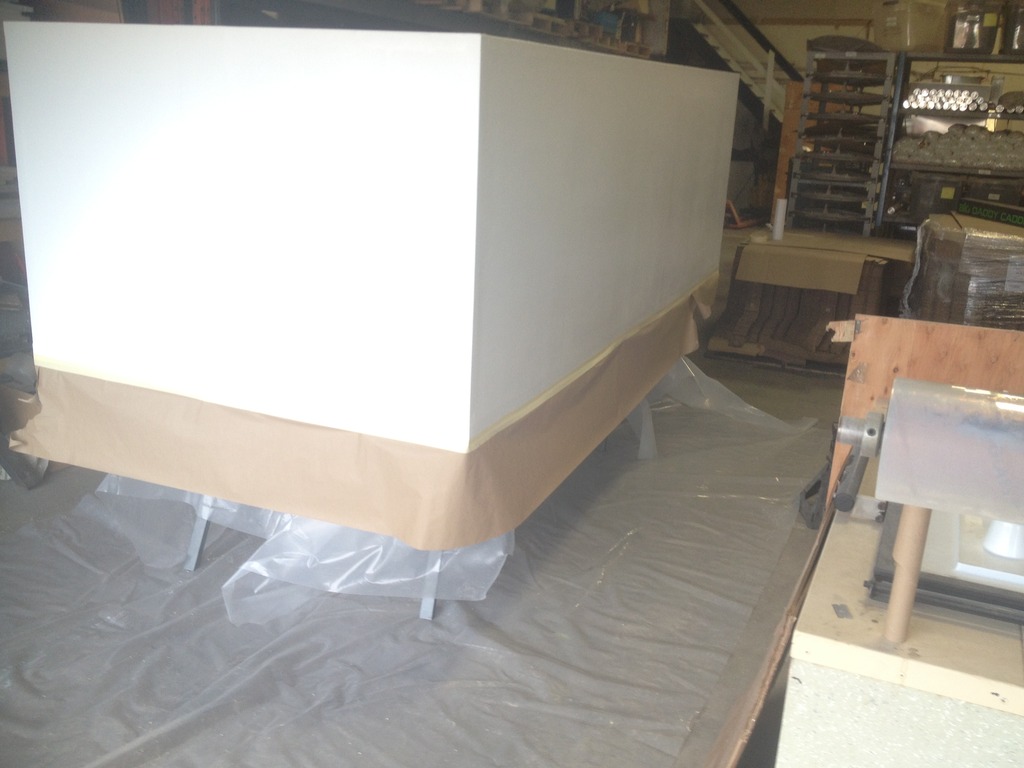
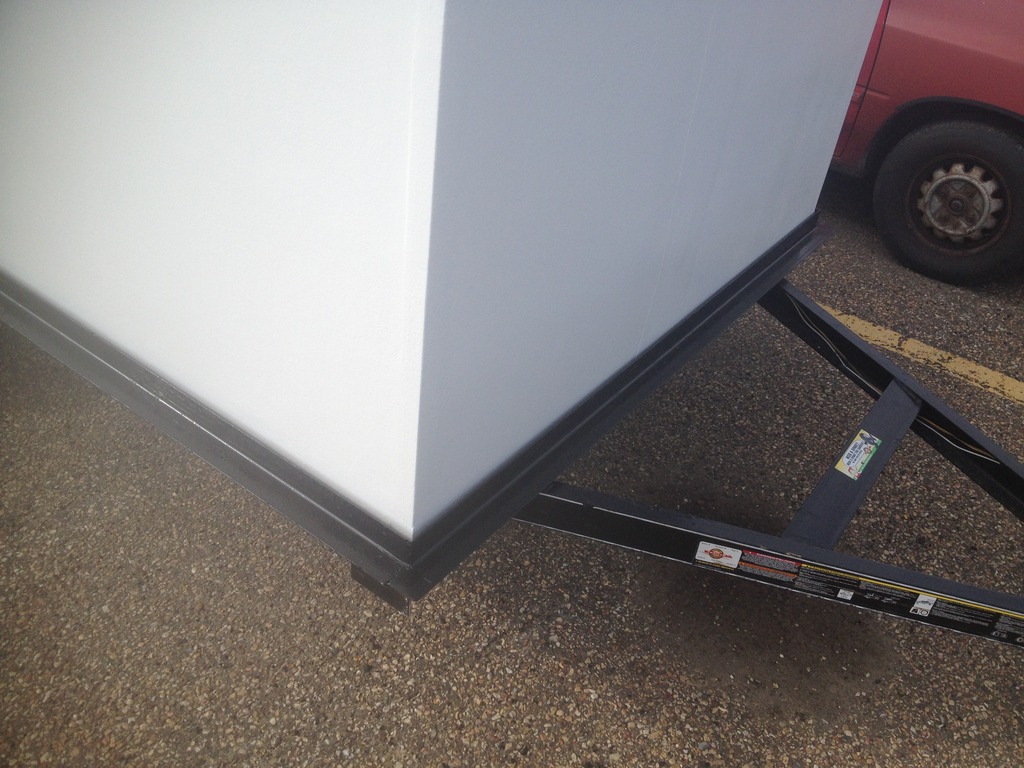
The walls felt quite wobbly but when i secured the back to take it home they were quite strong! I was very suprised. Wobbly yes, but there's no top and i have to build dividers inside which will add lots of strength as will a door.
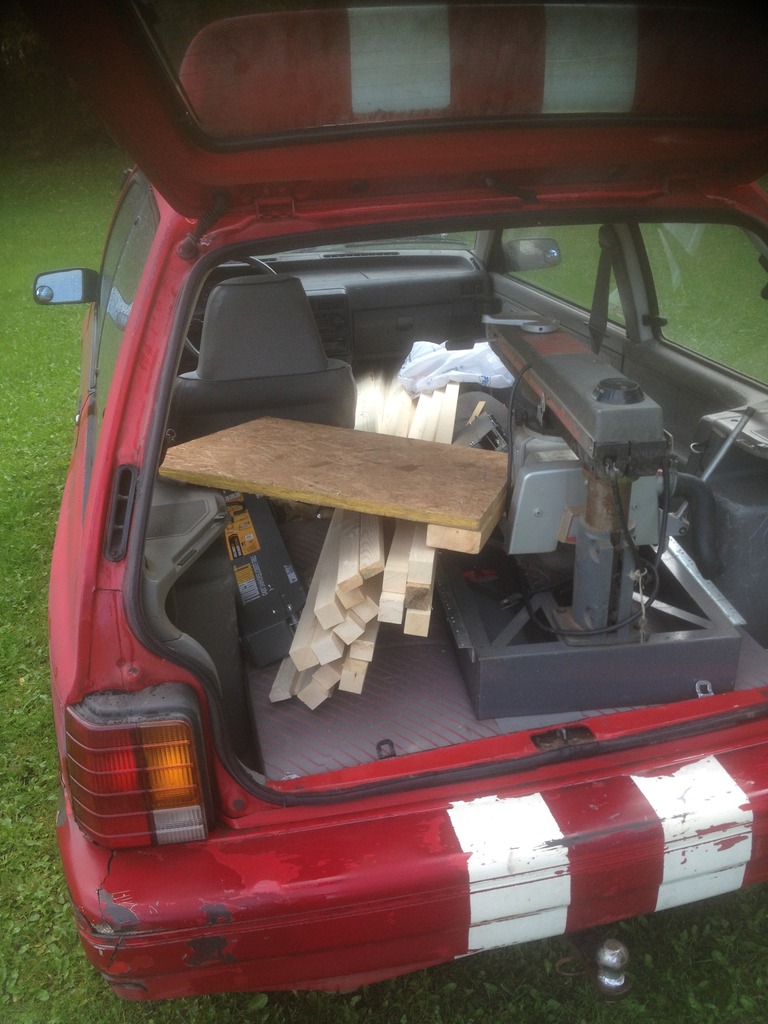
So anyway, heres the photo of that huge mess that was praying the rockgaurd... Ill jut add the one.
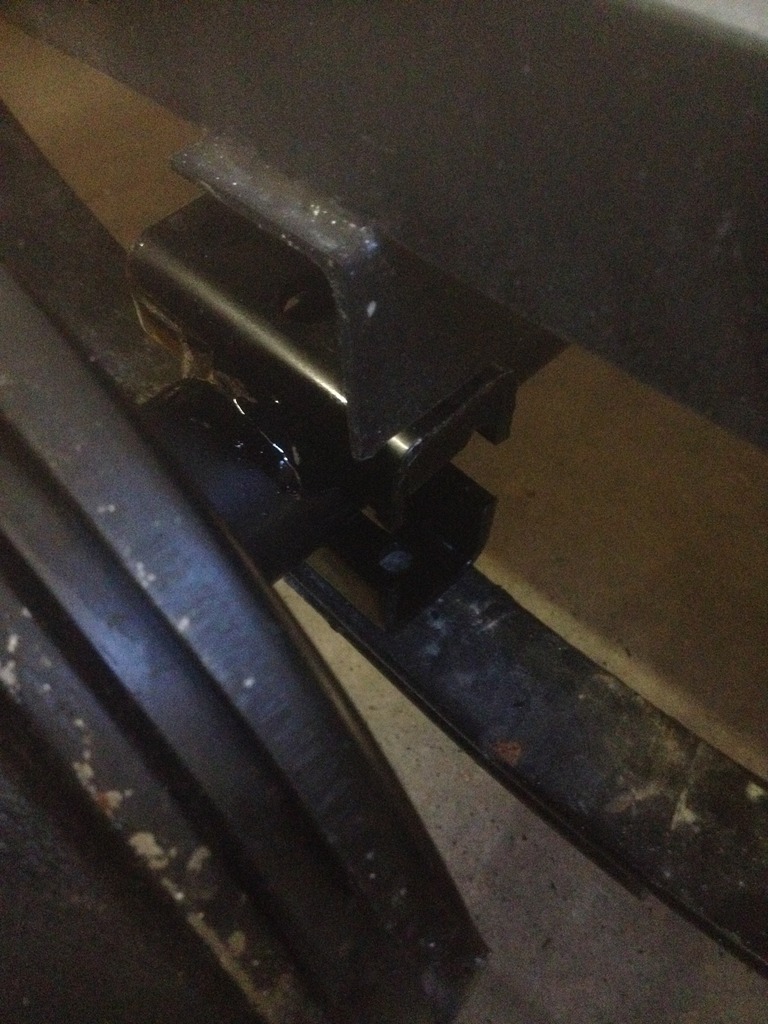
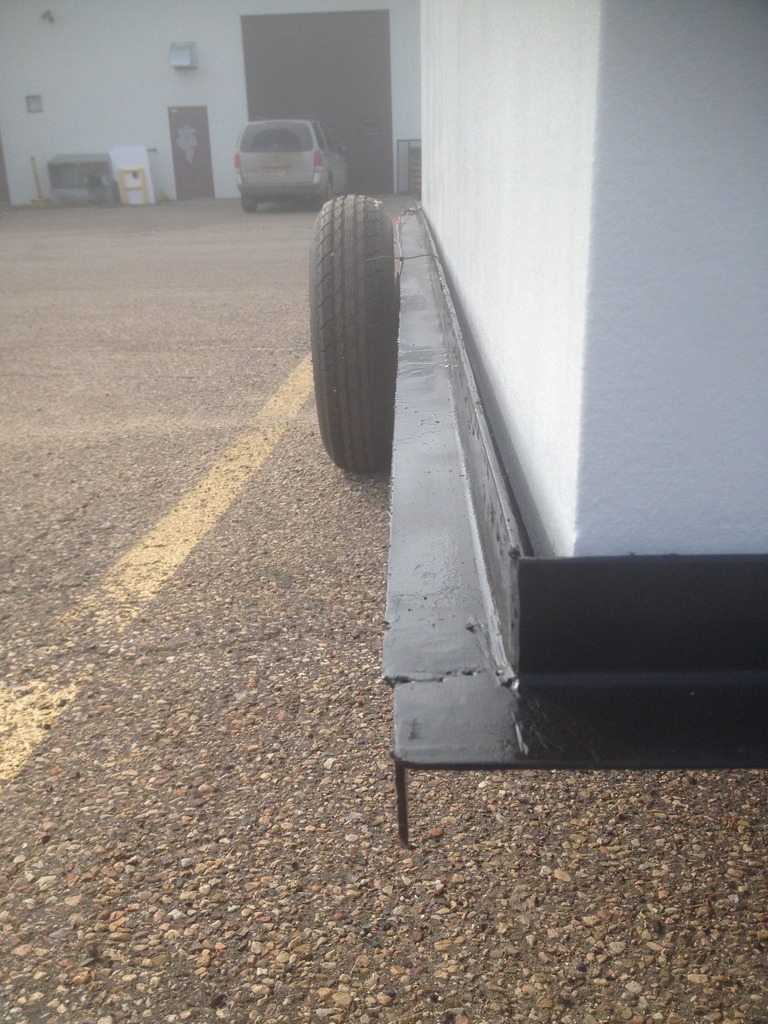
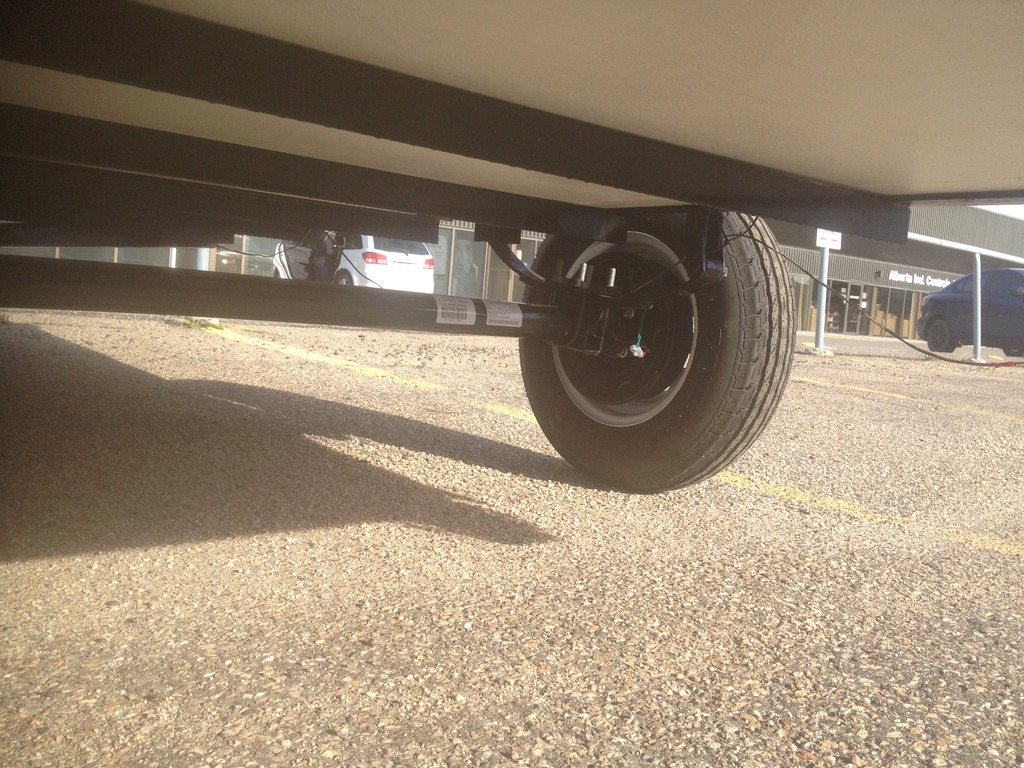
Then i went to put the 3500 pound braked axle on. Whoever built this trailer was very careless and stupid. Tongue is welded wrong, nothing is square, sides are bowed all over, width of the trailer varies from 1/8th under 5ft to 3/4 of an inch over. Thats almost an inch! The axle was 1/4in out of square from the ball, spring hangers welded different distances from eachother one side to the other and one of the angle iron crossmembers is welded directly above the axle. Even if i kept the old axle it probably still would have hit it. With the new axle being bigger it wasnt going to work. I mounted it under the springs for now to get it home, i believe i have to move the axle later and make it square anyway. No time now. I could have build this trailer 100 times better with no experience and way cheaper.
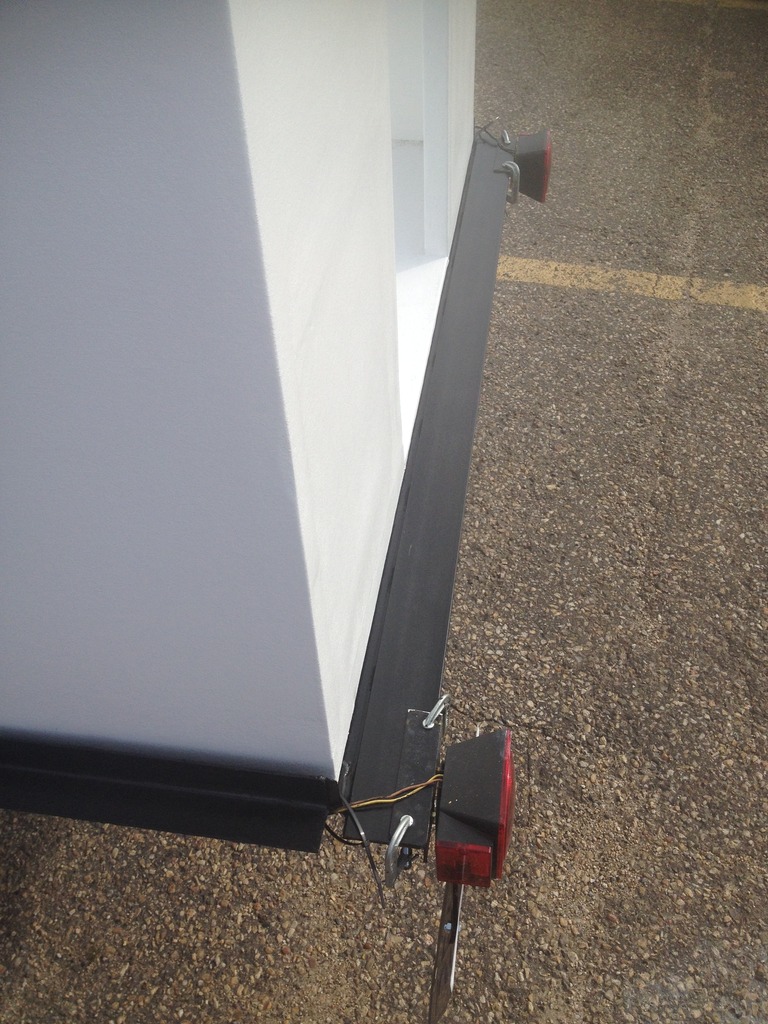
Anyway, then i went to weld my angle iron flange on. Its so that we can use a double/full air matress instead of a twin. And have a little more room inside. Cut up the angle i cut off before because it was going to cost $140 to buy new stuff. That took a while and one place wouldnt call me back on their prices or answer the phone. So i got all my old stuff ready, welded it on and ended up needing a new piece anyway. Went to the place that wouldnt call me and it would have been $50 for the angle... So frustrating to waste time like that. So pieces werent quite long enough, i have to buy some extra later to weld in the gaps i left. No latches yet so i have to weld their brackets later. Didnt decide where the tailights would go so i have to weld that later. Welding that angle on took over 20 hours and added a lot of unplanned weight to the trailer all so we could have a bigger air matress...
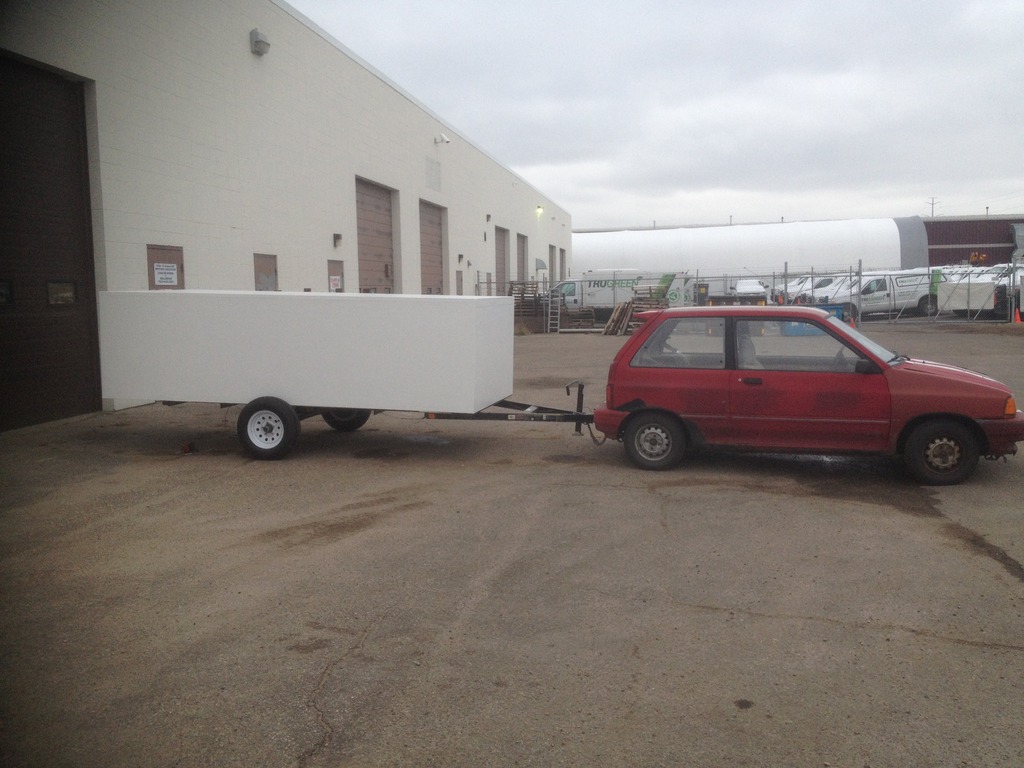
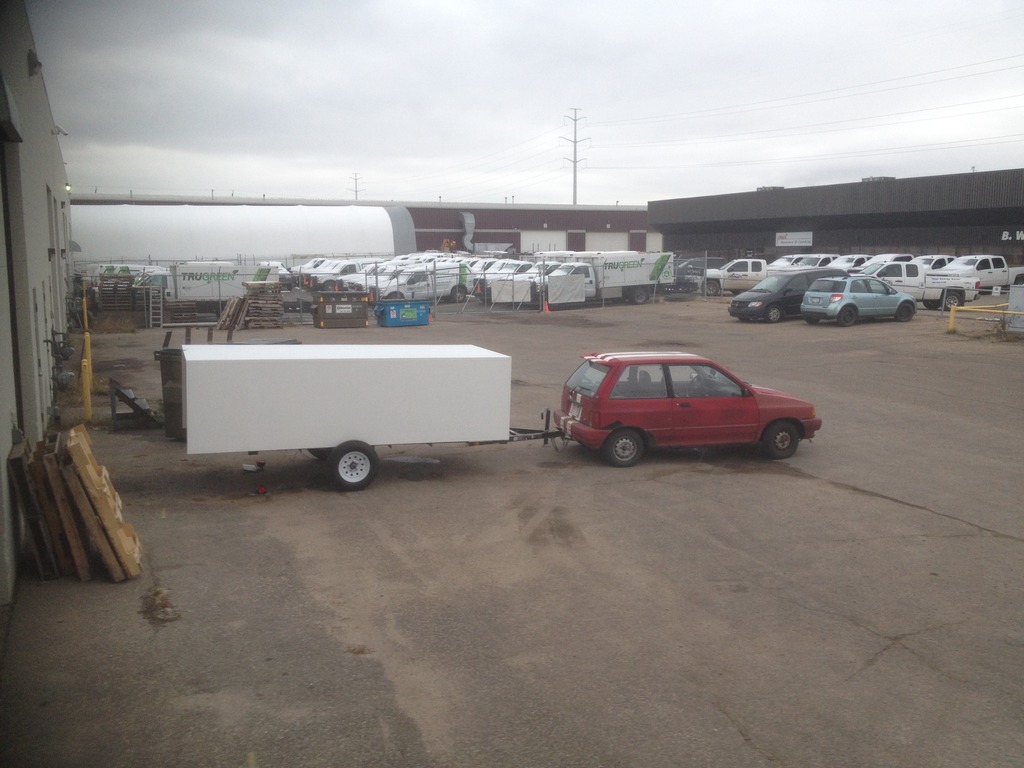
seemed so pointless and stupid. Anyway, its done. That angle and bigger axle added 110 pounds to the trailer which is lame. I did weigh the axles but forgot to write it down. The new one is over 50 pounds heavier than the old one. Anyway, heres some pictures. 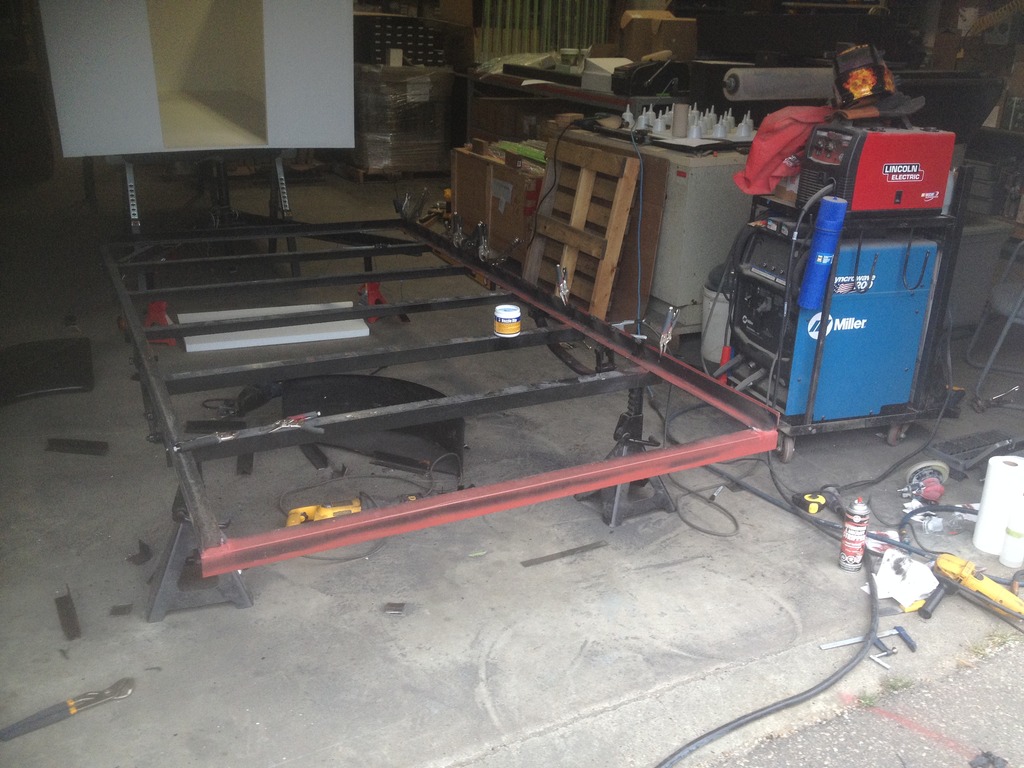
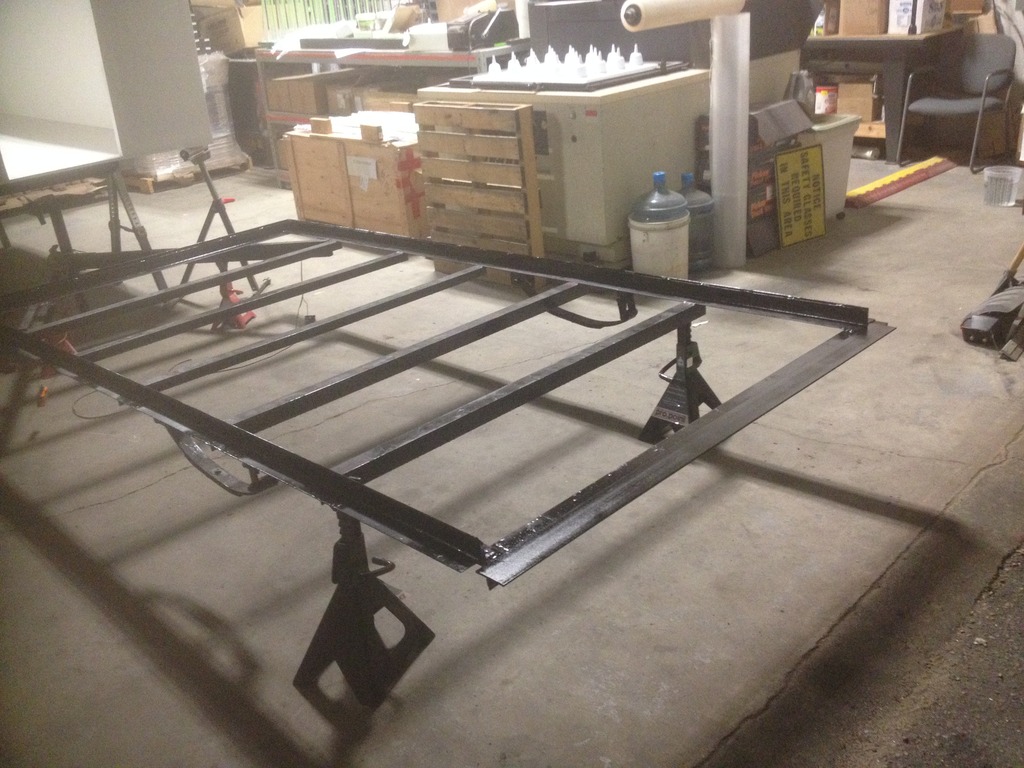
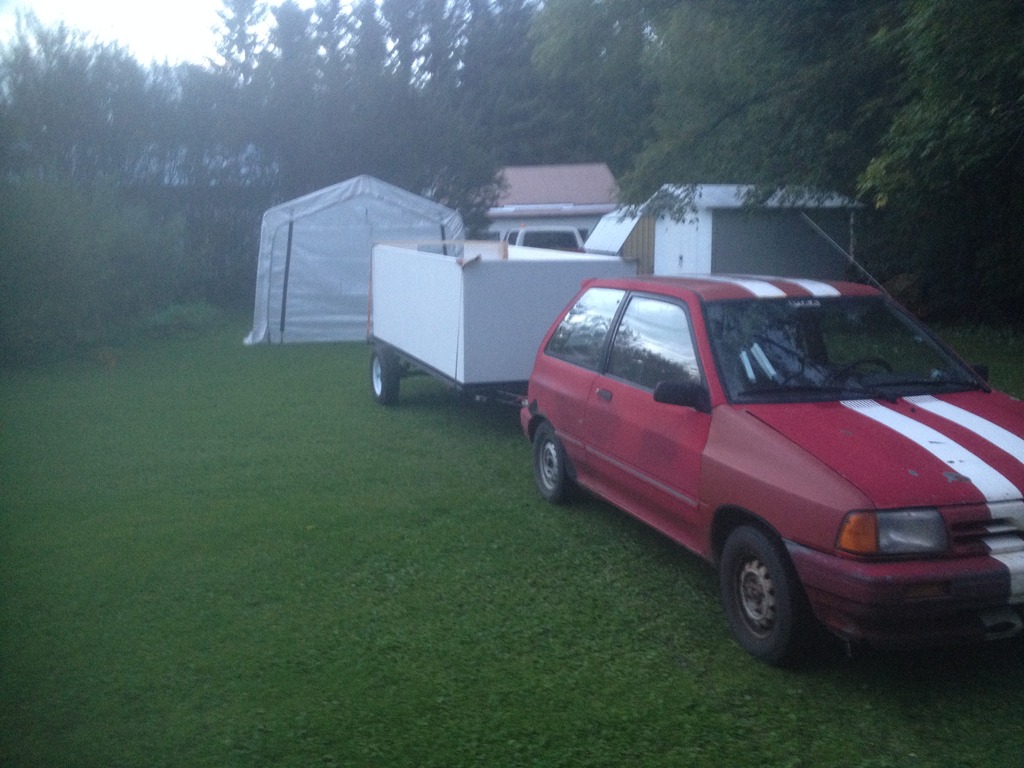
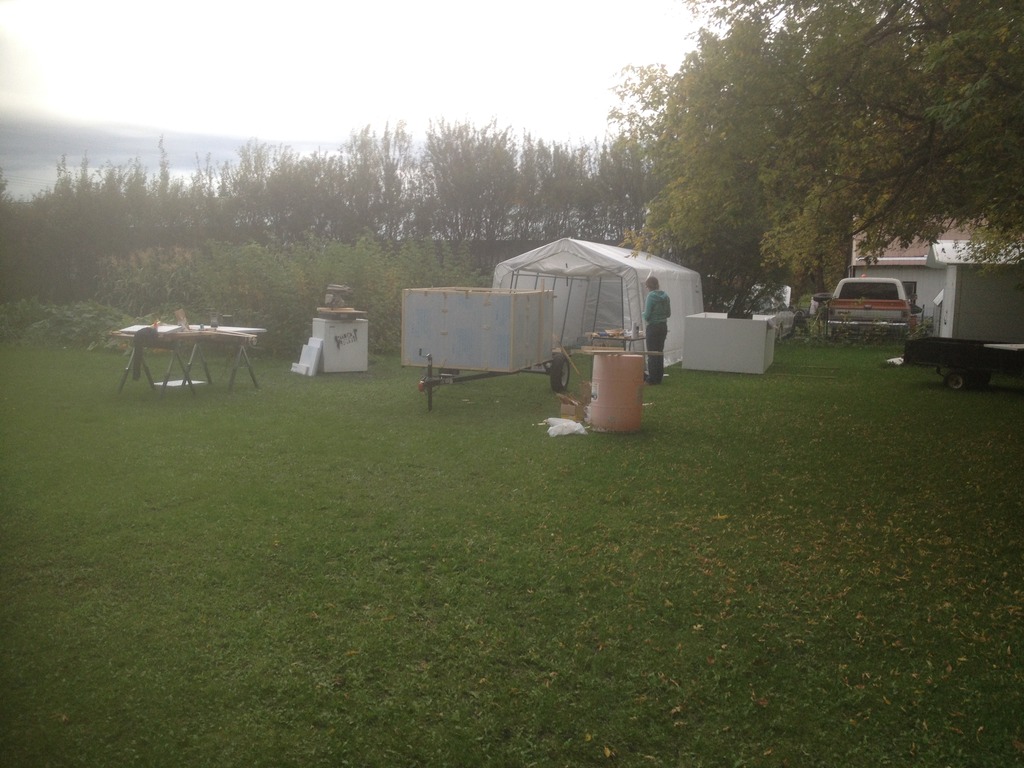
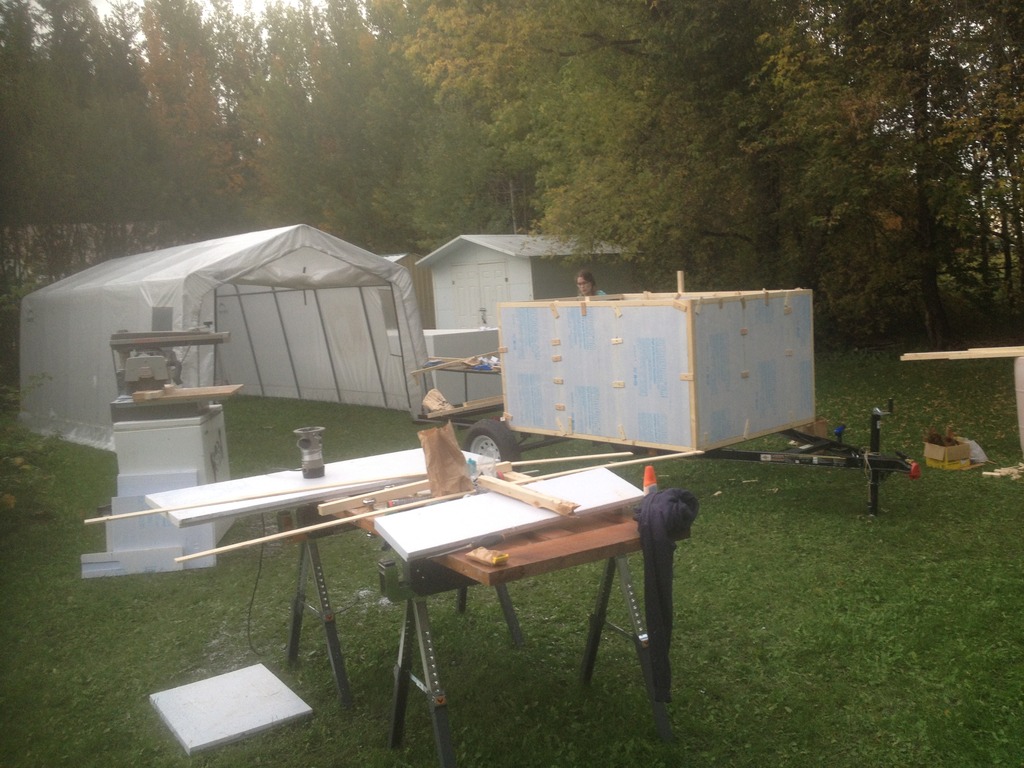
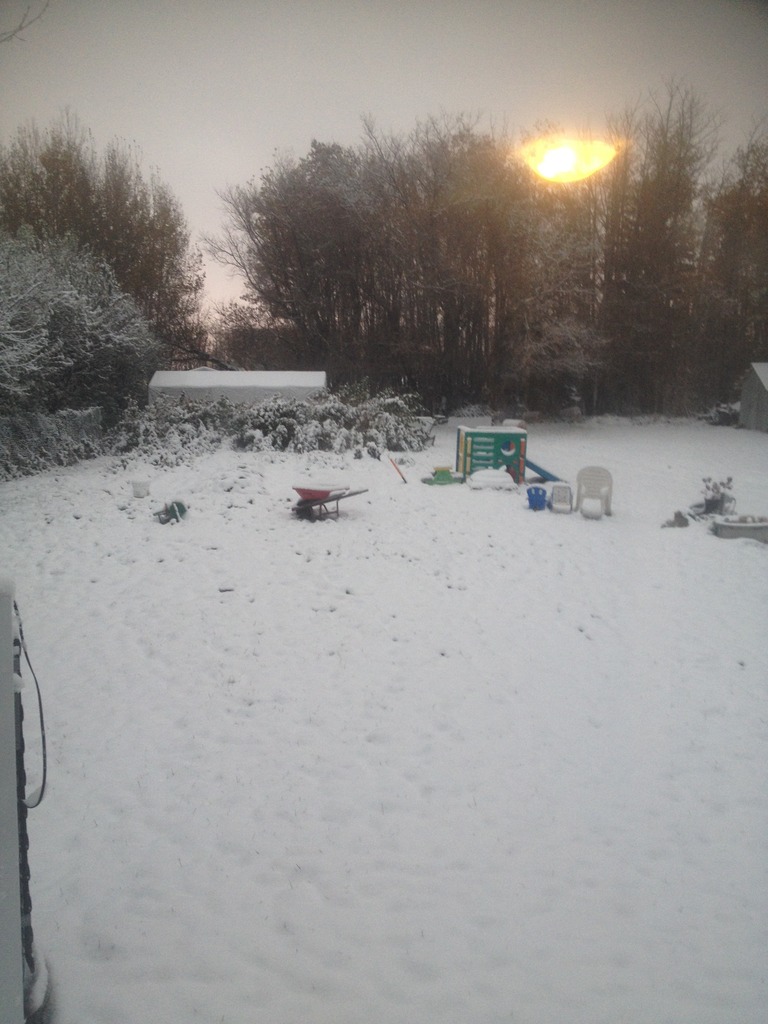
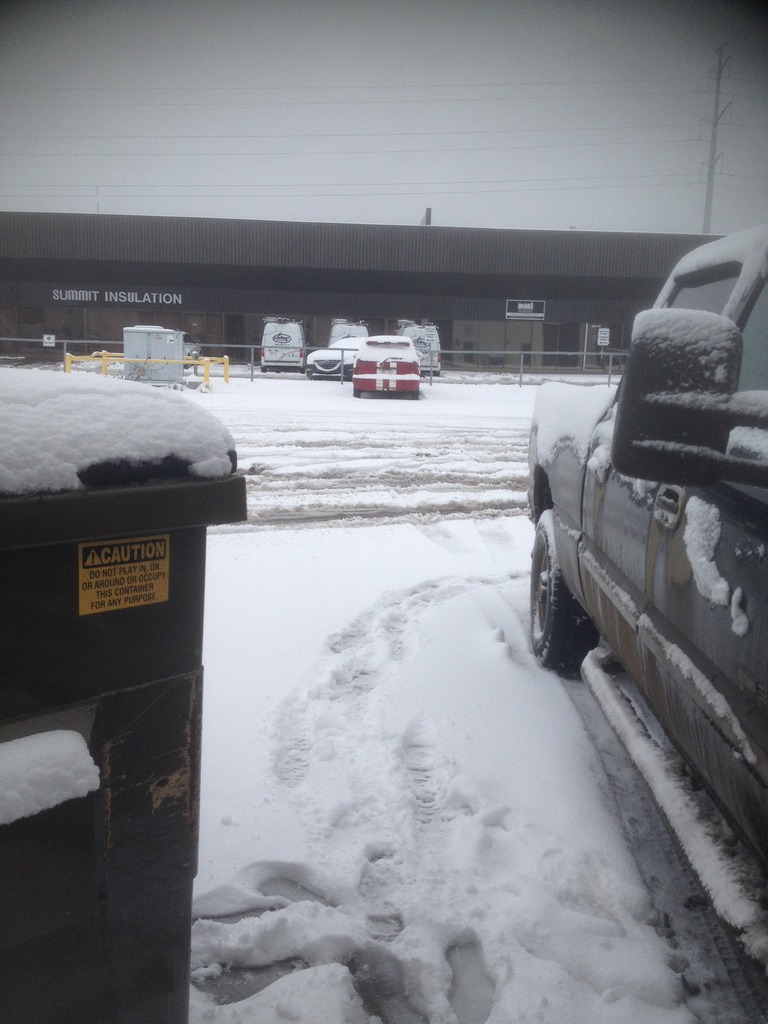
Then i drove 3 hrs total, took a tarp shed apart and brought it home. Set it up on my yard yesterday. We went camping september long weekend here so that took some time. +5 celcius in tents wasnt the most fun ive ever had. High was +14 for that weekend.
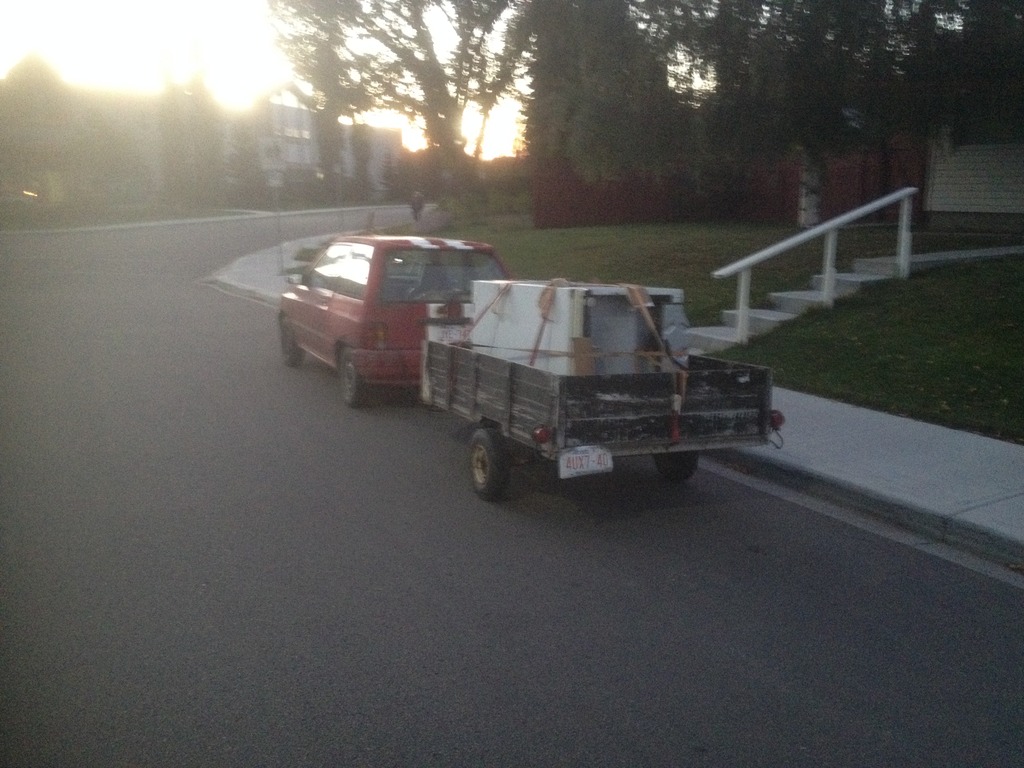
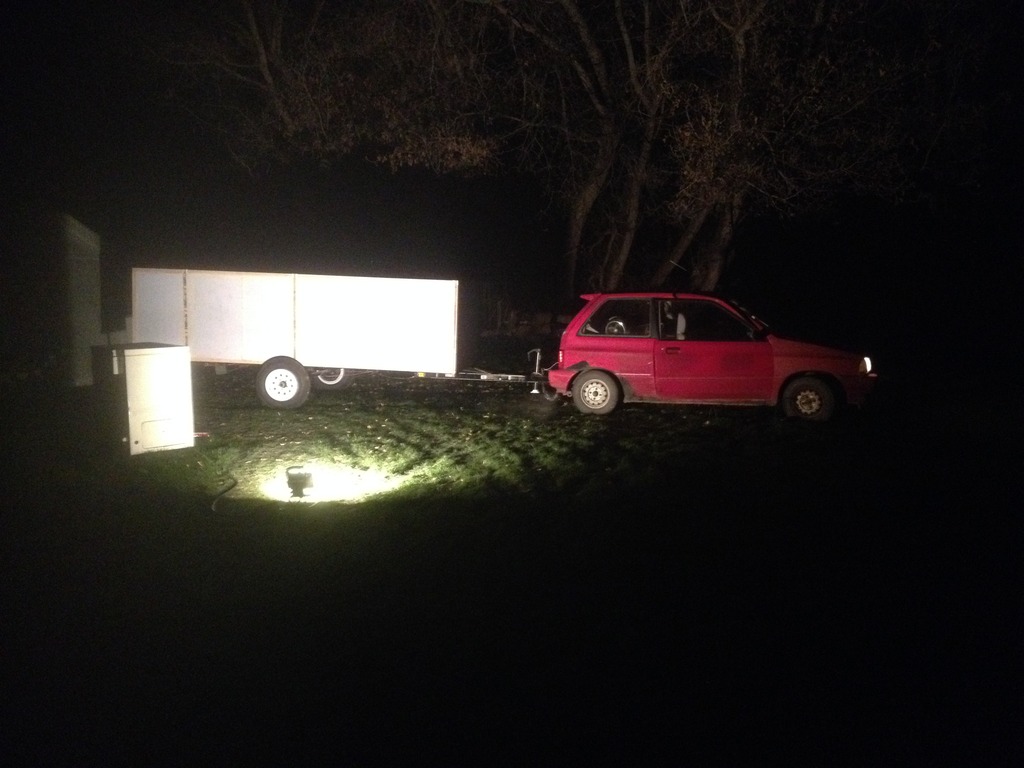
Today im trying to bring this trailer home so i can work on it in this tarp shed.
- dancam
- 500 Club
- Posts: 586
- Joined: Wed Jun 01, 2016 3:27 am
- Location: Edmonton Alberta Canada