This is a lengthy update so please bear with me. I've completed three more items on my critical path toward building the portable walls. Discussions and pics follow:
First, I installed a 1X6 trim board over the existing wood in the short roof walls all around. This board does two things. It covers the existing wood in those wall sections which had some scattered water damage, especially on the front wall. More importantly, the trim board will support the portable walls when they are in place and provide good wood for my yet-to-be-designed top fasteners for the portable walls. I used primed finger joint boards since they were the cheapest option and they really do not take any bending load. The main problem was the fact that the rear wall had bowed out over the years about one inch for some inexplicable reason. I had pulled it in with straps and left them on for two months while spraying the wood with hot water but they sprung back out as soon as I removed the straps. I decided to reinforce the 1X6 on that wall with metal angle. I initially bought some 3/4" aluminum angle hoping it would help and also keep the weight down. When that didn't work, I ended up buying a piece of 3/4" steel angle which took most of the bow out. As you can see in the pics, I installed both angles on the 1X6. It still bows out about 1/4" now but I can live with that.
Before - rear wall bowed out about 1" in the middle.
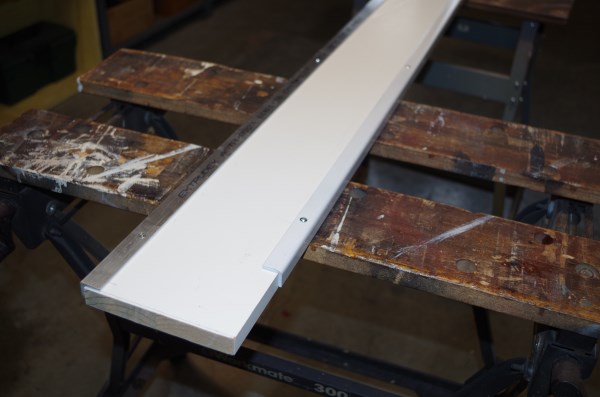
I installed 3/4" aluminum angle on top and 3/4" steel angle on the bottom of the new 1X6 trim board.
After - when installed, the board with the metal angles pulled the wall in about 3/4" leaving only about a 1/4" bow.
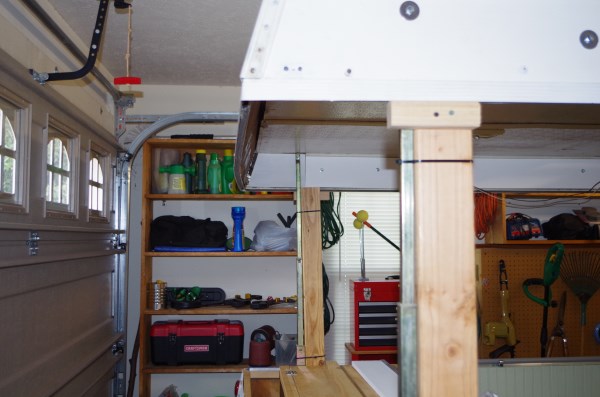
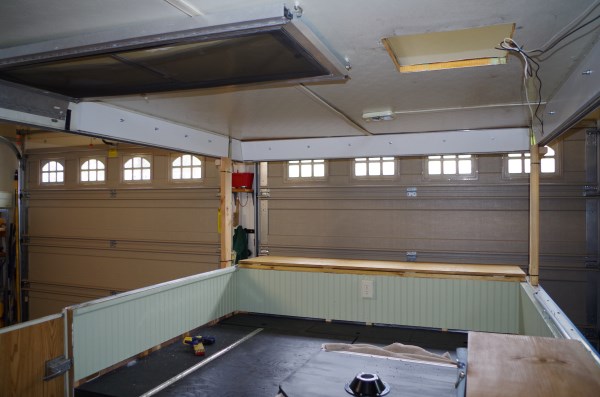
General view of new trim boards looking toward the front.
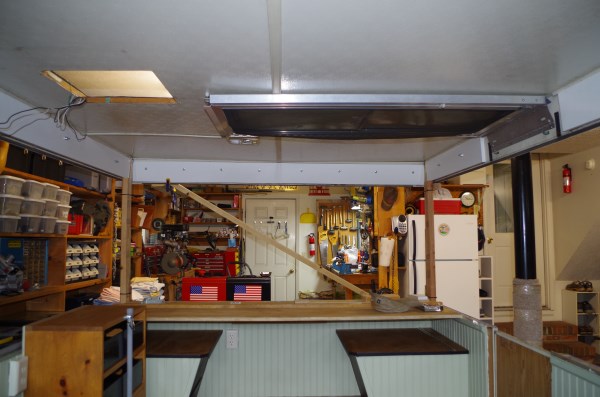
General view of the new trim boards looking toward the rear.
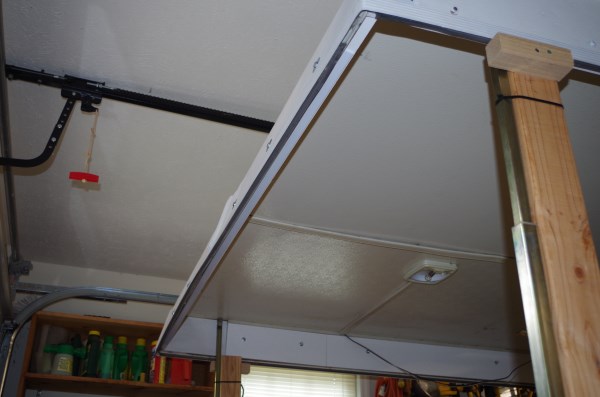
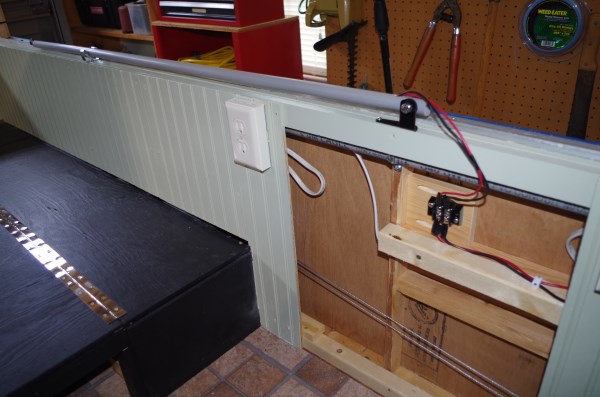
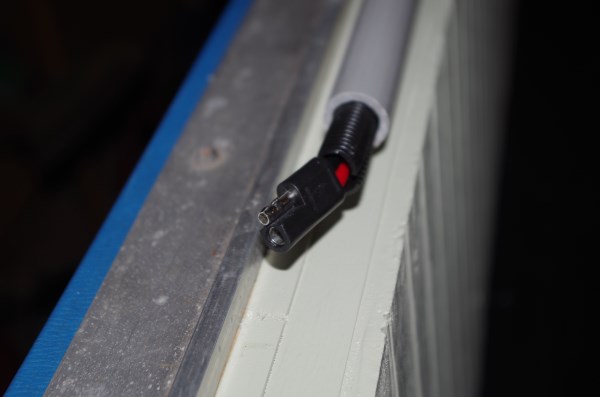
Another innovative thing I accomplished was the construction of a hinged mast to carry the DC wiring up to the roof for the overhead lights and Fantastic Fan. The original pop-up simply had the wires dangling and they stretched out as the roof was raised. I didn't want a messy wiring bundle visible so I decided to construct a mast that will store along the wall when the roof is down and will pivot up 90 degrees and fasten to the roof when the roof is raised. The DC wiring comes up from my load center under the dinette seat, through the wall and into the bottom of the mast. I used a terminal block to tidy up the connections. The wires will connect at the top using a two prong connector similar to the connectors for trailer lights (see pics). I can't show the mast in its fully raised position right now since the roof cannot be raised fully inside the garage.
Wires run from the load center under the dinette seat through the wall to a terminal block and then up through the mast which is simply a piece of 3/4" plastic conduit.
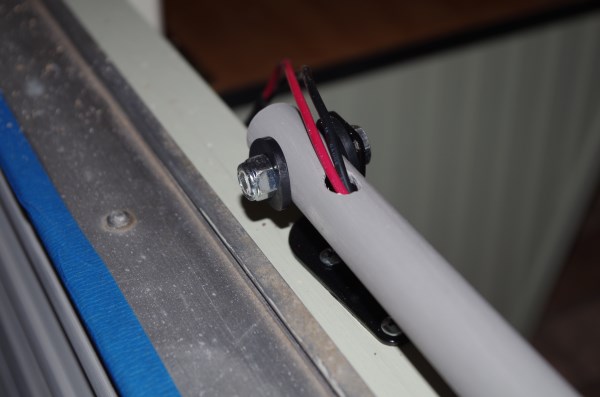
The mast pivots on a simple hinge made from scrap parts in my junk drawer.
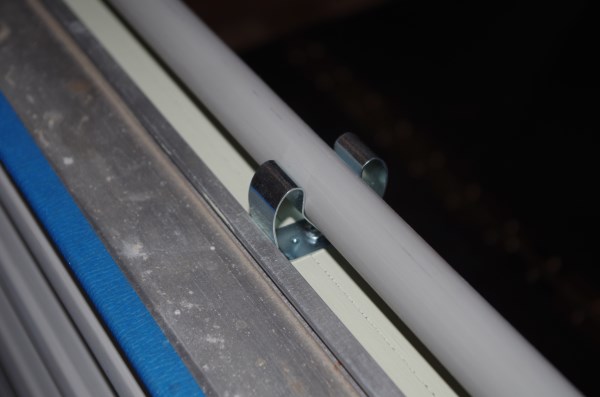
Mast stores when down along the top of the wall and secures in a broom handle clip. A similar clip will secure it to the roof in the raised position.
Wires will connect at the top using a simple two prong connector similar to those on trailer wiring.
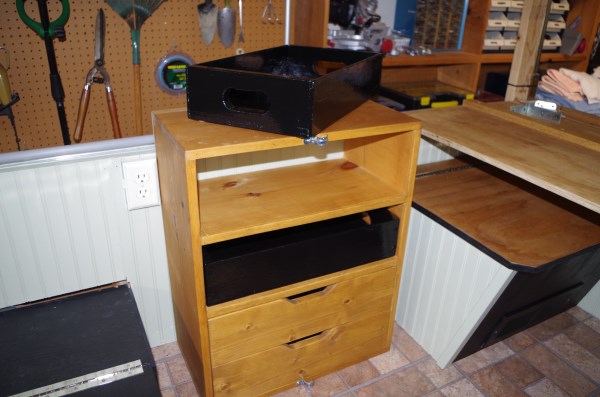
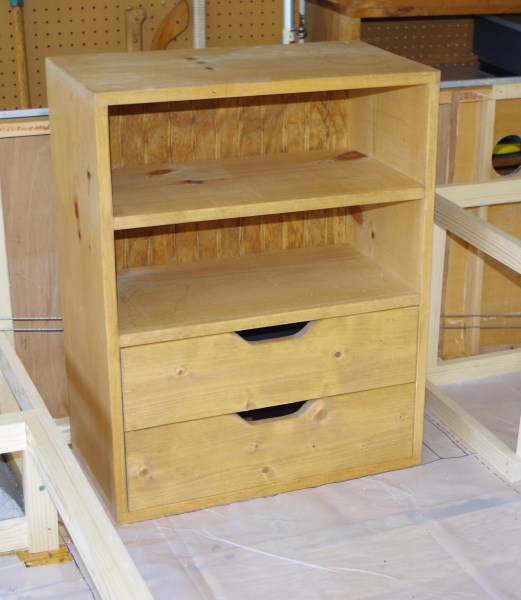
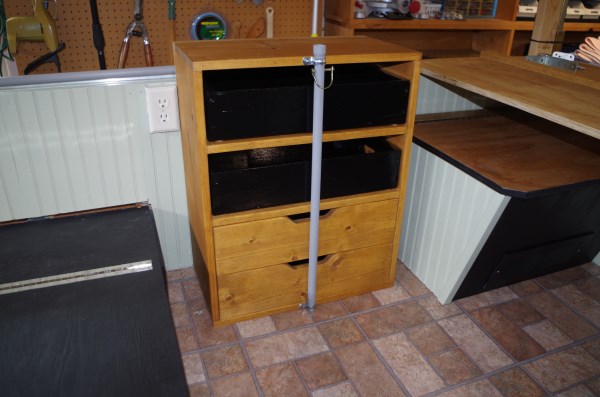
My last item is the cabinet that will serve as the galley with storage for cooking utensils. I decided to use an old shelf that I had built years ago for another project that I no longer needed. It already had two drawers and two shelves so I built a couple of trays to fit in the shelves for items that may be removed when cooking outdoors. We usually do most of our cooking outdoors and this cabinet will only be used on rainy days or for the early morning coffee pot. I used a piece of 3/4" plastic conduit and a couple of conduit straps with a spring latch to secure the drawers and trays while traveling. Everything you see here was made from leftover materials and stuff from my junk drawer and literally cost me nothing.
This is the cabinet before modifications.
This is the cabinet after installing the trays and the travel locking rod.
Cabinet with locking rod removed for access to trays and drawers.