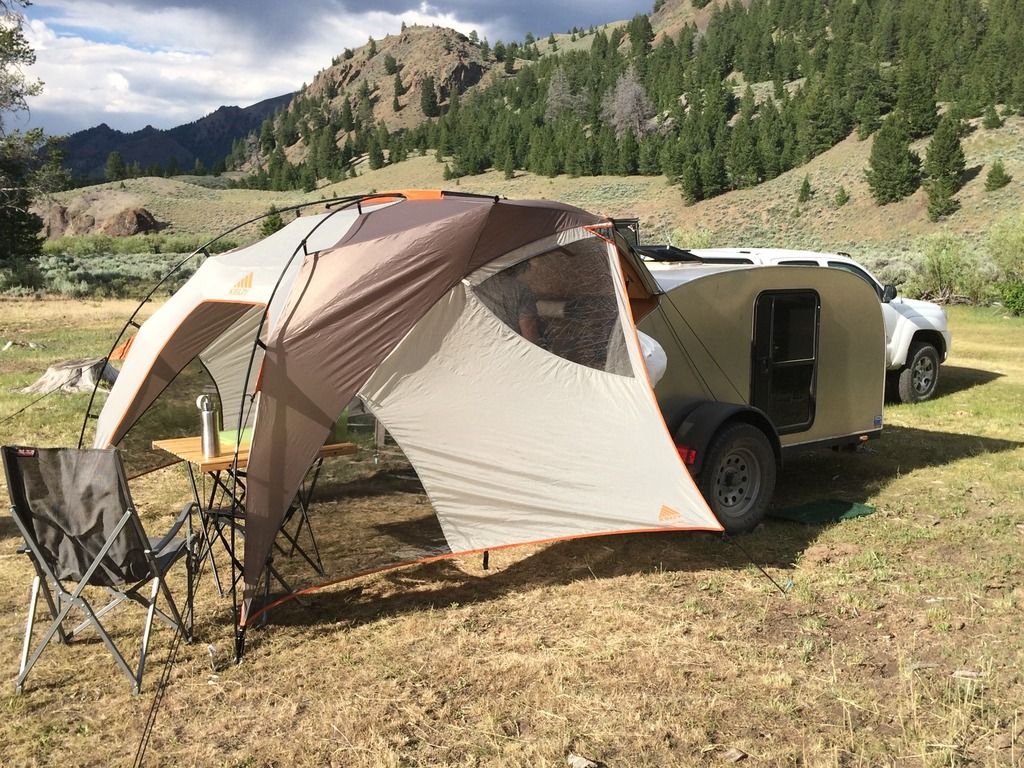
Fabricating the Ultimate Galley Tent
66 posts
• Page 2 of 5 • 1, 2, 3, 4, 5
Re: Fabricating the Ultimate Galley Tent
Are you going for something like these? I like the idea of a canopy tent and a secondary room. DIY seems like the way to go at those prices though.
http://www.oztent.us/products/tent-range/oztent-range
http://www.oztent.us/products/tent-range/jet-tent-range
http://www.oztent.us/products/tent-range/oztent-range
http://www.oztent.us/products/tent-range/jet-tent-range
-

DWT77 - The 300 Club
- Posts: 341
- Images: 473
- Joined: Thu Apr 07, 2016 5:52 pm
- Location: Oklahoma
Re: Fabricating the Ultimate Galley Tent
Those OZ tents are definitely top flight, but mine will look a lot more like a tall screen house with smaller screened areas and a sleeve at the back to seal/close off the teardrop forward of the galley hinge.
- Dusty Mark
- Teardrop Master
- Posts: 210
- Images: 395
- Joined: Mon Feb 29, 2016 6:57 pm


