I finally came up with a good design to seal the galley sleeve to the side of the camper and make it more weather and bug proof. I opted to completely redo the sleeve, ripped it off the main tent, and started over with heavier Top Notch 9 polyester material. Wow is that nice material, but I believe it's too heavy to make the whole tent from it.

I'm using tent poles to support the sleeve so it mostly keeps its shape even when the galley door is closed. I used 3/4" aluminum tubing and formed a bracket that receives the 7/8" tent pole tubing. I cut slots in the 3/4" tubing, heated it with a torch and bent the tabs to 90 degrees to create a way to fasten the bracket inside the hurricane hinge track.
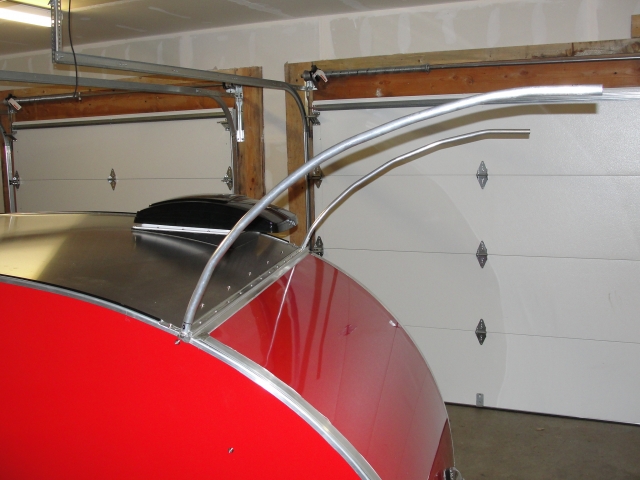
Here the sleeve poles are resting on top of the brackets.
This footman loop, on the driver's side, holds a piece of 1" webbing to adjust and support the sleeve pole.
The corresponding footman's loop on the passenger's side.
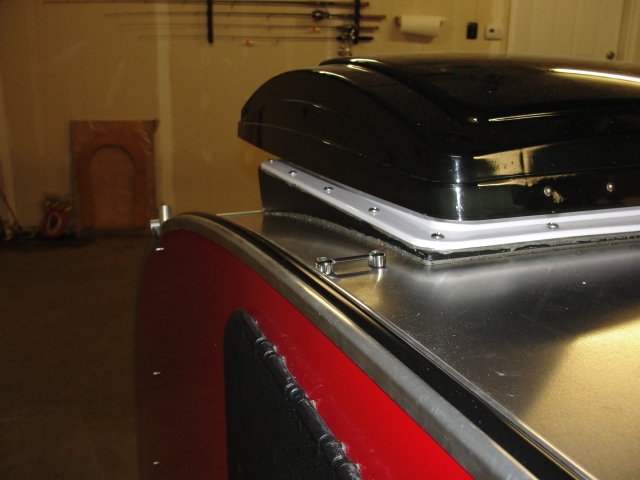
Snaps installed across the top of the galley roof and down the driver's side wall.
Snaps installed on the passenger side wall.
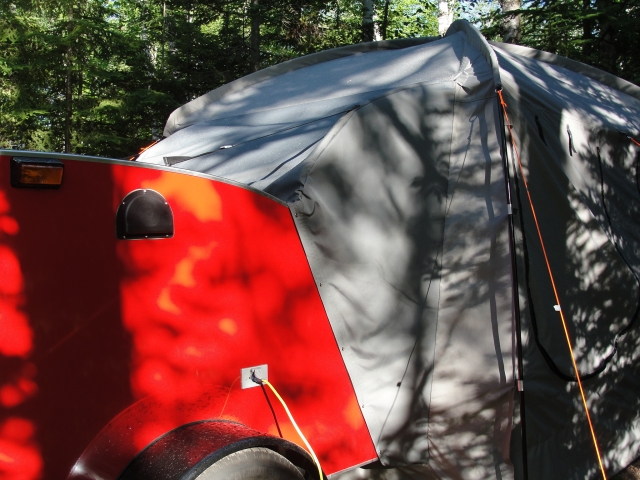
Driver side view of sleeve attached to camper. The ground was sloping up at this site so there is a little bit of material bunched up at the base of the hinge. I sewed a sleeve for the pole midway up where the strap connects. I also sewed an open sleeve where the galley sleeve meets the tent body. Leaving it open allows the pole to slide further into the tent when the tent is pitched on an upslope and we still level the camper.
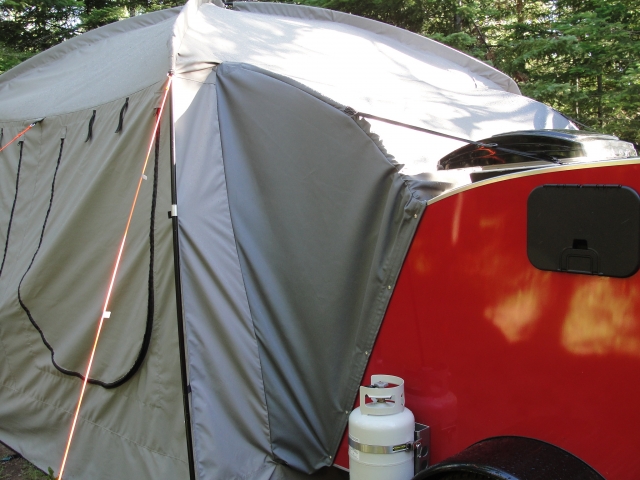
Passenger side view of galley sleeve.
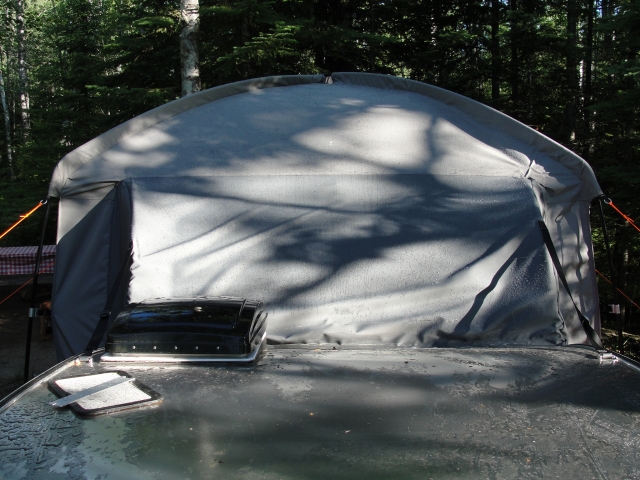
The galley lid is closed in this picture. Notice that the sleeve mostly maintains its shape even without the lid supporting it in the middle. I could install a third pole in the center, but I'm going to use it this way for a while first.
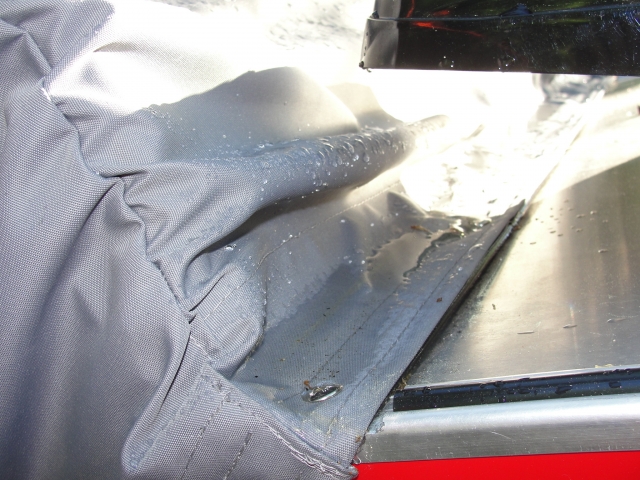
Water pooled here a bit after a pretty good rain shower, but it did not come through the sleeve.
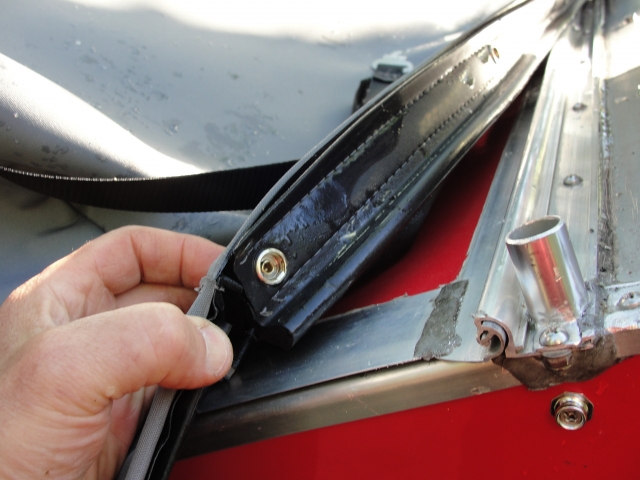
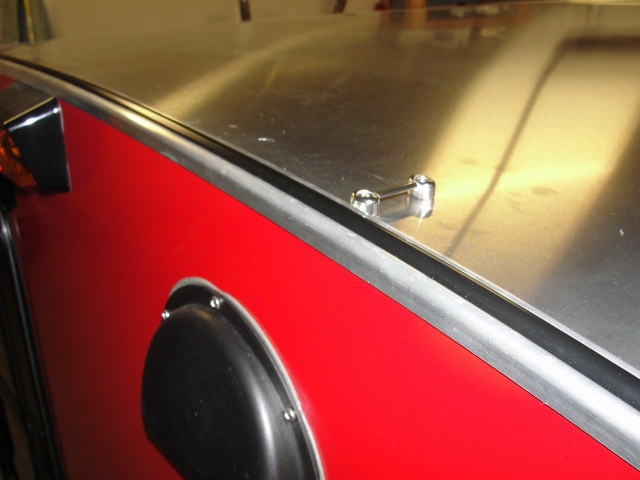
This weather stripping is amazing. I installed pull-the-dot snaps every 10" to hold it in place. This is very effective!
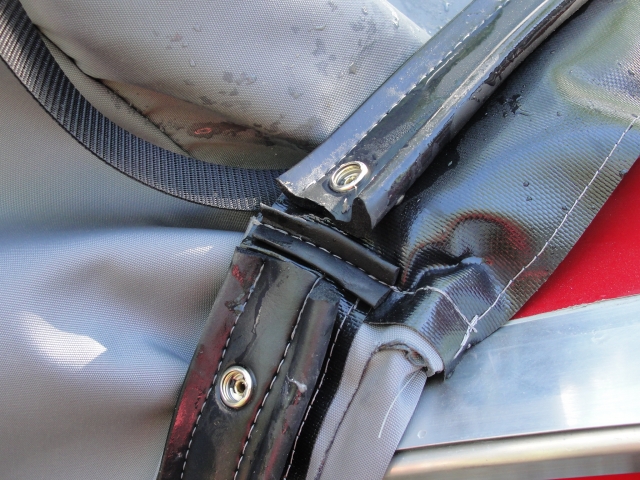
A closer look at the corner. I sewed a layer of Shelter-Rite material under the weather stripping. I saw this on a Sail Rite Kits video and decided to give it a try. I like the way it turned out.
I sewed a strip of velcro to the bottom edge of the tent that borders the bumper. I installed self-stick Velcro on the back side of the bumper. This provides an effective means to seal off the bottom edge of the galley sleeve. I could install a couple of snaps, but will just use it with the Velcro for now.
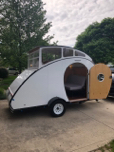
I'm very happy with how fast we can pitch the tent. The galley sleeve looks like quite the "operation", but it goes on without much effort. Other campers stop by to check out our set-up and we're getting a lot of good feedback on the design. Attempting to make the "ultimate galley tent" was an epic quest, but it proved successful after investing way more time and money than I anticipated.
 Good Job! When you get to your camping spot, would you please take a picture of the inside of your lovely tent, in use, with the rug down? We'll want to see how you clipped the rug to the tent, too Thanks!