Yet to be named build log
61 posts
• Page 4 of 5 • 1, 2, 3, 4, 5
Re: Yet to be named build log
![]() by KCStudly » Tue Mar 21, 2017 6:06 pm
by KCStudly » Tue Mar 21, 2017 6:06 pm
Got it.
KC
My Build: The Poet Creek Express Hybrid Foamie
Poet Creek Or Bust
Engineering the TLAR way - "That Looks About Right"
TnTTT ORIGINAL 200A LANTERN CLUB = "The 200A Gang"
Green Lantern Corpsmen
My Build: The Poet Creek Express Hybrid Foamie
Poet Creek Or Bust
Engineering the TLAR way - "That Looks About Right"
TnTTT ORIGINAL 200A LANTERN CLUB = "The 200A Gang"
Green Lantern Corpsmen
-

KCStudly - Donating Member
- Posts: 9640
- Images: 8169
- Joined: Mon Feb 06, 2012 10:18 pm
- Location: Southeastern CT, USA
Re: Yet to be named build log
![]() by MIB66 » Sun Apr 09, 2017 8:23 am
by MIB66 » Sun Apr 09, 2017 8:23 am
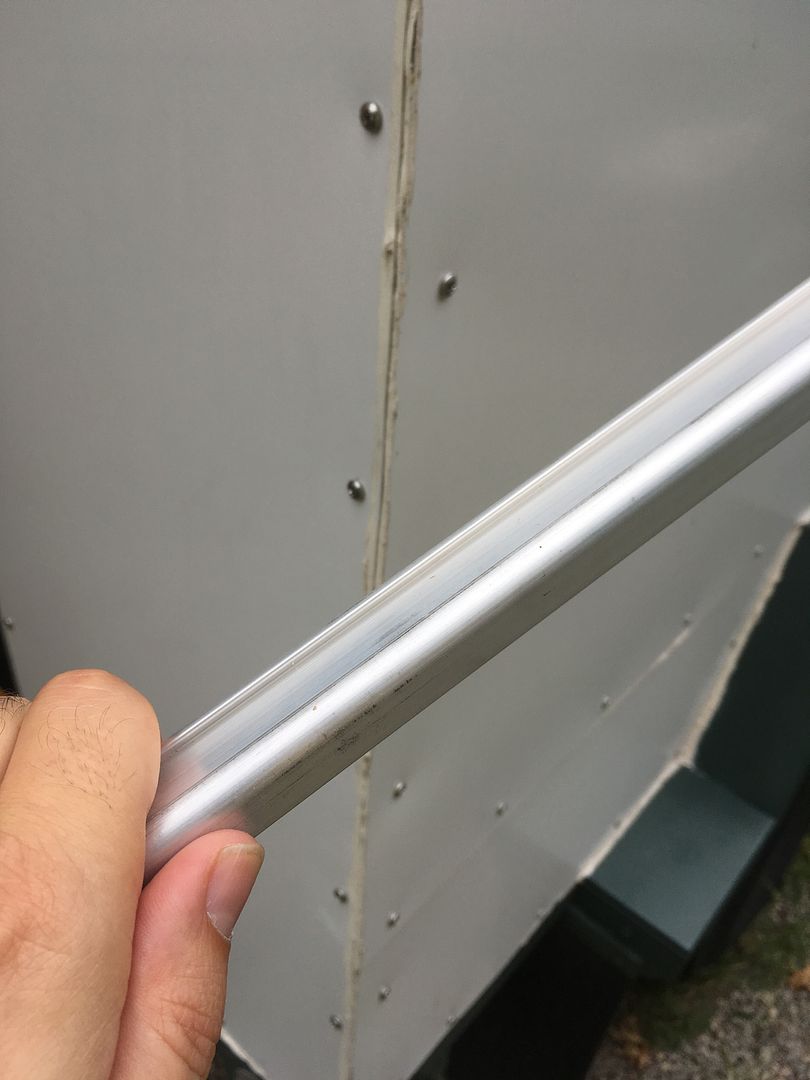
Got quite a bit of work done in the last 2 weeks. Finished all the frame peices, prepped it for travel, had the foam blown in, and in 2 hrs time, skinned the whole roof. Hoping this weekend to finish trimming the roof down, & filling the screw holes in prep for fiberglassing. Glassing to begin in 2 weeks. In the interum, I'll start work on the galley hatch frame.
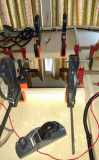
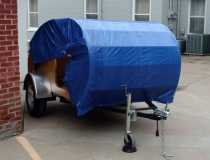

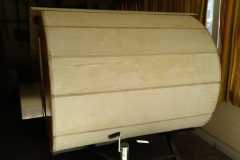
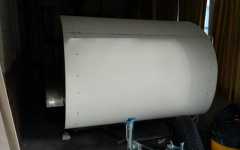
The last two pics give a pretty good idea of how small my work space is.
David
The last two pics give a pretty good idea of how small my work space is.
David
- MIB66
- Teardrop Builder
- Posts: 46
- Images: 40
- Joined: Sat Sep 27, 2014 3:50 pm
- Location: Galena, Illinois