Thanks Coventrykid for the info.
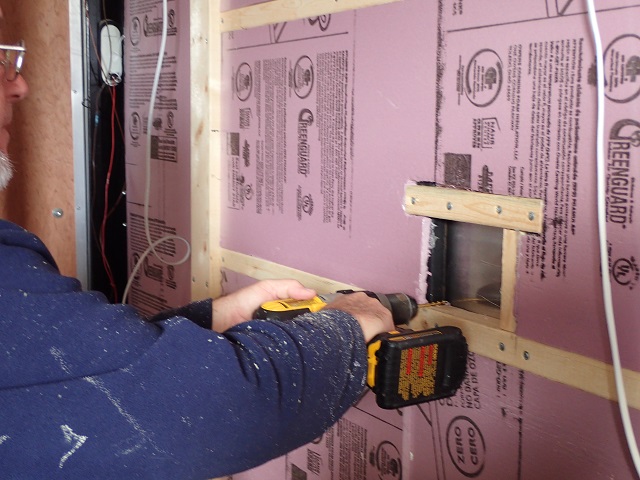
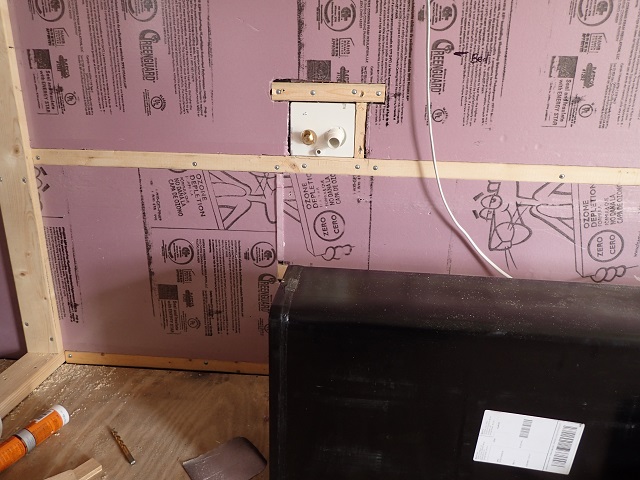
Today we put in our water fill box. We are using a 30 gal. abs tank for water. It will be over the driver side axles right against the wheel well. Right at the back of our wheel well were two studs about 6.5 inches apart. As the water fill box is 5.5 inches, it gave us an easy area to fill in with wood to give us something into which the box could be screwed. We cut out the insulation (1.5 inches), then added wood to the backside of the bottom 1x2 that runs the length of the trailer as this was the bottom of the box. Added another wood strip 4.5 inches up and screwed it to the metal studs. This gave us the top and bottom of the box. We used the metal stud toward the rear as one side then added a piece of wood 5.5 inches forward of the back stud. We now had our opening framed.
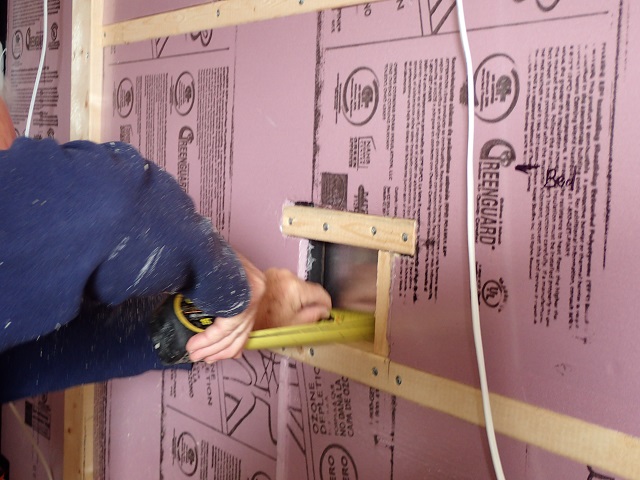
Next putting a bit in the drill we drilled a hole in each corner of the box from the inside.
Next go outside draw lines to the outside edge of the holes you drill. Put tape 1/8 inch outside the lines so you do not scratch up the trailer metal as you make your cuts with a saber saw.
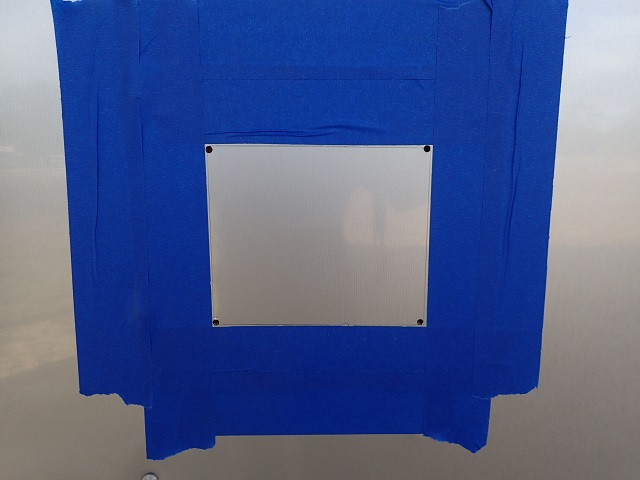
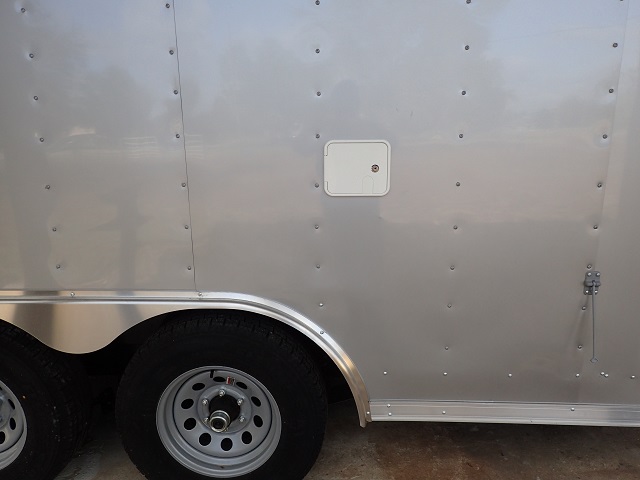
Then install the box. We used butyl tape and we will caulk any crack left after we tighten the screws again in a couple of days.
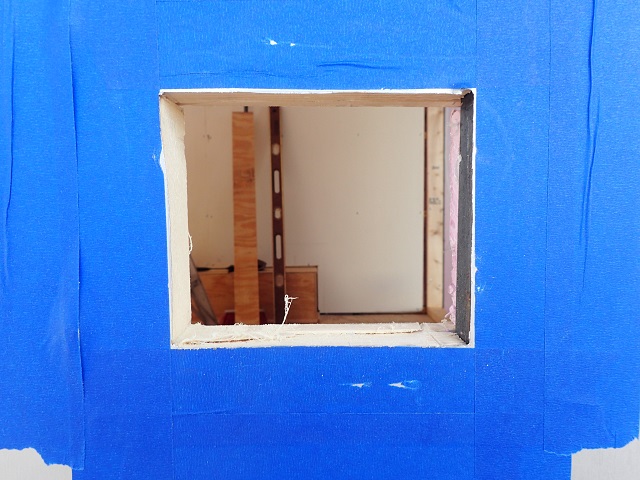
Here is the inside view of the fill box with the tank in the foreground.
Certainly glad the labor on this project is free. We have more time than money and like stuff built well which is why we are doing this. We tried to keep the hours but we spend a lot of time thinking before we do stuff and we just lost track of the hours. We are keeping a good track of the money we are spending. Should have used sanded plywood for the walls but got a little impatient and used BC ply wood instead. It is not as smooth but same strength as AC or sanded plywood.
Richard